
To master color mapping in narrowband imaging in a weekend, start by understanding the basics of spectral sensitivity and proper calibration for clear, accurate images. Explore common techniques like linear and diverging color maps, choosing palettes that suit your data type. Practice applying masks and filters to enhance features, and fine-tune contrast and color balance. If you keep exploring these core concepts, you’ll discover how to create compelling, professional visuals quickly and effectively.
Key Takeaways
- Practice selecting and applying various color palettes tailored to data types for clearer visualization.
- Experiment with filters, masks, and adjustments to enhance feature emphasis and visual impact.
- Ensure proper calibration of your imaging system for accurate color representation and spectral sensitivity.
- Study different mapping techniques (linear, diverging) to communicate data effectively through color.
- Regularly evaluate and refine your visuals for clarity, emotional impact, and storytelling effectiveness.

SVBONY SV220 Telescope Filter, H-Alpha & OIII, 3nm Dual-Band 2" Nebula Filter, Cut-Off Depth OD5, Minimal Halo Design, Peak Transmittance 85%, Telescope Accessories for Full-Frame Astrophotography
Full-frame compatible: the full-frame SV220 2" telescope filter is designed to fully leverage the large size of full-frame…
As an affiliate, we earn on qualifying purchases.
As an affiliate, we earn on qualifying purchases.
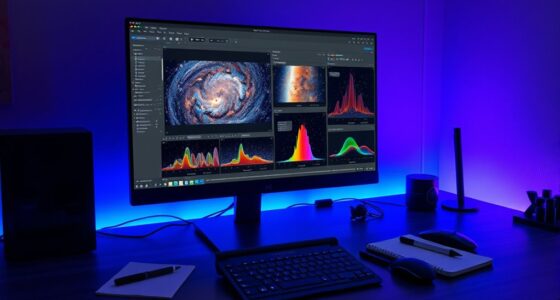
Understanding the Basics of Narrowband Imaging

Narrowband imaging is a technique that captures specific wavelengths of light to highlight particular features in an image. Your camera’s spectral sensitivity determines which wavelengths it can detect, making it essential to choose filters aligned with your target features. Proper data calibration ensures your images are accurate and consistent, compensating for variations in lighting and sensor response. This process involves adjusting for sensor noise, dark frames, and flat field corrections. When you understand how spectral sensitivity influences your captures, and you calibrate data correctly, you’ll produce clearer, more precise images. Additionally, understanding glamping concepts can inspire innovative approaches to image presentation, emphasizing luxury and comfort in your visual storytelling. These foundational steps set the stage for effective color mapping, allowing you to interpret and enhance your images with confidence.

Handheld Spectrophotometer LS176 D/8° Color Analysis APP Software Whiteness and Yellowness Spectral Reflectance Curves High Sensitivity
1. The Handheld Spectrophotometer LS176 utilizes a universal D/8 illumination method
As an affiliate, we earn on qualifying purchases.
As an affiliate, we earn on qualifying purchases.
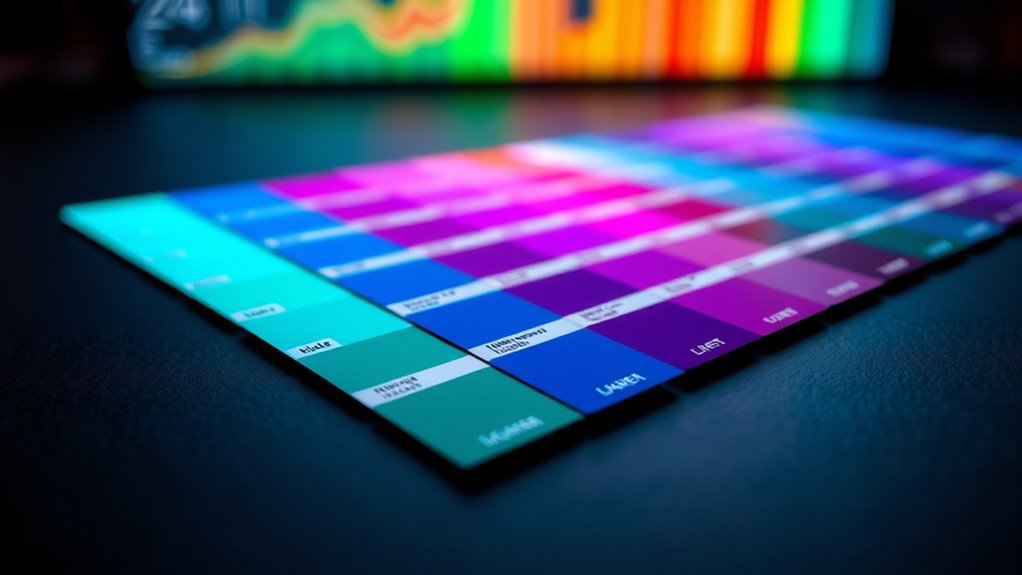
Exploring Common Color Mapping Techniques

To effectively interpret and enhance your images, understanding common color mapping techniques is essential. You’ll want to explore methods like linear, diverging, and sequential mapping, each suited for different data types. Color theory plays a crucial role in choosing effective palettes, helping you create visually intuitive maps that emphasize important features. Palette selection involves understanding how colors communicate meaning and guide viewer perception; for example, warm colors can highlight areas of interest, while cool tones suggest background or less critical regions. Combining these techniques allows you to craft maps that are not only accurate but also visually compelling. Practice experimenting with different palettes and mapping styles until you find the approach that best communicates your data’s story. Engaging with curiosity can also inspire innovative visualization strategies that improve viewer understanding and engagement.
![MixPad Free Multitrack Recording Studio and Music Mixing Software [Download]](https://m.media-amazon.com/images/I/71ltIxIuz1L._SL500_.jpg)
MixPad Free Multitrack Recording Studio and Music Mixing Software [Download]
Create a mix using audio, music and voice tracks and recordings.
As an affiliate, we earn on qualifying purchases.
As an affiliate, we earn on qualifying purchases.
Setting Up Your Software and Tools

Before you start, make certain your software is compatible with your system to avoid issues down the line. Next, set up your hardware properly, making sure your graphics card and peripherals meet the requirements. Additionally, you may want to explore goal setting techniques to clarify your objectives for color mapping. Finally, follow the installation steps for any plugins or tools needed to enhance your color mapping workflow.
Software Compatibility Check
Ensuring your software and tools are compatible is a crucial first step in setting up your color mapping project. Start by checking software compatibility with your operating system and the specific color mapping applications you plan to use. Confirm that your software supports the file formats you’ll work with, and verify updates or patches that enhance functionality. Hardware integration is equally important—ensure your device drivers and graphics hardware are compatible with your software to prevent issues during color rendering. Running compatibility checks early helps avoid disruptions later, saving time and effort. Double-check system requirements and test your tools with sample files. Proper setup guarantees smooth workflow, accurate color mapping, and reduces the risk of technical glitches during your project. Additionally, understanding bank swiftifs codes can be useful if you need to transfer project files securely across different financial institutions.
Hardware Requirements Setup
Have you confirmed that your hardware meets the specific requirements for your color mapping tools? Proper setup begins with ensuring your sensor calibration is accurate, which is vital for reliable data collection. Use calibrated sensors to capture precise narrowband readings, reducing errors in color mapping. Additionally, verify that your computer has sufficient data storage to handle large datasets generated during calibration and mapping processes. A stable, high-performance processor guarantees smooth operation during intensive tasks. Make sure your graphics card supports the software’s requirements for rendering and visualization. Connecting sensors properly and configuring your hardware settings now will streamline your workflow later. Clear, organized data storage and calibrated sensors form the foundation for precise, consistent color mapping in your project. Recognizing the importance of sound design skills can further optimize your project’s overall quality and effectiveness.
Plugin Installation Steps
To get your color mapping tools up and running smoothly, you need to carefully install their plugins and set up your software environment. Proper plugin installation guarantees seamless integration with your workflow, making palette selection easier and more intuitive. Focus on understanding basic color theory principles to optimize your setup. Additionally, ensuring compatibility with your projector’s contrast ratio can significantly improve the accuracy of your color calibration process.
This process boosts your confidence, simplifies complex tasks, and fuels your creative process—getting you one step closer to mastering color mapping efficiently.

Humminbird Autochart DVD PC Mapping Software w/Zero Lines Map Card
Zero Lines Map Card: The starting point to your mapping adventure.
As an affiliate, we earn on qualifying purchases.
As an affiliate, we earn on qualifying purchases.
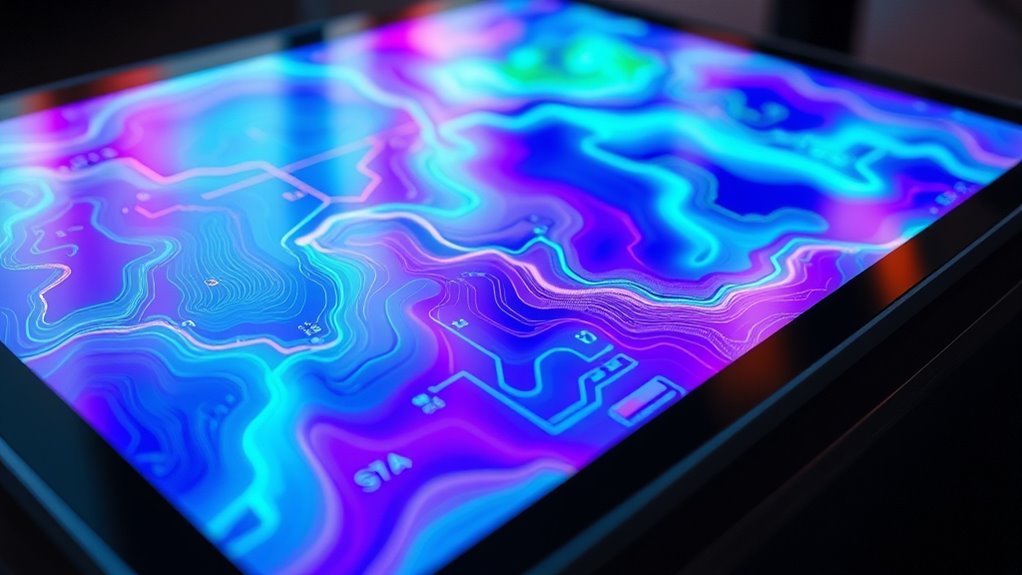
Selecting Appropriate Color Palettes for Your Data
Choosing the right color palette is essential for accurately representing your data in narrowband imaging. Effective color palette selection enhances your visual storytelling, making complex information easier to interpret. Consider the nature of your data—whether it’s categorical or continuous—and choose palettes that highlight these differences clearly. Bright, contrasting colors can emphasize specific features, while subtle gradients work well for showing variations in intensity. Think about the audience and context; a palette that’s intuitive for scientists might differ from one designed for public outreach. Consistency is key—use similar color schemes across related datasets. Additionally, understanding the color mapping techniques ensures your visuals accurately reflect data variations. By carefully selecting your color palette, you guarantee your visuals communicate your message effectively, making your data both informative and visually engaging.
Applying and Adjusting Color Maps Effectively
Once you’ve selected a suitable color palette, the next step is to apply and fine-tune your color maps to best highlight the features in your data. Focus on adjusting color gradients to create smooth progressions that emphasize important variations. Proper palette selection guarantees your data’s story is clear and impactful. To do this effectively:
- Experiment with different color gradients to find the most visually compelling flow.
- Fine-tune the transition points to accentuate key data ranges.
- Regularly step back and evaluate how adjustments enhance clarity and emotion in your visualization.
- Incorporate visualization best practices to ensure your color mapping effectively communicates your data insights.
Utilizing Masks and Filters for Enhanced Visuals

You can improve your visuals by using masks to highlight specific areas and increase clarity. Applying color filters helps emphasize certain features and creates more striking images. Combining masks and filters allows you to fine-tune your results for maximum impact. Recognizing angel number patterns can also guide you in making more meaningful visual adjustments that resonate with your intentions.
Masking Techniques for Clarity
Masking techniques are essential tools for improving clarity in narrowband color mapping, allowing you to selectively highlight or suppress specific regions within an image. By applying edge detection, you can precisely define boundaries, making details stand out sharply. Noise reduction filters help eliminate unwanted artifacts, ensuring your visuals remain clean and focused. These techniques give you control over complex images, emphasizing important features while minimizing distractions. To maximize their impact, consider these strategies:
- Use edge detection to clearly delineate key structures, enhancing overall sharpness.
- Apply noise reduction to create a smoother, more professional appearance.
- Combine masks and filters to isolate areas needing clarity, boosting visual comprehension.
- Incorporate glycolic acid products and their benefits to enhance exfoliation and skin clarity, which can be analogous to refining details in your visuals.
Mastering these masking techniques will elevate your narrowband color mapping, making your visuals more striking and easier to interpret.
Applying Color Filters Effectively
Applying color filters effectively relies on combining masks and filters to enhance specific features within an image. To achieve this, focus on maintaining color harmony by selecting filters that complement your overall palette. Proper palette selection ensures your enhanced visuals stay cohesive and visually appealing. Use masks to isolate areas where the filter will have the most impact, preventing unnecessary color shifts elsewhere. When applying filters, consider their influence on the image’s tone and mood, adjusting settings to suit your desired outcome. Remember, subtle adjustments often yield the most natural and professional results. By thoughtfully integrating masks and filters, you can emphasize details, improve contrast, and create striking visuals that resonate with your intended aesthetic.
Combining Masks and Filters
Combining masks and filters allows for precise control over which areas of an image are affected, resulting in more targeted and polished enhancements. By mastering mask blending and filter layering, you can selectively apply effects to specific regions, enhancing detail and depth. This technique empowers you to create compelling visuals that evoke emotion and focus viewer attention.
Here are three ways to elevate your work:
- Use masks to isolate areas, ensuring filters enhance only the desired parts.
- Layer multiple filters for complex color transformations and subtle gradations.
- Blend masks seamlessly to achieve smooth transitions, avoiding harsh lines.
With practice, combining masks and filters becomes a powerful tool, sharpening your control over color mapping and visual storytelling in narrowband imagery.
Fine-Tuning Color Balance and Contrast

Fine-tuning color balance and contrast is essential for accurately representing details in narrowband imagery. Proper color calibration ensures your colors are true to the source, avoiding misleading interpretations. Contrast enhancement helps reveal subtle features by increasing tonal differences. To optimize these adjustments, focus on balancing the red, green, and blue channels, which can be detailed as:
| Aspect | Tip |
|---|---|
| Color calibration | Use calibration targets for accuracy |
| Contrast enhancement | Adjust sliders gradually, avoid overdoing |
Analyzing and Interpreting Your Mapped Images

Once your narrowband images are mapped to color, the next step is to analyze and interpret them to extract meaningful information. This involves examining spectral signatures and understanding how different features reflect specific wavelengths. Proper data calibration is essential here, ensuring your images accurately represent real-world conditions. As you analyze, focus on patterns that reveal environmental changes, vegetation health, or mineral compositions. Recognize that subtle color variations can indicate critical insights. To deepen your understanding, consider:
Analyzing spectral signatures reveals key environmental insights and enhances data accuracy.
- Identifying unique spectral signatures to distinguish materials or conditions.
- Cross-referencing your data with known spectral profiles for validation.
- Pinpointing anomalies or trends that signal important environmental shifts.
This process transforms your visual map into a powerful tool for informed decision-making.
Tips for Creating Consistent and Impactful Visuals

To create visuals that are both consistent and impactful, start by establishing a clear color mapping scheme that reflects the significance of each feature. Focus on achieving color harmony, ensuring that your chosen colors complement one another to create a unified look. This harmony helps viewers process information smoothly and reinforces your message. Additionally, consider the emotional response you want to evoke; different colors can trigger specific feelings or reactions. Use bold, contrasting hues sparingly to emphasize vital features, and keep your palette simple to maintain clarity. Consistency in your color choices across visuals reinforces recognition and professionalism. By thoughtfully combining color harmony with an understanding of emotional responses, you’ll craft visuals that are not only visually appealing but also memorable and effective.
Frequently Asked Questions
How Can I Troubleshoot Common Color Mapping Errors?
When troubleshooting common color mapping errors, start with thorough color calibration to guarantee your display shows accurate colors. Check for inconsistencies in your color profiles and compare them with known standards. Use error diagnosis tools to identify mismatched color ranges or gradients. Adjust your settings accordingly, and re-calibrate if necessary. Regularly reviewing your calibration process helps prevent future errors, keeping your color mapping precise and reliable.
What Are the Best Practices for Documenting Your Process?
To document your process effectively, you should prioritize clarity and consistency, guaranteeing your documentation standards are met. Keep detailed records of color choices, mapping techniques, and adjustments for color consistency. Use clear labels and organized formats to make future referencing easier. Regularly update your documentation as you refine your process. This approach helps maintain accuracy, facilitates troubleshooting, and ensures your color mapping remains reliable across projects and team members.
How Do I Optimize Color Maps for Different Display Devices?
You’re steering a chameleon’s world, adapting your color maps to each display device. Start with display calibration to set a solid foundation, then tweak your color mappings for consistent hues across screens. Think of it as tuning an instrument to guarantee perfect harmony. Prioritize color consistency by testing on multiple devices, adjusting as needed. This way, your visuals stay vibrant and true, no matter where they’re viewed.
Can I Automate Color Mapping for Large Datasets?
Yes, you can automate color mapping for large datasets by setting up automated workflows. Use scripting tools like Python or specialized software that supports batch processing, which allows you to scale your dataset efficiently. These workflows can apply consistent color mapping rules across all data points, saving you time and ensuring uniformity. Automating this process helps manage extensive data without sacrificing accuracy or detail.
What Resources Are Available for Advanced Color Mapping Techniques?
They say “practice makes perfect,” so immerse yourself in advanced resources for color mapping. Explore books on color theory and gradient design to deepen your understanding. Online courses, tutorials, and forums offer practical techniques for mastering complex color mappings. Experiment with sophisticated tools like Photoshop or specialized software. These resources help you grasp nuanced color relationships, enabling you to create more compelling and accurate visualizations that truly pop.
Conclusion
By mastering these color mapping techniques this weekend, you’ll be able to turn complex narrowband data into stunning visuals. Remember, practice makes perfect, so don’t be afraid to experiment and learn as you go. With patience and a keen eye, you’ll soon see your images come alive with clarity and impact. Keep pushing your skills—soon, you’ll be the one calling the shots in narrowband imaging!