
To master the advanced Bortle scale, start by accurately evaluating your sky using detailed observation techniques like star visibility and contrast cues, complemented by tools such as sky apps and light meters. Use light pollution maps to identify ideal sites and interpret Bortle ratings in various environments. Incorporate filters and environmental data to refine your results. If you keep exploring, you’ll discover how to leverage these methods to improve your stargazing and share findings effectively.
Key Takeaways
- Use light pollution maps and sky brightness apps to identify optimal dark sites matching lower Bortle classes.
- Employ specialized light pollution filters and light meters to accurately measure and improve sky conditions.
- Conduct systematic, multi-night observations noting star visibility and contrast ratios for precise Bortle classification.
- Combine visual assessments with digital tools and star charts for a comprehensive understanding of site quality.
- Share and compare observational data within astronomy communities to refine site selection and monitor sky quality changes.

Carson RedSight Red LED Flashlight For Reading Astronomy Star Maps and Preserving Night Vision with Two Brightness Settings (SL-33) X-Large
Two Brightness Settings – Red LED Flashlight with 9 Red LED bulbs.
As an affiliate, we earn on qualifying purchases.
As an affiliate, we earn on qualifying purchases.
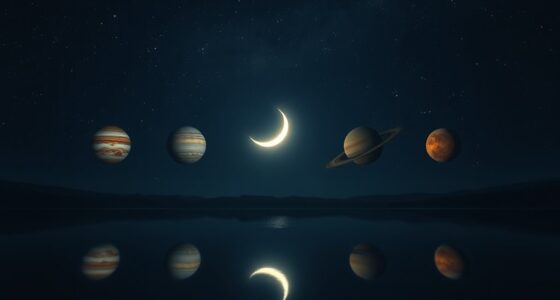
Understanding the Bortle Scale: From Basics to Advanced Concepts
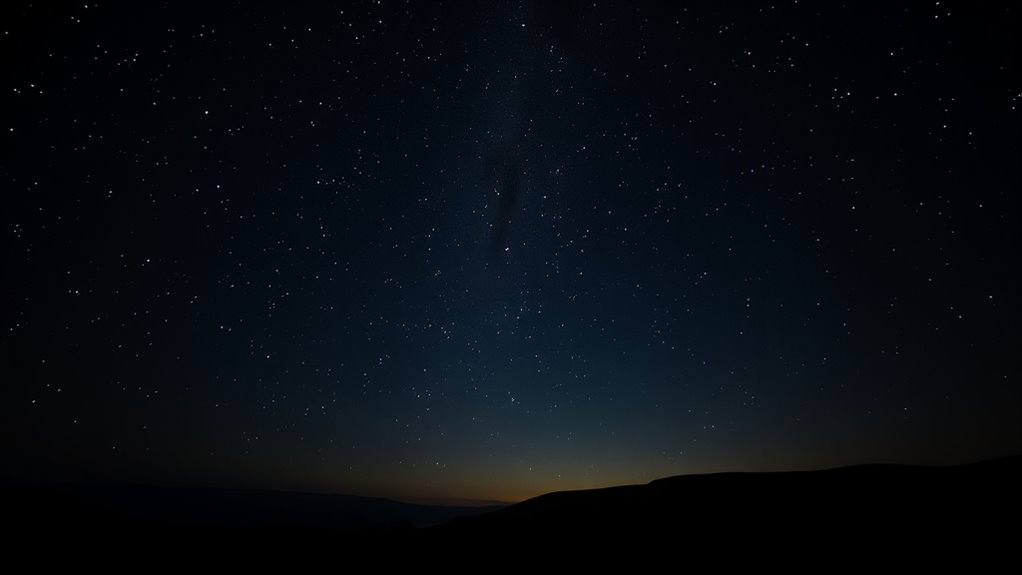
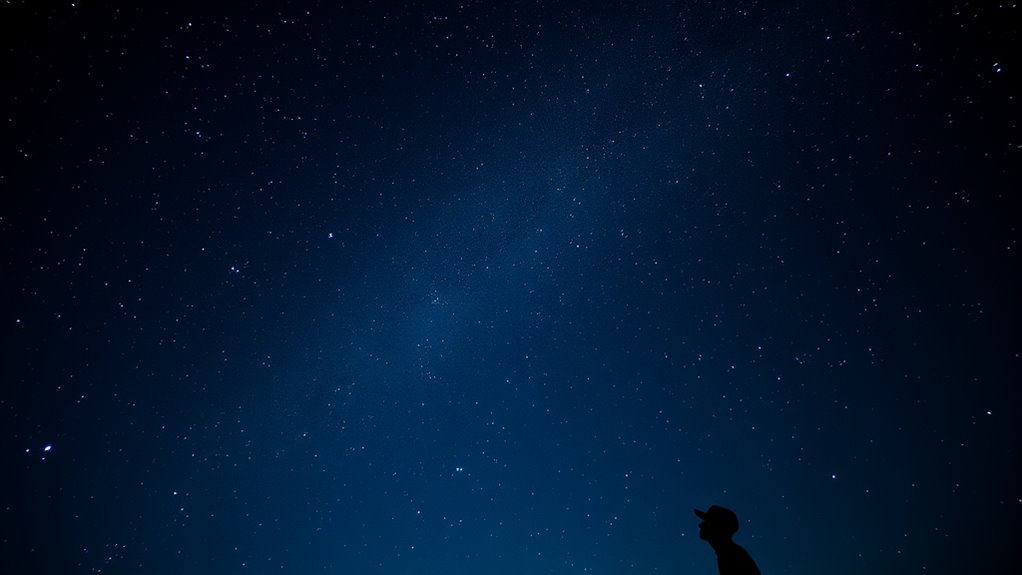
The Bortle Scale is a practical tool that helps you gauge the darkness of your night sky and its suitability for astronomy. It directly relates to sky quality, which can vary greatly depending on your location. Light pollution is the main factor that impacts this, making the sky brighter and reducing visibility of faint objects. As you move from lower to higher Bortle classes, the sky’s darkness improves, revealing more stars and celestial details. Understanding this scale allows you to assess how much light pollution affects your viewing experience. It’s a simple yet effective way to determine if your current location offers suitable conditions for stargazing or if you need to seek darker sites. Recognizing the impact of sky quality is key to planning successful astronomical observations. Additionally, understanding the role of contrast ratio in your viewing environment can help optimize your stargazing experience by enhancing image clarity and detail.
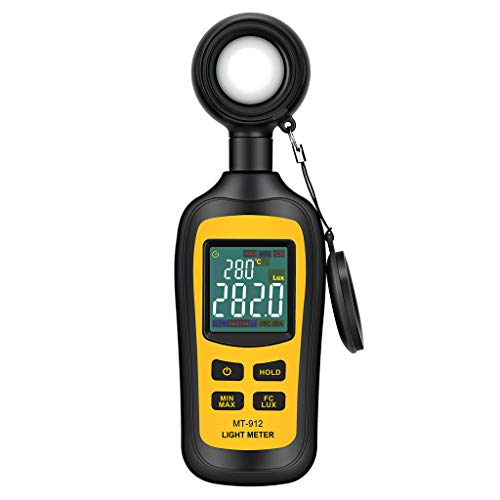
Light Meter Digital Illuminance Meter Handheld Ambient Temperature Measurer, Range up to 200,000 Lux, Luxmeter with 4 Digit Color LCD Screen
Measures luminosity from 0 to 200,000 Lux and ambient temperature
As an affiliate, we earn on qualifying purchases.
As an affiliate, we earn on qualifying purchases.
Decoding Bortle Class Ratings and What They Really Mean

Decoding Bortle Class ratings requires understanding what each level truly signifies about your night sky. Each class reflects specific sky quality conditions that directly impact star visibility. For example, Bortle Class 1 offers exceptional star visibility, with nearly every star visible and dark skies free of light pollution. As you move to higher classes, the sky quality diminishes, making faint stars harder to see and reducing overall clarity. Recognizing these ratings helps you gauge what to expect during your observations. A lower Bortle number indicates a darker sky, ideal for astronomy, while higher classes suggest more light pollution and less star visibility. By understanding these ratings, you can better plan your outings and appreciate the quality of your local night sky. Additionally, knowing the Bortle Class can assist in assessing gold dealer credibility, as both require understanding specific standards and conditions to make informed decisions.

The Night Sky 30°-40° (Large; North Latitude)
Used Book in Good Condition
As an affiliate, we earn on qualifying purchases.
As an affiliate, we earn on qualifying purchases.
Techniques for Assessing Your Local Sky Conditions
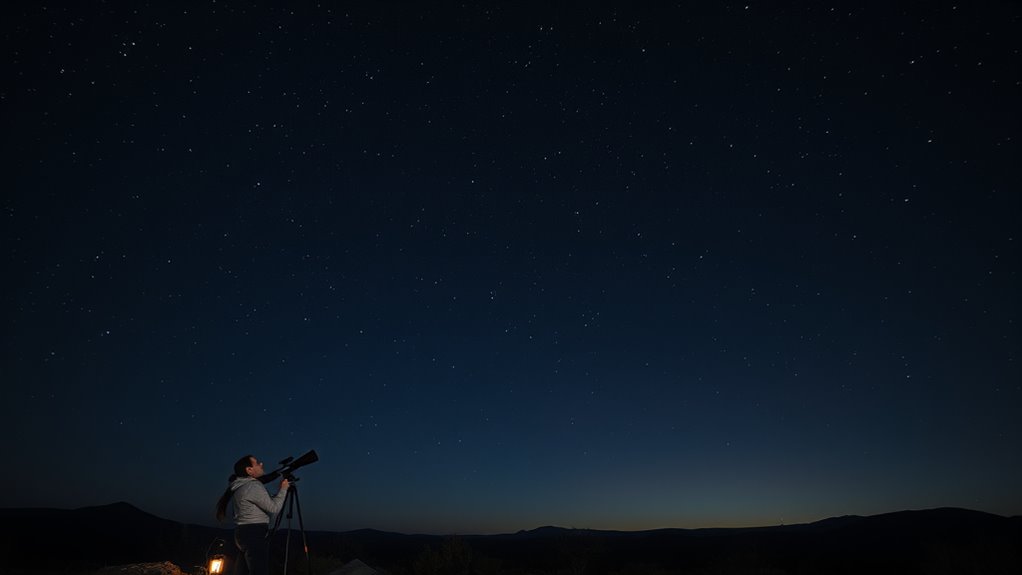
To accurately assess your local sky conditions, start by observing the brightness and visibility of stars and celestial objects overhead. Pay attention to how many stars you can see and how clearly they appear, as this is key to sky quality assessment. To improve your observations, practice light pollution mitigation by moving away from artificial lights and minimizing glare. Use a simple star chart or a smartphone app to help identify faint objects, which can indicate darker skies. Take notes over multiple nights to track changes in sky conditions. By systematically observing and reducing light pollution sources nearby, you’ll get a clearer picture of your sky’s true quality. Understanding your sky quality helps you determine your Bortle class more accurately and plan your stargazing sessions effectively.
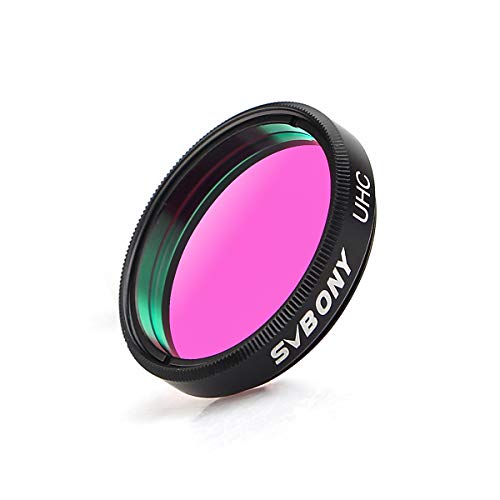
SVBONY Telescope Filter 1.25" UHC Filter Astrophotography to Improve The Image Contrast Reduces Light Pollution (1.25 inch)
UHC filters or light pollution reduction filters are designed to selectively reduce the transmission of certain wavelengths of…
As an affiliate, we earn on qualifying purchases.
As an affiliate, we earn on qualifying purchases.
Using Light Pollution Maps to Complement Bortle Classifications

Light pollution maps serve as valuable tools to enhance your understanding of your local sky conditions beyond visual observations. They reveal areas affected by sky glow and the extent of light domes, helping you identify ideal stargazing spots. By comparing map data with Bortle classifications, you get a clearer picture of how artificial lights impact your viewing experience. For example, a dark sky area on the map suggests a lower Bortle class, while extensive light domes indicate higher levels. Use this information to plan your sessions and choose locations with minimal light pollution. Remember, maps provide a broader context, allowing you to anticipate sky quality before setting up your equipment. Proper use of performance metrics can further assist in evaluating the effectiveness of your stargazing locations.
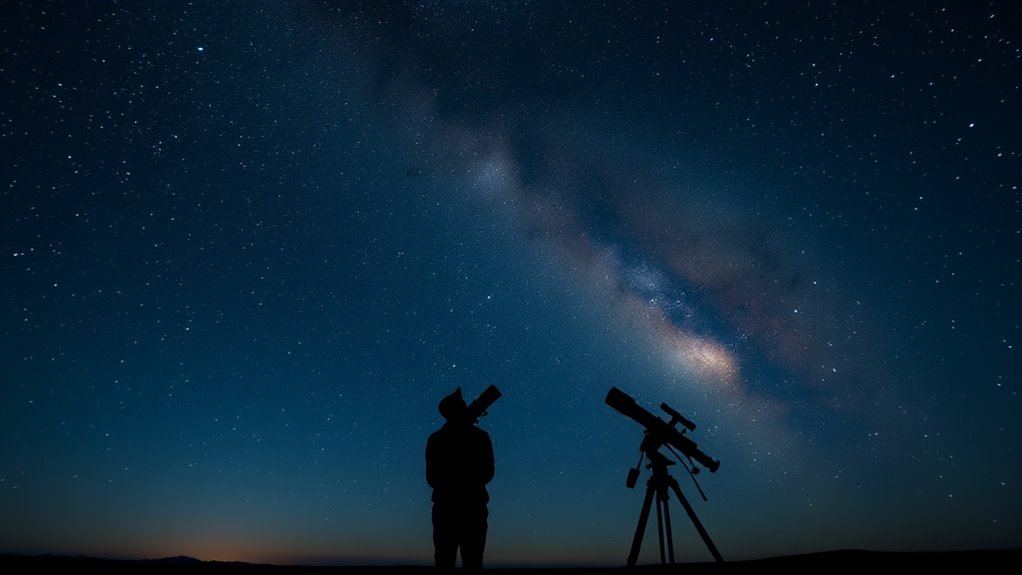
Practical Examples: Interpreting Bortle Ratings in Different Environments
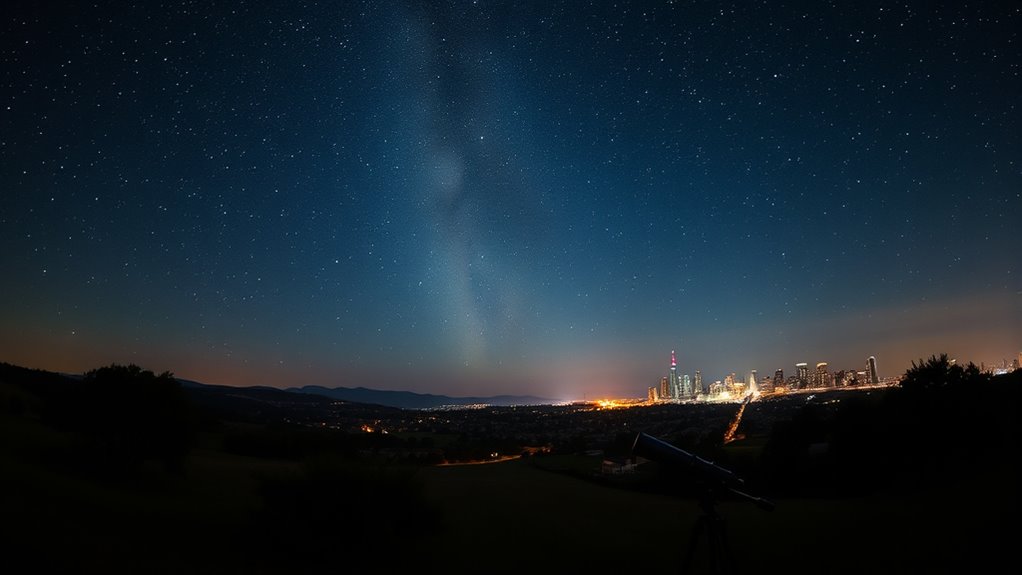
Understanding Bortle ratings in different environments helps you choose the best locations for stargazing. In areas with urban glow, like city centers, you’ll find high Bortle classes (9 or 10), where light pollution obscures most celestial objects. These environments make it hard to see anything beyond the moon and bright planets. Conversely, rural darkness offers lower Bortle ratings (1 or 2), revealing a stunning, detailed night sky with faint stars and deep-sky objects clearly visible. For example, a suburban backyard might fall into Bortle 4, showing some light pollution but still allowing decent stargazing. Recognizing these differences helps you plan better observing sessions, whether you’re seeking the brightest stars or aiming to explore faint nebulae in rural darkness. Additionally, understanding the Bortle scale can assist in selecting ideal locations for astrophotography and detailed celestial observation.
How to Improve Your Sky Quality Based on Bortle Assessments
To improve your sky quality based on Bortle assessments, start by reducing nearby light pollution sources. Choosing darker sky locations can markedly enhance your view, especially in higher Bortle classes. Additionally, using light pollution filters can help you see more celestial details even in less ideal conditions. Incorporating data privacy considerations when selecting observation sites can also protect your night sky experience from unwanted intrusions.
Minimize Light Pollution Sources
Reducing light pollution begins with identifying and limiting unnecessary outdoor lighting. Urban lighting and outdoor fixtures often contribute to skyglow, diminishing your night sky visibility. Start by turning off or dimming lights that aren’t essential, especially late at night. Replace harsh, bright bulbs with downward-shielded fixtures that direct light downward instead of outward or upward. Encourage your neighbors and community to adopt dark-sky-friendly outdoor lighting practices. Use motion sensors or timers to ensure lights are only on when needed. Minimizing these sources reduces light trespass and glare, helping preserve the darkness needed for better sky quality. Small changes in outdoor lighting habits profoundly impact your local environment and improve your experience of the night sky. Additionally, choosing eco-friendly lighting materials can further reduce environmental impact and light pollution.
Choose Dark Sky Locations
Selecting the right location is essential for maximizing your sky viewing experience based on Bortle assessments. To combat urban glow and enhance celestial darkening, seek areas with minimal light pollution. Natural parks, rural areas, or designated dark sky parks often provide the best conditions. Avoid locations near city centers or bright sources, where sky brightness diminishes your view. Use this table to compare potential sites:
| Location Type | Light Pollution Level | Best for |
|---|---|---|
| Urban Area | Bright (Bortle 8-9) | Limited, quick observations |
| Suburban | Moderate (Bortle 6-7) | Occasional stargazing |
| Rural/Dark Sky Park | Dark (Bortle 1-3) | Prime celestial darkening |
Choosing a dark sky location can dramatically improve your stargazing by reducing urban glow and increasing celestial darkening.
Use Light Pollution Filters
When observing from areas with higher light pollution, using light pollution filters can markedly improve your sky quality. These filters enhance sky measurement accuracy by blocking specific wavelengths of artificial light, making faint celestial objects more visible. They’re essential tools for pollution mitigation, effectively reducing skyglow that hampers your view. By filtering out streetlights, neon signs, and other sources of light pollution, you can observe more detail and contrast in stars, nebulae, and galaxies. Keep in mind that filters work best with certain types of light pollution and telescopes; they’re not a complete solution but a significant aid. Incorporating light pollution filters into your observing routine helps you get the most out of your sky, even in less-than-ideal conditions. Additionally, understanding your sky conditions allows you to choose the most suitable filters for your specific environment.
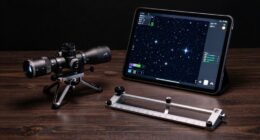
Tools and Apps for Precise Bortle Scale Observation

To measure your sky’s darkness accurately, you can use observation light pollution apps and maps that provide real-time data. Portable light meters also offer precise readings to quantify light pollution levels directly. Combining these tools helps you achieve a more exact Bortle Scale assessment for your observing site.
Observation Light Pollution Apps
Utilizing observation light pollution apps can considerably enhance your ability to accurately determine the Bortle scale of your observing site. These apps analyze sky brightness directly from your smartphone or tablet, giving you real-time data on urban glow levels and overall sky conditions. By measuring the intensity of light pollution at your location, you’ll gain a clearer understanding of how much the sky is affected by artificial lighting. Many apps also offer features to compare your readings with established Bortle scale categories, making it easier to classify your site precisely. This approach helps you move beyond guesswork, providing a scientific basis for your observations. With these tools, you can confidently identify the impact of light pollution and optimize your stargazing experience accordingly. Sky brightness measurement techniques further refine your assessments and improve your observational planning.
Light Pollution Maps & Tools
Light pollution maps and specialized tools provide a powerful way to assess your observing site‘s darkness with accuracy. These tools help you evaluate factors like urban glow and atmospheric haze that impact your view. When using maps and apps, keep in mind:
- They reveal light pollution levels across different regions, guiding you to darker spots.
- They help you understand the intensity of urban glow affecting your location.
- They assist in pinpointing areas with minimal atmospheric haze for clearer observations.
- Utilizing Kia Tuning techniques can also improve vehicle performance, ensuring reliable access to remote dark sky locations.
Portable Light Meters
Portable light meters offer astronomers a reliable way to measure sky brightness directly, providing more precise Bortle scale assessments than visual estimates alone. By capturing accurate sky quality data, these devices enhance your understanding of light pollution levels at your observing site. Modern light measurement tools, including handheld meters and smartphone apps, allow you to quantify ambient light with ease. They help identify subtle differences in sky brightness, ensuring your observations are based on solid data. With consistent use, portable light meters improve your ability to track changes over time and select ideal locations for stargazing. Incorporating these tools into your setup boosts confidence in your Bortle scale assessments and leads to better planning for successful, high-quality astronomical observations.
Tips for Sharing and Comparing Sky Conditions With Fellow Enthusiasts

Sharing and comparing sky conditions with fellow enthusiasts becomes much easier when you record clear, detailed observations. To improve sky condition comparisons and sharing observation data effectively, consider these tips:
- Take consistent notes, including Bortle class, light pollution sources, and weather conditions.
- Use standardized tools like star charts or sky condition apps to ensure uniform data collection.
- Share your observations via online forums or apps dedicated to sky condition reporting, enabling others to compare locations accurately.
Frequently Asked Questions
How Does Local Weather Affect Bortle Scale Readings?
Your local weather substantially impacts Bortle scale readings. Cloud cover can obscure your view of the stars, making the sky appear darker or lighter depending on thickness. High humidity levels can cause haze, reducing visibility and increasing light pollution effects. Clear, dry nights provide the best conditions for low Bortle scale readings, while cloudy or humid nights elevate the scale, making skies appear brighter and limiting your stargazing experience.
Can Bortle Ratings Vary Within the Same Area?
Yes, Bortle ratings can vary within the same area. For example, during a clear night, you might notice sky glow from nearby streetlights increasing light pollution in one spot, raising the Bortle score. Moving just a few miles away, the sky may appear darker with less light pollution, lowering the Bortle rating. Local factors like light pollution sources or obstructions can cause these fluctuations, affecting your star visibility.
What Are the Best Times for Accurate Bortle Assessments?
You’ll get the most accurate Bortle assessments during clear skies with high sky clarity, ideally on nights with minimal light pollution. Avoid nights with a full moon or bright moon phases, as moonlight diminishes star visibility and skews measurements. Plan your observations around new moon or crescent phases, preferably on cloudless, moonless nights, to make sure the sky’s darkness accurately reflects your area’s true Bortle rating.
How Do Urban Development Changes Impact Bortle Classifications?
Urban sprawl acts like a relentless tide, washing over dark skies with bright light pollution that raises your Bortle class. As cities expand, the once-clear celestial canvas becomes clouded with artificial glow, making it harder to find dark skies. You’ll notice higher Bortle ratings, signaling more light pollution, and fewer opportunities for pristine stargazing. To preserve dark skies, stay alert to urban development changes and seek out those remaining pockets of darkness.
Are There Specific Bortle Classes Ideal for Astrophotography?
Bortle classes 1 and 2 are perfect for astrophotography, offering the best conditions with minimal light pollution. These classes provide dark skies, allowing you to capture faint celestial objects clearly. When aiming for ideal astrophotography conditions, seek locations with Bortle 1 or 2, where the sky’s darkness enhances image quality. Staying within these classes maximizes your chances of detailed, stunning astrophotography results.
Conclusion
Think of the Bortle Scale as your celestial map, guiding you through the darkness like a lighthouse in a storm. With each step, you uncover more of the universe’s secrets, lighting up your passion for stargazing. Embrace these tools as your compass, helping you navigate through light pollution and find your perfect night sky. Keep exploring, and let the cosmos be your endless adventure—your journey into the stars has just begun.