
To master histogram and stretching, start by understanding your histogram’s shape and distribution. Recognize the importance of contrast stretching to reveal details without clipping highlights or shadows. Apply adjustments gradually to maintain natural colors and avoid over-processing. Use auto tools as a guide but fine-tune manually for the best results. Practicing different image types will help you perfect your technique, and if you keep exploring, you’ll uncover the 10 key rules to keep your images balanced and realistic.
Key Takeaways
- Always monitor the histogram for clipping in highlights and shadows before applying stretch adjustments.
- Use gradual, incremental stretching to enhance detail without causing unnatural colors or tones.
- Aim for a balanced, symmetrical histogram to ensure good contrast and tonal range.
- Reduce noise prior to stretching to prevent amplification of grain and preserve image quality.
- Auto adjustments serve as a starting point; manual fine-tuning ensures natural, accurate results.

A Beginner’s Guide to Image Preprocessing Techniques (Intelligent Signal Processing and Data Analysis)
As an affiliate, we earn on qualifying purchases.
As an affiliate, we earn on qualifying purchases.
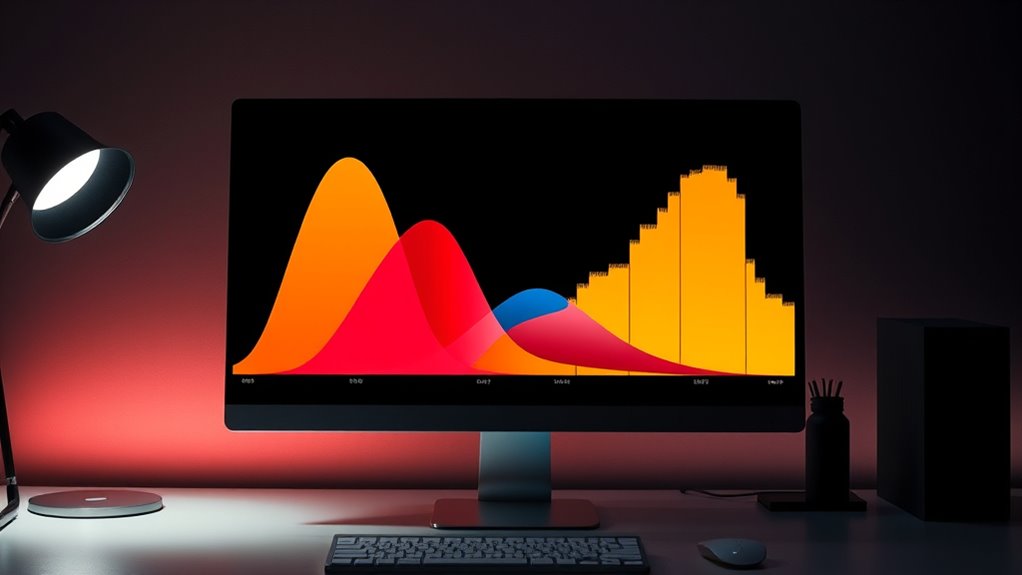
Understand Your Histogram: The First Step to Better Images
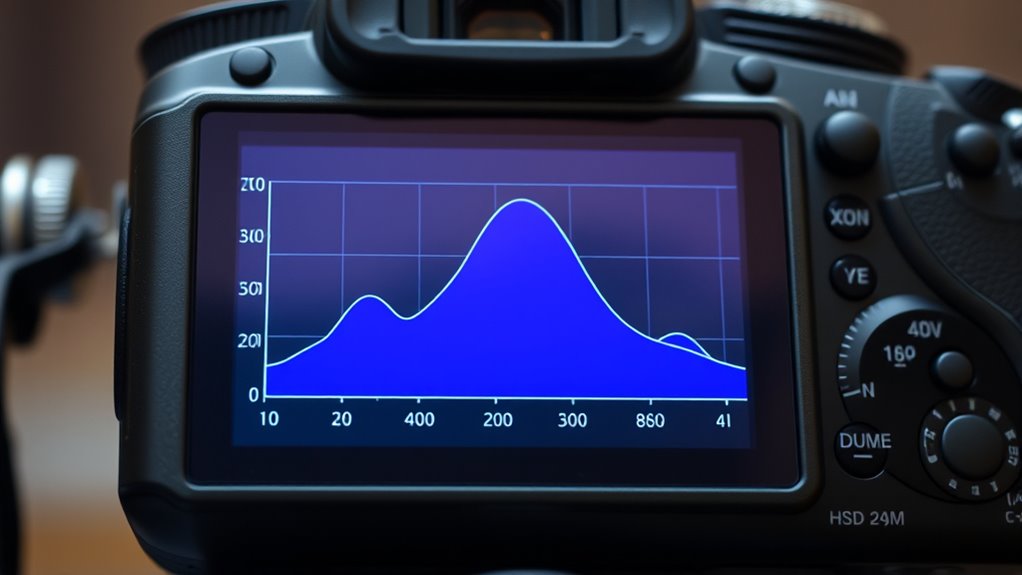
Understanding your histogram is the essential first step toward capturing better images. When you look at your histogram, you’re interpreting the pixel distribution across brightness levels. Histogram interpretation helps you see whether your photo is properly exposed, overexposed, or underexposed. A well-balanced histogram typically shows a spread of pixels from shadows to highlights without bunching on either end. If most pixels cluster to the left, your image is likely too dark; if they gather on the right, it’s probably too bright. Learning to read this graph allows you to make quick adjustments on your camera, ensuring your exposure is accurate before taking the shot. Regularly monitoring your histogram can help prevent issues like ineffective purification and ensure optimal image quality. Mastering your histogram empowers you to create images with the right contrast and detail, giving you more control over your photography.
photo editing histogram analyzer
As an affiliate, we earn on qualifying purchases.
As an affiliate, we earn on qualifying purchases.
Recognize the Significance of Distribution Shapes
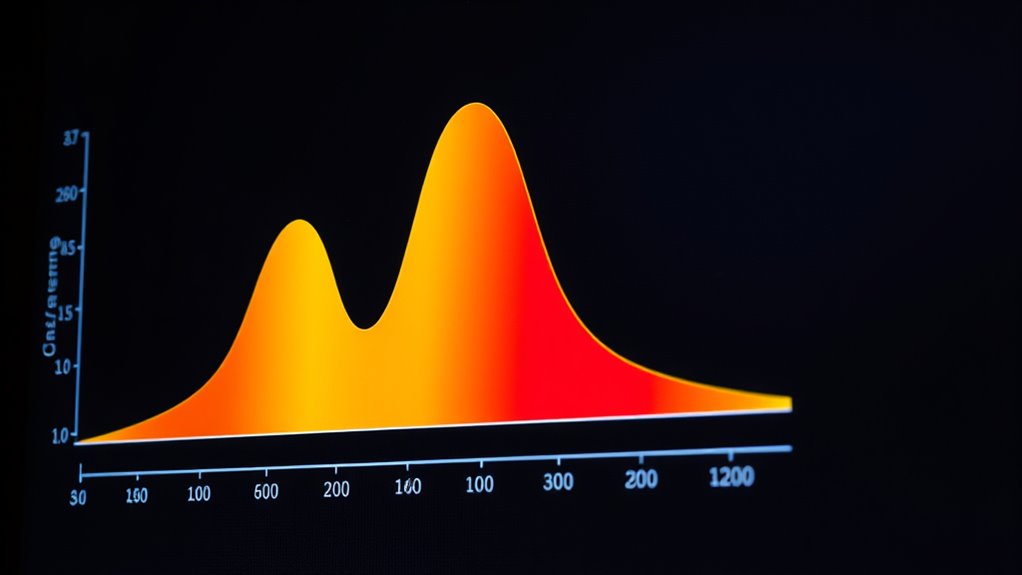
Understanding the shape of your histogram helps you gauge the overall brightness balance of your image. If the distribution is symmetrical, it indicates a good contrast range, while skewness reveals bias toward dark or light areas. Recognizing these shapes allows you to make informed adjustments for better image quality. Additionally, analyzing the distribution can help you identify if your image requires contrast enhancement or other editing techniques.
Shape Indicates Brightness Balance
The shape of a histogram reveals important clues about the brightness distribution in an image. If the histogram is skewed to the left, your image may lack tonal balance, appearing too dark. Conversely, a right-skewed histogram suggests overexposure, dulling color harmony. A well-balanced, evenly spread histogram indicates good tonal balance and natural brightness. To interpret the shape effectively:
- Look for symmetry to assess overall brightness.
- Identify skewness to detect underexposure or overexposure issues.
- Observe the spread to gauge contrast and tonal richness.
- Recognize how relationships between tonal values influence the overall image quality.
Understanding these shapes helps you judge how brightness and tonal balance influence color harmony, guiding you to make better adjustments during stretching. Recognizing the distribution shape allows for precise control over image brightness, ensuring a more harmonious and visually pleasing result.
Symmetry Reflects Contrast Range
When examining the shape of a histogram, symmetry plays a key role in revealing the contrast range of an image. A balanced, symmetrical distribution indicates a wide tonal range, highlighting good color contrast across shadows and highlights. When the histogram shows tonal symmetry, it suggests that the image contains evenly distributed brightness levels, making details more discernible. Conversely, asymmetry may signal limited contrast or bias toward dark or light areas. Recognizing this symmetry helps you evaluate whether your image has balanced tonal distribution, which directly impacts color contrast. A symmetrical histogram assures you that the contrast range is well preserved, allowing for effective stretching or adjustments. Additionally, understanding the causes of asymmetry in histograms can help you identify issues with exposure or contrast limitations. Ultimately, understanding the relationship between symmetry and contrast range guides you toward enhancing image clarity and visual impact.
Skewness Shows Data Bias
Skewness in a histogram reveals biases in the data distribution, indicating whether brightness levels favor shadows or highlights. When you perform skewness analysis, you can identify if your data leans toward darker tones (left skew) or brighter tones (right skew). Recognizing this helps you understand the underlying data bias. To interpret skewness effectively:
- Left skew suggests a bias toward shadows, meaning most data points are darker.
- Right skew indicates highlights dominate, with brighter areas being more common.
- Symmetry shows a balanced distribution, but any skewness points to a bias in your data set.

PHOTOMATOR PRO EDITING TIPS 2026: Master Exposure, Noise Reduction, and Detail Enhancement for Stunning Photos
As an affiliate, we earn on qualifying purchases.
As an affiliate, we earn on qualifying purchases.
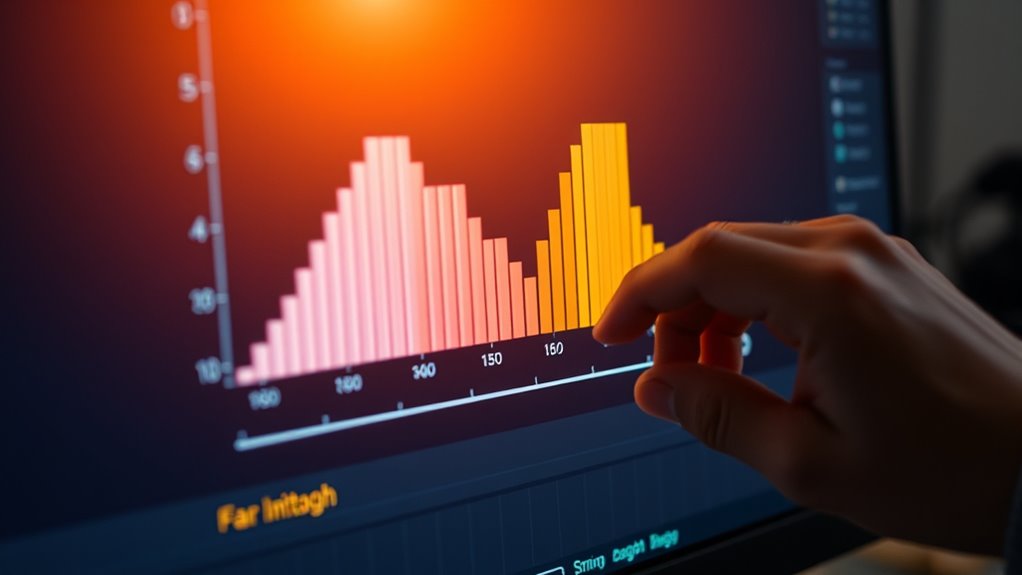
Use Contrast Stretching to Maximize Detail
Contrast stretching enhances image detail by expanding the range of pixel intensities, making subtle differences more visible. To achieve this, start with proper color calibration to ensure accurate color representation, which helps the stretching process work effectively across all tones. As you apply contrast stretching, focus on noise reduction first, since noise can be amplified during the process, obscuring true details. By carefully adjusting the histogram, you can reveal hidden features without losing important information. This technique maximizes detail in shadows and highlights, giving your image a more dynamic and natural appearance. Remember, the goal is to enhance contrast without clipping or introducing artifacts, so proceed gradually and check your adjustments frequently. Additionally, understanding the digital resources available can help you refine your technique and ensure optimal results.

Plustek Photo Scanner ePhoto Z300, Scans 4×6 inch Photos in 2 Seconds, Auto crop and deskew with CCD Sensor, Supports Mac and PC
The easiest way to scan photos and documents. Supports 3×5, 4×6, 5×7, and 8×10 in sizes photo scanning…
As an affiliate, we earn on qualifying purchases.
As an affiliate, we earn on qualifying purchases.
Beware of Clipping: Preserving Highlights and Shadows

Clipping occurs when the brightness or darkness levels in an image exceed the display or capture device’s maximum or minimum, causing loss of detail in highlights or shadows. To avoid this, you need to be cautious during adjustments.
A good understanding of your system’s security vulnerabilities can help prevent unintended data loss or compromise during editing processes.
Here are three key tips:
- Watch for highlight clipping—bright areas can become pure white, losing detail. Use the histogram to check for spikes at the right edge.
- Preserve shadow detail—avoid crushing shadows into black, which hides textures and depth. Monitor the histogram’s left side.
- Make incremental adjustments—small changes help prevent both highlight clipping and shadow loss, maintaining a balanced image.
Apply Stretching Gradually for Natural Results
To achieve natural-looking adjustments, it’s vital to apply stretching gradually rather than making large, abrupt changes. This approach helps preserve the image’s color harmony and tonal balance, preventing unnatural shifts that can distract viewers. As you stretch the histogram, make small, incremental adjustments, continuously evaluating the overall effect. This careful process ensures that highlights and shadows remain balanced, maintaining detail and avoiding clipping. By progressing slowly, you give your eye time to adapt, resulting in more harmonious and realistic images. Remember, overdoing stretching too quickly can cause colors to become oversaturated or muted, disrupting the natural feel. Patience and subtlety are key—small steps lead to more authentic, visually pleasing results. Additionally, understanding the importance of color accuracy can help guide your adjustments for consistent and true-to-life images.
Know When to Use Equalization Versus Stretching
Understanding when to use equalization versus stretching is essential for achieving the best image results. Equalization is ideal when you want to enhance contrast across the entire tonal range, especially for images with limited dynamic range. Use it for quick color correction and to reduce noise in shadow areas without sacrificing detail. Stretching, on the other hand, is better when you need controlled adjustments, preserving image authenticity while boosting highlights and shadows gradually. Additionally, knowing the appropriate application of each technique helps prevent overprocessing and maintains the natural feel of your photos. Consider these situations:
- For images with flat contrast, apply equalization for a dramatic effect.
- When noise reduction is necessary in dark regions, stretching offers a more subtle approach.
- To maintain natural tones, prefer stretching over equalization, especially with high-quality images.
Avoid Over-Enhancement: Maintaining Image Authenticity
To keep your images looking natural, focus on maintaining true colors and avoiding excessive contrast. Over-enhancement can make photos look unrealistic and lose their authenticity. By carefully adjusting your histogram, you guarantee the image stays true to life. Additionally, understanding store hours can help you plan your editing sessions more effectively, ensuring you have ample time to perfect your photos without rushing.
Preserve Natural Colors
Have you ever enhanced an image so much that it no longer looked authentic? To preserve natural colors, you need to control your adjustments carefully. Overdoing it can distort color saturation and disrupt tonal balance, making images appear unnatural. To maintain authenticity, consider these steps:
- Keep color saturation moderate; avoid pushing it to extremes.
- Adjust tonal balance gradually to retain true-to-life shades.
- Use subtle enhancements rather than heavy-handed edits to preserve the image’s original feel.
- Be mindful of Volkswagen Tuning principles, as aggressive modifications can lead to unnatural visual effects in photos.
Prevent Over-Contrast
Over-contrast can quickly make an image look unnatural, so it’s vital to avoid excessive adjustments. When stretching your histogram, aim for a balanced contrast level that enhances details without losing authenticity. Proper color calibration helps maintain true colors, preventing the image from appearing overly harsh or unnatural. Be cautious with contrast sliders; small, incremental changes are more effective than large jumps. Noise reduction is essential to prevent graininess from becoming exaggerated during contrast adjustments. By carefully calibrating your monitor and applying noise reduction, you guarantee your edits stay true to the original scene. Remember, subtlety preserves the natural feel of your image, so always review your adjustments to avoid over-enhancement that compromises authenticity.
Leverage Auto-Functionality Wisely, but Don’t Rely On It Alone
Auto-functionality tools can be powerful allies in enhancing your image histograms, but relying on them exclusively can lead to subpar results. Overdependence introduces auto functionality pitfalls and increases reliance risks, which may cause unnatural tones or loss of detail. To leverage auto features wisely:
- Use auto adjustments as a starting point, then fine-tune manually.
- Watch for overcorrection, which can flatten contrast or blow highlights.
- Always review the histogram after auto adjustments, ensuring it aligns with your image’s intent.
Fine-Tune Your Adjustments for Different Image Types

Different types of images require tailored adjustments to achieve the best results. For accurate color calibration, you might need to adjust the histogram carefully, ensuring that skin tones or natural colors look realistic. Bright, high-contrast photos often benefit from subtle stretching to prevent clipping, while low-light images may require noise reduction before applying adjustments. Fine-tuning your histogram helps preserve detail without sacrificing color accuracy. Keep in mind that over-stretching can introduce noise, so balancing your adjustments with noise reduction techniques is essential. By understanding the specific needs of each image type, you can optimize your histogram and stretching process, resulting in images that are both vibrant and true to life.
Practice and Experiment to Master Histogram Manipulation
To truly master histogram manipulation, you need to practice and experiment regularly. This hands-on approach sharpens your understanding of histogram aesthetics and color grading techniques. Start by:
- Testing different stretch methods to see how they affect tonal balance and highlight detail.
- Comparing the results of various adjustments, focusing on how they influence color vibrancy and overall mood.
- Documenting your experiments to identify which techniques enhance your desired aesthetic.
Frequently Asked Questions
How Do I Interpret the Peaks and Valleys in a Histogram?
When interpreting peaks and valleys in a histogram, you analyze the brightness distribution and contrast of your image. Peaks show where most pixels share similar brightness levels, indicating dominant tones, while valleys reveal less common brightness ranges. A balanced histogram suggests good contrast, while skewed peaks might mean underexposure or overexposure. Use this brightness analysis to adjust your image, enhancing detail and achieving the desired visual impact.
Can Histogram Stretching Improve Low-Light Images?
Yes, histogram stretching can markedly improve low-light images by enhancing brightness and contrast. Did you know that using histogram algorithms, you can redistribate pixel intensities to reveal hidden details? When you apply this technique, it boosts image resolution, making dark areas clearer and more vibrant. This process is especially useful for photos taken in poor lighting, helping you achieve clearer, more balanced images quickly and effectively.
What’s the Difference Between Linear and Nonlinear Stretching Methods?
You’ll notice that linear stretching applies a straight, proportional mapping of pixel intensities, keeping the relationship between dark and bright areas consistent. Nonlinear methods, like gamma correction and tonal mapping, adjust these intensities more flexibly, emphasizing details in shadows or highlights. Gamma correction modifies brightness levels for a more natural look, while tonal mapping compresses or expands tonal ranges, making images more visually appealing and balanced.
How Do I Avoid Color Shifts When Stretching Color Images?
You want to avoid color shifts when stretching color images? Focus on color preservation by using tools that maintain the original hue and saturation. Manage saturation carefully, not overdoing it, to keep colors vibrant without distortion. Use a color-managed workflow and work in a color space like Adobe RGB or sRGB. This way, you keep your image’s true colors intact while enhancing contrast and brightness seamlessly.
Are There Specific Histogram Techniques for Black and White Photography?
You should use specific histogram techniques for black and white photography, focusing on balancing tonal ranges. For portraits, monitor the histogram to guarantee highlights aren’t blown out and shadows retain detail. In astrophotography, stretch the histogram carefully to enhance faint details without losing core brightness. Keep an eye on the histogram for each shot, adjusting exposure and contrast accordingly to preserve detail and avoid clipping in both types of photography.
Conclusion
Mastering histograms and stretching is like taming a wild stallion—you gain control over your images’ true potential. Don’t be discouraged if it feels like steering uncharted waters; every click and adjustment brings you closer to perfection. Remember, even Picasso started with sketches. With practice, you’ll transform your photos from mere snapshots into captivating stories. So, embrace the journey, keep experimenting, and let your creativity shine brighter than the glow of a bygone candlelit era.