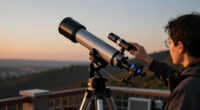
TL;DR
An astrophoto starter kit is a group of tools chosen for one kind of night sky photography: wide-field landscapes, tracked deep-sky images, lunar and planetary photos, or smartphone shots. Start with your target, then prioritize a stable support, suitable optics, reliable power, and time to learn focus and exposure. A camera and tripod can teach you a lot before you buy a tracker or telescope.
Your first night-sky photo may look less like a glowing nebula and more like a dark frame sprinkled with blurry commas. That’s normal. An astrophoto starter kit is a set of equipment chosen to help newcomers photograph the night sky, and the right kit depends on what you want to photograph.

Prime made for students and young adults
- Fast, free delivery for dorm and study essentials
- Prime Video and Amazon Music included
- Member-only deals
This guide compares simple setups for the Milky Way, deep-sky objects, the Moon and planets, and smartphones. You’ll see why a steady tripod or mount can matter more than a large telescope, what beginners need for a first outing, and how to avoid buying gear that doesn’t fit your target. Think of it like choosing shoes for a hike: the trail comes first.
Astrophotography can reward patience with crisp stars and pale, cloudlike nebulae, but a clear sky alone won’t do the job. Wind, haze, moonlight, focus, and light pollution all shape the result. Start with a setup you can carry and use comfortably; add equipment when you can name the problem it will solve.
Choose your target type before buying: Milky Way landscapes, deep-sky objects, the Moon and planets, and phone photography call for different setups.
For wide-field photos, begin with a RAW-capable camera, fast wide lens, and stable tripod; use existing gear if you have it.
For long-exposure deep-sky work, prioritize a capable tracker or mount and start with a manageable focal length.
Bring spare power and memory, and use test frames to check focus, framing, and shake before a long session.
Buy an upgrade when you can identify the problem it will solve, such as star trails, dew, or weak tracking.
Match Your Starter Kit to the Sky You Want to Photograph
An astrophoto starter kit works best when you choose one target type first, because Milky Way landscapes, galaxies, and the Moon place different demands on your gear. Wide-field nightscapes usually call for a camera, a fast wide-angle lens, and a stable tripod. Deep-sky targets call for accurate tracking, while close views of planets often need a telescope and a way to record video.
For example, if you want a photo of a person beneath a bright band of Milky Way, a wide lens and tripod make a sensible start. If you want the spiral arms of a galaxy, that same tripod won’t follow the stars as Earth turns. A tracker or equatorial mount can help you collect longer exposures without the stars smearing across the frame.
The Moon offers another route. Its bright surface can be photographed through a suitable camera setup, and planetary imaging often uses a telescope and high-frame-rate video camera to capture many frames for later stacking. A smartphone on a steady mount can also capture the Moon and bright constellations, though faint targets are a tougher challenge.
Kits vary widely because they aim at different skies. A visual telescope kit, built mainly for looking through an eyepiece, does not automatically make a good long-exposure imaging kit. Pick the image you want first, then buy only the gear that supports it.
Popular right now

Breville Barista Express Impress Espresso Machine with Grinder, Brushed Stainless Steel

Breville Barista Express Espresso Machine, Black Truffle

Apple AirPods Pro (2nd Generation) Wireless Earbuds with USB-C MagSafe Charging Case
As an affiliate, we earn on qualifying purchases.
Build a Simple First Kit Without Buying Everything
For a first wide-field kit, start with a camera that saves RAW files and lets you set exposure manually, a wide lens with a relatively large maximum aperture, and a sturdy tripod. Add spare batteries, a memory card, a red-light headlamp, and image-processing software as you need it. This setup gives you the basics for framing, focusing, and exposing a nightscape.
Imagine you reach a quiet field after sunset and your camera battery drops to one bar while you’re composing the shot. A spare battery is less glamorous than a new lens, but it keeps the evening moving. A headlamp with a red-light mode can help you see your camera controls without flooding the field with bright white light.
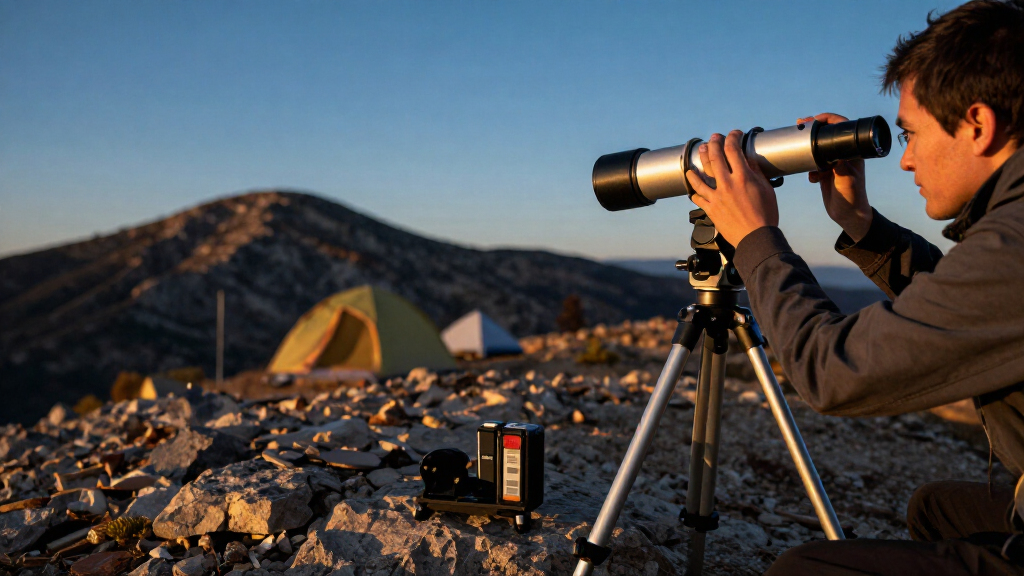
A remote shutter release or intervalometer helps reduce camera shake during exposures, unless your camera already offers an equivalent control. If you later try tracked deep-sky photography, add a compatible star tracker or equatorial mount, a suitable mounting arrangement, and a reliable power source. A telescope is optional: a camera lens can cover a broad patch of sky and feel easier to frame at first.
Some beginners already own a phone or camera. Try it with a stable mount before replacing it. What beginners need most is a setup they can operate confidently, not a full shelf of accessories on night one.
Spend Your First Upgrade on Stability and Light
For long exposures, a stable mount often matters more than a larger telescope, because tracking accuracy affects whether stars stay sharp. A small camera lens on a capable tracker can be easier to manage than a heavy telescope on a weak mount. For wide-field photos, a fast lens can also help by gathering more light while keeping exposure times shorter.
Consider two setups on a breezy evening: one has a long telescope on a shaky support, and the other has a modest lens on a steady tracker. The second setup may produce tighter stars because its mount is carrying less weight and moving with the sky more reliably. That is a practical advantage you can see in the corners of your image.
A lens’s maximum aperture is only part of the story. Some lenses render stars poorly near the frame edges, where points can look stretched or winged. Longer focal lengths magnify small targets, but they also make precise focus, framing, and tracking harder. Shorter focal lengths cover more sky and tend to forgive small aiming errors.
Accessories can prevent frustrating interruptions. A solid tripod, spare power, and a focusing aid often make a greater difference on a real outing than another optical accessory. In humid weather, dew control may keep a lens or telescope from fogging over. Buy for the limit you have actually hit: shaky stars, poor edge sharpness, fogged optics, or dead batteries.
Compare Four Setups Before You Spend
An astrophoto starter kit can range from a smartphone and tripod to an app-controlled smart telescope, so compare options by target and control as well as price. A simple setup lets you learn one part of the craft at a time; a more automated one can reduce setup work but may leave you with fewer upgrade choices. Your intended images should guide that tradeoff.
| Setup | Good first targets | Main strength | Tradeoff |
|---|---|---|---|
| Phone and stable mount | Moon, bright constellations, nightscapes | Easy to carry and a low-cost way to practice | Limited control and light gathering on many phones |
| Camera, wide lens, tripod | Milky Way landscapes and star fields | Simple framing and broad views of the sky | Star motion limits exposure time without tracking |
| Camera and star tracker | Tracked wide fields and some deep-sky work | Supports longer exposures as it follows the sky | Needs careful setup, alignment, and power |
| Smart telescope | Selected deep-sky targets | Combines optics, tracking, camera, and app control | Less control over components and dependence on software and power |
For instance, a newcomer who wants broad Milky Way views might prefer the camera and tripod, while someone who values app-guided observation may like a smart telescope. These devices can automate target acquisition and image stacking, but convenience comes with reduced control over individual parts of the imaging system.
No row in the table wins for every person. Check what targets the system supports, how you’ll power it, and whether you can upgrade its parts independently. The right comparison is between the images you want and the work you want to do, not just the equipment names.
Use Your First Clear Night to Learn Four Skills
A first outing teaches you more when you keep the setup simple and practice focus, framing, exposure, and file handling in sequence. Start with a bright, wide target rather than a tiny galaxy that is hard to locate. A test frame lets you catch focus errors or a tilted composition before you spend the whole night collecting images.
- Check the night: Look at cloud, haze, wind, dew, and the Moon. A clear forecast can still leave you with washed-out skies or fogged optics.
- Set up before full dark: Place the tripod on stable ground and get familiar with the controls while you can still see them.
- Focus and take a test frame: Zoom in on the preview if available; stars should look like points rather than tiny smudges.
- Review files and power: Keep spare batteries and storage ready, and note what exposure settings worked.
Say you’re photographing a bright star field near a park. A gust of wind may shake a light tripod, while haze near the horizon can soften stars. If your test frame catches either issue, you can adjust the setup or shift your framing before the rest of the session.
Tracked deep-sky work adds more steps, including aligning the tracker and gathering many exposures. Stacking software can align those frames and reduce noise; calibration frames can help correct sensor artifacts and uneven illumination. One perfect exposure is rarely the whole deep-sky picture, and processing cannot fix every problem caused by poor focus or tracking.
Set Realistic Expectations for Cities, Budgets, and Results
Astrophotography is possible in a city, but light pollution lowers contrast and makes faint deep-sky targets harder to capture. The Moon and planets can still be rewarding targets under bright skies, while a darker location can help reveal more stars and faint details. Moonlight, haze, and local weather matter alongside the city’s glow.
A beginner in an apartment might start by photographing the Moon from a balcony with a phone held steady on a mount. Another beginner with access to a dark rural field might practice Milky Way landscapes using a camera they already own. Neither needs to begin with a large telescope; each can learn from the equipment and sky available to them.
Costs range from using a phone or existing camera and tripod to buying a tracker or smart telescope. Prices and availability change by region and over time, so make a list around one target type before comparing current offers. For example, a wide-field setup may need a suitable lens; a deep-sky plan may need a tracking mount and a way to power it through a long session.
Modern mirrorless cameras, compact trackers, camera-control tools, and stacking software have made parts of the process more accessible. Smartphone night modes also help with basic sky photos, but they do not replace accurate tracking for detailed long-exposure deep-sky imaging. Start within your budget, then upgrade after a specific limitation appears. A series of simple, sharp frames teaches more than an expensive kit that stays in its case.
Frequently Asked Questions
What is the best astrophoto starter kit?
The best kit depends on your target. For Milky Way landscapes, start with a camera, wide lens, and tripod; for deep-sky objects, prioritize a reliable tracker or mount; for the Moon and planets, choose a telescope and imaging setup suited to those targets.
Can I start astrophotography with a smartphone?
Yes. A stable mount and the phone’s night or manual controls can help you photograph the Moon, bright constellations, and some nightscapes. Phone results vary with the device, sky, and available controls, and faint deep-sky targets are harder because phones gather less light than many camera setups.
Do I need a telescope to photograph the night sky?
No. Camera lenses can make striking wide-field images, including star fields and landscapes beneath the Milky Way. A telescope helps with small targets, but it adds demands for mounting, tracking, focus, and attaching a camera.
Do I need a star tracker?
Not for every kind of astrophotography. A tripod can work for short-exposure nightscapes, though Earth’s rotation limits how long stars remain sharp. A tracker helps with longer exposures and many deep-sky projects.
Can I use a regular telescope for astrophotography?
Sometimes, depending on its mount, optical design, camera, and target. A telescope designed for visual observing may not track accurately enough for long exposures of faint deep-sky objects. Planetary video capture has different requirements from long-exposure deep-sky imaging.
How much should a beginner spend?
You can start with a phone or camera and a stable tripod, then invest in a tracker or specialized telescope when you know what you want to photograph. Prices and availability vary by region and change over time, so compare current options for your chosen target rather than buying a broad bundle.
Conclusion
Choose one sky target, build the smallest stable kit that can capture it, and spend your first clear night learning focus and exposure. Add a tracker, telescope, or smart device only when you know what limitation you want to overcome.
Your first sharp stars may come from a modest lens, a steady tripod, and a patient hour under the night sky. Let that small field of light be the start.