If you’re starting with astrophotography, star tracking involves manually or semi-automatically following stars, which works best for short to medium exposures on basic mounts. Autoguiding, however, uses a guiding camera and software to actively correct your mount’s movements during long exposures, producing sharper images. While autoguiding offers better precision for deep-sky imaging, it requires compatible equipment and setup. Keep exploring to discover how these techniques can improve your astrophotography results.
Key Takeaways
- Star tracking involves manual or semi-automatic star following, suitable for short exposures and beginner setups.
- Autoguiding uses a guiding camera and software to automatically correct mount errors during long exposures.
- Star tracking relies on the mount’s basic capabilities, while autoguiding requires compatible hardware and software.
- Autoguiding provides higher precision for long exposures, reducing star trails and improving image sharpness.
- Star tracking is simpler and less expensive but less accurate for extended astrophotography sessions.
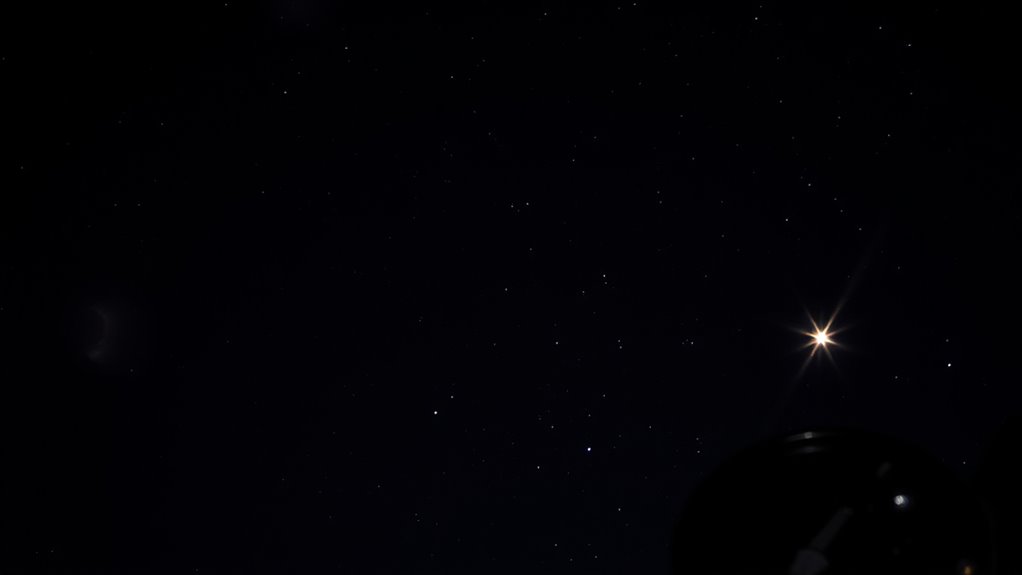
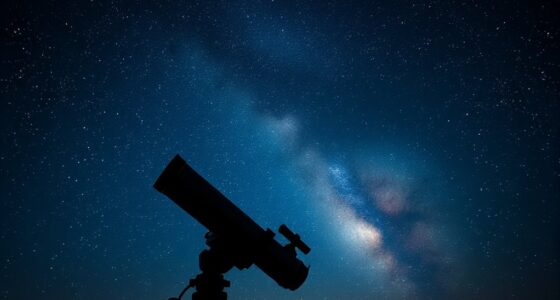
Have you ever wondered how astronomers capture sharp, long-exposure images of the night sky? It’s a fascinating process that relies heavily on precise tracking. When you’re just starting out, understanding the differences between autoguiding and star tracking can seem overwhelming, but focusing on key details makes things clearer. One of the first considerations is mounting options. Your choice of mount directly impacts how well your equipment can follow celestial objects. For example, an equatorial mount is generally preferred because it aligns with Earth’s rotation, allowing smoother, more accurate tracking. But it’s not just about the mount; equipment compatibility also plays an essential role. Not all cameras, telescopes, or guiding accessories fit every mount, so you need to ensure your gear is compatible. Some mounts support built-in autoguiding ports or have specific software requirements, which means you should verify compatibility before making any purchases. This guarantees your setup works seamlessly, reducing frustration during long imaging sessions.
When you employ star tracking, you’re fundamentally manually or semi-automatically following stars with your mount. Many beginner mounts come with basic tracking capabilities, but they often require manual adjustments and aren’t perfect for long exposures. Star tracking can work well if your mount is stable and accurate enough for short to medium exposures, but it’s more limited in precision. On the other hand, autoguiding takes things a step further. By attaching a guiding camera and integrating guiding software, autoguiding actively monitors and corrects your mount’s movement in real-time. This method compensates for slight misalignments, wind, or mechanical imperfections, resulting in sharper images during prolonged exposures. The key here is mounting options: your mount must support autoguiding connections, whether through ports or compatible software. Equipment compatibility becomes fundamental because not all guiding cameras work with every mount or control system. Ensuring compatibility means fewer technical issues and more reliable tracking, especially during those critical long exposures.

Celestron – NexImage 20 Solar System Camera – 20MP AR2020 Back-Illuminated CMOS Sensor – High-Resolution Imager for Lunar, Planetary & Solar Astrophotography, USB-C, ROI, Autoguiding
FAST, HASSLE-FREE IMAGING: Plug-and-play planetary camera connects easily to your telescope and computer so you can start capturing…
As an affiliate, we earn on qualifying purchases.
As an affiliate, we earn on qualifying purchases.
Frequently Asked Questions
Can I Switch Between Autoguiding and Star Tracking During a Session?
Yes, you can switch between autoguiding and star tracking during a session. Make certain your equipment is compatible with both methods, and practice session shift techniques to minimize disruptions. Before switching, pause guiding, calibrate if needed, and guarantee your mount’s settings are adjusted accordingly. This flexibility allows you to optimize your imaging based on target conditions, assuring smooth transitions and better image quality throughout your session.
What Equipment Is Essential for Autoguiding Beginners?
To get started with autoguiding, you need a compatible star tracking mount and a camera, such as a Guide Scope or dedicated autoguider. You’ll also require autoguiding software like PHD2 or N.I.N.A. to process the star images and send guidance corrections. These tools help you achieve precise tracking, making your astrophotography sharper and more consistent, especially during long exposures.
How Does Weather Affect Autoguiding and Star Tracking Accuracy?
Weather critically impacts your autoguiding and star tracking accuracy. Atmospheric turbulence causes fluctuating air densities, leading to unstable star images and guiding errors. High humidity can introduce moisture on lenses and sensors, reducing clarity and precision. Clear, stable nights with low humidity and minimal turbulence give you the best results, helping your equipment track accurately. Always check weather conditions before observing to guarantee ideal star tracking and autoguiding performance.
Are There Specific Star Tracking Methods Suitable for Planetary Imaging?
When it comes to planetary imaging, you need star tracking techniques that are precise and reliable. You should consider methods like using high-accuracy equatorial mounts, planetary-specific tracking algorithms, or software that compensates for Earth’s rotation. These techniques help keep planets in sharp focus during long exposures. Don’t put all your eggs in one basket—try different methods to find what works best for your setup and conditions.
What Are Common Troubleshooting Tips for Autoguiding Failures?
When troubleshooting autoguiding failures, start by checking your autoguider calibration to make certain it’s accurate. Verify the connections between your guider and mount, and confirm the guiding stars are well centered. Keep an eye on backlash or misalignment issues, and update your guiding software if needed. Regularly review logs for errors, and re-calibrate if guiding isn’t smooth. Troubleshooting autoguiding becomes easier with systematic checks and proper calibration.

Sky-Watcher Star Adventurer 2i Pro Pack – Motorized DSLR Night Sky Tracker Equatorial Mount for Portable Nightscapes, Time-Lapse and Panoramas – Wi-Fi App Camera Control – Long Exposure (S20512)
Portable nightscape tracking platform: Motorized portable tracking platform perfect for capturing incredible detail of the Milky Way, eclipses…
As an affiliate, we earn on qualifying purchases.
As an affiliate, we earn on qualifying purchases.
Conclusion
In the end, choosing between autoguiding and star tracking depends on your goals and setup. Autoguiding offers precision for long exposures, while star tracking is simpler and great for beginners. Think of it as a stepping stone—sometimes you gotta crawl before you walk. Whichever you pick, remember that practice makes perfect. Don’t be afraid to try both and see which method helps you capture the night sky the best. The sky’s the limit!

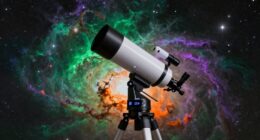
Celestron – PowerSeeker 127EQ Telescope – Manual German Equatorial Telescope for Beginners – Compact and Portable – Bonus Astronomy Software Package – 127mm Aperture
PERFECT ENTRY-LEVEL TELESCOPE: The Celestron PowerSeeker 127EQ is an easy-to-use and powerful telescope. This 127mm Newtonian Reflector offers…
As an affiliate, we earn on qualifying purchases.
As an affiliate, we earn on qualifying purchases.
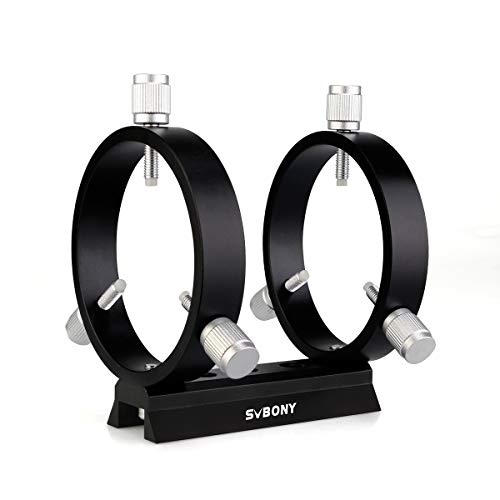
SVBONY SV116 Guiding Scope Ring Kit for Telescope Tube Diameter or Finders 43mm to 70mm with Pair Ideal for Astrophotography
Two tube rings made of metal;the guide scope rings are suitable for small and medium-sized guiding telescopes;70mm compact…
As an affiliate, we earn on qualifying purchases.
As an affiliate, we earn on qualifying purchases.