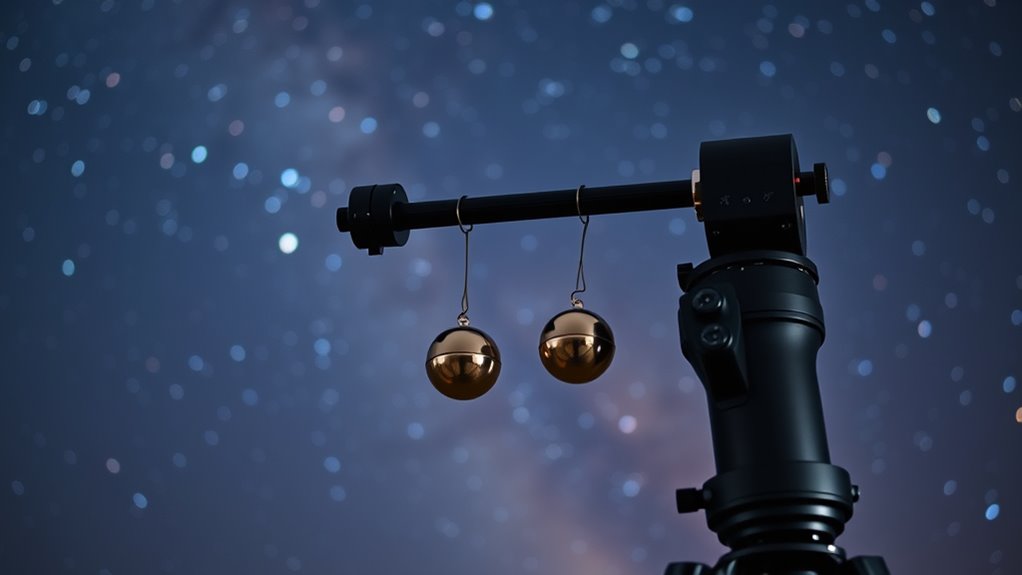

To improve your mount’s tracking stability, you need to use counterweights effectively. Start by balancing the optical tube and accessories, then adjust the counterweights so the mount stays level and steady. Move the weights closer or farther along the arm to fine-tune the balance. Properly balanced gear reduces strain on motors and minimizes vibrations, leading to sharper images. Keep experimenting with adjustments to guarantee consistent performance—more tips await to help you master this process.
Key Takeaways
- Properly positioned counterweights balance the optical tube, reducing strain on mount motors and enhancing tracking accuracy.
- Adjusting counterweights closer or farther along the arm fine-tunes balance, minimizing vibrations during tracking.
- Consistent use of appropriate counterweights prevents uneven load distribution, ensuring smoother mount operation.
- Regularly checking and readjusting counterweights maintains optimal balance for stable tracking over time.
- Well-balanced mounts experience less wear and tear, leading to more reliable and precise astrophotography tracking.

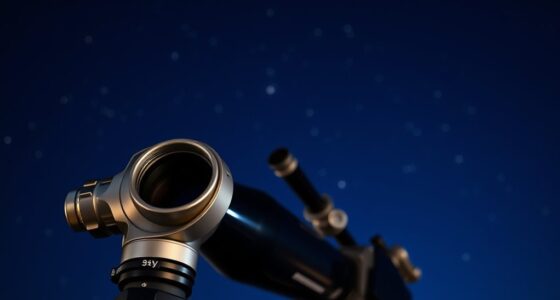
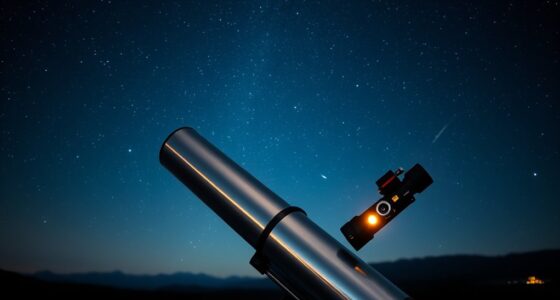
If your telescope mount struggles with tracking stability, adding counterweights can make a significant difference. Proper balancing techniques are essential to guarantee your mount moves smoothly and accurately, especially during long exposure astrophotography or detailed observations. When you set up your telescope, it’s imperative to pay close attention to weight distribution. An unbalanced setup puts unnecessary strain on the mount’s motors and gears, leading to shaky tracking and potential damage over time. Counterweights help counteract the weight of your telescope, creating a more even load that allows your mount to operate with greater precision.
To start, you need to determine the correct amount of counterweight to add. This involves evaluating the weight of your optical tube and accessories. Once you have an idea of the total weight, you can adjust the counterweights accordingly. The goal is to achieve a balanced system where the telescope and counterweights are in harmony, preventing any leaning or tilting that could compromise tracking. Remember, the placement of the counterweights also matters; they should be positioned along the mount’s arm or shaft in a way that distributes the weight evenly. Moving the counterweights closer or farther from the mount’s center of rotation can fine-tune the balance, which is a key part of effective balancing techniques.
Proper weight distribution reduces the load on your mount’s motors, making them work less hard and improving tracking stability. When your mount is well-balanced, it responds more accurately to adjustments and maintains target alignment with minimal effort. This stability is particularly essential for astrophotography, where even tiny vibrations can blur images. Using the right counterweights minimizes these vibrations, resulting in sharper, clearer captures. Additionally, balanced equipment reduces wear and tear on your mount’s components, extending its lifespan.
It’s important to check your balance regularly, especially if you add or remove accessories like cameras, filters, or eyepieces. As your setup changes, the distribution of weight shifts, requiring readjustment of the counterweights. This ongoing maintenance guarantees your mount remains stable and performs at its best. If you’re unsure about balancing techniques, start with small adjustments and test the tracking performance after each change. Over time, you’ll develop a feel for how to distribute weight effectively, leading to more consistent and precise tracking. Remember, achieving the right balance isn’t a one-time task; it’s an ongoing process that pays off in image quality and smooth operation, making your observing sessions much more enjoyable.
A well-balanced setup not only improves tracking but also reduces vibration, further enhancing image sharpness and stability.
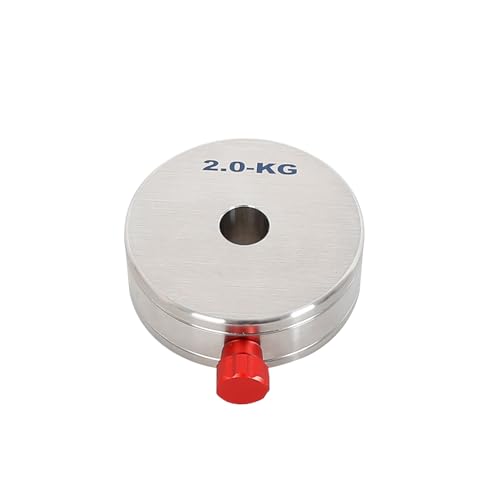
Stainless Steel Telescope Counterweight 1KG/2KG/3KG/5KG Extension Rod Pore Size 20mm 2cm Fitting Equatorial Instrument Accessories (2KG/4.4 Pounds)
Premium stainless steel material for durability and long-lasting use
As an affiliate, we earn on qualifying purchases.
As an affiliate, we earn on qualifying purchases.
Frequently Asked Questions
How Do I Determine the Optimal Counterweight Amount for My Mount?
To determine the ideal counterweight amount, start with a basic counterweight calculation based on your mount’s specifications. Add or remove weights gradually while performing balance adjustments, ensuring the mount moves smoothly without strain. Keep the load balanced on both axes, and test tracking stability. Fine-tune the counterweight to achieve a steady, balanced setup, which minimizes vibrations and improves tracking accuracy.
Can Uneven Counterweight Distribution Affect Tracking Accuracy?
Yes, uneven counterweight distribution can affect your tracking accuracy. When your mount isn’t properly balanced, it throws off the weight calibration and disrupts smooth movement. To prevent this, you should regularly perform balance adjustments, ensuring the counterweights are evenly distributed. This helps maintain stable tracking, reduces strain on the motor, and improves your overall imaging quality. Proper balance is key to precise and consistent tracking.
What Materials Are Best for Making Effective Counterweights?
For effective counterweights, you should choose materials with good material selection for weight accuracy and stability. Lead is popular because of its high density, allowing you to use less space while maintaining weight accuracy. Steel and aluminum are also options, offering durability and ease of handling. Confirm the material you select is stable, non-reactive, and easy to shape, so your counterweights stay consistent and improve mount tracking stability.
How Often Should I Recalibrate My Mount After Adding Counterweights?
Consistently calibrate your mount after adding counterweights to maintain precise pointing. You should perform mount calibration and counterweight adjustment whenever you notice tracking issues or after significant weight changes. Typically, recalibrating every few sessions or monthly keeps your setup stable. Regular recalibration guarantees your mount remains accurate, preventing poor planetary pictures or astrophotography blurs. Stay vigilant, and you’ll enjoy smooth, stellar stargazing sessions every time.
Are There Safety Precautions When Handling Heavy Counterweights?
When handling heavy counterweights, always prioritize safety by wearing proper safety gear like gloves and eye protection. Use correct weight handling techniques, such as lifting with your legs and not your back, to prevent injuries. make certain the area is clear of obstacles and work slowly to maintain control. If needed, ask for assistance to manage the weight safely. Taking these precautions helps prevent accidents and keeps you safe during setup.

Stainless Steel Telescope Counterweight Rod, Equatorial Mount Balance Bar for Astronomy Scope, For M16 Threaded Weight Shaft for Astrophotography Gear(164mm-M12)
[STURDY STAINLESS STEEL CONSTRUCTION] Made from stainless steel, this telescope weighted rod is designed to withstand long-term use…
As an affiliate, we earn on qualifying purchases.
As an affiliate, we earn on qualifying purchases.
Conclusion
By adding counterweights, you give your mount the extra balance it needs to stay steady, especially during long exposures. This simple tweak can make all the difference between blurry images and sharp, clear shots. Remember, a stable setup is the foundation of great astrophotography—don’t let your equipment be the weak link. When you get the balance right, you’ll be able to keep your aim true and your stars sharp as a tack.
Stainless Steel Telescope Counterweight Rod, Equatorial Mount Balance Bar for Astronomy Scope, For M16 Threaded Weight Shaft for Astrophotography Gear(164mm-M12)
[STURDY STAINLESS STEEL CONSTRUCTION] Made from stainless steel, this telescope weighted rod is designed to withstand long-term use…
As an affiliate, we earn on qualifying purchases.
As an affiliate, we earn on qualifying purchases.

EaxanPic Universal Gimbal Counterweight Kit,Mounting Clamp and 50g & 100g Counterweights,Gimbal Balance Weight Mount for DJI Ronin S/RS2/SC/RSC 2/RS 3 and Zhiyun Weebill Crane Gimbal Stabilizers
【Gimbal Balance Kit】This gimbal counterweight kit helps you to balancing heavy-side camera on gimbal stabilizers by adjusting its…
As an affiliate, we earn on qualifying purchases.
As an affiliate, we earn on qualifying purchases.