To master guide scope versus OAG in a weekend, start by understanding each system’s setup and strengths: guide scopes are easier to install and calibrate, ideal for beginners, while OAG offers more stability but requires precise alignment. Spend time calibrating your guider, balancing your mount, and testing guiding performance. Troubleshoot common issues like vibrations or misalignment. Keep learning tips for optimizing guiding accuracy to improve your astrophotography; more insights await if you keep exploring.
Key Takeaways
- Understand the fundamental differences: guide scope is easier for beginners, OAG offers more stability at high focal lengths.
- Set up and align each system carefully, ensuring proper mounting, collimation, and polar alignment.
- Practice calibration and guiding adjustments with both systems to learn their unique response and behavior.
- Troubleshoot common issues like flexure, vibrations, or misalignment to improve guiding accuracy.
- Evaluate your specific astrophotography needs to decide which system maximizes image quality and ease of use.
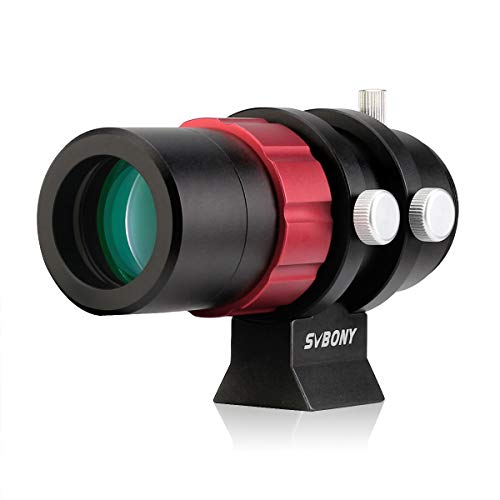
SVBONY SV165 Mini Guide Scope 30mm F4 Finder and Guide Scope for SV305C Pro, Compatible with Astronomy Telescope and ZWO QHY Orion Auto Guiding Cameras for Deep Sky Astrophotography
Compatible with mainstream auto guiding cameras; 1.25inch and M42 mount interface designed for compatible with SV305C Pro and…
As an affiliate, we earn on qualifying purchases.
As an affiliate, we earn on qualifying purchases.
Understanding the Basics: Guide Scope and Off-Axis Guider
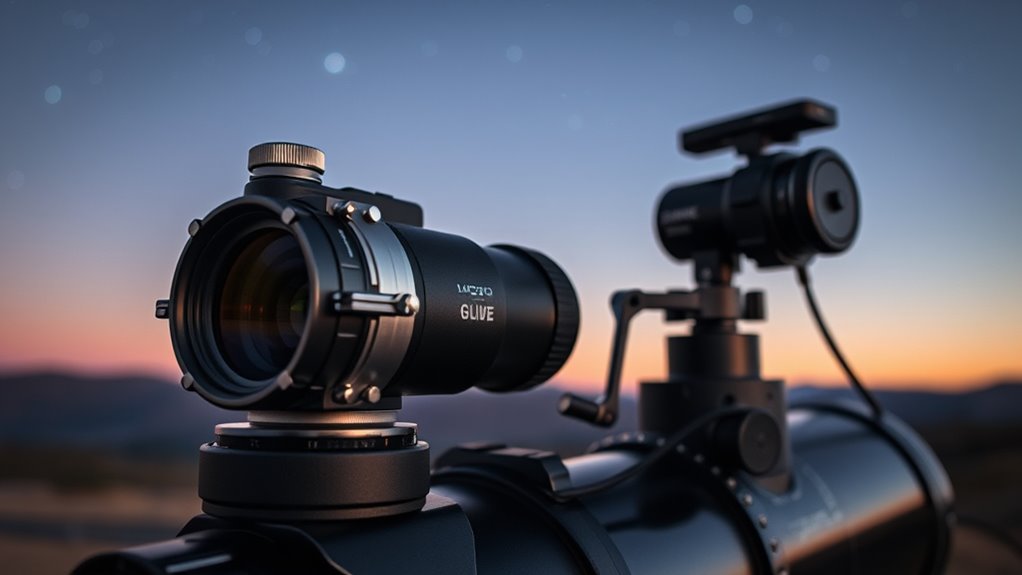
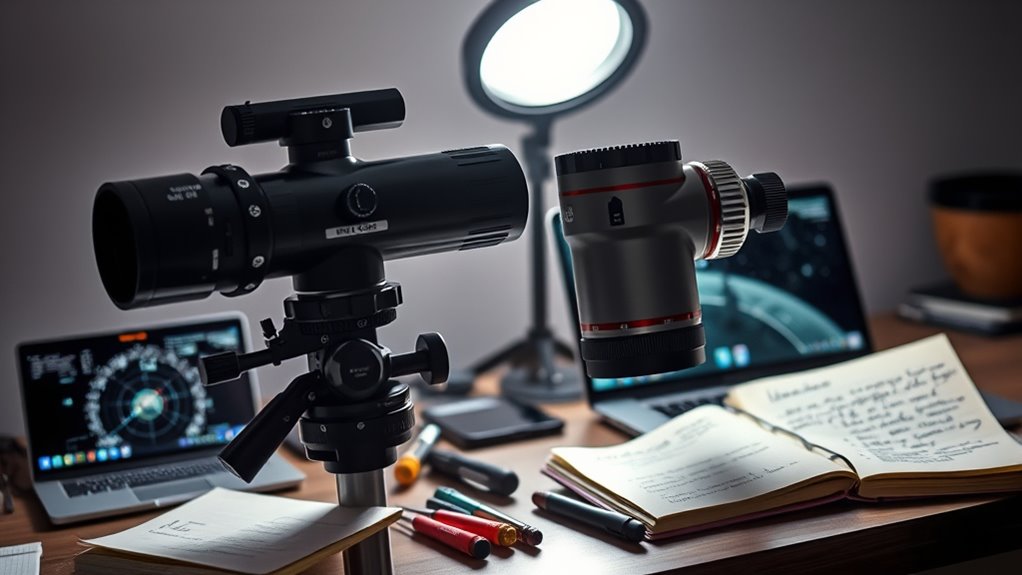
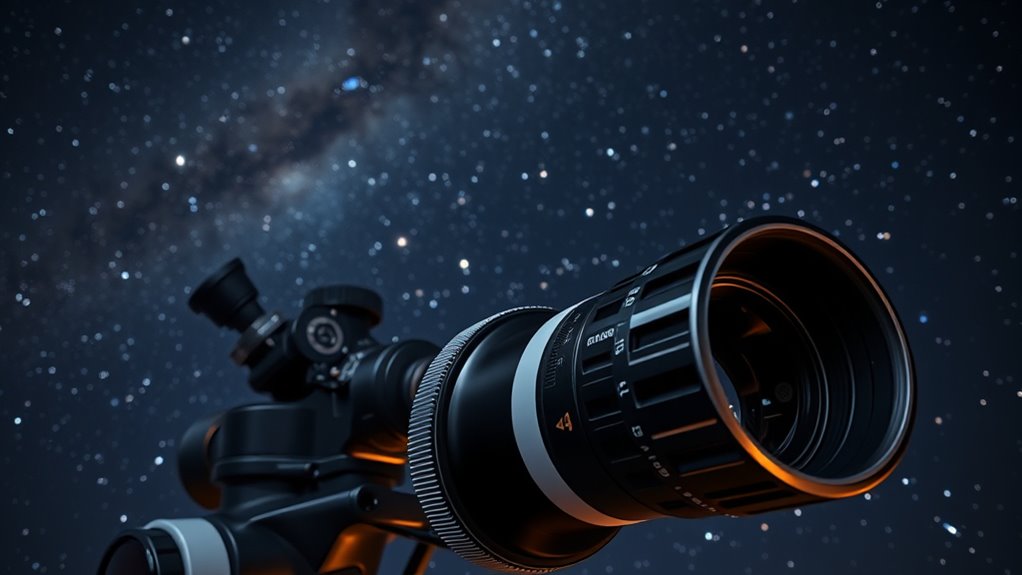
To effectively master astrophotography, it is essential to understand the roles of a guide scope and an off-axis guider. Both devices help you achieve precise tracking, but they require proper setup. Start with polar alignment, ensuring your mount’s axis aligns accurately with Earth’s rotation. This step minimizes tracking errors during long exposures. Next, focus on balancing weight; a well-balanced setup reduces strain on your mount’s motors and improves guiding accuracy. When using a guide scope, you attach it parallel to your main telescope, making sure it’s securely aligned for consistent guiding. An off-axis guider, on the other hand, fits directly onto your main scope, requiring careful adjustment to prevent misalignment. Mastering polar alignment and weight balancing lays the foundation for effective guiding, regardless of your chosen device. Proper setup is crucial for achieving optimal guiding performance and high-quality astrophotos.

SVBONY SV238 Off-Axis Guider (OAG), Astronomy OAG 8x14mm Large Prism, CNC Off Axis Guide Scope with M54 M48 Adapter, Use with Filter Drawer or Filter Wheel, Telescope Accessories for Astrophotography
SV238 features wide compatibility with a wide range of astrophotography gear; Compatible with SV605CC/SV405CC/ZWO ASI 533MC Pro/ASI260CC Pro/ASI533MC…
As an affiliate, we earn on qualifying purchases.
As an affiliate, we earn on qualifying purchases.
Comparing Performance: Pros and Cons of Guide Scope and OAG
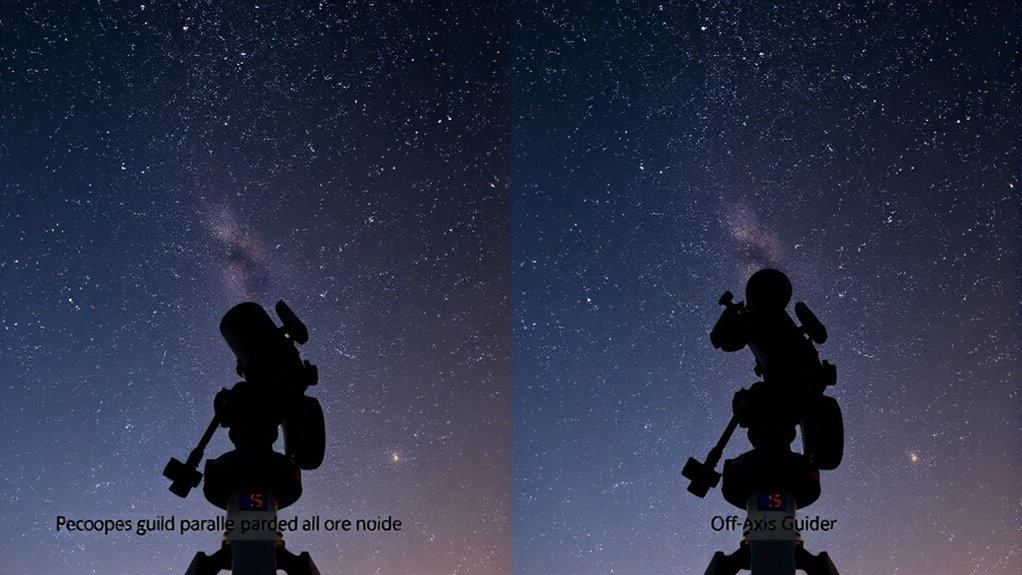
When comparing guide scope and off-axis guider (OAG), it’s important to evaluate how each performs under different astrophotography conditions. Your choice affects autoguider calibration ease and guiding accuracy. Consider these points:
- Guide scope offers simpler autoguider calibration but may struggle with guiding accuracy during meridian flips.
- OAG provides more stable guiding accuracy, especially in heavy focal lengths, but requires precise alignment.
- Guide scope is easier to set up initially, making it suitable for beginners.
- OAG minimizes flexure issues, ensuring consistent tracking, particularly during long exposures.
- The choice between guide scope and OAG can also depend on the vetted quality of the equipment, which influences overall guiding performance and reliability.
Ultimately, guide scope might suit quick setups, while OAG excels in maintaining guiding accuracy over extended sessions, especially with complex mounts or high magnification.

Celestron – StarSense Autoguider Telescope Accessory for Computerized Telescopes – 3-Minute Auto Alignment – Precise GoTo and Guiding for Astroimaging – Advanced Mount Modeling for Astrophotography
LEVEL-UP YOUR CELESTRON TELESCOPE WITH STARSENSE TECHNOLOGY: This all-in-one solution makes using your telescope for astroimaging or visual…
As an affiliate, we earn on qualifying purchases.
As an affiliate, we earn on qualifying purchases.
Setting Up Your Guiding System: Step-by-Step Instructions
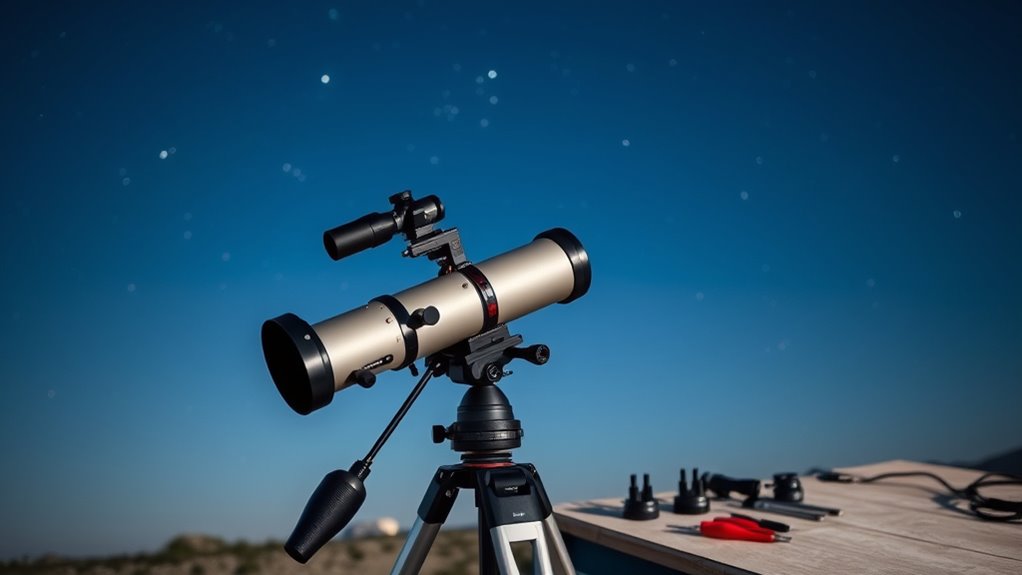
Setting up your guiding system correctly is essential for achieving sharp, consistent astrophotos. Start by carefully aligning your mount, ensuring it’s level and properly balanced. Accurate mount alignment minimizes tracking errors from the outset. Next, attach your guide scope or OAG, depending on your setup, and secure all equipment firmly. Perform equipment calibration by calibrating your guiding camera and software, ensuring your system can accurately detect and correct deviations. Verify that your guiding camera’s exposure and gain settings are optimized for your conditions. Once calibrated, run a test guide session to confirm the system tracks smoothly without drift. Fine-tune your mount alignment if necessary. Proper setup of your guiding system lays the foundation for successful astrophotography, reducing post-processing corrections.

Astromania Guide Scope 60mm FMC Compact Finder Guide Scope Kit with Double Helical Focuser Compatible with 1.25 inch Eyepiece for Astronomical Telescope & Auto Guiding Cameras for Astrophotography
Miniguide tube to fastly find object and guiding star that designed for visual and astrophotography; worm-focuser: fast focusing…
As an affiliate, we earn on qualifying purchases.
As an affiliate, we earn on qualifying purchases.
Troubleshooting Common Issues During Installation and Use
Even with careful setup, you might encounter issues during installation or use that can disrupt your guiding accuracy. Common problems include poor mounting stability, inaccurate calibration, loose connections, and misaligned optics. To troubleshoot:
- Check mounting stability—ensure your mount is secure and vibration-free.
- Revisit calibration techniques—perform a fresh calibration to improve guiding precision.
- Inspect all connections—tighten any loose cables or adapters.
- Verify optical alignment—make sure the guide scope or OAG is properly aligned with your main scope.
- Consider automation tools or software updates that might enhance guiding performance.
Addressing these issues promptly helps maintain guiding accuracy and prevents image drift. If problems persist, revisit your setup step-by-step, focusing on mounting stability and calibration. Correcting these foundational issues ensures reliable, sharp images during your astrophotography sessions.
Tips for Optimizing Your Guiding Accuracy and Image Quality
Optimizing your guiding accuracy and image quality requires attention to detail and proactive adjustments. Start with precise mount calibration, ensuring your mount tracks smoothly and consistently. Proper calibration minimizes guiding errors and improves overall image sharpness. Incorporate effective autoguiding techniques, such as selecting stable guide stars and adjusting guide rate settings, to enhance accuracy. Regularly review your guiding logs to identify and correct drift or oscillations. Keep your guiding camera and software updated, and fine-tune exposure times for ideal signal-to-noise ratio. Experiment with calibration parameters if your guiding isn’t precise enough. Consistent calibration and refined autoguiding methods are key to achieving pinpoint star images and crisp astrophotos. Additionally, utilizing high-quality projectors with accurate color reproduction can significantly improve the clarity and detail of your images. Stay vigilant, and adjust your setup as needed to maintain peak guiding performance.
Frequently Asked Questions
Can Guide Scope or OAG Be Used for Astrophotography With DSLR Cameras?
Yes, you can use a guide scope or OAG for astrophotography with DSLR cameras. Guide scopes are simple and compatible but have limitations like potential flexure and smaller fields of view. OAGs offer more precise tracking by sharing the main telescope’s optical path, ensuring better alignment. Just confirm your OAG is compatible with your camera and mount, and be prepared for a slightly more complex setup with both options.
What Are the Best Brands for Guide Scopes and OAGS?
Imagine your astrophotography setup as a symphony where every instrument matters. Top guide scope brands like Orion, William Optics, and Sky-Watcher deliver clarity and reliability. For OAG brands, ZWO, QHY, and Starlight Instruments provide precision and minimal flex. These brands stand out for their quality, durability, and compatibility, helping you capture celestial images with confidence. Trust these names to be your guiding stars on your astrophotography journey.
How Does Temperature Affect Guiding Performance?
Temperature changes can impact your guiding performance through thermal expansion, causing slight shifts in your equipment. As temperatures fluctuate, your guide scope or OAG might drift, so regularly calibrate your sensors to maintain accuracy. Keeping your gear in a stable environment or allowing it to acclimate before observing helps reduce temperature-induced errors. Proper sensor calibration ensures your guiding system compensates for thermal expansion, maintaining precise tracking even with temperature variations.
Is There a Significant Cost Difference Between Guide Scope and OAG Setups?
Yes, there is a notable cost difference between guide scope and OAG setups. Guide scopes typically have higher setup expenses because of the need for additional accessories, like mounts and finders. OAGs are more cost-effective since they integrate with your main camera, reducing extra equipment costs. Your choice depends on your budget and guiding accuracy needs, but generally, OAGs save you money upfront and simplify setup.
Can I Upgrade My Guiding System Later Without Replacing the Entire Setup?
Imagine your guiding system as a garden; you can add new plants without tearing up the whole landscape. Yes, you can upgrade your guiding hardware later, but it depends on guide system upgrade compatibility and your current setup. Check if your mount and camera are compatible with new guiding hardware to facilitate a smooth shift. Often, you don’t need to replace everything—just upgrade parts for better precision and performance.
Conclusion
By mastering guide scope and OAG, you’re opening the potential for stunning astrophotos. Imagine your mount perfectly tracking a distant galaxy, every detail sharp and clear. But the real challenge begins when you push your setup to its limits, revealing hidden issues and opportunities. Will you choose the straightforward path or the more complex OAG route? The journey to flawless guiding waits—are you ready to see what lies beyond the horizon?