
To troubleshoot RMS and calibration issues, start by checking your equipment’s calibration against certified standards and verify settings are correct. Identify any interference sources and minimize environmental factors like temperature and noise. Look for signs like fluctuating readings or inconsistent results, which suggest problems. Use proper tools such as multi-meters and oscilloscopes for accurate diagnosis. Keep all calibration records up-to-date, and if problems persist, there’s more you can do to improve accuracy and confidence.
Key Takeaways
- Understand RMS as a measure of signal power and its importance in accurate signal analysis and calibration.
- Regularly calibrate instruments using certified standards to prevent measurement drift and ensure accuracy.
- Identify and minimize signal interference sources like electromagnetic noise and environmental factors.
- Verify equipment settings, inspect wiring, and document calibration results to maintain measurement reliability.
- Use appropriate troubleshooting tools such as multimeters and oscilloscopes to diagnose and resolve signal stability issues.

AstroAI Digital Multimeter Tester 2000 Counts with DC AC Voltmeter and Ohm Volt Amp Meter; Measures Voltage, Current, Resistance, Continuity and Diode, Blue
Additional Tips – The following incorrect operations may cause the multimeter not to show results: Firstly, the plugs…
As an affiliate, we earn on qualifying purchases.
As an affiliate, we earn on qualifying purchases.
Understanding RMS: What It Is and Why It Matters
Have you ever wondered how technicians measure the stability and accuracy of electronic signals? That’s where the rms definition comes into play. RMS, or root mean square, is a way to quantify the power of an alternating signal, giving you a meaningful value of its effective strength. This measurement is vital because it provides an accurate way to compare signals, guaranteeing your equipment functions correctly. Understanding RMS is essential for troubleshooting and calibration, as it helps you identify variations and inconsistencies in signals. Without proper measurement, you might misinterpret your data, leading to errors or faulty calibrations. In short, mastering the measurement importance of rms enables you to maintain signal integrity and guarantee your electronic systems operate reliably. Strategy and Mastery can further enhance your understanding of how to optimize calibration procedures and improve your troubleshooting accuracy.
HOW TO USE AN OSCILLOSCOPE: Practical Techniques for Signal Measurement, Circuit Testing, and Electronics Troubleshooting
As an affiliate, we earn on qualifying purchases.
As an affiliate, we earn on qualifying purchases.
Common Causes of RMS Measurement Errors
Calibration issues can lead to inaccurate RMS readings, so it’s essential to verify your instruments are properly calibrated. Signal interference from nearby devices or electromagnetic sources can also distort measurements. Identifying these common causes helps you maintain accurate and reliable RMS assessments. Additionally, understanding the impact of electromagnetic interference on measurement accuracy can aid in troubleshooting and ensuring precise results.
Instrument Calibration Issues
Instrument calibration issues are a common source of RMS measurement errors, often stemming from improper setup or drift over time. If your calibration standards aren’t accurate or are inconsistent, your measurements lose precision, leading to unreliable results. Over time, equipment can drift from its original calibration, reducing measurement precision unless regularly checked and adjusted. Ensuring your instruments are calibrated against certified standards helps maintain accuracy. Failing to follow proper calibration procedures or using outdated standards can introduce errors, making your RMS readings unreliable. To minimize these issues, schedule regular calibration checks, verify standards are current, and follow manufacturer guidelines carefully. Proper calibration practices are essential to keep your measurements precise and trustworthy. Additionally, understanding the importance of color accuracy in your calibration process can significantly improve overall measurement reliability.
Signal Interference Sources
Signal interference sources can considerably impact the accuracy of RMS measurements, often causing unexpected fluctuations and errors. Electromagnetic interference (EMI) and radio frequency disturbances are common culprits. These disturbances can originate from nearby electronic devices, power lines, or wireless signals, disrupting your measurement signals. To minimize errors, be aware of potential interference sources and take proactive steps. Additionally, juice cleanses for detoxification can sometimes introduce fluctuations in bodily signals, similar to how electronic interference affects measurements.
- Keep measurement equipment away from motors, transformers, and wireless transmitters
- Use shielded cables and proper grounding techniques
- Turn off unnecessary electronic devices during testing
- Avoid high-frequency sources when taking sensitive measurements
- Regularly inspect and maintain your testing environment
Understanding these interference sources helps you troubleshoot and improve the accuracy of your RMS readings, ensuring reliable results.

12 Pcs Ferrite Ring Core EMI Noise Suppressor Clip-On Filter (3.5mm/5mm/7mm), Snap-On Interference Reducer for USB, Audio, Video, Charging & Data Cables, Improves Signal Quality
Effective EMI/RFI Reduction — Ferrite ring cores absorb electromagnetic and radio-frequency interference, improving the signal quality of your…
As an affiliate, we earn on qualifying purchases.
As an affiliate, we earn on qualifying purchases.
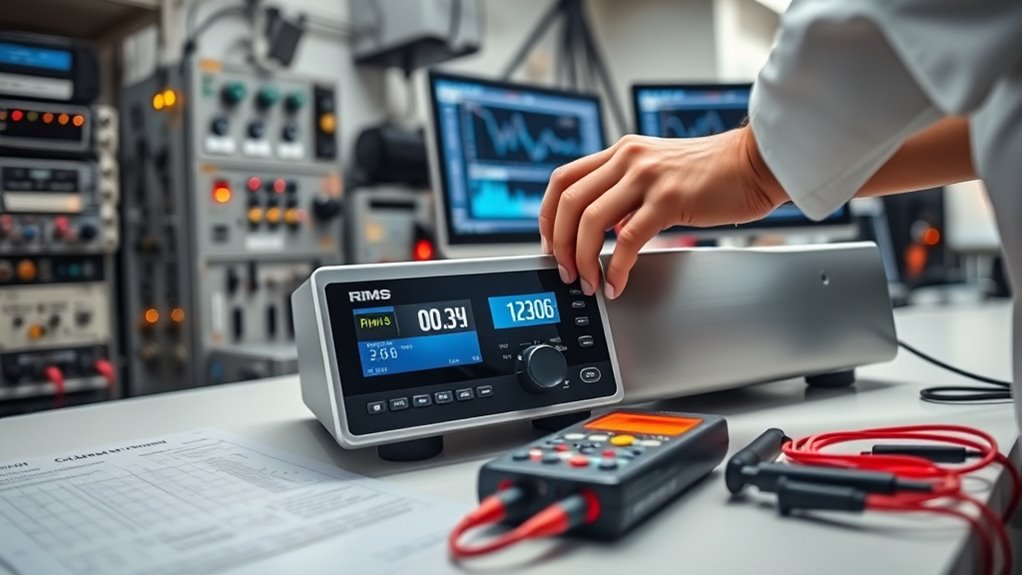
Basic Steps to Check and Calibrate Your Equipment
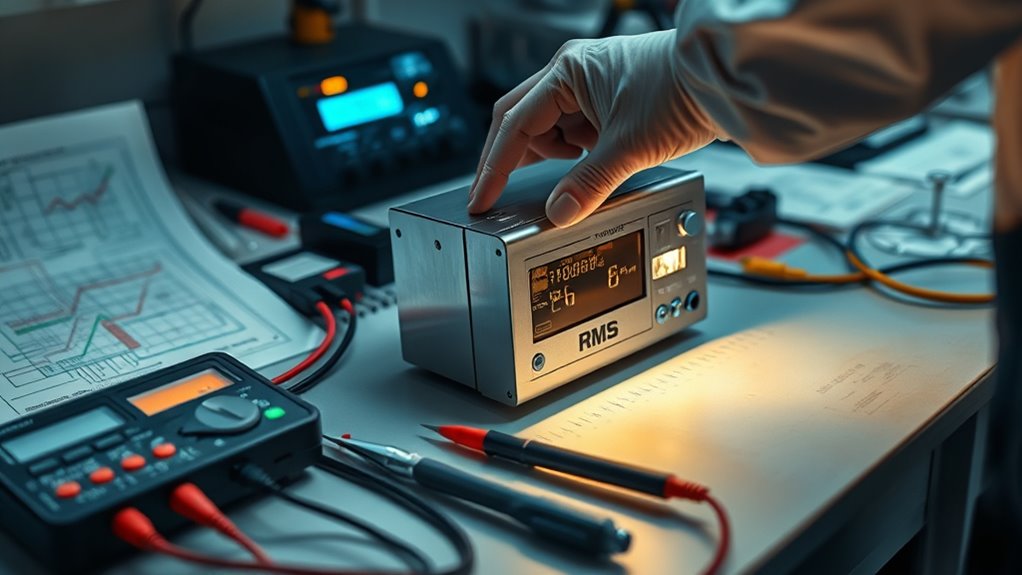
To guarantee accurate RMS measurements, start by verifying your instrument settings are correct. Next, perform calibration checks and make any necessary adjustments. Finally, document your results to maintain an accurate calibration record. Pay attention to the bedroom environment, as factors like temperature and lighting can influence your readings.
Verify Instrument Settings
Before performing detailed troubleshooting, guaranteeing that your equipment is set up correctly is vital. Verify your instrument settings to maintain instrument accuracy and measurement consistency. Check that all input ranges, filters, and units are correctly configured. Confirm that the device’s calibration mode is appropriately set, and any default settings match your measurement needs. Small discrepancies in settings can lead to inaccurate readings and skew troubleshooting efforts. Regularly review user manuals or reference guides to guarantee proper configuration. Properly calibrated and correctly configured settings help you identify real issues versus setup errors. Additionally, understanding your instrument’s specifications ensures optimal performance and accurate measurements.
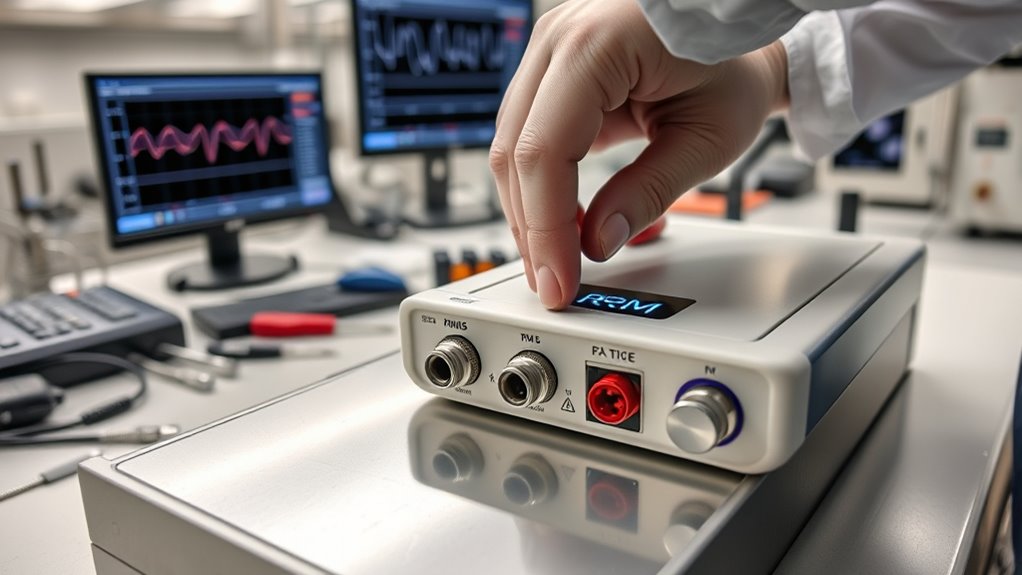
Perform Calibration Checks
Performing calibration checks is a crucial step to guarantee your equipment provides accurate and reliable measurements. Regular calibration helps identify drifts or inaccuracies caused by daily use, ensuring your equipment stays within proper calibration schedules. Start by reviewing your maintenance records to confirm when the last calibration was performed. Use certified calibration standards or reference materials to test your equipment’s accuracy. Follow the manufacturer’s instructions for calibration procedures, and note any deviations. If discrepancies arise, recalibrate or consider professional calibration services. Consistent calibration checks are essential for effective equipment maintenance, preventing costly errors or downtime. By establishing routine verification, you ensure your measurements remain trustworthy, supporting accurate data collection and decision-making. Detecting and correcting passive voice in your documentation can further improve clarity and professionalism.
Document and Adjust Results
When you’ve completed calibration checks, the next step is to document your results accurately and make any necessary adjustments. Proper data documentation guarantees measurement consistency over time and helps track calibration health. Record your readings clearly, noting any deviations from expected values. If adjustments are needed, document what changes you made and why, to maintain a reliable calibration history. Keep in mind that consistent documentation simplifies troubleshooting and future calibration efforts. To deepen your understanding, consider these key points:
- Maintain detailed records for each calibration session
- Use clear, standardized formats for data entry
- Compare current results with previous records for patterns
- Ensure adjustments align with manufacturer specifications
- Regularly review documented data for ongoing measurement accuracy
This process keeps your equipment calibrated correctly and your data trustworthy.

Apera Instruments AI1113 pH Calibration Buffer Solution Kit (7.00, 4.00), 8 oz. Each
Reported values are accurate to +/- 0.01 pH at 25 °C and are traceable to NIST Standard Reference…
As an affiliate, we earn on qualifying purchases.
As an affiliate, we earn on qualifying purchases.
Troubleshooting Calibration Drift and Inaccuracies
Calibration drift and inaccuracies can markedly impact the reliability of RMS measurements, making it essential to identify and address their root causes promptly. To troubleshoot effectively, focus on sensor calibration and signal stability. Instabilities often stem from environmental factors, loose connections, or aging sensors. Regularly verify calibration against known standards and ensure your equipment is properly maintained. Use the table below to identify common issues and solutions:
| Issue | Solution |
|---|---|
| Signal fluctuations | Check connections, shield cables from interference |
| Sensor aging | Replace or recalibrate sensors regularly |
| Environmental influences | Control temperature, humidity, and vibration |
| Calibration drift over time | Schedule routine calibration checks |
| Loose or faulty wiring | Tighten connections, replace damaged cables |
Addressing these areas enhances signal stability and maintains calibration accuracy. Additionally, understanding hackathons can be a valuable way to foster innovation and stay updated with the latest troubleshooting techniques.
Recognizing Signs of Faulty RMS Readings
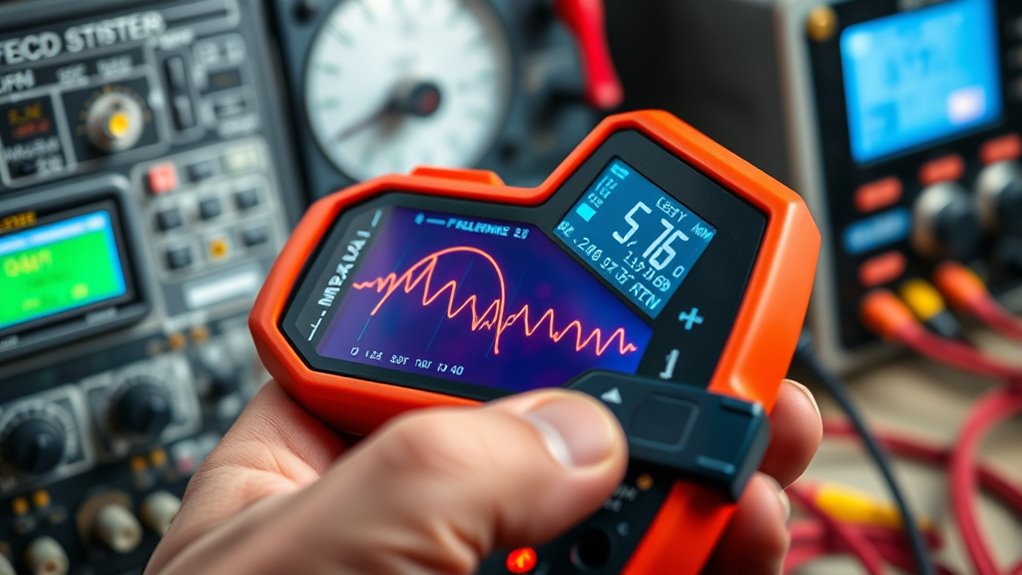
Faulty RMS readings often present subtle yet critical signs that your measurement system may be malfunctioning. You might notice inconsistent data, sudden spikes, or unexplained fluctuations. Sensor noise can cause erratic readings, making it hard to trust your measurements. Power fluctuations can also lead to abnormal RMS values, indicating instability in your power supply or wiring issues. Keep an eye out for these signs:
- Unusual variability in readings
- Persistent signal noise
- Unexpectedly high or low RMS values
- Fluctuations correlating with power supply changes
- Inconsistent results across similar measurements
Regularly monitor for power fluctuations and sensor noise to maintain measurement accuracy and system reliability. Recognizing these signs early helps you troubleshoot promptly, preventing inaccurate data and potential equipment damage.
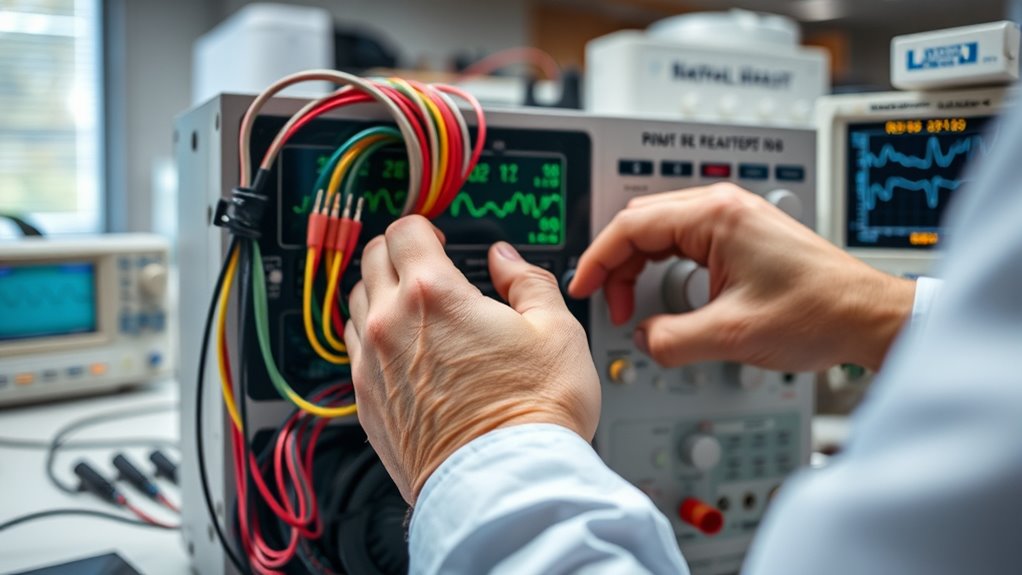
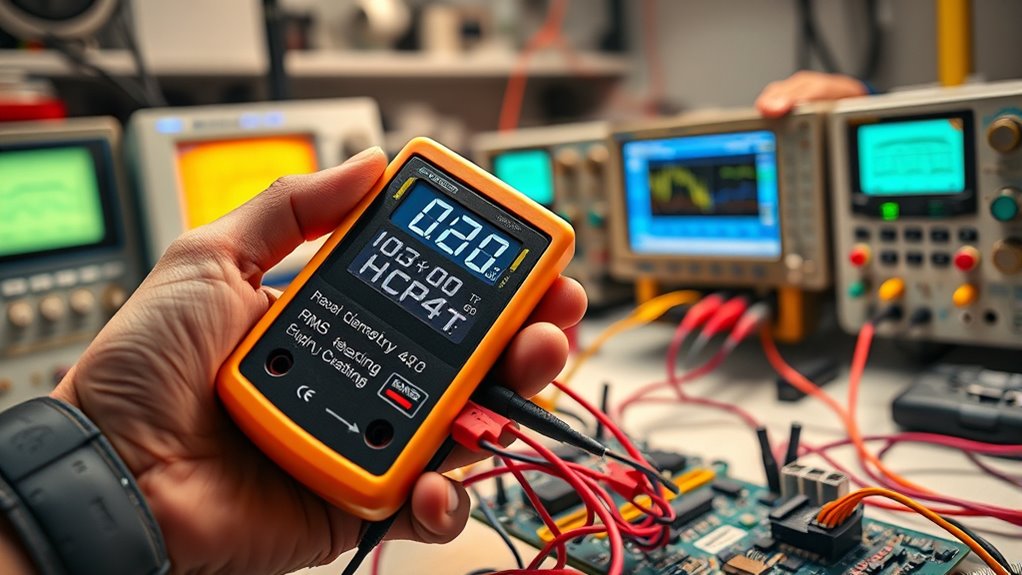
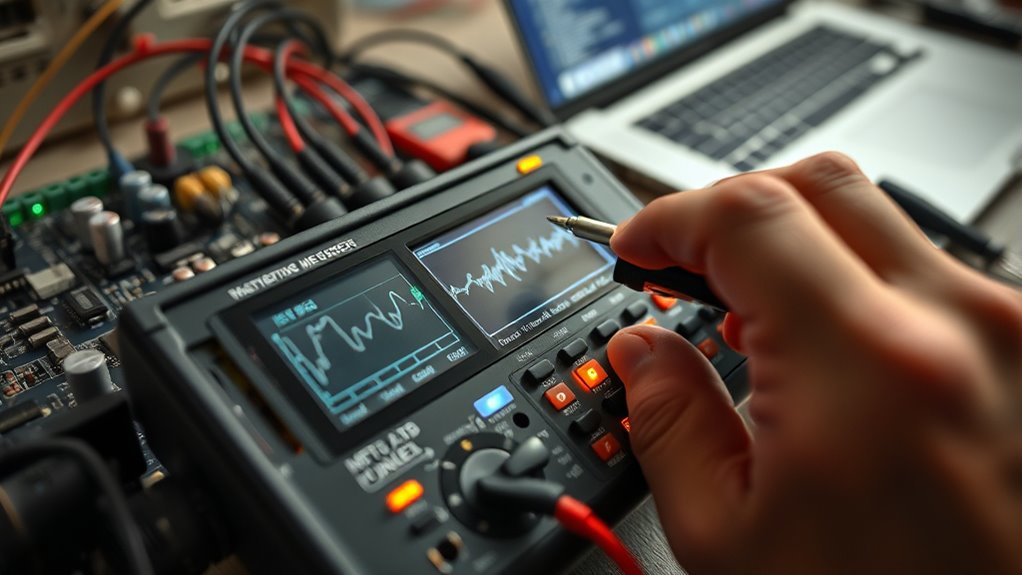
Tools and Instruments for Effective Troubleshooting
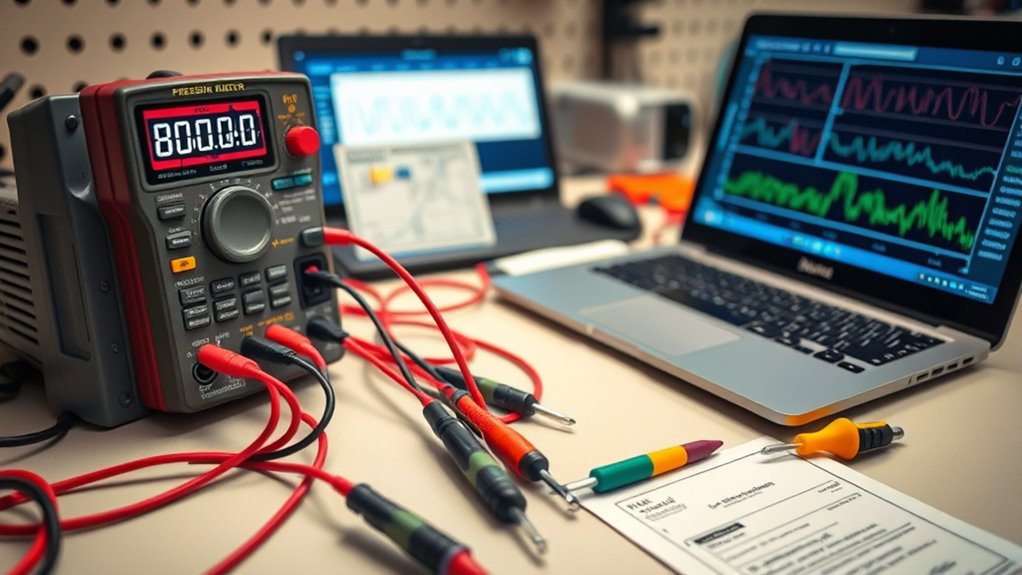
Effective troubleshooting relies on the right tools and instruments to accurately diagnose issues in RMS measurements. Selecting the appropriate instruments is essential; for example, a reliable digital multimeter helps verify voltage levels, while an oscilloscope can reveal waveform distortions. Using the correct tools guarantees you can apply troubleshooting techniques effectively—such as isolating the source of noise or verifying calibration points. Proper instrument selection allows you to gather precise data, reducing guesswork and speeding up problem resolution. Ensure your tools are calibrated and suited for the specific measurements you’re troubleshooting. By choosing the right instruments, you can confidently identify faults, verify readings, and implement solutions efficiently, leading to more accurate RMS measurement and calibration processes overall. Patchology.ORG
Best Practices for Maintaining Accurate Calibration

Maintaining accurate calibration is essential for reliable RMS measurements, and it requires consistent attention to detail. Regular sensor maintenance ensures your equipment stays in ideal condition, reducing drift and inaccuracies. Proper data logging helps track calibration stability over time, making it easier to identify issues early. To keep calibration precise, consider these best practices:
- Schedule routine sensor checks and cleaning
- Calibrate sensors at recommended intervals
- Record calibration data meticulously
- Use stable environmental conditions during calibration
- Review logs regularly to detect trends
When to Seek Professional Help for RMS Issues
While routine calibration and maintenance can resolve many RMS measurement issues, there are times when professional assistance becomes necessary. If you notice persistent inaccuracies despite your efforts, it’s a sign that you need expert consultation. Unusual fluctuations, inconsistent readings, or equipment that won’t calibrate properly indicate underlying problems beyond basic troubleshooting. Attempting to fix complex issues without proper knowledge can worsen the situation. When you encounter these signs, seeking professional intervention ensures accurate diagnostics and repairs. Professionals have the specialized tools and expertise to identify hidden faults and calibrate your equipment correctly. Knowing when to ask for help prevents prolonged inaccuracies and protects your investment, ensuring your RMS measurements stay reliable and precise.
Frequently Asked Questions
How Often Should I Calibrate My RMS Measurement Equipment?
You should calibrate your RMS measurement equipment at least once a year, but more frequent calibration intervals may be necessary depending on usage and environmental conditions. Regular calibration guarantees accurate readings and extends your equipment’s lifespan. Incorporate calibration checks into your routine equipment maintenance schedule, especially if you use the device for critical measurements. Always follow manufacturer recommendations to maintain precision and reliability.
Can Environmental Factors Affect RMS Measurement Accuracy?
Environmental factors definitely affect your RMS measurement accuracy. Humidity effects can introduce noise or cause equipment corrosion, leading to inaccurate readings. Temperature stability is vital because fluctuations can alter electronic components, skew measurements, and reduce calibration reliability. To guarantee accuracy, keep your environment controlled, monitor humidity levels, and maintain a stable temperature. Regular calibration is also essential, especially if conditions change, to prevent environmental influences from impacting your measurements.
What Are the Common Signs of a Failing RMS Meter?
You’ll notice electrical anomalies like unexpected readings or inconsistent measurements, which are common signs of a failing RMS meter. Calibration indicators may also reveal inaccuracies, showing the device isn’t aligned properly. If your readings fluctuate considerably or don’t match expected values, it’s time to check the meter’s calibration or consider replacing it. Regular calibration helps prevent these issues and ensures your measurements stay accurate.
How Do I Select the Right Calibration Tools for RMS Troubleshooting?
To select the right calibration tools for RMS troubleshooting, you need to consider calibration standards that match your measurement range and type. Choose a calibration source known for high measurement accuracy, ensuring your RMS meter provides reliable readings. Verify that the tools are compatible with your equipment, and always use calibrated, certified standards to maintain precision. This approach helps you diagnose issues accurately and keep your measurements trustworthy.
Are There Standard Industry Protocols for RMS Calibration Procedures?
Yes, industry standards and calibration protocols guide RMS calibration procedures. You should follow recognized practices like ISO/IEC 17025, which specify calibration accuracy, traceability, and documentation requirements. These protocols ensure your measurements are reliable and consistent. Always verify that your calibration tools meet these standards, and regularly update procedures to align with evolving industry guidelines for maximum RMS troubleshooting and calibration accuracy.
Conclusion
Remember, keeping your RMS measurements accurate is like tending a garden—you need regular care and attention. By understanding the basics, checking your equipment regularly, and staying alert to signs of trouble, you can keep your readings reliable. When issues seem beyond your reach, don’t hesitate to call in a pro. With a little effort, you’ll guarantee your calibration stays as steady as a well-tuned instrument, guiding you confidently through every measurement.