To get sharp stars, always start with proper focus; use manual focus on a bright star or distant light, then zoom in via live view to fine-tune sharpness. Guarantee your camera and lens are stable, and avoid autofocus in low light, as it often fails. Use focus aids like focus peaking or app tools, and verify focus before long exposures. Keep equipment well-maintained, and you’ll consistently capture pinpoint stars—soon, you’ll master focus methods that rarely fail.
Key Takeaways
- Use live view with magnification to manually focus on a bright star or distant light source for precision.
- Focus on a star until it appears as a crisp point, avoiding twinkling or blurring.
- Regularly calibrate your lens to prevent focus shift caused by temperature or equipment changes.
- Utilize focus aids like focus peaking or software tools for real-time sharpness verification.
- Recheck and refine focus before long exposures to ensure star images remain pinpoints.

Brightin Star 28mm F2.8 Full Frame Manual Focus Lens for Leica-M Mount,Camera Lens Compatible with M2 M3 M4 M5 M6 M7 M8 M9 M9P M10 M262 M240 M240P M10P M10M
Retro classic design: This Brightin Star 28mm F2.8 Leica M- mount lens has black paint with brass design….
As an affiliate, we earn on qualifying purchases.
As an affiliate, we earn on qualifying purchases.
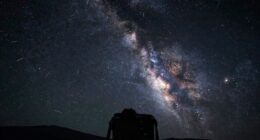
Why Your Stars Look Blurry and How to Fix It
If your stars appear blurry in your night sky photos, it’s usually due to improper focusing. To fix this, start by ensuring your focus is sharp on a bright star or distant light source. Using star trail techniques can help you assess focus accuracy, as blurry trails indicate misfocus. Proper focus is critical when planning for celestial events like meteor showers or planetary alignments, as these require pinpoint sharpness. Always use manual focus and set your lens to infinity, then fine-tune by enlarging the live view and adjusting until the stars appear crisp. Remember, even small focus shifts can cause blurriness, so double-check your settings before capturing. With careful focusing, your night sky photos will be clear and stunning. Additionally, consider using the best woods for farmhouse tables to create a sturdy tripod that helps stabilize your camera during long exposures. Exploring digital content formats can also enhance your understanding of how to present your astrophotography effectively. Investing in car protection accessories can also ensure your equipment stays safe during transport to remote locations for optimal shooting. Understanding brewing fundamentals can also improve your patience and precision in achieving the perfect focus. Furthermore, maintaining your gear with proper kitchen gear care can extend its lifespan and ensure it performs beautifully during your astrophotography sessions.

DSLRKIT Lens Focus Calibration Tool Alignment Ruler Folding Card(Pack of 2)
This compact ruler allows you to determine if your lens is auto-focusing accurately as it should. It is…
As an affiliate, we earn on qualifying purchases.
As an affiliate, we earn on qualifying purchases.
Choosing the Right Equipment for Sharp Night Sky Photos

To capture sharp night sky photos, choosing the right equipment is essential, as it directly impacts image clarity and detail. Start with a camera with a good sensor—larger sensors generally handle noise better during long exposures. Select a lens with a wide aperture; a lower f-number allows more light in, which is vital for capturing faint stars and reducing exposure times. A fast lens with a wide aperture also helps maintain sharpness across the frame. Consider sturdy tripod support and a remote shutter release to prevent camera shake. Avoid lenses with narrow apertures or small sensors that can limit light intake and introduce noise. Ultimately, combining a capable camera sensor with a lens offering a wide, bright aperture sets the foundation for sharp, detailed night sky images.

K&F CONCEPT 64 inch/163 cm Camera Tripod,Lightweight Travel Outdoor DSLR Tripods with 360 Degree Ball Head Load Capacity 17.6 lbs/8 kg,Cellphone Clip for Smartphone Live Streaming Vlog O234A1+BH-36
【Lightweight and Portable】4 section leg can adjust tripod height from 20.4''/52cm to 64.1''/163cm; it can be folded to…
As an affiliate, we earn on qualifying purchases.
As an affiliate, we earn on qualifying purchases.
Understanding Night Focusing and Its Importance
Night focusing can be tricky because of low light, making it hard to see your subject clearly. To get sharp images, you need precise focusing techniques that work in darkness. Understanding these challenges and methods is key to capturing clear, detailed night sky photos. Additionally, ensuring that your equipment is in optimal condition is crucial, as a lack of routine checkups can lead to unexpected technical failures. Utilizing an online tool can help you detect and correct passive voice in your writing, enhancing clarity in your descriptions. Furthermore, having a solid understanding of toilet maintenance can prevent distractions and interruptions during your night photography sessions. Additionally, using proper cabling solutions can ensure that your equipment functions flawlessly, minimizing any technical issues during your night photography sessions. Furthermore, achieving high contrast ratios in your images can significantly improve the details captured in the dark, allowing for a more dynamic visual experience.
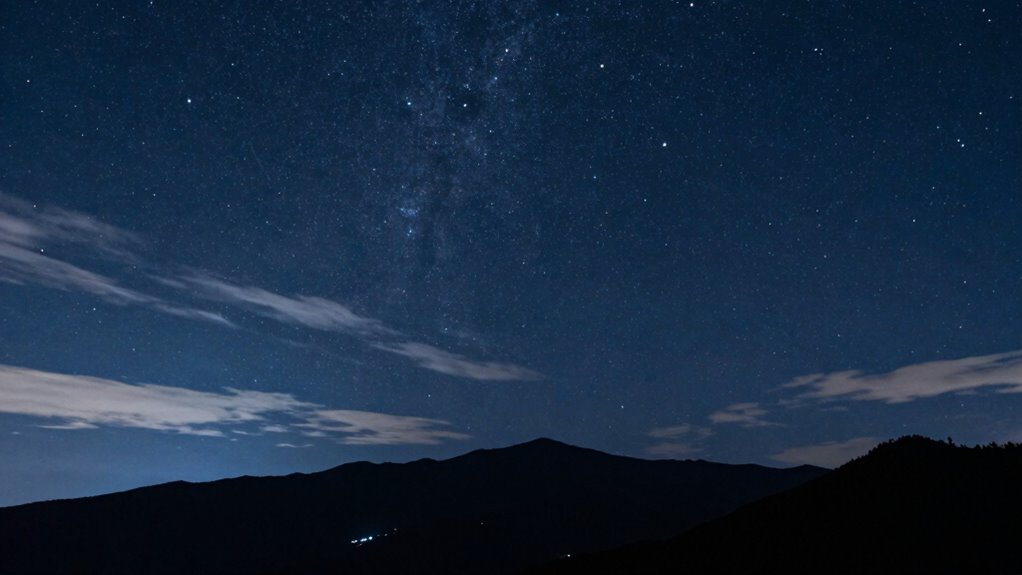
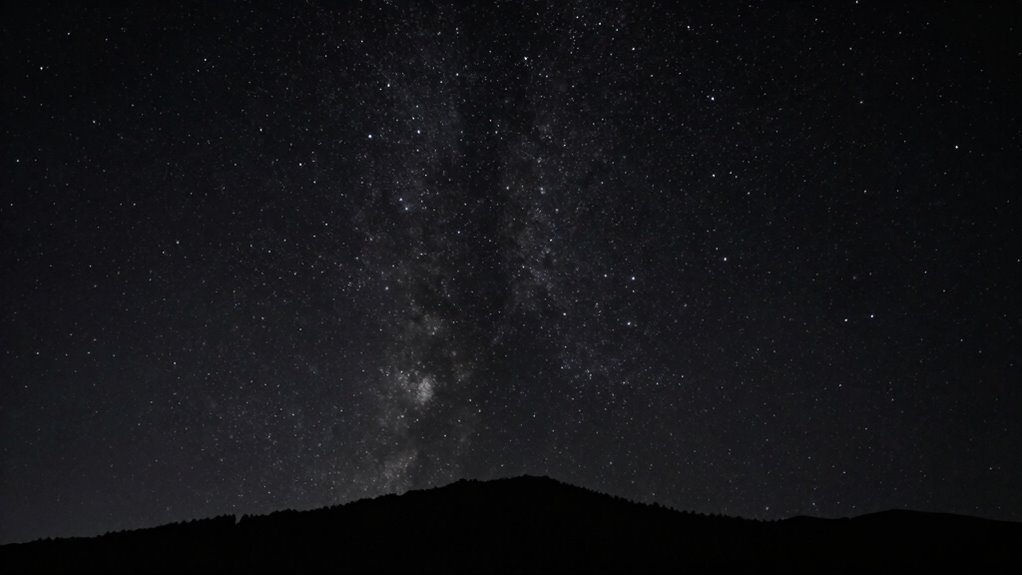
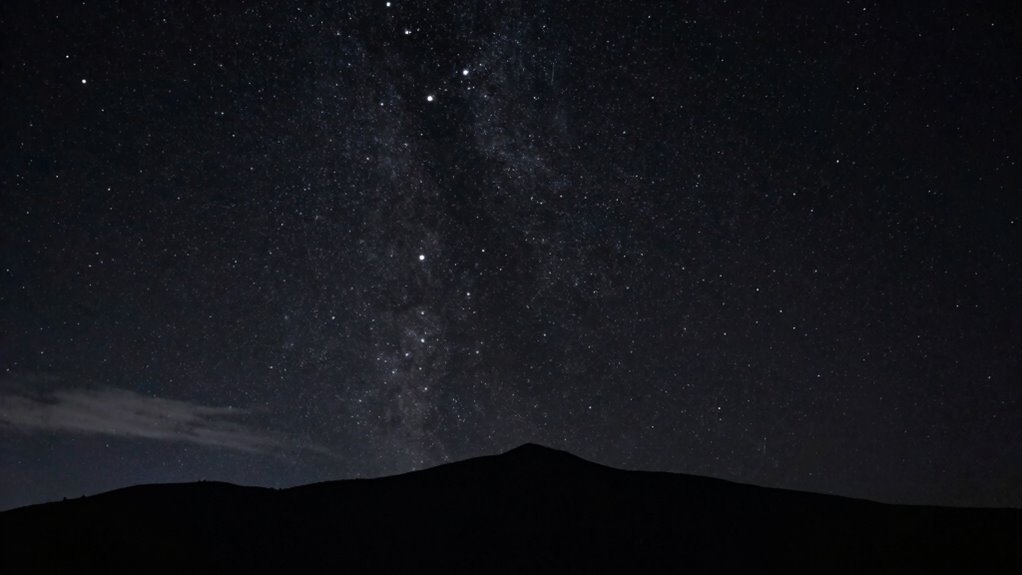
Challenges of Low Light
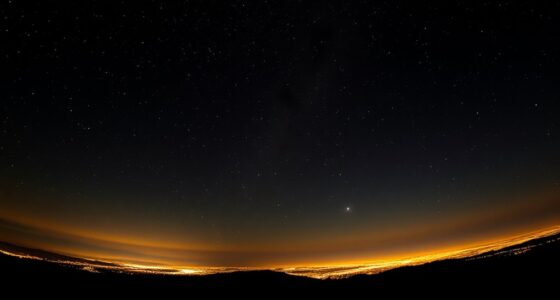
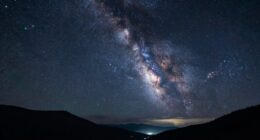
Have you ever struggled to focus your camera in dim lighting? Low-light conditions make it hard to find focus points, especially with changing moon phases or when light pollution dims celestial details. Darkness reduces contrast, making stars and the night sky blurry or hard to lock onto.
Here’s an image to help you visualize the challenge:
| Darkness Level | Visual Effect |
|---|---|
| New Moon | Almost complete darkness, no stars |
| Waxing Gibbous | Sparse stars, faint outlines |
| Full Moon | Bright sky, but brightened moonlight |
In these conditions, your camera’s autofocus often fails. Recognizing these challenges helps you prepare to switch to manual focus or use focus aids for sharper night shots.
Techniques for Precise Focus
Achieving sharp focus in low-light conditions requires understanding and applying specialized techniques that go beyond standard autofocus. You need to carefully consider celestial alignment and verify your lens is properly calibrated. Precise focusing is critical for capturing clear night skies and stars. To improve accuracy:
- Use manual focus and focus on a bright star or distant light for better control
- Regularly perform lens calibration to avoid focus shift issues
- Utilize live view and zoom in on your target for fine-tuning focus
These steps help you overcome challenges posed by low light, ensuring your images are crisp and detailed. Mastering these techniques guarantees your night shots are sharp, with stars perfectly pinpointed and celestial details clearly visible.
![Camera Remote Shutter Release Wireless: [164'] Radio Control Accessories for Canon Rebel T7 T6 T5 T8i T7i SL3 EOS R RP R100 R7 R6 Mark II III R50V 90D 80D 70D, with AAA Battery & Removable Tripod Clip](https://m.media-amazon.com/images/I/414o9E1cJjL._SL500_.jpg)
Camera Remote Shutter Release Wireless: [164'] Radio Control Accessories for Canon Rebel T7 T6 T5 T8i T7i SL3 EOS R RP R100 R7 R6 Mark II III R50V 90D 80D 70D, with AAA Battery & Removable Tripod Clip
[Compatibility] – Suit for Canon EOS Rebel T7(2000D), Rebel T6(1300D), Rebel T5(1200D), T3(1100D), T8i(850D), T7i(800D), T6i(750D), T6s(760D), T5i(700D),…
As an affiliate, we earn on qualifying purchases.
As an affiliate, we earn on qualifying purchases.
Step-by-Step Manual Focusing Techniques at Night
Start by finding a stable spot to set your camera, reducing movement and blurriness. Switch to live view mode to see your subject clearly and fine-tune your focus. With these steps, you’ll gain better control when focusing manually in low-light conditions.
Find a Stable Spot
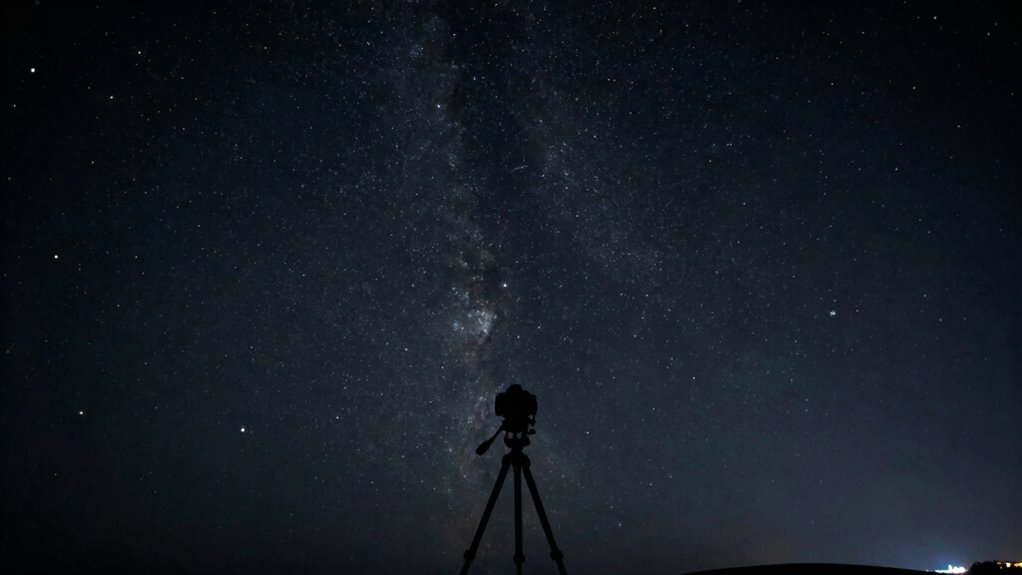
Finding a stable spot is essential for successful manual focusing at night, as even slight camera movement can blur your shot. Ensuring your camera stays steady improves star stability and makes focusing techniques more effective. Use a sturdy surface or tripod to minimize vibrations. Choose a location with minimal wind and avoid areas prone to movement. Secure your camera with weights or sandbags if possible.
- Use a solid surface to rest your camera
- Avoid windy or unstable environments
- Secure your gear with weights or straps
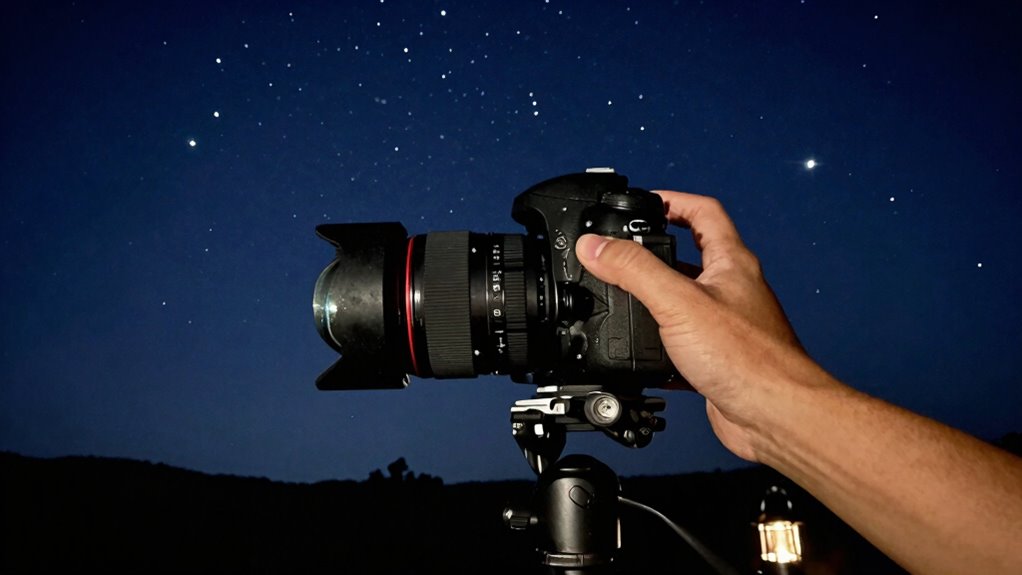
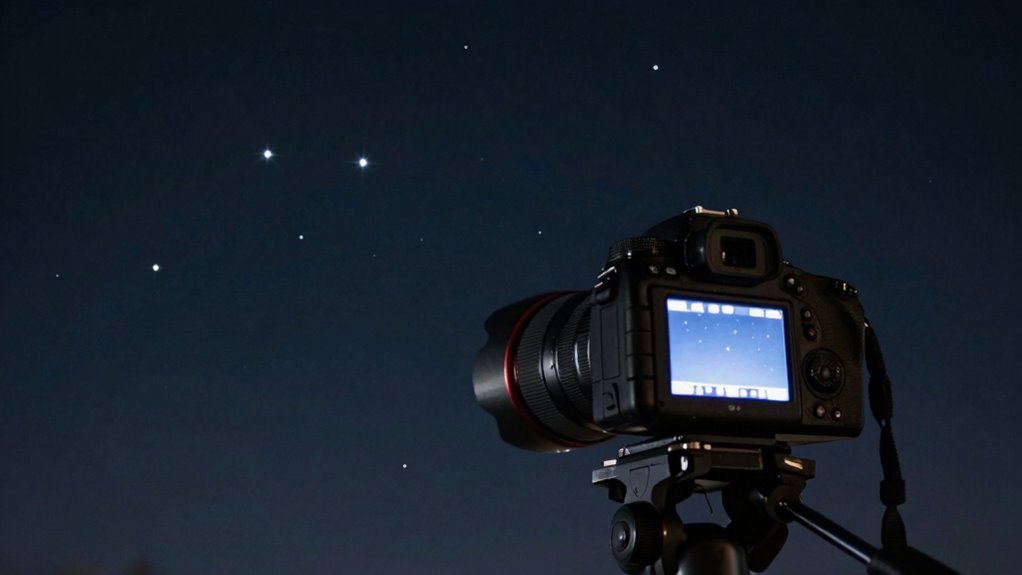
Use Live View Mode
Have you tried switching to Live View mode on your camera? This feature is essential for precise focus in astro photography and night photography techniques. When you activate Live View, you can magnify the live image on your screen, making it easier to see faint stars and details. Use the camera’s zoom function to enlarge the star or object you’re focusing on. Adjust the focus ring slowly until the star appears as a sharp point, with no twinkling or blurring. Live View eliminates the guesswork of focusing through the viewfinder in low light. This method guarantees your focus is accurate before capturing long exposure shots, helping you achieve crisp, clear night sky images. It’s a simple yet powerful step for perfect star sharpness.
How to Use Autofocus and Live View for Clear Stars
Using autofocus and live view effectively can make a significant difference in capturing sharp images of stars. Start by ensuring your lens is properly calibrated for night photography to avoid focusing errors. Use live view to manually zoom in on a bright star or distant light to achieve precise focus, especially when the camera’s autofocus struggles in low light. This is similar to how early detection of Frühwarnzeichen can significantly impact breast cancer outcomes. Additionally, understanding the concept of twin flame unions can help you appreciate the beauty of connection in your surroundings. For ideal results, consider the importance of freshness and creamy texture when selecting your equipment, as a stable setup can enhance your night photography experience. Check celestial alignment to identify stable stars for focusing. Use focus peaking if available to assist with sharpness. Fine-tune autofocus or lens calibration periodically to maintain accuracy. Additionally, consider utilizing natural beauty in your surroundings to enhance your night photography setup.
Common Focusing Mistakes Beginners Make (and How to Avoid Them)
Many beginners make the mistake of relying solely on autofocus in low light, which often results in blurry star images. Autofocus struggles in dark conditions, leading to misaligned celestial objects. To avoid this, check your lens calibration before heading out; an uncalibrated lens can throw off focus, especially at night. Proper celestial alignment ensures your telescope or camera is set correctly, reducing focusing errors. Don’t assume autofocus is enough—manual focusing often yields sharper stars. Use live view or focus peaking to fine-tune your focus point. Remember, consistent lens calibration and proper celestial alignment are key to achieving pinpoint stars and avoiding common focusing mistakes that hinder your night sky photography.
Troubleshooting Focus Problems During Your Stargazing Session
When focus problems arise during your stargazing session, quick and effective troubleshooting can save you from wasted time and blurry images. First, ensure your telescope or camera is stable—unsteady mounts cause blurry stars. Adjust your focus carefully, avoiding abrupt changes. If stars still appear out of focus, consider using star trail techniques to confirm if your setup is tracking properly. Keep your eye on celestial navigation tips: use bright stars as reference points to verify focus accuracy. Additionally, using high-quality glassware can help you appreciate the beauty of celestial objects more clearly.
- Check for vibrations or movement in your mount
- Use live view or magnified focus mode for precision
- Recalibrate your focus after any temperature change or equipment adjustment
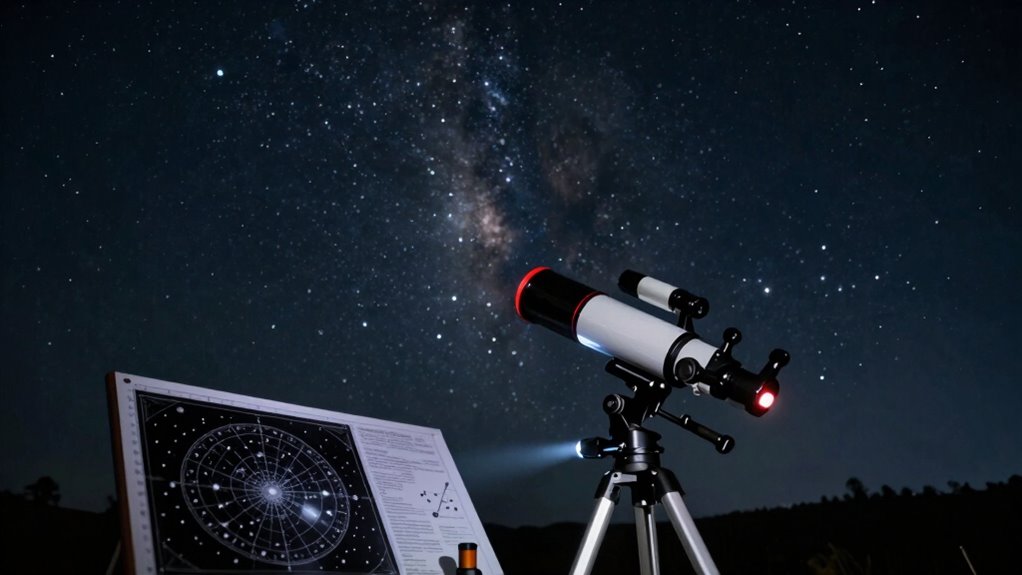
Best Apps and Software to Help You Focus Perfectly
To achieve sharp, perfectly focused images during your stargazing sessions, leveraging the right apps and software can make all the difference. Apps like SkySafari and Stellarium help plan your session, guaranteeing ideal star trail techniques and positioning. For focusing, software such as SharpCap and N.I.N.A. provide real-time image analysis, allowing you to fine-tune focus with precision. These tools also assist in capturing astrophotography composition, guiding you on framing your shots for the best star trails. By using focus assist features and live stacking, you minimize errors and enhance clarity. Integrating these apps into your workflow ensures your night photography is sharp and well-composed, helping you achieve those stunning, crisp star images without hassle or guesswork.
Maintaining Your Gear for Consistent Sharpness
Maintaining your gear is essential for achieving consistent sharpness in your astrophotography. Regular lens maintenance guarantees your optics stay clear, preventing dust or smudges from reducing image quality. Sensor cleaning is equally important; a dirty sensor can cause unwanted spots or haze in your shots. To keep your equipment in top shape:
Regular gear maintenance ensures clear optics and sharp, spotless astrophotography images.
- Clean lenses and filters with proper tools to avoid scratches
- Use a blower or gentle brush to remove dust from the sensor
- Check and tighten any mounting screws or connections
Frequently Asked Questions
Can Weather Conditions Affect Night Focusing Accuracy?
Weather conditions definitely affect your night focusing accuracy. Unstable weather, like high humidity or wind, can cause vibrations or atmospheric turbulence, making it harder to get sharp focus. To counter this, you should rely on stable weather conditions and use precise focusing techniques, such as live view focusing or focusing masks. These methods help you maintain accuracy even when weather isn’t ideal, ensuring your star images stay crisp and clear.
What Is the Ideal Aperture Setting for Sharp Star Images?
Ever wonder what the ideal aperture for sharp star images is? For best results, set your lens to a mid-range aperture, typically around f/5.6 to f/8. as it provides a balance between focus calibration and minimizing lens aberrations. Using quality lens accessories, like a sturdy tripod and remote shutter, guarantees stability. These adjustments help you achieve pinpoint stars and sharp astrophotography shots every time.
How Does Temperature Impact Camera Focusing at Night?
Temperature effects can considerably impact your camera’s focusing stability at night. As temperatures drop or rise, lens and sensor components expand or contract, causing focus shifts. This means you might need to frequently re-focus during long sessions. To combat this, use manual focus with live view, lock your focus once achieved, and allow your equipment to reach thermal equilibrium before shooting. Staying aware of temperature changes helps guarantee sharp, consistent star images.
Are There Specific Lens Types Better for Night Focusing?
Did you know that about 70% of photographers prefer fast, wide-angle lenses for night focusing? For best results, choose lenses with compatible autofocus systems, as some lenses face autofocus limitations in low light. Prime lenses with wide apertures, like f/1.4 or f/2.8, help you focus more accurately. Avoid using older or incompatible lenses, which can struggle with focus, making your night shots sharper and more reliable.
How Can I Prevent Focus Shift During Long Exposures?
To prevent focus shift during long exposures, you should use a focus chart or focusing aids like a Bahtinov mask to achieve precise focus before starting. Once focused, switch your lens to manual focus and avoid touching the focus ring. Additionally, use a sturdy tripod and a remote shutter release to minimize vibrations. Regularly double-check focus with your aids, especially during extended sessions, to guarantee sharp, pinpoint stars.
Conclusion
So, after all that fuss about focusing, you’d think the stars would magically stay sharp forever, right? Ironically, mastering night focus is less about luck and more about patience and technique. Remember, even the best gear won’t save a blurry shot if your focus isn’t spot-on. Keep practicing those methods, stay persistent, and soon you’ll be capturing stunning, crisp night skies—proof that sometimes, the hardest part is just getting out of your own way.