To master wide-field astrophotography and capture stunning constellations and the Milky Way, choose a wide-angle lens between 14mm and 24mm with a large aperture like f/2.8 or wider. Set your camera to manual mode, use a high ISO (1600–3200), and follow the 500 Rule for shutter speed. Find a dark sky location free from light pollution, manually focus on a bright star, and keep your camera stable. If you explore further, you’ll uncover tips to enhance your shots even more.
Key Takeaways
- Use a wide-angle lens (14–24mm) with a large aperture (f/2.8 or wider) to maximize light capture and image scope.
- Set your camera to manual mode, use high ISO (1600–3200), and apply the 500 Rule for optimal shutter speed to prevent star trails.
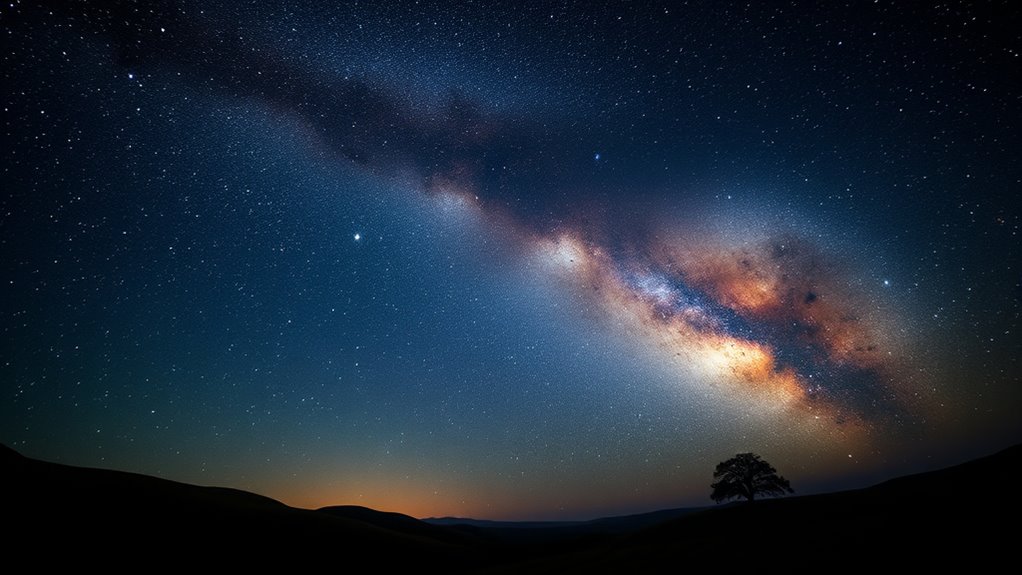
- Choose dark sky locations with minimal light pollution to enhance constellation and Milky Way visibility.
- Focus manually on a bright star using live view and a zoomed-in display for pinpoint sharpness; stabilize your camera with a tripod.
- Take multiple exposures, review results, and adjust settings to optimize image quality and capture stunning celestial details.
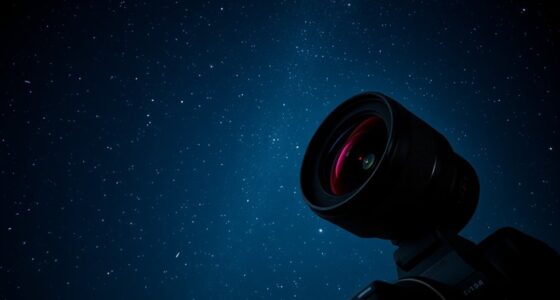
Have you ever looked up at the night sky and wondered how to capture its beauty through your camera? If so, you’re not alone. Wide-field astrophotography offers a stunning way to showcase constellations and the Milky Way, but it requires understanding some essential basics. Your choice of lens plays a vital role, especially because you’ll want a lens with a wide aperture and a focal length that captures enough of the sky without distortion. Typically, a wide-angle lens with a focal length between 14mm and 24mm works best, as it allows you to include expansive sections of the sky and the landscape in a single shot. A fast lens with a large aperture, like f/2.8 or wider, lets in more light, making it easier to capture faint stars and the intricate details of the Milky Way.
Capture stunning night sky photos with a wide-angle lens, large aperture, and proper focus techniques.
Once you’ve selected the right lens, adjusting your camera settings is your next priority. To freeze the motion of stars, you’ll want to set your camera to manual mode and use a high ISO—generally between 1600 and 3200—depending on your camera’s noise performance. This setting boosts the sensor’s sensitivity to light, helping you capture the faint glow of distant stars. Keep your aperture wide open to maximize light intake, and set your shutter speed carefully; a common rule is the 500 Rule, which suggests dividing 500 by your lens’s focal length (for example, 500/14mm ≈ 35 seconds). This helps prevent star trails caused by Earth’s rotation. However, if you’re using a crop sensor camera, you might need to adjust this slightly to avoid blurring. Additionally, understanding the light pollution in your area can greatly impact the quality of your astrophotography and may require additional planning or filtering.
Focusing is critical. Autofocus often struggles in low-light conditions, so switch to manual focus. Use live view to zoom in on a bright star or distant light source, then adjust the focus until it appears sharp and pinpoint. Once you get a crisp focus, avoid touching the camera, as even slight movements can ruin your shot. Keep your camera on a sturdy tripod to eliminate shake, and consider using a remote shutter release or timer to prevent vibrations when pressing the shutter button.
Experimentation is key. Take multiple shots with different settings, and review them to see what works best. Over time, you’ll learn how various factors—like light pollution or atmospheric conditions—affect your images. With the right lens selection, precise camera settings, and steady technique, you’ll be well on your way to capturing breathtaking images of constellations and the Milky Way that truly reflect the night sky’s splendor.
Frequently Asked Questions
What Are the Best Locations for Wide-Field Astrophotography?
You should head to remote areas with dark skies, away from city lights and light pollution, to get the best wide-field astrophotography shots. National parks, rural countryside, and high-altitude locations often have minimal light pollution, providing clearer views of the night sky. Look for spots with open horizons, little artificial light, and stable atmospheric conditions to capture stunning constellations and the Milky Way effectively.
How Do Weather Conditions Affect Astrophotography Sessions?
Weather conditions can make or break your astrophotography session. Clear skies with minimal atmospheric humidity give you sharp images, while bright moon phases wash out stars and constellations. Cloud cover and humidity scatter light, blurring details. When the moon is new and humidity is low, your shots will be clearer. Check weather forecasts carefully, as these factors dramatically influence your ability to capture stunning wide-field images of the night sky.
What Camera Settings Optimize Star and Milky Way Shots?
To optimize your star and Milky Way shots, set your lens aperture as wide as possible, usually f/2.8 or lower, to gather more light. Use an ISO between 1600 and 3200 to enhance brightness without too much noise. Keep your shutter speed around 20-30 seconds to prevent star trails, and use manual focus on a distant bright star for sharp images. Adjust these settings based on your environment for the best results.
How Can I Prevent Star Trails During Long Exposures?
Imagine your camera as a steady boat in a calm night sky sea, avoiding star trails requires a stable anchor. Use tracking mounts to follow Earth’s rotation, allowing you to extend exposure duration without streaks. Keep exposures short or enable tracking, and avoid sudden movements. This way, your star images stay crisp, like pinholes of light, capturing the celestial dance in perfect clarity and preventing trails from blurring your cosmic masterpiece.
What Post-Processing Techniques Enhance Astrophotography Images?
To enhance your astrophotography images, focus on noise reduction and color balancing during post-processing. Use noise reduction tools to minimize grain, especially in darker areas, and adjust color balance to bring out the natural hues of stars and the Milky Way. Sharpen details carefully and boost contrast to make the constellations pop. These techniques help your photos look more vibrant, clear, and true to what you saw in the night sky.
Conclusion
Now, as you gaze up, your camera captures the vast canvas above—a tapestry of shimmering stars and swirling Milky Way. With each shot, you freeze a fleeting moment of the night’s quiet grandeur, turning darkness into a masterpiece. Remember, every click brings you closer to understanding the universe’s beauty. So, keep exploring, keep experimenting, and let the endless sky inspire your astrophotography journey. The cosmos is waiting for you to reveal its secrets.