A dependable focal reducers and flatteners calculator helps you quickly adjust your astrophotography setup for sharper, wider images. By inputting key parameters like camera sensor size and optical elements, it automates complex calculations, reducing errors and saving time. Proper use guarantees better field flatness and minimized distortions. If you want to optimize your imaging quality and simplify setup, exploring how this calculator works will give you valuable insights into perfecting your equipment alignment and calibration.
Key Takeaways
- The calculator simplifies complex optics calculations for focal reducers and flatteners, ensuring accurate setup and image quality.
- Proper input of parameters like sensor size and lens distortion is essential for reliable results.
- Automated calculations help avoid manual errors, optimizing focus, field of view, and vignetting correction.
- Regular calibration and test imaging maintain the calculator’s accuracy and improve overall astrophotography performance.
- Understanding equipment compatibility and alignment ensures effective use of reducers and flatteners for sharp, wide-field images.

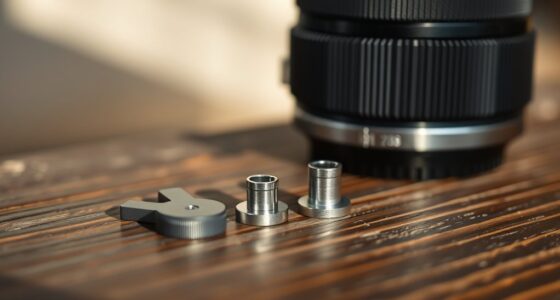
Celestron – Focal Reducer & Field Corrector Imaging Accessory – Reduces Focal Length & Ratio 37% – f/10 to f/6.3 – Ideal for Deep-Sky Observing & Astroimaging – Works w/Schmidt-Cassegrain Telescopes
LIKE HAVING TWO TELESCOPES IN ONE: Your long focal length Schmidt-Cassegrain is well suited to lunar and planetary…
As an affiliate, we earn on qualifying purchases.
As an affiliate, we earn on qualifying purchases.
Understanding the Basics of Focal Reducers and Flatteners
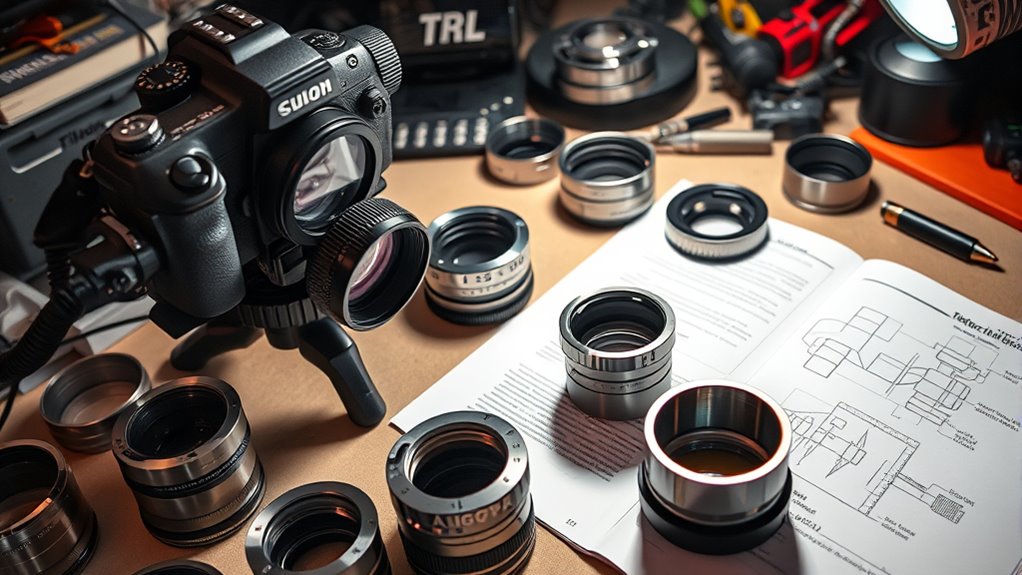
Focal reducers and flatteners are vital tools that improve your astrophotography by modifying your telescope’s optical performance. They work by adjusting the optical design to reduce focal length or flatten the image field, resulting in wider, sharper views of celestial objects. When selecting a focal reducer or flattener, understanding how they influence your camera calibration is essential. Proper calibration ensures accurate focus, minimal aberrations, and consistent image quality across the entire frame. These devices typically attach between your telescope and camera, altering the effective focal length and correcting field curvature. Mastering their use allows you to capture larger images with better detail, making your astrophotography sessions more productive and visually stunning. Additionally, understanding color theory can help you optimize your image processing and enhance the final visual impact of your astrophotos.
camera flat field corrector
As an affiliate, we earn on qualifying purchases.
As an affiliate, we earn on qualifying purchases.
The Challenges in Manual Calculations for Astrophotography
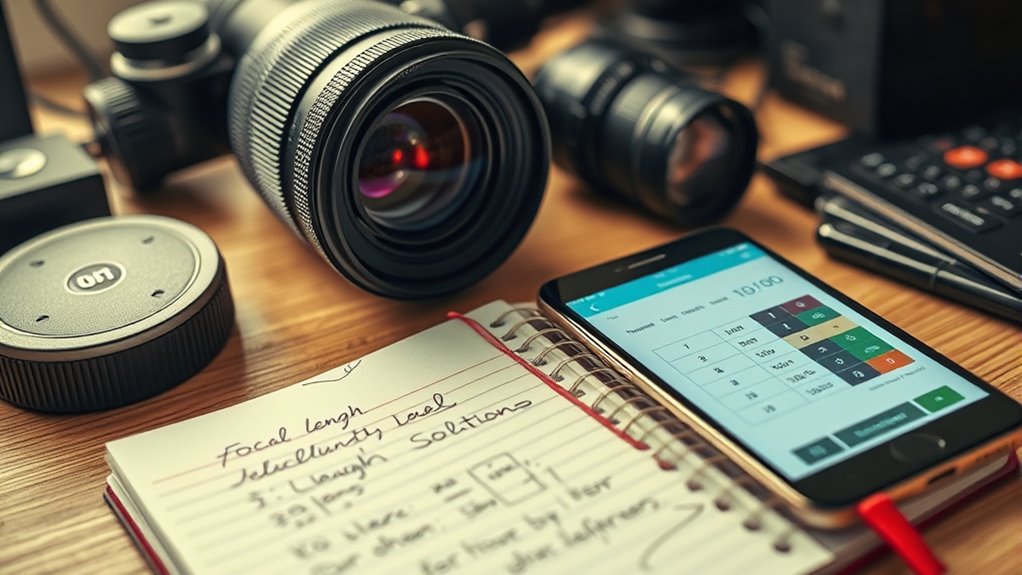
Calculating the necessary adjustments for astrophotography can be complex and error-prone, especially when done manually. You need precise camera alignment to avoid star trails and ensure sharp images. Small mistakes in calculations can lead to improper exposure settings, resulting in overexposed or underexposed shots. Manual calculations often require multiple steps, including determining focal lengths, field of view, and tracking rates, increasing the chance of errors. Additionally, variations in equipment make it hard to get accurate results without tools. Adjusting camera alignment and exposure settings without automation can be frustrating and time-consuming. These challenges highlight the importance of reliable tools to simplify and improve your workflow, guaranteeing better results with less guesswork. Moreover, choosing the right projector technology can significantly enhance the clarity and contrast of your astrophotography displays.

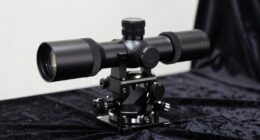
SVBONY SV209 Field Flattener, 1.0X Flattener Corrects The Field, FMC Coating, M63x1 Connection, for SV550 80mm F6 APO OTA Astrophotography
SV209 is a special field flattener for SV550 80F6 OTA; which can effectively improve the image quality problem…
As an affiliate, we earn on qualifying purchases.
As an affiliate, we earn on qualifying purchases.
How the Field Notes Calculator Simplifies Your Workflow
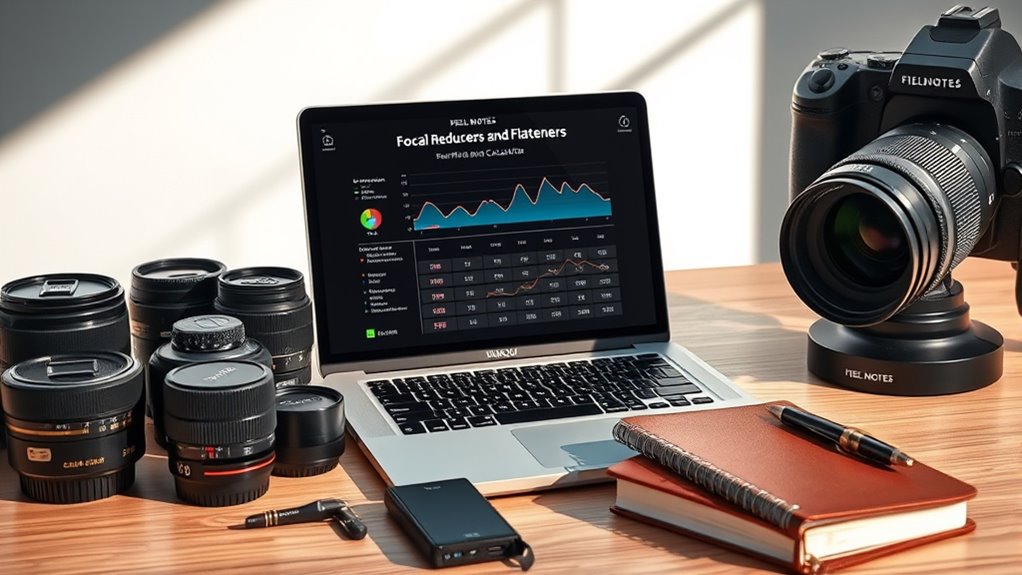
The Field Notes Focal Reducers and Flatteners Calculator streamlines your astrophotography setup by providing quick, accurate adjustments without the hassle of manual calculations. It helps you determine ideal focal lengths, ensuring lens compatibility with your camera and telescope. By automating these calculations, the calculator reduces the risk of errors that can lead to optical aberrations, such as distortions and vignetting. Instead of juggling multiple formulas, you get clear, reliable results that save you time and frustration. This tool simplifies complex considerations, allowing you to focus on capturing stunning images rather than troubleshooting technical issues. With instant feedback, you can adjust your setup confidently, knowing your lens choices and configurations are tailored for high-quality astrophotos. Additionally, understanding headphone compatibility can enhance your overall setup by ensuring seamless audio integration during your imaging sessions.

SVBONY 0.5X Focal Reducer – 1.25 inches Fully Multi Coated for Telescope Eyepiece Photography and Observing
0.5x focal reducer cuts the telescopes focal length in 0.5 times of original's to get a wider field…
As an affiliate, we earn on qualifying purchases.
As an affiliate, we earn on qualifying purchases.
Key Parameters You Need to Know for Accurate Results

Understanding how focal length impacts your results is essential, as it directly affects your image scale and field of view. You also need to account for your camera’s sensor size, since it influences the effective focal length and image flatness. Knowing these key parameters ensures your calculations are accurate and your setup performs at its best. Additionally, considering father-daughter bond can inspire a sense of connection and support in your astrophotography journey.
Focal Length Impact
Focal length considerably influences how a focal reducer or flattener will perform, directly affecting the final image quality and field of view. Longer focal lengths typically require more precise optical design to maintain sharpness across the frame, while shorter focal lengths are more forgiving. Adjusting for focal length guarantees your reducer or flattener maintains proper focus and minimizes aberrations. Being aware of the focal length impact can help you select the appropriate optical configuration for your specific astrophotography setup.
Sensor Size Considerations
Accurately calculating the effects of a focal reducer or flattener requires knowing your sensor size because it directly impacts the field of view and image scale. Sensor compatibility is essential—using a reducer designed for your sensor size guarantees top performance and avoids vignetting or image distortion. Larger sensors will experience a different degree of image scaling compared to smaller sensors, affecting the overall framing and detail captured. When selecting your focal reducer or flattener, verify that it’s rated for your specific sensor size to achieve precise image scaling. Misalignments can compromise image quality or produce inaccurate results. Understanding your sensor size helps you predict how your optical setup will perform, guaranteeing you get accurate, usable images with minimal adjustments. Additionally, considering vignetting prevention is crucial to maintain even illumination across the field of view.
Step-by-Step Guide to Using the Calculator Effectively

To get accurate results, you need to optimize your input parameters carefully. Once you’ve entered your data, focus on interpreting the result data correctly to make informed decisions. This step guarantees you’re using the calculator effectively for your specific setup. Additionally, understanding the projector bulb maintenance guidelines can help ensure your equipment operates smoothly during calculations and setup adjustments.
Input Parameter Optimization
Optimizing input parameters is crucial for getting accurate results from the focal reducers and flatteners calculator. To do this, you must carefully adjust values like lens distortion and optical alignment. Accurate input ensures the calculator reflects real-world conditions, preventing errors in your setup. Focus on minimizing lens distortion effects and fine-tuning optical alignment for precise results. When parameters are optimized, you gain confidence in your imaging system’s performance. Additionally, understanding the essential oils for specific health concerns can help enhance overall well-being and complement your technical pursuits.
Interpreting Result Data
Once you’ve input your optimized parameters into the focal reducers and flatteners calculator, the next step is to interpret the resulting data correctly. Focus on understanding how lens distortion has been minimized—look for reduced barrel or pincushion effects in the data. Check the image scaling values to verify your field of view matches your expectations; accurate scaling means your images will have consistent proportions across the frame. Pay attention to any residual distortion figures, as these indicate how much correction remains. This information helps you judge whether your setup produces sharp, undistorted images or if further adjustments are needed. Proper interpretation ensures your optical configuration delivers ideal performance, balancing image quality with the desired field coverage. Additionally, reviewing the calibration data can help identify potential issues with optical alignment that may affect overall image quality.
Real-World Examples: Improving Your Imaging Setup

Enhancing your imaging setup with focal reducers and flatteners can considerably improve image quality, especially when capturing wide fields or working with specific equipment configurations. To get the best results, prioritize lens quality; high-quality lenses reduce aberrations and produce sharper images. Pair this with a stable mount, as vibrations or slight movements can distort your data and negate the benefits of your optical upgrades. Using a focal reducer or flattener correctly aligned with a sturdy mount ensures consistent, sharp images across the entire field of view. These adjustments help optimize your setup for astrophotography or wide-field imaging, making your sessions more efficient and your results more professional. Small investments in lens quality and mount stability go a long way in elevating your overall imaging quality. Additionally, integrating AI-driven security systems can help safeguard your equipment during unattended sessions, ensuring your gear remains protected.
Limitations and Tips for Maximizing the Calculator’s Potential

While the focal reducers and flatteners calculator is a valuable tool, it does have limitations that you should be aware of. One key factor is sensor compatibility; not all sensors work seamlessly with every reducer or flattener. Optical distortions, such as vignetting or chromatic aberration, can also affect your images if the calculator isn’t calibrated correctly. To maximize its potential, consider these tips:
| Tip | Explanation | Benefits |
|---|---|---|
| Check sensor specs | Ensure your sensor matches the calculator’s recommended parameters | Better accuracy and results |
| Test for distortions | Capture test images to identify optical distortions early | Adjust setups accordingly |
| Use recommended accessories | Stick to compatible adapters and spacers | Minimize vignetting |
| Regular calibration | Update your calculations with new data periodically | Maintain precision |
Enhancing Your Astronomy Projects With Better Field Management

Effective field management is essential for capturing high-quality astronomical images, especially as you deal with expanding data and complex setups. To enhance your projects, focus on minimizing issues like lens distortion and chromatic aberration. Here’s how:
- Regularly calibrate your equipment to correct lens distortion, ensuring stars appear round and sharp across the entire field.
- Use quality filters to reduce chromatic aberration, which causes color fringing around bright objects.
- Implement precise focusing techniques to prevent field curvature that blurs details at the edges.
- Organize your data systematically to track and analyze distortions, making adjustments easier over multiple sessions.
These steps help maintain consistent image quality, making your field management more effective and your astronomy projects more successful.
Frequently Asked Questions
Can the Calculator Account for Atmospheric Conditions Affecting Image Quality?
Yes, the calculator can consider atmospheric turbulence and light pollution effects. When you input data, it adjusts for atmospheric conditions by factoring in turbulence, which can blur images, and light pollution, which affects brightness and contrast. This helps you better predict image quality under specific conditions. Keep in mind, though, real-time atmospheric variations might still influence results, so it’s wise to contemplate local weather and pollution levels for more accurate planning.
Is the Calculator Compatible With Different Telescope Brands and Models?
While no tool is universally perfect, you’ll find that the calculator is quite adaptable, accommodating various telescope compatibility and model variations with ease. It’s designed to be versatile, making it suitable for many different setups. Just guarantee you input the correct specifications, so it can accurately assist regardless of your telescope brand or model differences. This flexibility helps you optimize your imaging regardless of the equipment you use.
How Often Should I Update My Parameters for Accurate Results?
You should update your parameters regularly, especially after equipment maintenance or if you notice changes in image quality. Frequent parameter calibration ensures accurate results, so check your focal reducer and flattener settings whenever you switch equipment or experience shifts in performance. Keeping your calibration up-to-date helps maintain precision, prevents errors, and guarantees your data remains reliable over time. Regular updates are key to superior imaging results.
Does the Calculator Include Recommendations for Optimal Focal Reducer/Flattener Choices?
Yes, the calculator includes recommendations for ideal focal reducer and flattener choices. It guides you through focal length optimization by suggesting suitable reducers and flattening factor selection based on your camera and scope specifications. This helps you achieve sharper images with minimal distortion. By inputting your equipment details, you can easily identify the best focal reducer and flattener setup, ensuring optimal performance for your astrophotography or imaging needs.
Can the Calculator Help in Planning Multiple Imaging Sessions Simultaneously?
Yes, the calculator can assist with multi-session planning and simultaneous imaging. It helps you compare focal reducer and flattener options across multiple sessions, ensuring consistent image quality and ideal setup. By inputting different configurations, you can visualize how each affects your imaging results, making it easier to coordinate multiple sessions or simultaneous imaging projects. This streamlines your planning process and enhances the overall quality of your astrophotography sessions.
Conclusion
With the field notes calculator, you can streamline your astrophotography setup and achieve better image quality effortlessly. It takes the guesswork out of complex calculations, saving you time and frustration. Why settle for less when you can optimize your gear with just a few clicks? Embrace this tool to elevate your astronomy projects and unseal sharper, more accurate images—are you ready to let technology guide your celestial adventures?