To capture Barnard’s Loop and the Flame Nebula in Orion, use a sturdy mount with precise polar alignment and a fast DSLR lens or wide-field telescope. Take multiple long exposures, preferably with narrowband filters like H-alpha, to bring out faint details. Focus carefully using live view, and stack your images for better signal-to-noise. Proper post-processing with software like Photoshop or PixInsight enhances colors and detail, helping your images truly stand out. If you continue exploring, you’ll discover even more tips for stunning astrophotos.
Key Takeaways
- Use a wide-field telescope or fast DSLR lens with a stable mount and precise polar alignment for capturing large structures like Barnard’s Loop.
- Incorporate narrowband H-alpha filters to enhance nebula contrast and reveal faint details in the Flame Nebula and Barnard’s Loop.
- Capture multiple long exposures (several minutes each) to gather enough signal, then stack images to improve signal-to-noise ratio.
- Focus carefully using live view and zoomed-in stars to achieve sharp nebula details; test different exposure settings for optimal results.
- Post-process with software like PixInsight or Photoshop to adjust contrast, highlight red hues, and bring out intricate nebula features.
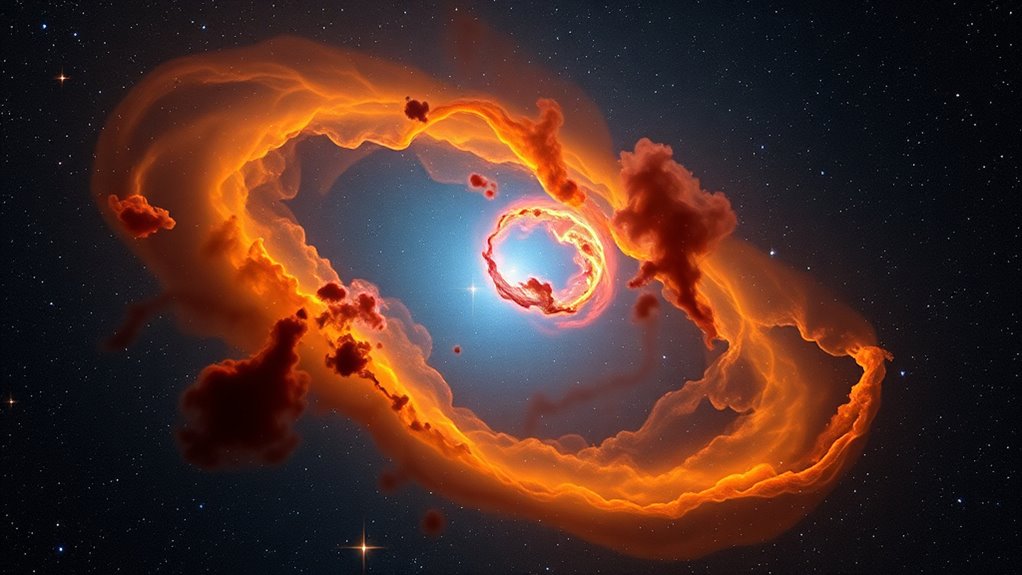
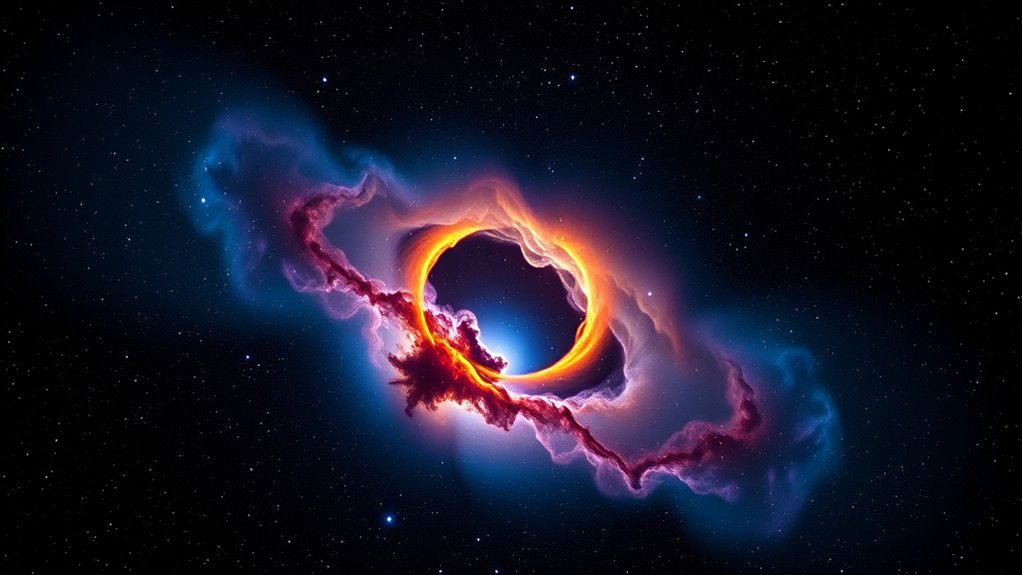
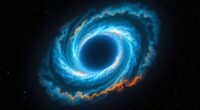
If you’re passionate about astrophotography, capturing the stunning details of Barnard’s Loop and the Flame Nebula in Orion is an achievable goal with the right techniques and equipment. These celestial objects are among the most captivating targets for nebula photography, but they do require careful planning and suitable astrophotography gear. The key is to understand how to maximize your gear and settings to bring out their vibrant structures and intricate details.
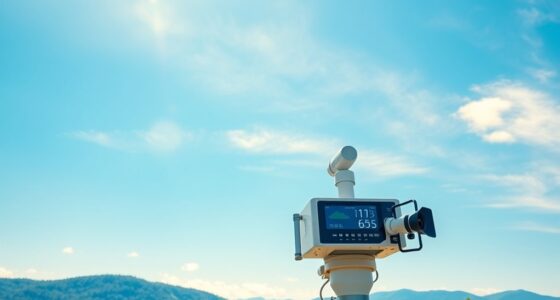
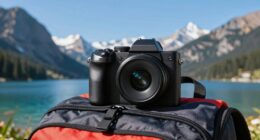
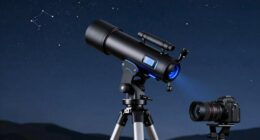
Start by selecting appropriate astrophotography gear. A sturdy mount is essential, as long exposures are necessary to gather enough light from these faint objects. Use a tracker or equatorial mount with precise polar alignment to keep your stars pinpoint sharp during extended exposures. A wide-field telescope or a fast DSLR lens with a good aperture allows you to capture the large, diffuse regions of Barnard’s Loop and the Flame Nebula effectively. A camera capable of long exposures with low noise, such as a cooled CCD or a mirrorless camera, will help you record more detail without sacrificing image quality.
Choose a sturdy mount with precise polar alignment for detailed nebula astrophotography.
When setting up for nebula photography, pay close attention to your exposure times. Because these objects are faint, you’ll need to shoot for several minutes per frame and stack multiple images to enhance signal-to-noise ratio. Use a narrowband filter, like H-alpha, to isolate specific wavelengths emitted by the nebula, making structures stand out against the background sky. This technique is especially useful when light pollution is a concern, as it considerably improves contrast and detail.
Focus is critical in astrophotography. Use your camera’s live view and zoom in on a bright star to fine-tune focus. Achieving perfect focus ensures sharp details in the nebula’s wispy edges and intricate filaments. Take test shots at different settings to find the best balance between exposure length and noise. Remember, patience is key—small adjustments can make a big difference in your final image.
Additionally, understanding the importance of proper equipment can significantly impact your success, as the right gear can make capturing faint nebulae much more manageable. Finally, post-processing is where your nebula photography truly comes to life. Use software like Adobe Photoshop or PixInsight to stack your images, improve contrast, and bring out faint details. Carefully adjust curves, noise reduction, and color balance to highlight the nebula’s vibrant reds and subtle hues. With practice, your images of Barnard’s Loop and the Flame Nebula will reveal stunning complexity and depth, making all your efforts worthwhile.

Astromania Polar Alignment Scope for EQ3, Telescope Accessories Polar Finder Quickly&Easily Correct Alignment of Equatorial Mount with The North Celestial Polar, Allow Long Exposure Astrophotography
Polar Alignment Scope For EQ3: Achieve good alignment of the EQ3 equatorial mounts with the North Celestial Pole…
As an affiliate, we earn on qualifying purchases.
As an affiliate, we earn on qualifying purchases.
Frequently Asked Questions
What Camera Settings Are Best for Astrophotography?
To get great astrophotography shots, start with a camera calibration to guarantee your images are sharp and free of noise. Use a wide focal length, around 14-24mm, to capture more of the night sky. Set your aperture to the widest setting, usually f/2.8 or lower, and use a high ISO, like 1600-3200. Keep your shutter open between 15-30 seconds to balance exposure and star trailing.
How Long Should I Expose for Detailed Nebula Images?
You should expose for 2 to 10 minutes per shot to capture detailed nebula images. Longer exposures gather more light, revealing intricate structures. To improve your results, use image stacking, which combines multiple exposures to enhance detail and reduce noise. Keep in mind, noise reduction is essential; stacking helps minimize it, giving you clearer, sharper images without losing faint features. Experiment within this range to find what works best for your setup.
What Filters Enhance Orion’s Deep-Sky Objects?
You should use narrowband filters like Hydrogen-alpha, Oxygen-III, and Sulfur-II to enhance Orion’s deep-sky objects. These filters block out light pollution and improve contrast, revealing intricate details. They also enable better color enhancement by emphasizing specific wavelengths, making nebulae like Barnard’s Loop and the Flame Nebula pop with vibrant, true-to-life colors. Incorporating narrowband filters will give you clearer, more striking astrophotography results.
Is Post-Processing Necessary for Nebula Images?
You absolutely need post-processing for nebula images—it’s like turning a rough sketch into a masterpiece! Image stacking reduces noise and boosts detail, making your nebula pop. Color correction brings out the true hues of Barnard’s Loop and the Flame Nebula, transforming your shot from good to breathtaking. Without these steps, your images might look dull and flat, missing the vibrant cosmic wonder waiting to be revealed.
What Is the Ideal Time of Year to Photograph Orion?
You should photograph Orion during winter months, typically from December to March, when seasonal visibility peaks. During this time, Orion is high in the night sky, making it easier to capture detailed images. Avoid nights with a full moon, as lunar phases can wash out faint nebulae. Clear, dark skies around the new moon offer ideal conditions for capturing Orion’s stunning features.
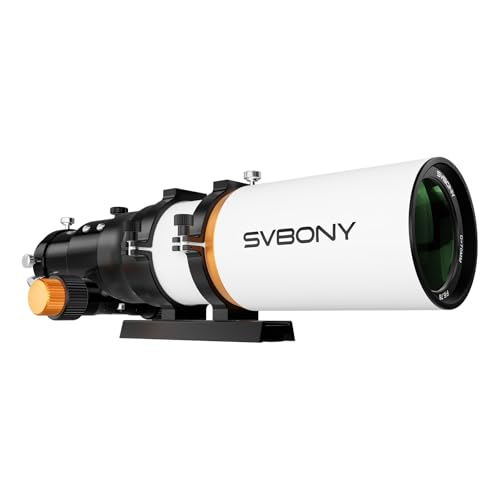
SVBONY SV503 Refractor Telescope with Built-in Field Flattener, 70mm F6.78 Extra Low Dispersion Achromatic Refractor OTA, Telescope for Adults, for Astrophotography Visual Astronomy
Outstanding flat-field correction; built-in field flattener of SVBONY SV503 telescope eliminates field curvature; offering a flat; wide view;…
As an affiliate, we earn on qualifying purchases.
As an affiliate, we earn on qualifying purchases.
Conclusion
Now that you’ve captured Barnard’s Loop and the Flame Nebula, your images come alive like stars in a clear night sky. With patience and a steady hand, you’ve turned your telescope into a window to the cosmos, revealing these celestial wonders in stunning detail. Keep experimenting and refining your technique—you’re on your way to uncovering even more breathtaking sights in the universe, like a curious explorer charting new worlds beyond your backyard.

SVBONY SV220 Telescope Filter, 7nm Dual-Band Nebula, H-Alpha and O-III Narrowband Filter for One-Shot Color Cameras, Reduce Light Pollution for Astrophotography (1.25 inches)
Reduce light pollution; SV220 telescope filter can greatly reduce the interference from natural light sources such as moonlight…
As an affiliate, we earn on qualifying purchases.
As an affiliate, we earn on qualifying purchases.

Sky-Watcher Star Adventurer 2i Pro Pack – Motorized DSLR Night Sky Tracker Equatorial Mount for Portable Nightscapes, Time-Lapse and Panoramas – Wi-Fi App Camera Control – Long Exposure (S20512)
Portable nightscape tracking platform: Motorized portable tracking platform perfect for capturing incredible detail of the Milky Way, eclipses…
As an affiliate, we earn on qualifying purchases.
As an affiliate, we earn on qualifying purchases.