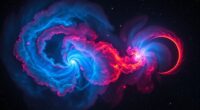
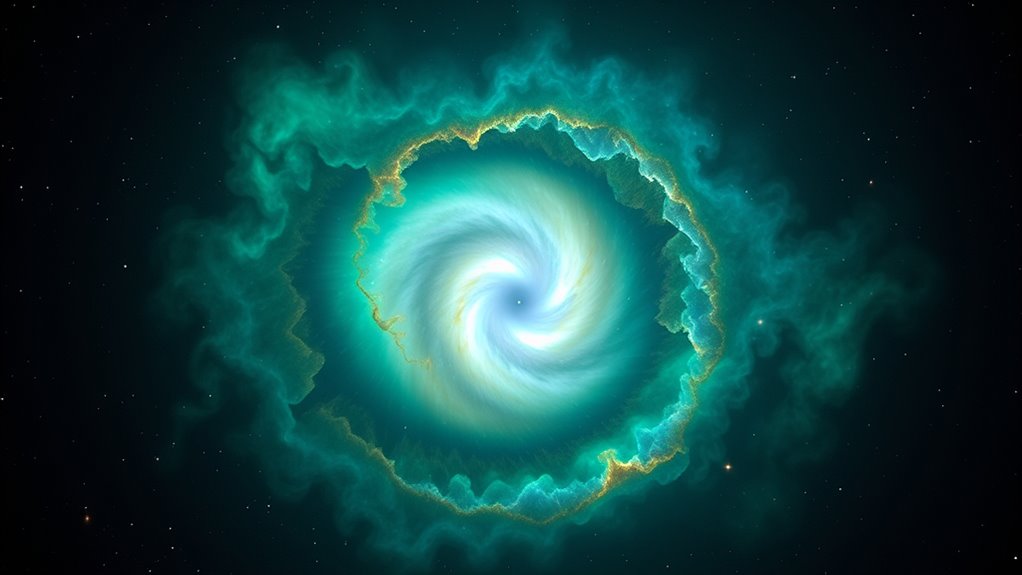
To photograph the Helix Nebula in Aquarius, use a telescope with at least a 6-inch aperture and a stable, preferably equatorial, mount for long exposures. Capture multiple images to improve detail and signal-to-noise ratio, then stack your shots with software like DeepSkyStacker. Carefully process the images to emphasize the nebula’s blue-green hues, making subtle adjustments to highlight details while preserving natural colors. Keep practicing, and you’ll uncover even more stunning features as you progress.
Key Takeaways
- Use a telescope with at least 6-inch aperture and an equatorial mount for stable tracking during long exposures.
- Capture multiple consistent exposures to enhance faint details, then stack them with software like DeepSkyStacker.
- Focus on precise framing of the nebula, ensuring the blue-green hues and filamentary structures are well-centered.
- Carefully process stacked images by adjusting levels, curves, and saturation to highlight characteristic colors without over-processing.
- Patience and experimentation with settings and techniques are essential to optimize image quality and reveal intricate nebula features.
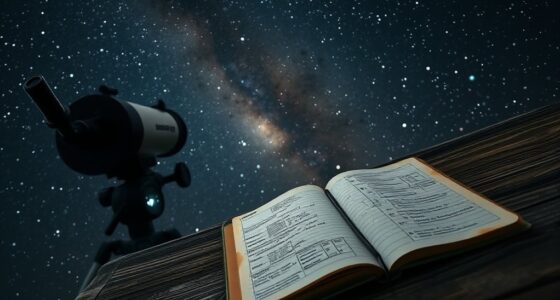
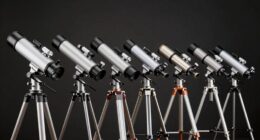
Capturing the mesmerizing beauty of the Helix Nebula requires more than just pointing your camera at the night sky. To truly reveal its intricate structure and vibrant colors, you need to choose the right equipment and master the art of image processing. The first step is selecting a suitable telescope. Since the Helix Nebula is relatively bright but still faint compared to other celestial objects, a telescope with at least a 6-inch aperture is ideal. This size balances light-gathering ability with portability, guaranteeing you can capture enough detail without overly cumbersome gear. Reflector telescopes often provide better light collection at a reasonable cost, but high-quality refractors can also do the job if you prefer sharper images with minimal optical distortions. Whatever you choose, make certain your telescope has a stable mount, preferably equatorial, to facilitate long exposures without star trails. Once you’ve set up your equipment, you’ll want to focus on capturing multiple exposures. Since nebulae are low-light objects, stacking numerous images helps improve the signal-to-noise ratio, revealing faint details unseen in single shots.
After capturing your raw images, image processing becomes vital. This stage transforms your data into a stunning photograph. Start with stacking your exposures using software like DeepSkyStacker or Sequator to combine the images and reduce noise. Next, adjust the levels and curves to bring out the nebula’s luminous structures while maintaining natural color balance. The Helix Nebula’s distinctive blue-green hues are best emphasized by carefully manipulating color saturation and hue, avoiding over-processing that could introduce artifacts. You may also want to apply subtle sharpening to enhance the filamentary details within the nebula, but always keep it natural-looking. Consider using masking techniques to selectively enhance specific features without affecting the entire image. Throughout this process, patience is key—small adjustments can make a huge difference in the final result. Additionally, understanding the importance of field-of-view and imaging scale can help you frame the nebula effectively within your camera setup, ensuring you capture all its intricate details.
Finally, review your image on calibrated monitors, comparing it to astrophotography references to guarantee your colors and details are accurate. With the right telescope selection and a solid grasp of image processing techniques, you’ll access the Helix Nebula’s true splendor. The process may require practice, but each successful session will bring you closer to capturing a breathtaking view of one of the universe’s most captivating planetary nebulae. Remember, astrophotography is as much about experimentation as it is about precision—so don’t hesitate to try different settings, exposures, and processing methods until you achieve the celestial masterpiece you envision.

Sky-Watcher Quattro 150P Imaging Newtonian – Large Aperture 6-inch Reflector Optical Tube for Astrophotography and Visual Use
150mm aperture, 600mm focal length
As an affiliate, we earn on qualifying purchases.
As an affiliate, we earn on qualifying purchases.
Frequently Asked Questions
What Equipment Is Best for Capturing Detailed Images of the Helix Nebula?
You should choose a telescope with a large aperture, like a 6-12 inch reflector or refractor, to gather more light and reveal details. Pair it with a sensitive camera, such as a cooled CCD or CMOS, for long exposures. Using a motorized mount helps track the nebula accurately. Combining these equipment choices allows you to capture stunning, detailed images of the Helix Nebula.
How Long Should Exposure Times Be for Optimal Helix Nebula Photographs?
Think of your exposure duration as a gentle dance with the cosmos. For the Helix Nebula, aim for an imaging length of around 10 to 20 minutes per shot. This allows enough light to paint the nebula’s intricate details without overexposing. Use multiple shorter exposures if needed, then stack them to create a masterpiece. Patience and precise timing will reveal the nebula’s true beauty before your eyes.
What Post-Processing Techniques Improve Helix Nebula Astrophotos?
To enhance your Helix Nebula astrophotos, focus on post-processing techniques like image stacking and noise reduction. First, stack multiple exposures to improve detail and signal-to-noise ratio. Then, apply noise reduction carefully to minimize grain without losing detail. Adjust contrast and colors to highlight the nebula’s structure. These techniques will bring out the vivid features and make your images more striking and detailed.
When Is the Ideal Time of Year to Photograph the Helix Nebula?
Imagine you’re capturing the Helix Nebula on a clear summer night, knowing seasonal visibility and celestial positioning make it possible. The best time to photograph it is during late summer to early fall when Aquarius is high in the sky. This timing minimizes atmospheric interference and provides ideal darkness. Planning around these months ensures you get the best shots of this stunning planetary nebula, creating awe-inspiring images.
Are There Any Common Challenges Faced When Imaging the Helix Nebula?
When imaging the Helix Nebula, you’ll face common challenges like light pollution, which washes out faint details, and atmospheric turbulence, causing image distortion. To get clearer shots, choose a dark sky location away from city lights and aim for nights with stable air. Using narrowband filters and stacking multiple exposures can also help mitigate these issues, ensuring you capture the nebula’s intricate structures more effectively.

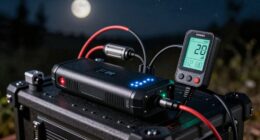
iEXOS-100-2 PMC-Eight Equatorial Tracker System Tripod and Mount for Astrophotography with WiFi and Bluetooth Compatible
Integrated Explore Scientific PMC-Eight system that transcends the industry standard single processor by utilizing eight CPUs that operate…
As an affiliate, we earn on qualifying purchases.
As an affiliate, we earn on qualifying purchases.
Conclusion
As you capture the Helix Nebula’s intricate beauty, remember you’re witnessing a celestial masterpiece, a cosmic Van Gogh painted across the universe. Just like the star’s final act, your image becomes a lasting testimony to the universe’s grandeur. With each shot, you connect with the timeless dance of creation and decay, reminding us all that even in endings, there’s breathtaking beauty waiting to be revealed—an eternal echo of the stars’ poetry.
DeepSkyStacker astrophotography software
As an affiliate, we earn on qualifying purchases.
As an affiliate, we earn on qualifying purchases.

HOYA 67mm STARSCAPE Light Pollution Astrophotography Filter – Didymium Glass with Enhanced HMC Multicoating Technolgy – Boost Star-to-Sky Contrast – Reduce Night City Sky Color Cast
BLOCKS LIGHT POLLUTION FOR CRISP, CLEAN NIGHT SHOTS – The Starscape 67 mm lens filter cuts unwanted yellow-orange…
As an affiliate, we earn on qualifying purchases.
As an affiliate, we earn on qualifying purchases.