To effectively photograph cometary tails, you need to carefully track the comet’s rapid movement and changing tail features with a stable, precise mount, preferably an equatorial or autoguided system. Use long exposures with a sensitive camera, like a cooled CCD or CMOS, to capture faint details. Incorporate filters if needed to isolate specific emissions. Proper timing and equipment selection help you seize the best moments. Keep exploring to discover tips that enhance your imaging and processing skills.
Key Takeaways
- Use precise timing and continuous tracking with an autoguiding mount to capture the dynamic, rapidly changing features of comet tails.
- Employ long exposure imaging with cooled CCD or CMOS cameras to reveal faint dust and ion tail details.
- Incorporate narrowband filters to isolate specific emissions, enhancing ion tail structure visibility.
- Select appropriate equipment, such as larger apertures and focal reducers, to optimize tail detail and field coverage.
- Plan imaging sessions based on predicted tail behavior and environmental factors to maximize detail and scientific value.
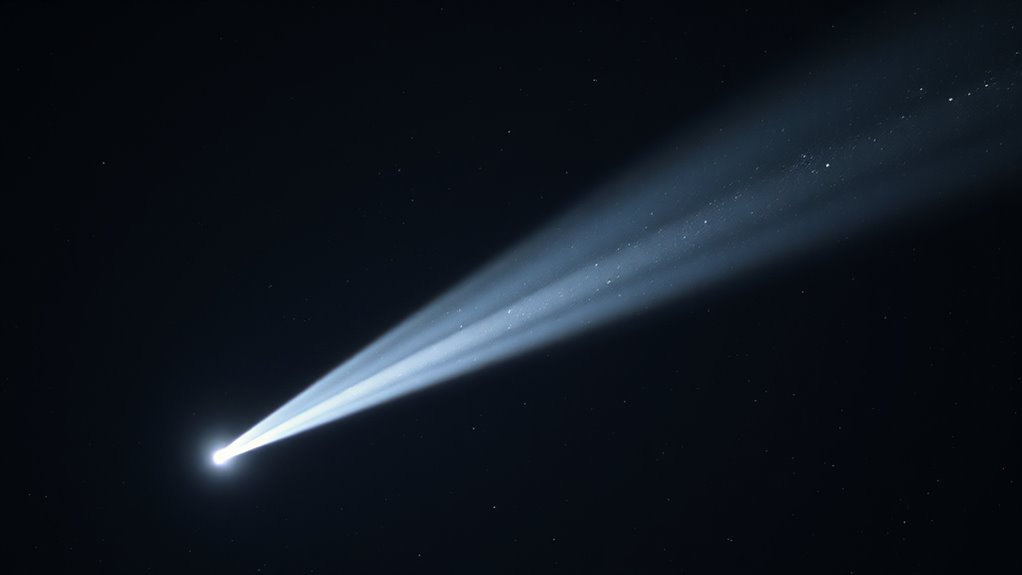
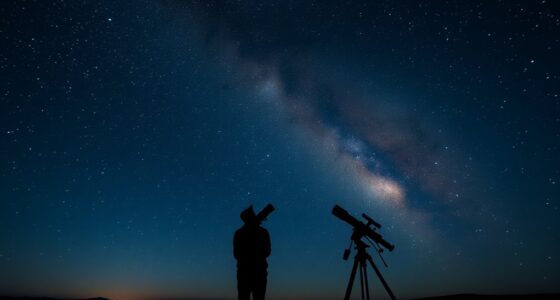
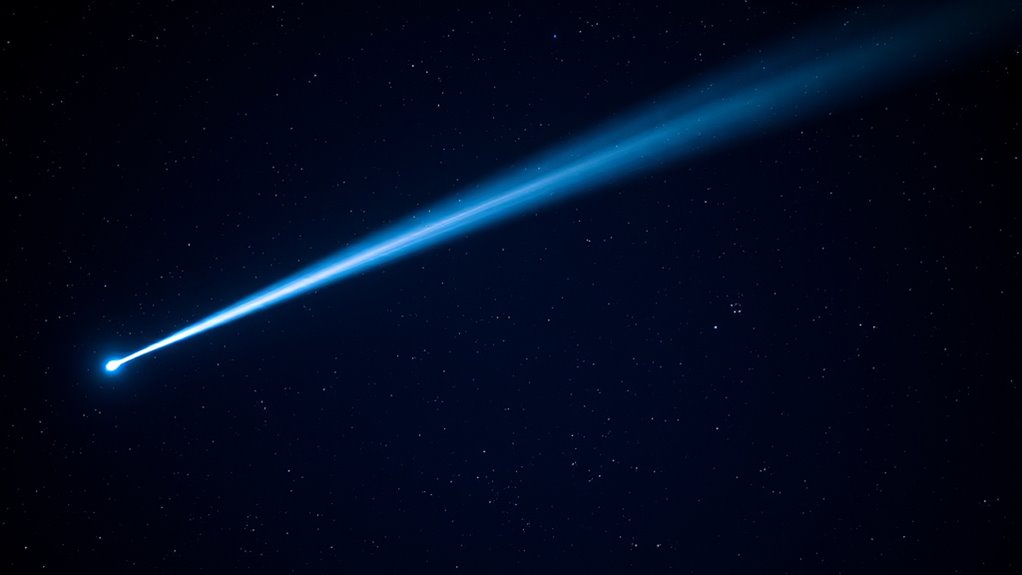
Capturing stunning images of comets can be an exciting challenge for astrophotographers. One of the most fascinating aspects to photograph is the comet’s tail, which reveals essential information about comet tail dynamics and the environment through which the comet travels. To effectively capture these features, you need to understand how the tail behaves and how to plan your imaging approach accordingly. Comet tail dynamics involve the interaction of solar wind and radiation with the comet’s nucleus, causing dust and ion particles to stream away in spectacular fashion. These tails can stretch millions of miles and change rapidly, so timing your shots is critical. Tracking these moving features requires a combination of patience, precise timing, and the right equipment.
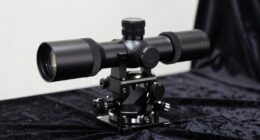
Choosing the appropriate imaging equipment is fundamental to success. Because comet tails are often faint and extend across large portions of the sky, you’ll want a telescope that offers a good balance of aperture size and focal length. A larger aperture gathers more light, revealing faint tail details, while a suitable focal length helps you frame the tail without excessive magnification that could complicate tracking. A sturdy mount with precise tracking capabilities is essential because long exposures are necessary to capture the delicate structures of the tail without star trailing. An equatorial mount with autoguiding capabilities allows you to follow the comet smoothly as it moves through the sky, ensuring sharp, well-exposed images. Additionally, understanding comet tail behavior can help you anticipate changes and optimize your imaging schedule. When selecting imaging equipment, consider using a cooled CCD or CMOS camera that can handle long exposures with minimal noise. High sensitivity is key for capturing faint tail features, especially if you’re aiming to record ion and dust components distinctly. Use narrowband filters if possible, as they can help isolate specific emissions from ion tails, providing more detailed insights into comet tail dynamics. Besides the camera, a good focal reducer or telephoto lens can help you capture a broader view of the tail’s structure, especially when tracking fast-moving comets.

Celestron - NexStar 8SE Telescope - 8-Inch & NexYZ DX Kit - 3-Axis Universal Smartphone Adapter & 18778 AC Adapter (Black)
Product 1: Nexstar computerized telescope: The NexStar 8SE Computerized Telescope features Celestron’s iconic orange tube design with updated...
As an affiliate, we earn on qualifying purchases.
Frequently Asked Questions
What Camera Settings Are Ideal for Comet Photography?
You should set your camera to an exposure of around 20-30 seconds to capture the comet’s tail without star trails. Use a low ISO, like 800 or 1600, to reduce noise, and guarantee your ISO calibration is accurate for crisp images. Use a wide aperture (f/2.8-f/4) to gather maximum light. Adjust exposure settings based on your initial shots, and keep ISO calibration consistent for ideal results.
How Do Weather Conditions Affect Comet Imaging Quality?
Weather conditions substantially impact your comet imaging quality. Atmospheric turbulence causes image distortion, so shooting on clear, stable nights helps you capture sharper details. High humidity can introduce haze or moisture on your lens, reducing clarity and contrast. To get the best results, check weather forecasts for low turbulence and humidity, and consider using dew heaters or lens covers to prevent moisture buildup during your session.
What Post-Processing Techniques Enhance Comet Tail Details?
Think of post-processing as polishing a gemstone; it reveals its true brilliance. You should use image stacking to combine multiple exposures, which reduces noise and highlights delicate tail details. Then, apply contrast enhancement to make the tail stand out against the night sky. These techniques bring out the comet’s intricate features, giving your images a dynamic and detailed appearance that captures the mesmerizing beauty of the comet’s tail.
Which Telescopes Are Best Suited for Tracking Comets?
You should choose telescopes with stable mounts, especially those with equatorial mounts, for tracking comets accurately. These mounts allow precise tracking of celestial objects as they move across the sky. Pair your telescope with a good astrophotography camera to capture detailed images. This setup guarantees smooth tracking of comet tails and minimizes star trails, giving you clear, sharp images essential for stunning comet photography.
How Can I Predict a Comet’s Visibility in My Location?
To predict a comet’s visibility in your location, you need to do some homework. Keep an eye on orbital calculations from astronomical databases and observatory websites, which give precise data. Use this info for observational planning—note when the comet will be above the horizon and free from moonlight. Staying updated with astronomy apps and local astronomy clubs helps guarantee you don’t miss the show when the sky’s most generous.

Celestron NexStar 8 SE Schmidt-Cassegrain Computerized Telescope with 1.25" Eyepiece and Filter Kit
INCLUDED - Optical tube, 25mm eyepiece, star diagonal, StarPointer finderscope, accessory tray, single fork arm mount & tripod,...
As an affiliate, we earn on qualifying purchases.
Conclusion
As you chase the shimmering trail of a comet, remember each photograph captures a fleeting masterpiece in the night sky. With patience and practice, you’ll piece together the celestial puzzle, revealing the comet’s glowing tail like a ribbon unraveled across the cosmos. Keep your camera ready—each shot is a brushstroke in your personal celestial painting, reminding you that even in darkness, you hold the power to catch a glimpse of the universe’s most breathtaking secrets.

Sky-Watcher Quattro 200P Imaging Newtonian - Large Aperture 8-inch Reflector Optical Tube for Astrophotography
FAST f/4 OPTICS: With a bright f/4 focal ratio, the Quattro Imaging Newtonian captures greater detail in a...
As an affiliate, we earn on qualifying purchases.

Celestron - NexStar Evolution 8 WiFi Enabled Computerized Telescope - 8” Schmidt-Cassegrain Telescope SCT - Control via Smartphone App - 10-Hour Lithium Battery - iPhone and Android Compatible
COMPUTERIZED TELESCOPE WITH WIFI FUNCTIONALITY: Explore the Universe and control your telescope with the free Celestron SkyPortal app...
As an affiliate, we earn on qualifying purchases.