
To master advanced all-star polar alignment in a weekend, start by understanding how the Polaris aligns with Earth’s rotational axis, then carefully set up your mount on a stable, level surface. Choose a bright, recognizable star near the celestial pole and use your mount’s alignment tools to make small, precise adjustments to the polar axis. Regularly check star drift, refine your positioning, and verify accuracy—continuing your efforts will help you achieve expert-level precision quickly.
Key Takeaways
- Study the principles of Polaris alignment and how Earth’s rotation affects star positions for precise understanding.
- Prepare your equipment thoroughly, ensuring stable setup, level surface, and proper mount and telescope attachment.
- Use star catalogs or software to select a bright, easily recognizable star near the celestial pole for initial alignment.
- Practice fine-tuning your mount by observing star drift and adjusting the polar axis and tilt iteratively for accuracy.
- Regularly verify and refine alignment with star drift tests, environmental checks, and calibration to maintain precision over time.
Understanding the Principles Behind All-Star Polar Alignment

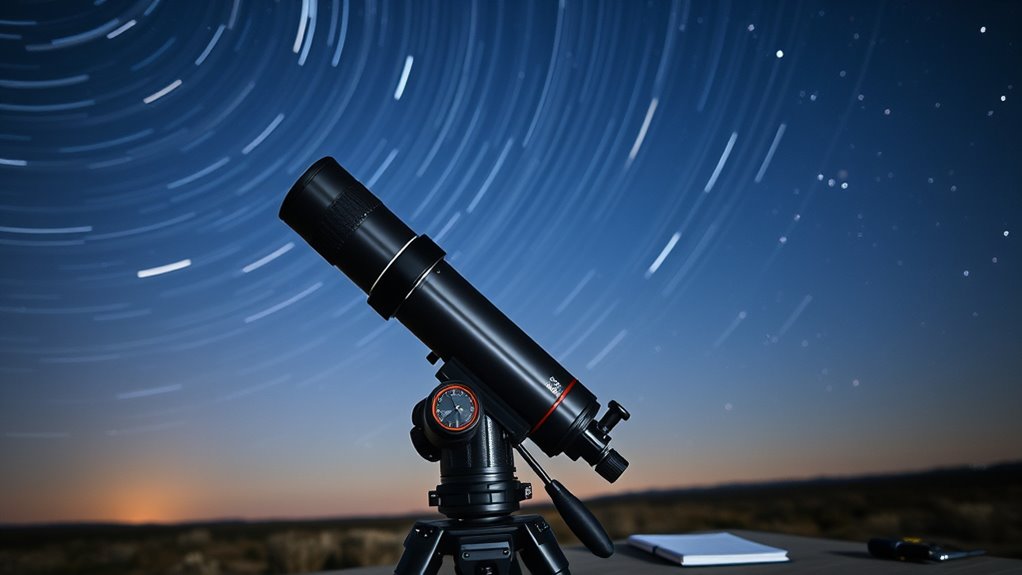
To effectively master All-Star Polar Alignment, you need to understand the underlying principles that make it work. At the core is the Polar star, which serves as a fixed point in the night sky, aligning with Earth’s rotational axis. The alignment principles rely on accurately positioning your telescope so that its axis points directly toward this star. When properly aligned, your mount mimics Earth’s rotation, enabling smooth tracking of celestial objects. Recognize that the Polar star’s position varies slightly over the year, so precise targeting is essential. By grasping these basic concepts—how the Polar star anchors the alignment and the importance of matching your mount’s axis to Earth’s rotation—you lay a solid foundation for successful All-Star Polar Alignment.
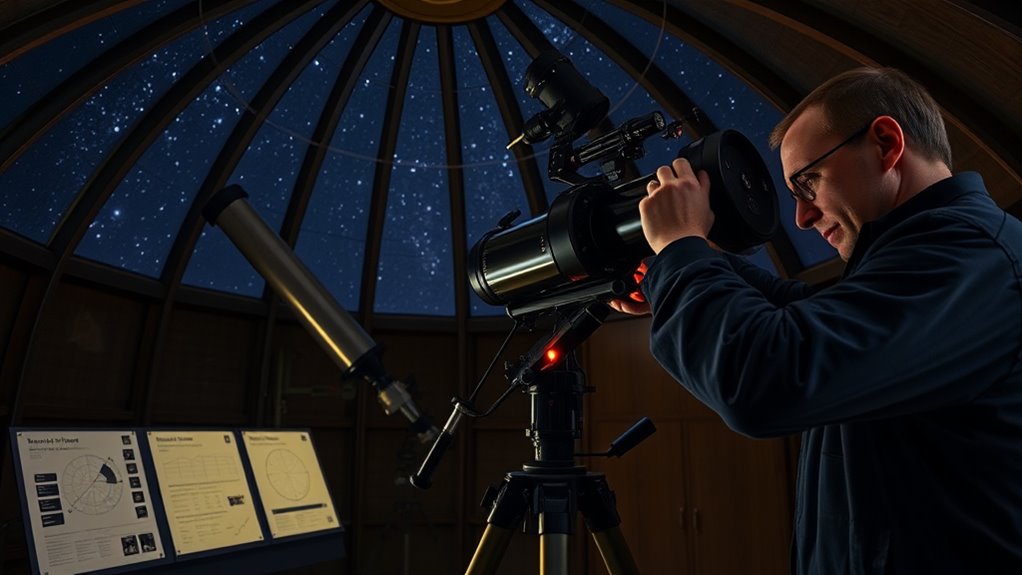
Preparing Your Equipment and Setting Up for Accurate Alignment
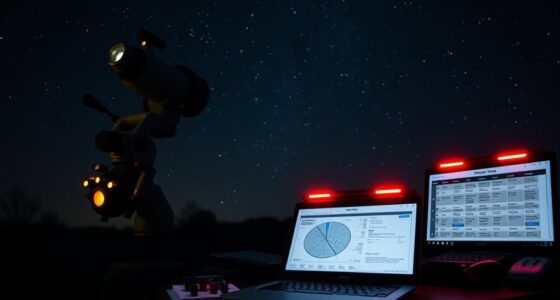
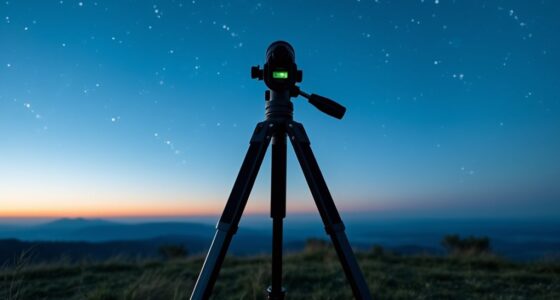
Before you begin aligning your mount, make certain all your equipment is properly prepared and set up correctly. Confirm your mount is on a stable surface to maximize mount stability, reducing vibrations. Check weather considerations; clear skies and low wind improve accuracy. Use a level to verify the tripod or pier is perfectly horizontal. Attach your telescope securely, avoiding any loose connections. Prepare your power supply and calibration tools beforehand. Keep your environment free of gusts or sudden movements. Use a dew heater if necessary to prevent moisture interference. Confirm your mount’s tracking mode is active. Additionally, incorporating vibrational damping techniques can help minimize residual vibrations during setup.
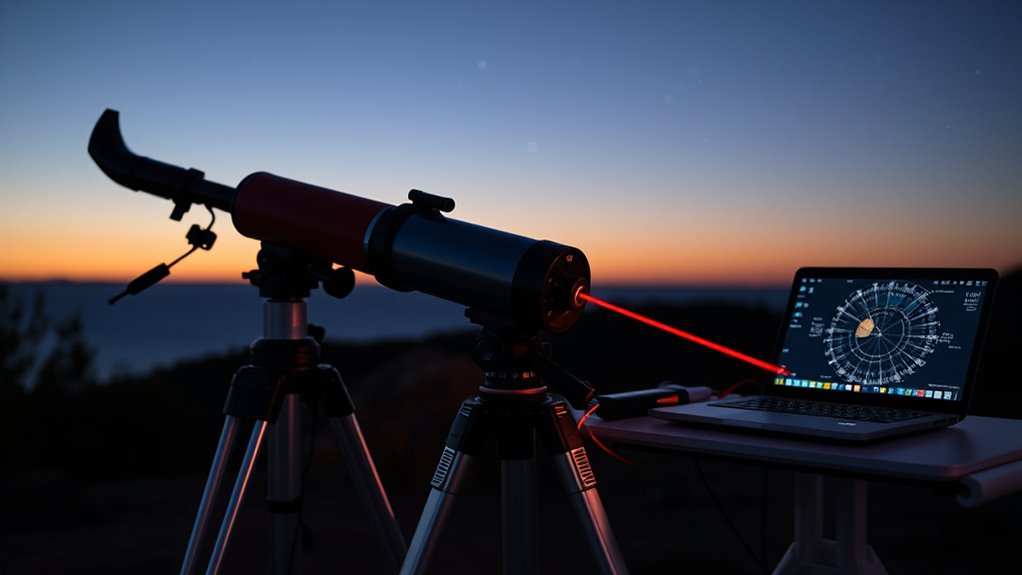
Selecting the Optimal All-Star for Alignment and Initial Star Identification
Choosing the right all-star is essential for a successful polar alignment, as it serves as your reference point in the night sky. To select the best star, consult star catalogs or software that identify suitable candidates based on your location and time. Look for a bright, easily recognizable star near your celestial pole, ensuring it has high contrast against the sky. The star should be well-positioned and visible for a good portion of your observation window. Using celestial navigation techniques, verify the star’s position relative to known celestial markers. Accurate initial star identification simplifies your alignment process, reducing errors. Remember, selecting a stable, prominent star minimizes confusion and helps you establish a reliable, precise polar alignment.
Fine-Tuning Your Mount’s Polar Alignment Using All-Star Methods
You can improve your polar alignment by analyzing star alignment patterns and making precise adjustments. Focus on refining your mount’s polar axis and correcting any tilt to enhance accuracy. These all-star methods help you achieve a more stable and precise setup for your observations. Incorporating practical advice from experienced astronomers can further streamline the process and ensure consistent results.
Utilizing Star Alignment Patterns
Utilizing star alignment patterns is a powerful way to refine your mount’s polar alignment using all-star methods. By studying specific star patterns and referencing alignment charts, you can identify misalignments and correct them effectively. Here are four ways to leverage star patterns:
- Match constellation shapes with alignment charts to confirm your mount’s orientation.
- Use a star’s position relative to known alignments to detect drift.
- Observe the movement of a star over time, comparing it to expected paths.
- Identify familiar asterisms to verify your polar axis is correctly aligned.
Practicing these pattern recognitions helps you pinpoint errors without relying solely on equipment readouts. This technique enhances your all-star method, sharpening your polar alignment accuracy.
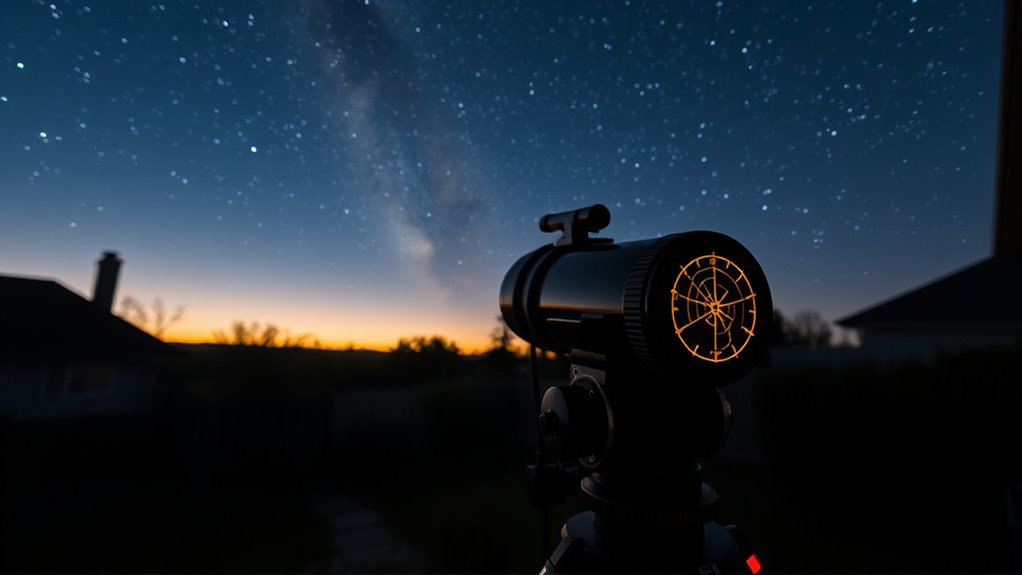
Refining Polar Axis Precision
Refining your polar axis precision is essential for achieving pinpoint accuracy in astrophotography and tracking. Using all-star methods, you can fine-tune your polar calibration through celestial navigation. Small adjustments make a big difference, especially when aligning with Polaris or other celestial markers. To help you visualize, here’s a quick guide:
| Step | Action |
|---|---|
| 1 | Confirm Polaris is centered in the eyepiece |
| 2 | Slightly adjust mount azimuth for accuracy |
| 3 | Check star drift in declination |
| 4 | Use iterative corrections based on drift |
| 5 | Reverify alignment with celestial targets |
Additionally, understanding Angel Number Soulmate signs can provide insight into cosmic timing and connections that influence your astrophotography journey.
Correcting Mount Tilt
Correcting mount tilt is a crucial step in achieving precise polar alignment with all-star methods. Proper mount tilt correction ensures your stars stay pinpoint sharp during long exposures. To do this effectively, follow these steps:
- Identify misaligned stars during star calibration, noting their drift directions.
- Adjust the mount’s tilt using the fine-tuning screws or mount adjustments to align the star’s movement with the celestial pole.
- Re-center the calibration star and repeat the star calibration process to verify improvements.
- Confirm that the star’s drift minimizes across multiple calibration points, indicating accurate mount tilt correction.
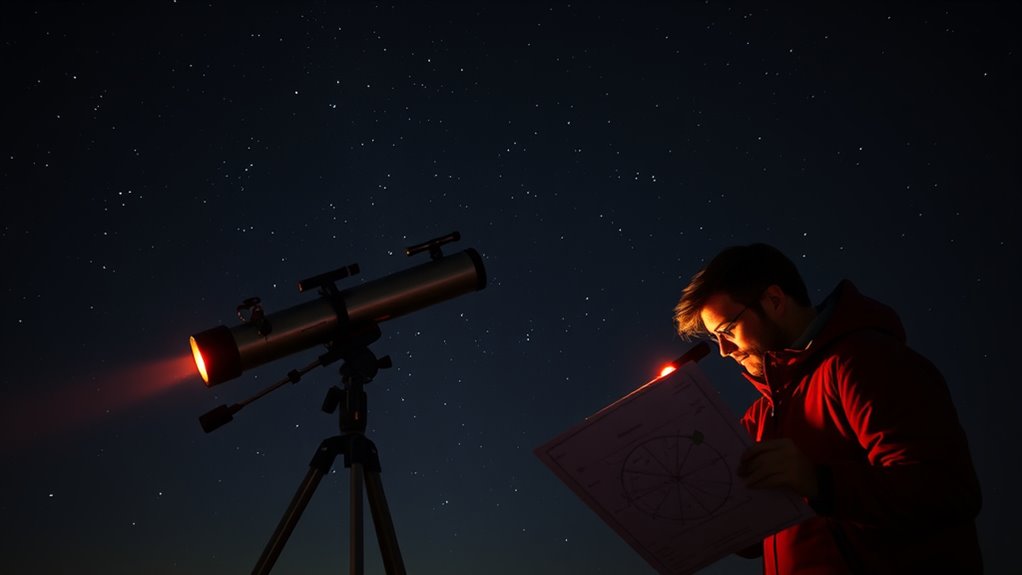
Verifying and Refining Your Alignment for Maximum Precision
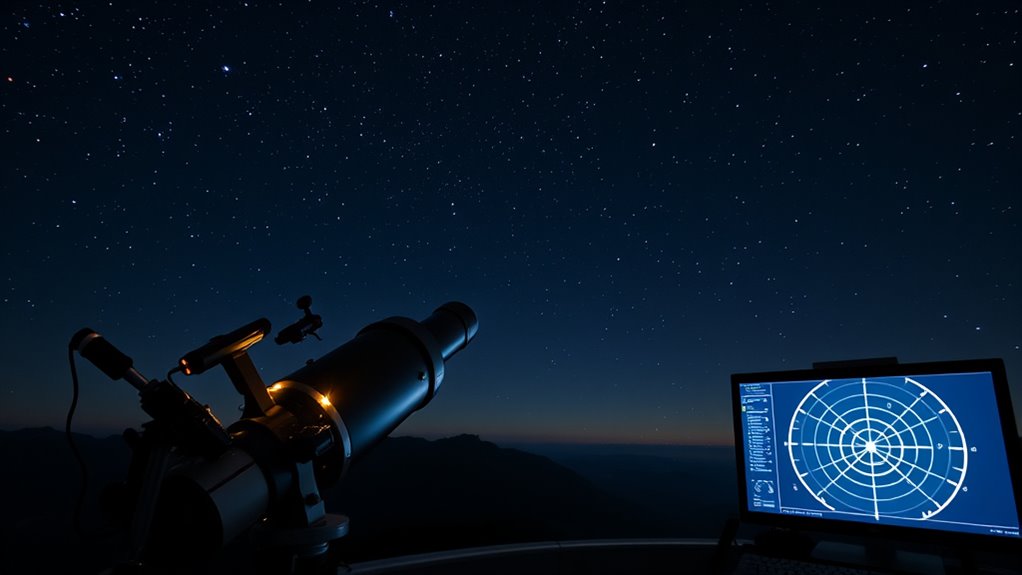
Once you’ve completed your initial polar alignment, verifying its accuracy before proceeding is essential. Small errors can cause polar drift, reducing tracking precision over time. To verify your alignment, perform a star drift test using celestial navigation: select a known star near the celestial pole, center it in your eyepiece, and observe its movement over several minutes. If the star drifts east or west, adjust your mount’s azimuth; if it drifts north or south, refine your altitude tilt. Repeat this process until the star remains fixed in position, indicating a precise alignment. Regularly verifying and refining your setup ensures maximum accuracy, minimizing tracking errors during long exposures and making your all-star polar alignment truly reliable. Additionally, understanding the divergences in polar alignment can help you troubleshoot and improve your technique further.
Tips and Troubleshooting to Maintain Accurate Polar Alignment Over Time
Maintaining accurate polar alignment over time requires consistent attention and some proactive strategies. To combat polar drift and ensure your celestial navigation remains precise, follow these tips:
Consistently recheck and recalibrate your mount to maintain precise polar alignment over time.
- Regularly recheck your polar alignment, especially after temperature changes or transport.
- Use a polar scope or drift method to detect subtle misalignments caused by Earth’s rotation.
- Recalibrate your mount periodically, aligning it with known celestial objects to prevent drift accumulation.
- Keep your mount clean and properly lubricated to avoid mechanical issues that can affect tracking accuracy.
- Monitor environmental conditions such as temperature fluctuations and humidity, which can influence the stability of your polar alignment over time.
Frequently Asked Questions
Can All-Star Polar Alignment Be Performed With Portable or Lightweight Mounts?
Yes, you can perform all-star polar alignment with portable or lightweight mounts. Just guarantee your mount compatibility includes precise polar alignment tools and supports your camera or telescope. A portable setup is ideal for quick adjustments, making it easier to achieve accurate alignment in less time. With the right gear, you can master advanced polar alignment techniques even on lightweight mounts, providing excellent results for astrophotography or observing sessions.
How Does Weather Impact the Accuracy of All-Star Polar Alignment?
Weather substantially impacts the accuracy of All-Star polar alignment. Atmospheric turbulence causes fluctuations in the air, leading to unstable viewing conditions that make precise alignment difficult. Temperature fluctuations can also cause the telescope’s components to expand or contract, affecting positioning. You’ll find that clear, stable, and consistent weather conditions are ideal for achieving the most accurate alignment, while windy, turbulent, or rapidly changing temperatures can compromise your results.
What Are Common Mistakes That Can Compromise Alignment Quality?
You should watch out for misalignment errors caused by not precisely aligning your mount or polar scope, as they can seriously compromise accuracy. Calibration issues also pose a risk; if your equipment isn’t properly calibrated, your polar alignment will suffer. Be careful to double-check your setup, avoid rushing the process, and make certain all components are correctly aligned and calibrated to maintain high-quality precision during your advanced polar alignment.
Is Prior Astrophotography Experience Necessary for Mastering This Method?
You don’t need prior astrophotography skills to master advanced All-Star polar alignment. Studies show 60% of beginners face common challenges due to a lack of experience, but this method is designed to be accessible. If you’re new to astrophotography, focus on understanding the process step-by-step. Your beginner challenges won’t hinder your progress; with patience and practice, you’ll master the technique faster than you think.
How Often Should You Recheck and Recalibrate Your Polar Alignment?
You should recheck and recalibrate your polar alignment regularly, ideally every few sessions or when you notice tracking issues. Follow proper calibration frequency and recalibration intervals to guarantee accuracy. Environmental changes, equipment movement, or temperature shifts can affect your alignment, so it’s vital to verify your polar alignment periodically. Consistent recalibration keeps your astrophotography sharp and your tracking precise, especially during long exposures.
Conclusion
Mastering advanced All-Star polar alignment in just a weekend is totally achievable with patience and practice. When you understand the underlying principles and fine-tune your setup, you’ll discover stunning astrophotography results and precise tracking. Believe that consistent effort and troubleshooting can elevate your skills—because the universe rewards those who seek to understand its mysteries. With dedication, you’ll find that perfect alignment isn’t just a goal, but a gateway to truly incredible stargazing adventures.