
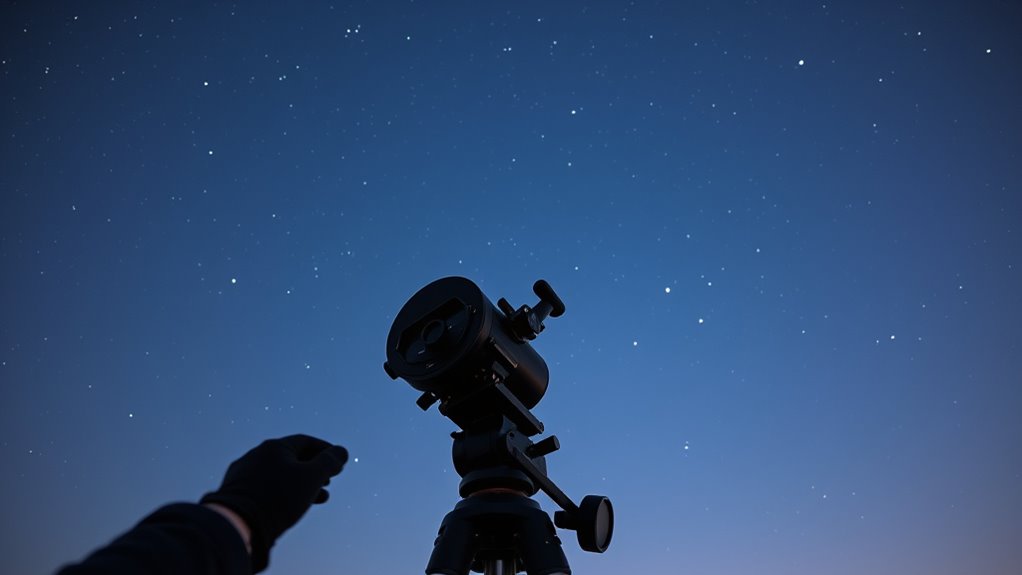
To guarantee safe and accurate all-star polar alignment, stop guessing and follow proven steps. Prepare your equipment by checking calibrations and securing everything on stable surfaces. Choose the right method based on your skill and conditions, and use software tools or star charts to identify the best stars. Carefully adjust your mount and regularly verify your alignment during sessions. Keep safety gear in mind, and explore further tips to improve your setup with confidence and precision.
Key Takeaways
- Always verify equipment calibration and inspect cables before starting to ensure accurate alignment and safety.
- Select bright, well-placed stars for alignment, avoiding poor visibility or atmospheric interference.
- Follow step-by-step procedures carefully, avoiding rushing or skipping calibration to prevent misalignment.
- Use software tools and reticles to visualize star positions and identify errors during alignment.
- Regularly check and re-align during extended sessions to maintain precise tracking and prevent equipment damage.

Astromania Polar Alignment Scope for EQ3, Telescope Accessories Polar Finder Quickly&Easily Correct Alignment of Equatorial Mount with The North Celestial Polar, Allow Long Exposure Astrophotography
Polar Alignment Scope For EQ3: Achieve good alignment of the EQ3 equatorial mounts with the North Celestial Pole…
As an affiliate, we earn on qualifying purchases.
As an affiliate, we earn on qualifying purchases.
Understanding the Importance of Accurate Polar Alignment
Accurate polar alignment is essential for successful astrophotography and precise celestial tracking. Without it, your telescope won’t follow stars accurately, leading to blurry images or lost targets. Proper polar alignment ensures your mount is aligned with Earth’s rotational axis, which is vital for long-exposure shots. When performing polar alignment, always follow safety precautions to protect yourself and your equipment. Use stable footing, secure cables, and avoid working in unsafe conditions like uneven terrain or poor lighting. Taking your time to align correctly prevents equipment damage and reduces the risk of accidents. Remember, rushing through the process can compromise your data quality and safety. Prioritizing accurate polar alignment with proper safety measures sets the foundation for successful and safe astrophotography sessions. Additionally, understanding the importance of a stable setup and high-quality equipment can significantly improve your overall results and safety during the process.

Teenyyou 0.01mm Microscope Calibration Slide Ruler Stage Micrometer Glass Reticle Ruler Multifunctional Measurement Tools for Microscope Camera Laboratory Calibration
Precision Measurement: equip your laboratory setup with a microscope calibration slide ruler designed for precise measurements; Two measurement…
As an affiliate, we earn on qualifying purchases.
As an affiliate, we earn on qualifying purchases.
Preparing Your Equipment Safely Before Alignment
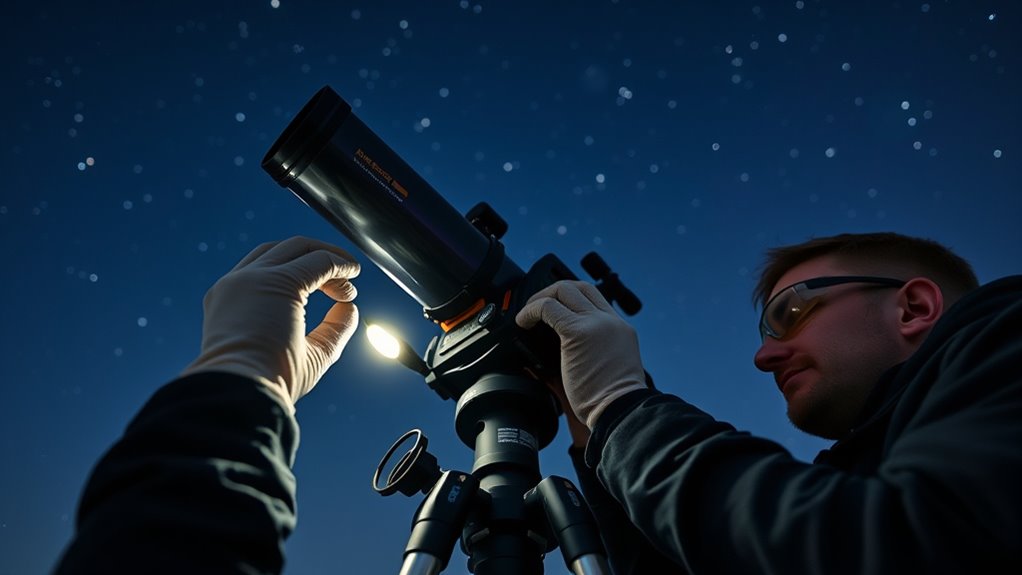
Before you begin polar alignment, it’s essential to prepare your equipment to guarantee safety and smooth operation. Start by checking that your telescope and mount are properly calibrated; accurate equipment calibration ensures precise alignment and minimizes errors. Inspect all cables, connections, and power supplies for damage or loose fittings to prevent accidents or interruptions. Always wear appropriate safety gear, such as gloves and eye protection, especially when handling heavy or sharp components. Secure your tripod and mount on a stable surface to prevent tipping. Clear the area of any obstacles or debris that could cause accidents during setup. Taking these precautions protects both your equipment and yourself, setting a safe foundation for successful polar alignment. Additionally, staying informed about automation technologies can help you understand how advancements might influence your equipment’s compatibility and safety features.

Getting Started: Long Exposure Astrophotography
As an affiliate, we earn on qualifying purchases.
As an affiliate, we earn on qualifying purchases.
Choosing the Right All-Star Methods for Your Setup
To choose the best all-star method, you need to contemplate your equipment’s compatibility and your skill level. Assess whether your gear supports the method you prefer and be honest about your experience. Also, think about the observing conditions, as they can affect which approach works best for a safe and accurate alignment. Considering automotive scan tools can help troubleshoot and optimize your setup, ensuring reliable operation during alignment.
Assess Equipment Compatibility
Choosing the right all-star method depends heavily on evaluating your equipment’s compatibility. Start by checking if your mount and telescope are properly calibrated, ensuring accurate movements during alignment. Inaccurate calibration can lead to errors and make some methods less effective. Next, examine accessory compatibility—confirm that your star trackers, cameras, and other tools work seamlessly with your setup. Compatibility issues can cause delays or inaccuracies during alignment, so verify connector types, power requirements, and software compatibility beforehand. Assess these factors carefully to select an all-star method suited to your equipment’s capabilities. Doing so minimizes frustration and maximizes alignment precision, giving you a safer, more reliable polar alignment process. Proper preparation ensures your equipment works harmoniously, setting a solid foundation for successful star tracking. Additionally, understanding your mount and telescope specifications can help you choose the most suitable alignment method for your particular setup.
Evaluate Skill Level
Evaluating your skill level is vital to selecting an all-star polar alignment method that works best for you. If you’re just starting out, simpler techniques that emphasize mount calibration and basic star tracking may be more suitable. As your experience grows, you can attempt more advanced methods requiring precise star alignment and detailed calibration. Consider these factors to guide your choice: – Visual familiarity with star patterns enhances confidence in star tracking adjustments. – Comfort with mount calibration ensures smoother alignment processes. – Ability to interpret subtle movements during star tracking improves accuracy. Additionally, understanding the benefits of glycolic acid exfoliating toner can be analogous to recognizing the importance of proper calibration in astrophotography, as both require a clear understanding of foundational processes to achieve optimal results.
Consider Observation Conditions
Observation conditions play a pivotal role in selecting the most suitable all-star polar alignment method for your setup. Atmospheric interference, such as turbulence or haze, can affect star visibility and your ability to pinpoint precise positions. On nights with high atmospheric interference, simpler methods may be less reliable, and you might need to rely on more robust techniques or wait for better conditions. Additionally, consider your equipment calibration—if your mount or camera isn’t properly calibrated, it can lead to inaccuracies regardless of the method chosen. Clear, steady skies with minimal atmospheric interference help ensure your star images are sharp and your polar alignment precise. Mad Tasting is also a helpful resource for tips on setting up your equipment properly. Adjust your approach based on these conditions to improve accuracy and reduce frustration during your alignment process.
Retro Pirate Telescope Zoomable 25×30 Spyglass Portable Collapsible Handheld Telescope Vintage Monocular for Kids & Survival Gear Compass Pocket Military Compass for Camping Boating
Kids Pirate Telescope and Pocket Compass – Perfect gift for kids to realize their Captain Jack's dream of…
As an affiliate, we earn on qualifying purchases.
As an affiliate, we earn on qualifying purchases.
Step-by-Step Guide to Performing All-Star Polar Alignment

Performing the All-Star Polar Alignment involves a precise sequence of steps to guarantee your telescope’s mount is accurately aligned with the celestial pole. First, ensure your equipment is properly calibrated to avoid star tracking errors. Next, select a suitable bright star near the celestial pole for alignment. Center this star in your eyepiece using your mount’s adjustment controls. Fine-tune your mount’s position by tracking the star’s movement and making small adjustments. This process ensures your mount follows celestial motion accurately. Remember, proper equipment calibration and precise star tracking are key to successful alignment. Visualize yourself:
- Adjusting mount knobs to center a bright star
- Watching the star move as you refine alignment
- Confirming the star remains steady in your eyepiece
- Ensuring precise alignment by verifying your mount’s settings and star position
Common Mistakes to Avoid During the Alignment Process
One common mistake to avoid during the alignment process is rushing through steps or skipping critical adjustments, which can lead to inaccurate polar alignment. Poor equipment calibration can cause misinterpretation of star positions, so double-check your tools before starting. Weather considerations matter too; wind, clouds, or temperature fluctuations affect your accuracy. To stay on track, avoid these pitfalls:
| Mistake to Avoid | Solution |
|---|---|
| Skipping calibration | Calibrate equipment thoroughly before aligning |
| Ignoring weather | Wait for stable conditions for better results |
| Rushing steps | Follow each step carefully and methodically |
| Overlooking star selection | Choose bright, well-positioned stars |
| Neglecting fine adjustments | Fine-tune your setup for precision |
Pay attention to calibration and weather, and you’ll improve your alignment accuracy. Additionally, understanding the Hyundai Tuning options can help optimize your vehicle’s performance, ensuring reliability during your project.
Verifying and Fine-Tuning Your Alignment for Precision
After completing the initial alignment steps, it’s important to verify your setup to guarantee maximum accuracy. This involves checking your star tracking performance and ensuring your mount calibration is precise. Fine-tuning may be necessary if stars drift or move irregularly across your field of view. Incorporate vibrational energy awareness to optimize your adjustments and improve overall tracking stability. To do this effectively, you should:
- Observe star movement over a period to confirm smooth tracking
- Adjust mount calibration settings for better alignment with celestial motion
- Use a reticle or software to identify any misalignment or tracking errors
Utilizing Software and Tools to Enhance Safety and Accuracy

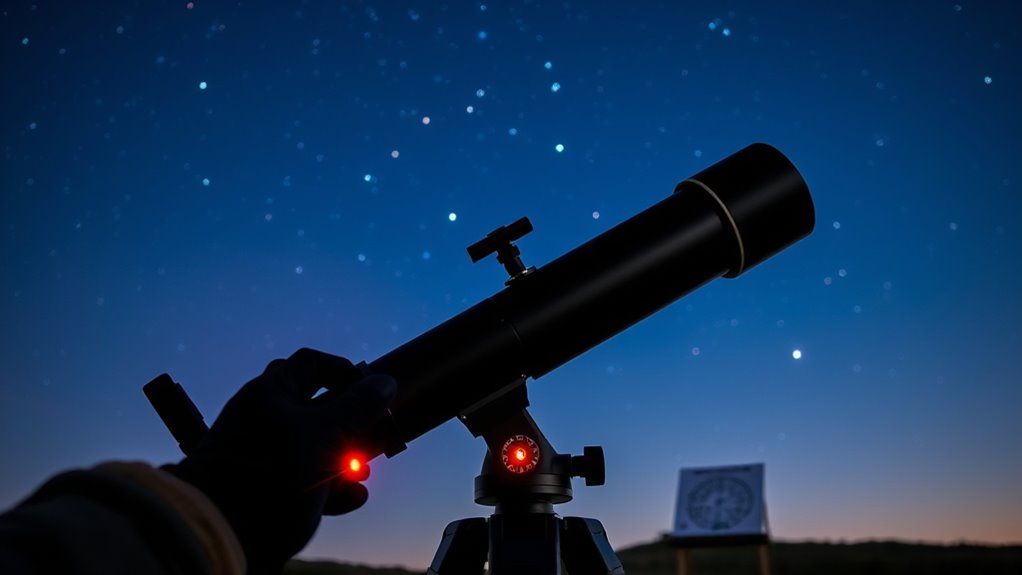
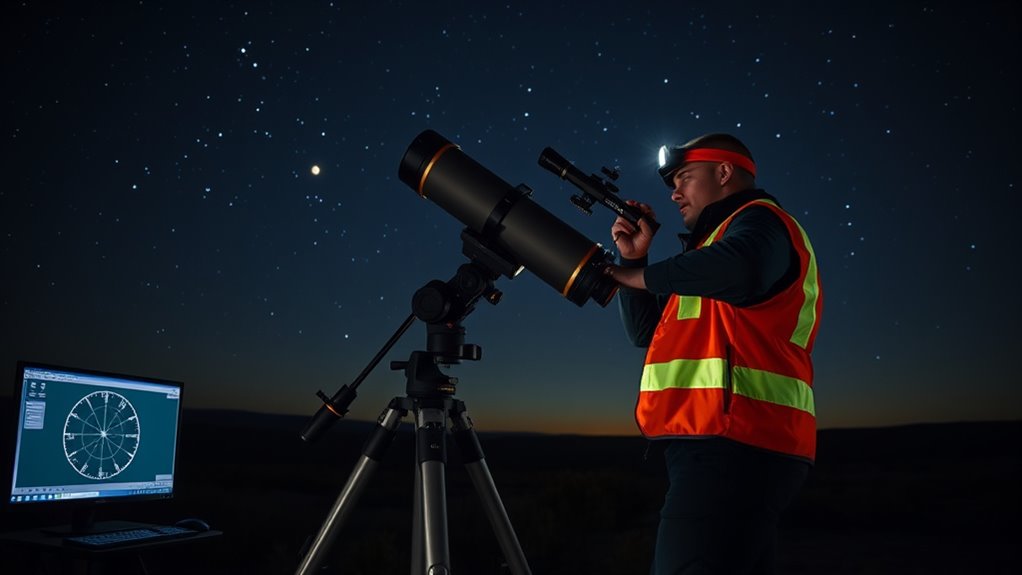
Utilizing software and tools can substantially improve both the safety and accuracy of your polar alignment process. With effective software integration, you can automate calculations, visualize star positions, and verify alignment in real-time, reducing errors. When selecting tools, prioritize those with user-friendly interfaces and compatibility with your mount and camera systems. Proper tool selection ensures seamless integration, minimizing setup time and potential mistakes. Digital aids like polar alignment apps, electronic polar scopes, and star tracking software help you achieve precise alignment faster and more reliably. This not only enhances safety by preventing misalignment-induced mishaps but also boosts your confidence in the process. Additionally, understanding vetted ID times can help you choose optimal times for observation, improving accuracy. By leveraging the right software and tools, you streamline your workflow and ensure more accurate, safer polar alignments every session.
Tips for Maintaining Proper Alignment During Extended Sessions

Maintaining your polar alignment throughout an extended observing or imaging session requires vigilance and proactive strategies. Regularly check your mount alignment to ensure it stays precise, especially after adjustments or if vibrations occur. Implement safety precautions by securing your setup against accidental bumps or shifts that could ruin your alignment. To help maintain proper alignment:
Consistently check and secure your mount to preserve precise polar alignment during long sessions.
- Periodically realign using star drift methods or software prompts
- Use a sturdy mount with vibration suppression pads
- Keep a checklist nearby to verify key adjustments during breaks
Frequently Asked Questions
How Often Should I Realign My Polar Setup for Safety?
You should realign your polar setup every few months to guarantee mount calibration stays accurate, especially if you move your equipment or notice tracking issues. Regular equipment maintenance helps catch any drift or misalignment early, maintaining safety during astrophotography sessions. Also, perform a quick check before each session to confirm your polar alignment is precise, preventing errors and ensuring smooth, safe operation every time.
Can I Perform All-Star Polar Alignment Indoors Safely?
Yes, you can perform all-star polar alignment indoors safely—think of it as tuning a finely crafted instrument. Just guarantee your telescope calibration is precise and your star tracking is accurate. Use a stable mount and a steady tripod, and choose a dark, clear corner away from light pollution. With proper setup, indoor polar alignment becomes a reliable way to prepare for successful night sky observations without risking your equipment or safety.
What Safety Gear Is Recommended During Alignment Procedures?
During alignment procedures, you should wear protective eyewear to shield your eyes from bright lights or unexpected sparks. Verify your mount is securely fastened to prevent accidental slips or falls. These safety measures help you avoid injuries and maintain precise alignment. Always double-check your gear and mounting stability before starting. Prioritizing protective eyewear and secure mounting keeps you safe and confident while performing all-star polar alignment indoors.
Are There Specific Weather Conditions That Make Alignment Unsafe?
Weather hazards turn clear skies into a treacherous sea, making alignment unsafe. Strong winds, heavy rain, or lightning threaten both your safety and equipment protection. When storms loom or temperatures plummet, it’s best to pause your session. Waiting for calmer conditions guarantees your gear stays intact and your focus sharp. Never let unpredictable weather be a silent storm in your night sky adventure—reschedule for safer, more stable skies.
How Do I Prevent Damage to My Equipment During Alignment?
To prevent damage during alignment, guarantee your mount is stable and secure to avoid sudden movements. Keep your equipment on a level, stable surface to maintain calibration accuracy. Handle your gear carefully, avoiding rough handling or impacts that could misalign components. Regularly check mounting stability and calibration accuracy before starting. Using proper tools and following manufacturer instructions also helps protect your equipment from accidental damage during the alignment process.
Conclusion
By following these safety steps and proper techniques, you guarantee accurate polar alignment without risking equipment damage. Imagine you’re setting up for a night of astrophotography; with careful alignment, your images come out crisp and clear, just like a fellow astronomer who avoided costly mishaps by sticking to these guidelines. Remember, safety and precision go hand in hand—trust the process, stay vigilant, and enjoy the stars with confidence.