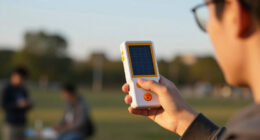
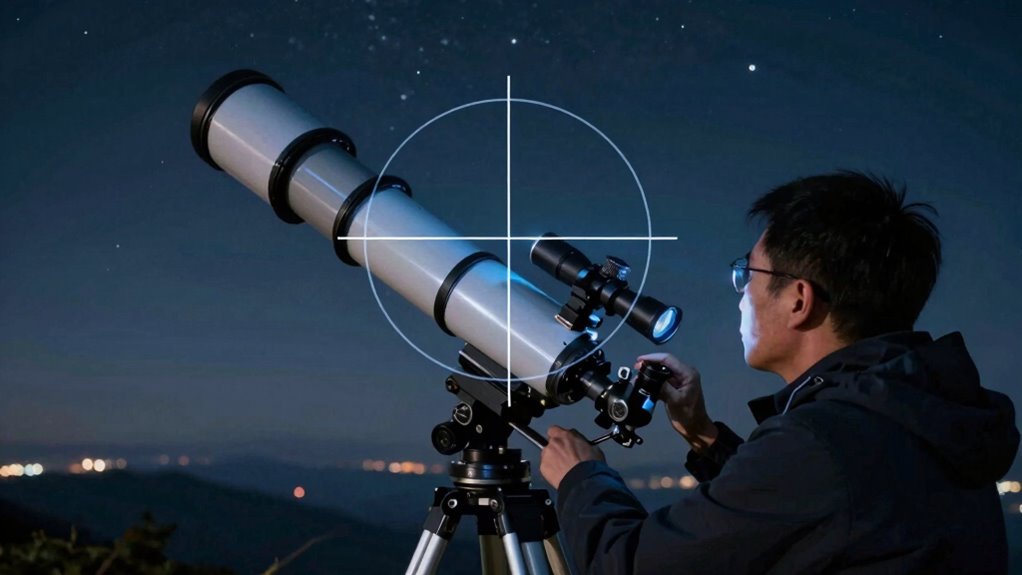
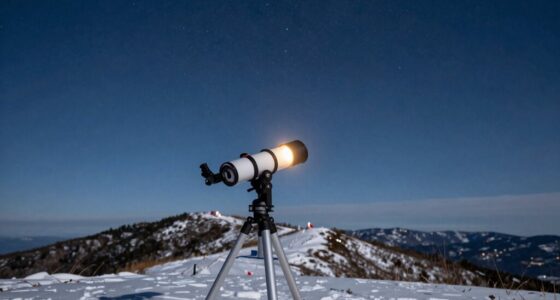
After setting up your mount, the most important polar alignment check is to make certain Polaris appears stationary through your polar scope or reticle for at least a few minutes. This confirms your mount is properly aligned and tracking accurately. If Polaris drifts or moves, your alignment needs adjustment. Doing this quick check helps prevent star trails and blurry images. Keep going to discover more essential tips to perfect your astrophotography setup.
Key Takeaways
- Observe star movement over a few minutes to ensure minimal drift, indicating proper polar alignment.
- Confirm Polaris’s position using a reticle or polar scope as a quick alignment check.
- Perform a one-star drift test to detect east-west tracking errors.
- Recheck mount stability and balance before starting imaging sessions.
- Verify that tracking adjustments produce smooth, consistent star movement without streaks.

Astromania Polar Alignment Scope for EQ-5 Equatorial Mount
Full metal; Good alignment of the mount with the North Celestial Pole can be achieved in a short…
As an affiliate, we earn on qualifying purchases.
As an affiliate, we earn on qualifying purchases.
Why Precise Polar Alignment Is Crucial for Clear Astrophotography
Achieving precise polar alignment is vital because it directly impacts the quality of your astrophotography. When you align your mount accurately, celestial navigation becomes more reliable, helping you track stars smoothly across the sky. Proper alignment ensures your mount remains stable, reducing vibrations and drift during long exposures. Without it, stars appear streaked or blurry, ruining your images. Precise polar alignment allows your mount to follow celestial objects precisely, minimizing the need for constant adjustments. This stability is indispensable for capturing sharp, detailed astrophotos. By focusing on accurate celestial navigation and mount stability, you set a strong foundation for clear, professional-looking images. Skipping this step risks compromising your entire session, so take your time to get it right. Additionally, understanding digital concepts can enhance your overall approach to astrophotography, making it easier to explore new techniques and improve your skills.

Dunviku 4-Pin 24mm 20mm Bipolar Clutch Tool Wrench Lock Nut Remover Spanner Compatible with ATV Dirt Bike ATC 125 110 CA 200 CB 200 ATC 90
【Material】The spanner is crafted from steel material,ensuring high stability,reliability,and a long service life,durable in using
As an affiliate, we earn on qualifying purchases.
As an affiliate, we earn on qualifying purchases.
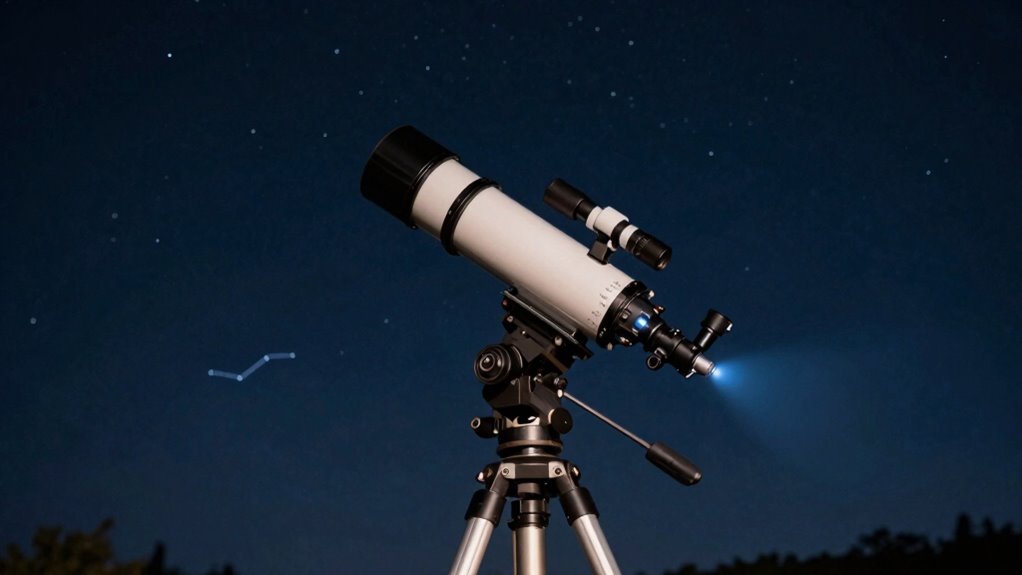
How to Quickly Check Your Polar Mount After Setting Up
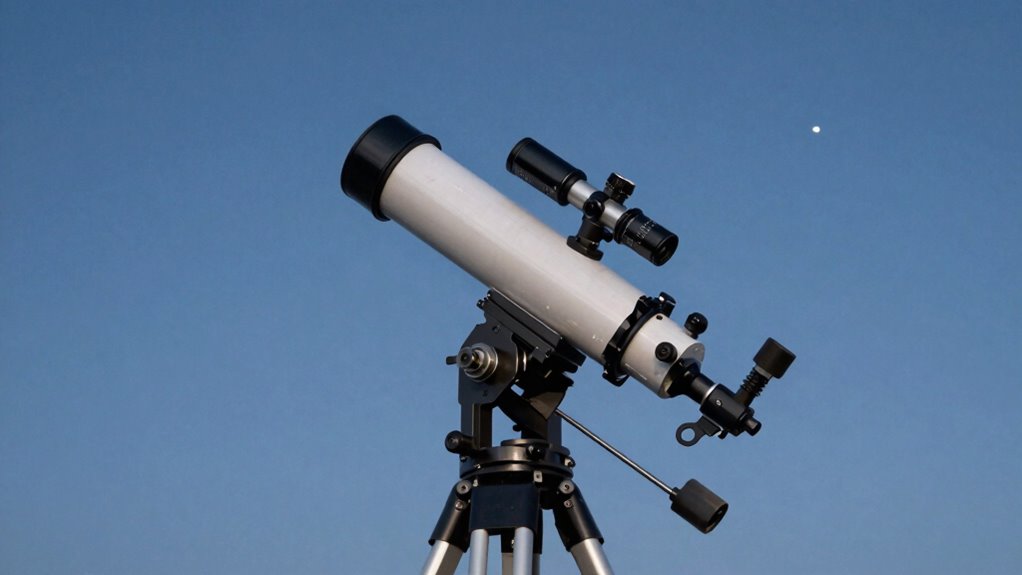
After you’ve set up your mount and roughly aligned it, it’s crucial to quickly verify that the polar alignment is still accurate before you start imaging. This helps prevent polar drift during your session. To check alignment accuracy efficiently:
- Observe star movement over a few minutes; minimal drift indicates good alignment.
- Use a reticle or polar scope to confirm the Polaris position hasn’t shifted.
- Perform a quick manual one-star drift test if your mount supports it, watching for star movement on the east-west axis.
Additionally, ensuring your setup is in a location with optimal lighting control can significantly enhance your imaging experience. Regularly checking your mount’s alignment helps maintain the right polar alignment and reduces the risk of drift over time. These steps ensure your mount maintains proper polar alignment, reducing polar drift and ensuring your astrophotography remains sharp. Regular quick checks help catch any misalignment early, saving you time and frustration during imaging.
star drift alignment kit
As an affiliate, we earn on qualifying purchases.
As an affiliate, we earn on qualifying purchases.
Recognizing Signs That Your Polar Alignment Is Off
When your polar alignment is off, you’ll notice certain signs that indicate the mount isn’t tracking accurately. One common sign is polar drift, where stars gradually appear to move in arcs instead of points, especially during long exposures. If you observe star trails or elongated stars after a period, it’s a clear indicator your alignment calibration needs adjustment. You might also see uneven or inconsistent movement in your tracking, which suggests your mount isn’t aligned properly with the celestial pole. These signs point to misalignment, so it’s vital to double-check and refine your setup. Recognizing these indicators early helps prevent wasted imaging time and ensures better tracking precision for your astrophotography sessions.

iEXOS-100-2 PMC-Eight Equatorial Tracker System Tripod and Mount for Astrophotography with WiFi and Bluetooth Compatible
Integrated Explore Scientific PMC-Eight system that transcends the industry standard single processor by utilizing eight CPUs that operate…
As an affiliate, we earn on qualifying purchases.
As an affiliate, we earn on qualifying purchases.
Fast Troubleshooting Tips to Correct Misalignment
If you notice signs of misalignment during your astrophotography session, quick action can often fix the issue without extensive adjustments. First, double-check your equipment calibration; make sure your mount is properly aligned and that all settings are correct. Second, optimize your software by adjusting tracking parameters and running calibration routines to improve accuracy. Third, consider updating your mount’s firmware or software to fix bugs that could affect alignment. These simple steps can quickly correct minor misalignments, saving you time and frustration. Additionally, incorporating body-based methods can enhance your focus and reduce stress during the setup process. Remember, regular equipment calibration and software optimization are key to maintaining accurate polar alignment. Acting swiftly ensures sharper images and a more enjoyable astrophotography experience. Additionally, understanding the impact of AI in planning can help streamline your astrophotography processes, especially with smart home technology that can assist in automating your setup routines.
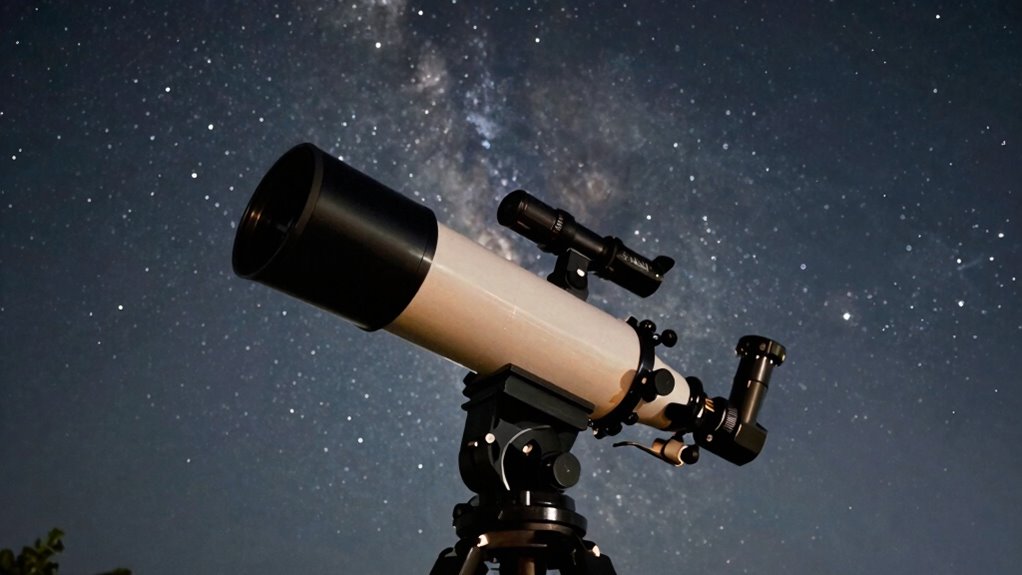
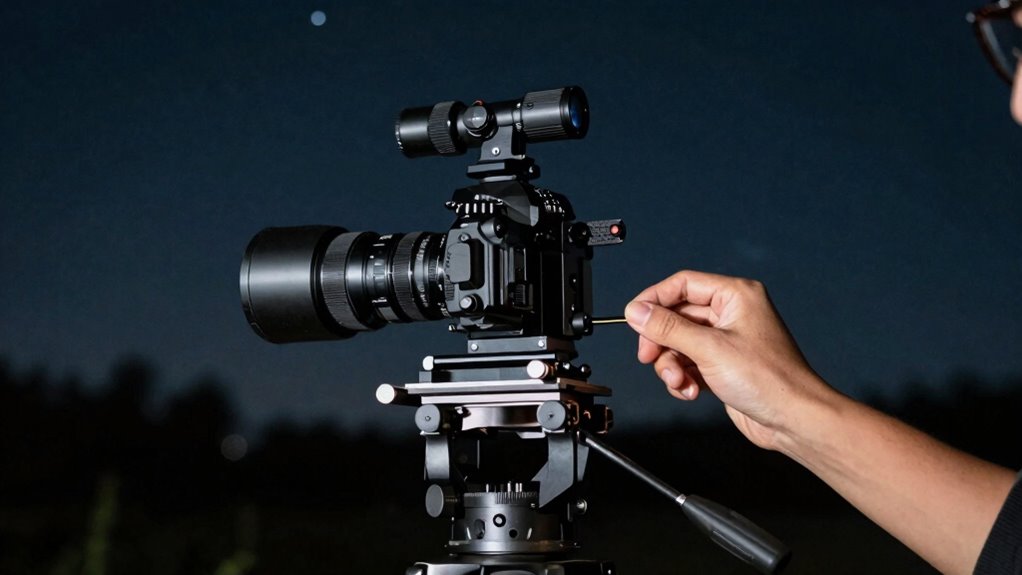
Essential Tools and Tips for Maintaining Accurate Polar Alignment
Maintaining accurate polar alignment requires the right tools and consistent practices to guarantee your telescope stays precisely aligned with the celestial pole. Start with a well-calibrated polar scope; regular polar scope calibration ensures your readings are accurate. A stable mount is crucial—mount stability minimizes vibrations and shifts that can throw off alignment. Use a sturdy tripod or mount with proper balancing to prevent movement during observations. Keep tools like a flashlight, a reticle eyepiece, or a smartphone app handy for quick checks. Consistently recheck the mount’s stability before each session, and verify the polar scope calibration periodically. These simple tools and habits help maintain precise alignment, reducing the need for extensive corrections and ensuring clearer, sharper astrophotos or visual observations.
Frequently Asked Questions
How Often Should I Perform the Polar Alignment Check?
You should perform the polar alignment check every time you set up your telescope, especially if you notice polar drift during your observations. Regular checks help maintain alignment stability, ensuring clear, precise tracking. Weather changes, vibrations, or accidental bumps can affect your polar alignment, so frequent rechecks prevent drifting over time. Staying vigilant with these checks keeps your astrophotography sharp and your observations smooth, preventing frustration caused by misalignment.
Can Temperature Changes Affect My Polar Alignment?
Yes, temperature changes can affect your polar alignment. As temperatures fluctuate, thermal expansion can cause your mount and tripod components to shift slightly, leading to polar drift over time. These tiny movements might seem insignificant initially but can impact tracking accuracy during long exposures. To minimize this, try to perform your polar alignment during stable temperature conditions, and check your alignment regularly, especially if there’s a significant temperature change during your session.
What Is the Best Time of Day for a Quick Check?
The best time of day for a quick polar alignment check is during twilight, when the sky isn’t too bright or dark. This allows you to see Polaris clearly without straining your eyes. Incorporate astrophotography tips like checking your mount’s stability and performing mount maintenance beforehand. Regularly verifying your polar alignment, especially after temperature changes, guarantees sharp images and smoother tracking during your astrophotography sessions.
Does Sky Brightness Impact the Alignment Verification Process?
Sky brightness, especially from sky glow and light pollution, can definitely impact your alignment verification. When the sky is brighter, it’s harder to see stars clearly, making precise adjustments more challenging. As a result, your results might be less accurate. To get the best verification, do your checks during darker conditions or away from city lights. This guarantees your polar alignment remains precise, improving your overall astrophotography or observing experience.
Are There Any Signs My Mount Needs Recalibration Besides Misalignment?
Yes, your mount might need recalibration if you notice persistent star trails, objects not tracking accurately over time, or difficulty locking onto targets. Even if your polar alignment seems fine, issues with mount stability can affect tracking precision. Regularly check and adjust your equipment calibration to guarantee peak performance. If problems persist despite stable setup, recalibrating your mount helps maintain accurate tracking and prevents long-term errors.
Conclusion
Did you know that even a tiny misalignment can reduce your astrophotography clarity by up to 50%? By performing this quick polar alignment check after every setup, you guarantee your images stay sharp and detailed. It’s a simple step that saves you hours of frustrating troubleshooting later. Keep your mount precisely aligned, and enjoy breathtaking celestial shots every time. Staying diligent with this check truly makes all the difference for stellar astrophotography results.


![SpaceX Starship Flight 13 Livestream [Video]](https://astrophotographyhq.com/wp-content/uploads/2026/07/spacex-starship-flight-13-livestream-video-featured-260x140.jpg)