
To plan your calibration frames effectively, understand their specific roles: dark frames remove thermal noise, flats correct optical imperfections and uneven illumination, and bias frames account for readout noise. Guarantee equipment consistency, capture frames under similar conditions, and organize your data systematically. Monitor environmental factors like temperature and humidity for best results. Following these guidelines will help you produce cleaner images—if you keep exploring, you’ll gain deeper insights into mastering calibration techniques.
Key Takeaways
- Understand the specific roles of darks, flats, and bias frames in reducing sensor noise and optical artifacts.
- Use consistent equipment settings and stable environmental conditions during calibration frame capture.
- Match exposure times and temperatures of calibration frames to those of light images for effective correction.
- Organize and label calibration data systematically for easy retrieval and future use.
- Regularly maintain calibration equipment and troubleshoot common issues to ensure high-quality calibration frames.
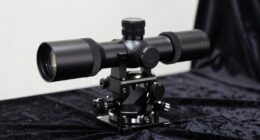
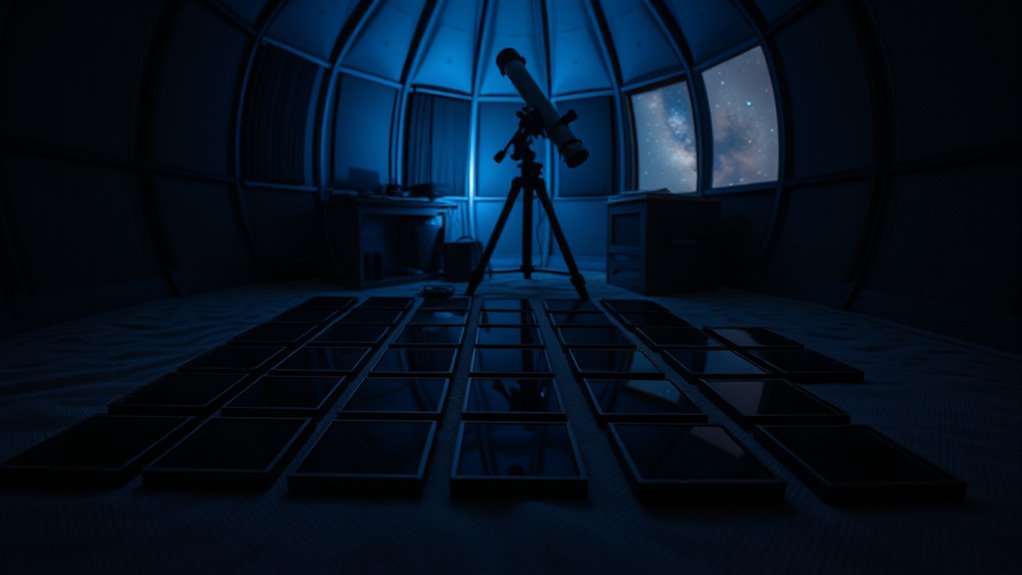
astrophotography calibration frames kit
As an affiliate, we earn on qualifying purchases.
As an affiliate, we earn on qualifying purchases.
Understanding the Role of Calibration Frames in Astrophotography

Calibration frames are essential tools in astrophotography because they help you correct imperfections in your images caused by the camera sensor and optical system. Sensor sensitivity varies across your camera, leading to uneven brightness or noise that calibration frames can address. Light pollution further complicates your images, introducing unwanted glow and reducing contrast. By using calibration frames, you can minimize these issues, ensuring your final images are clearer and more accurate. Flats, for example, help correct uneven illumination from sensor sensitivity and optical vignetting, while dark frames account for thermal noise. Understanding the role of these calibration frames allows you to effectively mitigate problems caused by sensor sensitivity differences and light pollution, giving you cleaner, more professional-looking astrophotos.
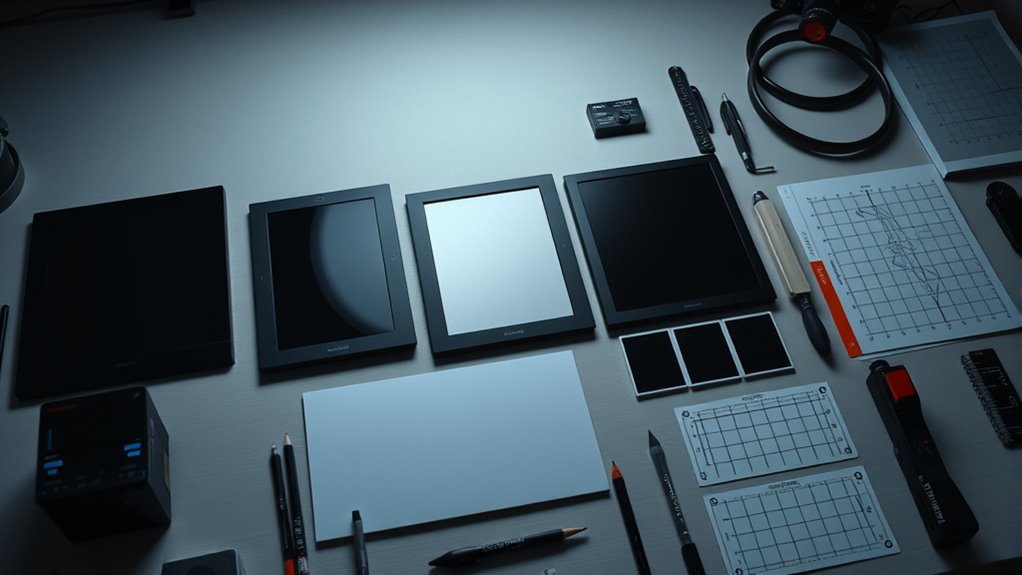
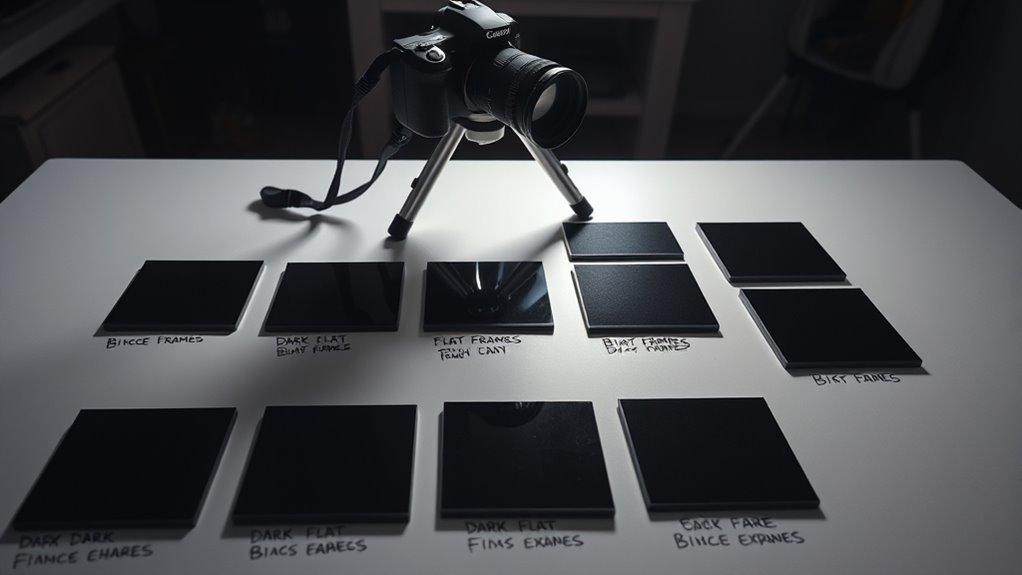
dark flat bias frame capture equipment
As an affiliate, we earn on qualifying purchases.
As an affiliate, we earn on qualifying purchases.
Differentiating Between Darks, Flats, and Bias Frames
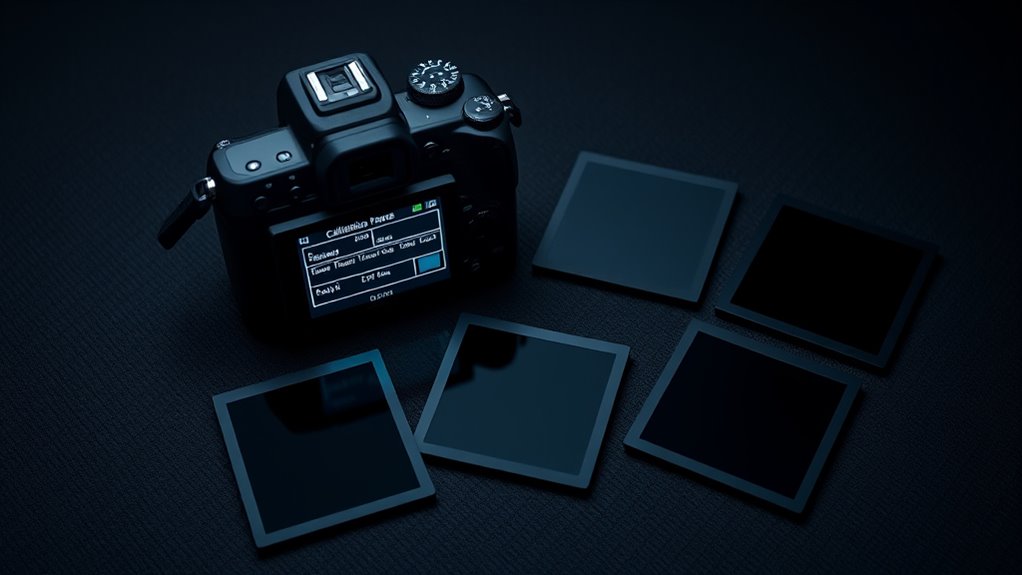
To effectively process your astrophotos, it’s important to understand the distinct roles of dark, flat, and bias frames. Dark frames help remove sensor noise and thermal noise that accumulate during long exposures. Flat frames correct for optical imperfections, dust, and uneven field illumination, making sure of uniform brightness across your image. Bias frames capture the sensor’s readout noise without exposure to light, serving as a baseline for image calibration. Each type addresses specific noise sources or artifacts, making them vital for high-quality astrophotography. Recognizing these differences helps you capture the correct calibration frames and apply them appropriately during processing, leading to cleaner, more accurate images. Properly differentiating between darks, flats, and bias frames ensures your calibration process is effective and your astrophotos shine. Additionally, understanding the importance of calibration frames can significantly enhance image quality and ensure your astrophotography results are as precise as possible.

Astromania Deluxe Telescope LRGB 2 Inch Filter Set – Planet Colour Filters for Use with Monochrome CCD Cameras – Give Stunning and Excellent Astrophotographic Results
The Astromania LRGB Filter Set includes four filters; 2" luminance Filter, 2" Red Filter; 2" Green Filter 2"…
As an affiliate, we earn on qualifying purchases.
As an affiliate, we earn on qualifying purchases.
Essential Equipment and Tools Needed for Calibration Frame Capture
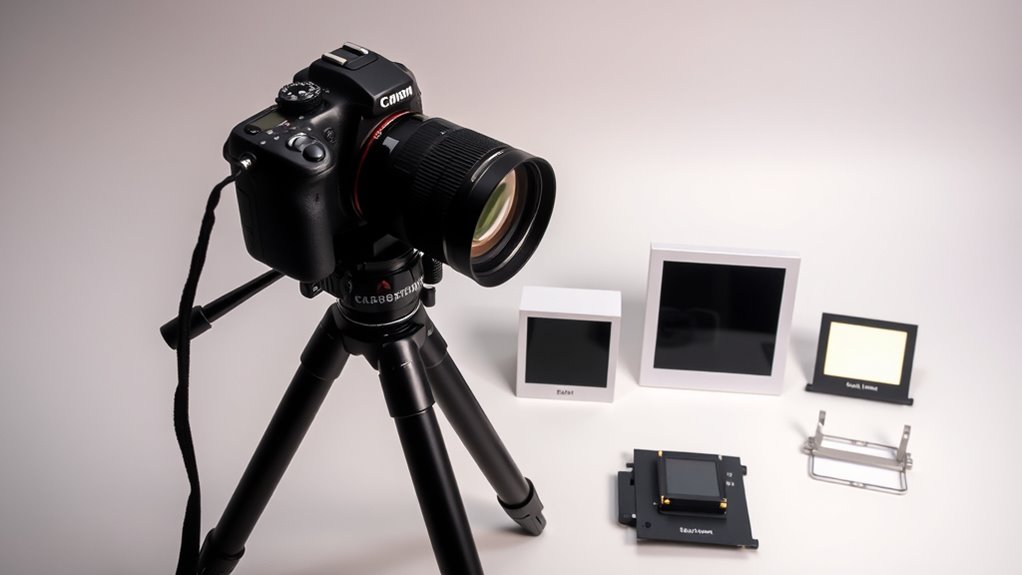
Capturing high-quality calibration frames requires specific equipment and tools designed to address the unique needs of each frame type. You’ll need a camera capable of manual settings, as well as various lens filters like neutral density or optical flats to guarantee proper flat frames. A stable mount is vital for maintaining mount stability, preventing movement that could ruin your calibration frames. Using a sturdy tripod or mount helps keep your camera aligned and steady during captures. Additionally, you’ll want a reliable light source for flats or a dark environment for dark frames. Keep your workspace free of vibrations, and confirm your camera and filters are clean. Investing in these tools guarantees your calibration frames are accurate, consistent, and effective for high-quality astrophotography. Proper calibration is essential for achieving precise and reliable imaging results.

NEEWER Telescope Finderscope Mount Adapter All Metal with Cold Shoe & 1/4" Thread for Camera Hot Shoe Mount, Standard 1.3in/33mm Finder Dovetail Base for Sky Astrophotography, LS-T16
【Universal Finderscope Dovetail Base】 Featuring a 1.3in/33mm standard dovetail clamp for effortless attachment of guide scopes or finders…
As an affiliate, we earn on qualifying purchases.
As an affiliate, we earn on qualifying purchases.
Timing and Conditions for Optimal Calibration Frame Collection
Timing and conditions play a crucial role in collecting ideal calibration frames, as capturing these frames under perfect circumstances guarantees their effectiveness during image processing. To optimize quality, consider moon phases, as new moon nights minimize light pollution, producing clearer calibration frames. Weather conditions also matter—choose nights with clear skies, low humidity, and minimal wind to prevent vibrations and dew. Avoid capturing calibration frames during full moons or overcast nights, which can introduce unwanted light and noise. Additionally, aim for stable temperatures to reduce thermal noise in dark frames. Consistency is key, so plan calibration sessions when environmental factors remain stable. Proper timing ensures your calibration frames are accurate, helping you achieve the best possible results in your astrophotography.
- Moon phases influence light pollution levels
- Clear, stable weather conditions are essential
- Avoid capturing during full moons or overcast skies
- Low humidity prevents dew formation
- Consistent temperature reduces noise variability
- Incorporating data-driven strategies can further enhance calibration accuracy
Step-by-Step Guide to Planning Your Calibration Sessions

To plan effective calibration sessions, you need to determine how often you’ll collect calibration frames based on your equipment and imaging goals. Organizing your gear and environment guarantees consistency and efficiency during each session. By addressing these points upfront, you’ll set a strong foundation for high-quality calibration data. Incorporating regular calibration routines will help you maintain optimal image quality over time.
Determine Calibration Frequency
Determining how often you need to take calibration frames depends on several factors, including your equipment, observing conditions, and scientific goals. If you experience significant sky glow or notice changes in your equipment, more frequent calibration is necessary to maintain image quality. Regular calibration ensures your images are free from artifacts caused by sensor noise or uneven illumination. Consider these factors when planning your calibration frequency: automation in business can help streamline the calibration process and maintain consistency.
- Variations in sky glow intensity
- Temperature fluctuations affecting equipment calibration
- Changes in filter or lens conditions
- Duration between imaging sessions
- Level of detail required for your project
Adjusting your calibration schedule based on these elements helps maintain ideal image quality and minimizes the impact of environmental and equipment variability.
Organize Equipment and Environment
Before you start scheduling calibration sessions, it’s essential to organize your equipment and environment for efficient and effective calibration. Proper equipment maintenance ensures your tools perform accurately, while environmental monitoring helps maintain stable conditions. Keep your workspace tidy and dedicated to calibration tasks to avoid errors. Regularly check and calibrate your equipment to prevent drift. Use the following table to plan:
| Focus Area | Key Actions |
|---|---|
| Equipment Maintenance | Clean, calibrate, verify performance |
| Environmental Monitoring | Track temperature, humidity, light levels |
| Workspace Organization | Clear clutter, set dedicated calibration area |
Additionally, implementing space and organization strategies can help create a more streamlined and productive environment for calibration activities.
Creating Effective Darks Frames: Settings and Best Practices

To create effective dark frames, you need to set the correct exposure times that match your light frames. Maintaining consistent temperature during your sessions helps reduce noise and guarantees reliable calibration. Pay close attention to these settings and tips to improve the quality of your dark frames. Using essential oils for respiratory health, such as eucalyptus or peppermint, can help create a more comfortable environment during long imaging sessions.
Optimal Exposure Times
Choosing the right exposure time for dark frames is essential to accurately capture the camera’s thermal noise without overexposing or underexposing the sensor. The goal is to match the exposure duration to your camera’s sensor noise characteristics, ensuring the dark frame effectively models the thermal signal. Longer exposures increase sensor noise, but may also risk overexposure if not managed properly. Shorter exposures reduce the risk of overexposure but might not capture all thermal noise details. To find the *ideal* exposure time:
- Use a test shot to evaluate the noise level
- Match exposure durations to your imaging sessions
- Avoid overly long exposures that cause overexposure
- Consider the sensor’s heat buildup during prolonged sessions
- Keep exposure consistent for accurate calibration
- Be mindful of ambient temperature effects, which can influence thermal noise levels and impact calibration accuracy.
Temperature Consistency Tips
Maintaining consistent temperature conditions between your dark frame captures and actual imaging sessions is essential for effective calibration. Temperature stability minimizes variations that can introduce noise or artifacts into your calibration frames. To achieve this, use thermal regulation tools like temperature-controlled chambers or mount your camera in a stable environment. Avoid sudden temperature fluctuations by allowing your equipment to acclimate before capturing dark frames. Keep your camera at a set temperature, if possible, and record this setting for future reference. Consistent thermal regulation ensures dark frames match the thermal noise profile of your light frames, leading to more accurate calibration. Additionally, understanding heat pump efficiency can help you select the best climate control solutions for your imaging setup. By prioritizing temperature stability, you’ll improve the quality and consistency of your calibration process, making your astrophotography results clearer and more reliable.
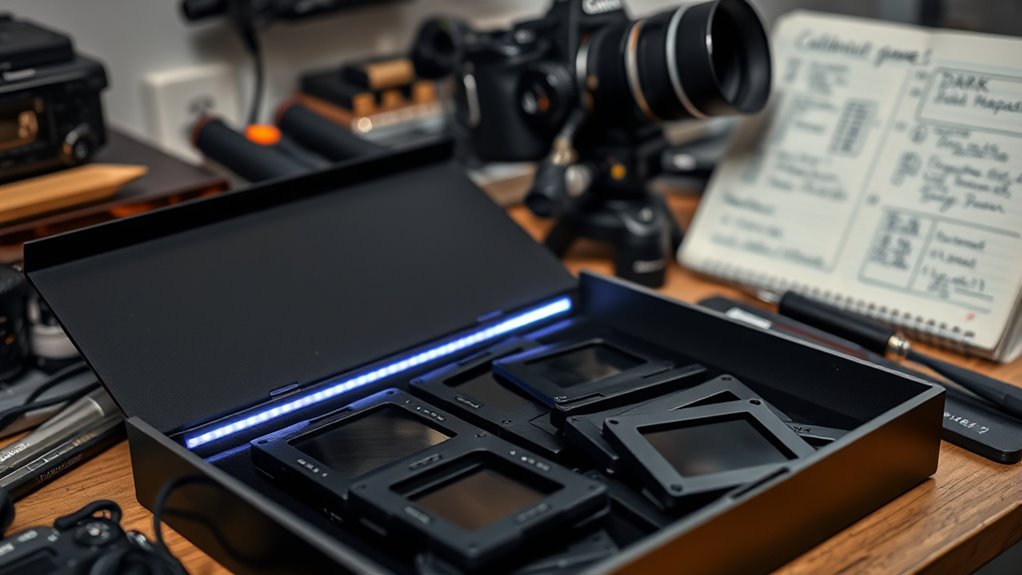
Capturing Flats and Bias Frames: Techniques and Tips
Capturing flats and bias frames accurately is essential for calibrating your astrophotography images and removing sensor artifacts. Proper technique guarantees your images are clean and free of dust or uneven illumination. Before capturing flats, clean your lens thoroughly to prevent dust or smudges from affecting the frames. Use a uniform light source for flats and avoid changing your optical setup. Keep your camera’s sensor temperature consistent to match your light frames, aiding in effective software calibration. When capturing bias frames, use the shortest exposure time possible and keep your camera’s sensor at the same temperature. Consistency is key—store calibration frames properly for future use. Additionally, understanding how to select the right well-being tips can help maintain overall health and performance during long imaging sessions.
Organizing and Storing Calibration Data for Future Use
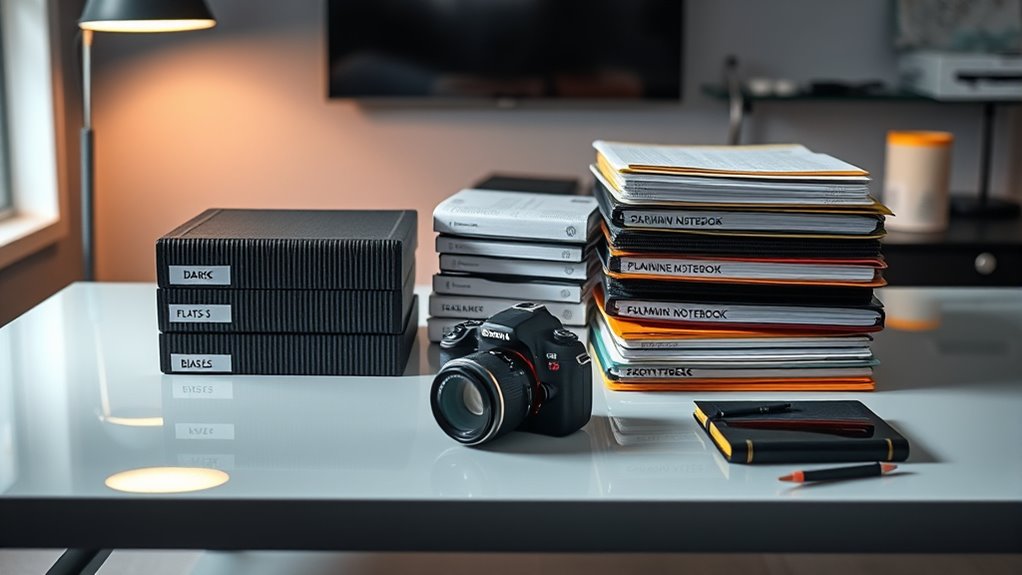
After capturing your calibration frames, organizing and storing them properly guarantees you’ll always have reliable reference data for future sessions. Effective storage organization makes it easy to locate specific frames when needed, saving you time and reducing frustration. Use clear folder structures labeled with date, type, and session details to keep everything tidy. Consistent data management practices involve naming files systematically and maintaining backups on external drives or cloud storage. This ensures your calibration data remains intact and accessible, even if your primary storage fails. Proper organization not only streamlines future calibration processes but also helps track the quality and relevance of your data over time. Invest a little effort now to safeguard your calibration frames for seamless astrophotography sessions ahead.
Troubleshooting Common Calibration Frame Issues
Even with careful planning, calibration frames can sometimes present issues that affect their effectiveness. Sensor calibration errors or software compatibility problems can cause inconsistencies, making calibration less reliable. To troubleshoot, start by ensuring your calibration frames match your imaging conditions and camera settings. Check that your software is compatible with your camera model and updates are installed. Common issues include:
Calibration issues can stem from mismatched frames, dirty data, or software incompatibility.
- Mismatched frame types or exposure times
- Dirty or improperly stored calibration frames
- Software incompatibility causing incorrect data processing
- Inconsistent temperature control during frame capture
- Sensor calibration drift over time
Addressing these issues involves verifying calibration procedures, updating software, and maintaining proper storage. Regularly review your calibration process to identify and correct problems quickly, ensuring your calibration frames serve their purpose effectively.
Frequently Asked Questions
How Often Should Calibration Frames Be Recalibrated for Best Results?
You should recalibrate your calibration frames whenever environmental factors change markedly, like temperature fluctuations or humidity shifts. Generally, it’s a good idea to update your calibration frames every few months or after major equipment adjustments. Regular recalibration ensures your darks, flats, and biases remain accurate, minimizing noise and artifacts in your images. By staying attentive to environmental conditions, you keep your calibration frames effective and your astrophotography results consistent.
Can Calibration Frames Be Reused Across Different Sessions or Equipment?
You can reuse calibration frames across different sessions or equipment if they’re compatible, but it’s not always ideal. Calibration frame reuse depends on session equipment compatibility; differences in camera settings, temperature, or hardware can affect their accuracy. For the best results, always verify that your calibration frames match your current session’s conditions. When in doubt, recapturing calibration frames ensures superior image quality and minimizes artifacts in your astrophotography.
What Are Common Mistakes to Avoid During Calibration Frame Capture?
You should avoid overexposure pitfalls by capturing calibration frames at ideal levels, preventing noise or detail loss. Ensure proper stacking by aligning frames carefully and using consistent settings. Don’t rush the process, as improper stacking can introduce artifacts. Double-check your camera settings, avoid moving equipment during capture, and always review frames for clarity. These steps help maintain calibration accuracy and improve your overall image quality.
How Do Ambient Temperature Changes Impact Calibration Frame Quality?
Temperature fluctuations can considerably impact calibration frame quality by causing variations in dark and bias frames, which affects image consistency. When ambient temperature changes rapidly, your camera’s sensor heats up or cools down unevenly, leading to inconsistent calibration frames. To maintain ideal image quality, capture calibration frames in a stable environment, and try to match the temperature of your calibration frames to that of your light frames whenever possible.
Are There Software Tools That Automate Calibration Frame Management?
You’ll find that automation tools and management software greatly simplify calibration frame organization. These tools automatically handle calibration frame collection, sorting, and storage, freeing you from tedious manual tasks. With features like scheduling and real-time monitoring, they help maintain ideal calibration quality despite temperature fluctuations or equipment changes. Embracing these solutions lets you focus on capturing stunning images, trusting that your calibration frames are consistently well-managed behind the scenes.
Conclusion
Think of calibration frames as the secret spices that make your astrophotography dish perfect. With a solid plan, patience, and attention to detail, you’ll transform raw, blurry images into stunning celestial masterpieces. Like tuning a fine instrument, proper calibration sharpens your vision of the cosmos. So, gear up, stay consistent, and watch your astrophotography journey reach new heights—because the universe’s beauty deserves to be captured with clarity and precision.