
Unwanted gradients in your images usually result from uneven lighting or sensor flaws, while color calibration guarantees consistent, accurate colors. To fix gradients, you can use tools like Photoshop’s Clone Stamp, Healing Brush, or gradient filters, and apply proper calibration techniques with monitors and cameras. Automated software helps but may struggle with complex issues, so human judgment remains essential. If you want to learn tips and tricks for seamless results, keep exploring these methods further.
Key Takeaways
- Gradients often result from uneven lighting or sensor artifacts, requiring careful correction for natural-looking images.
- Use tools like Photoshop, Luminar AI, or GIMP with techniques such as cloning, healing, and gradient masking for removal.
- Automated software is efficient for simple gradients but may struggle with complex backgrounds, needing manual oversight.
- Proper monitor calibration and consistent shooting conditions ensure accurate and uniform color correction across images.
- Subtle, non-destructive edits and understanding of limitations are essential for achieving natural results in gradient removal and color calibration.

Celestron NexStar 6SE Computerized Telescope – 6-Inch Schmidt-Cassegrain Optical Tube – Fully Automated GoTo Mount with SkyAlign – Ideal for Beginners and Advanced Users – 40,000+ Object Database
ADVANCED TECH MEETS ICONIC DESIGN: The NexStar 6SE pairs Celestron’s legendary orange tube with a fully computerized GoTo...
As an affiliate, we earn on qualifying purchases.
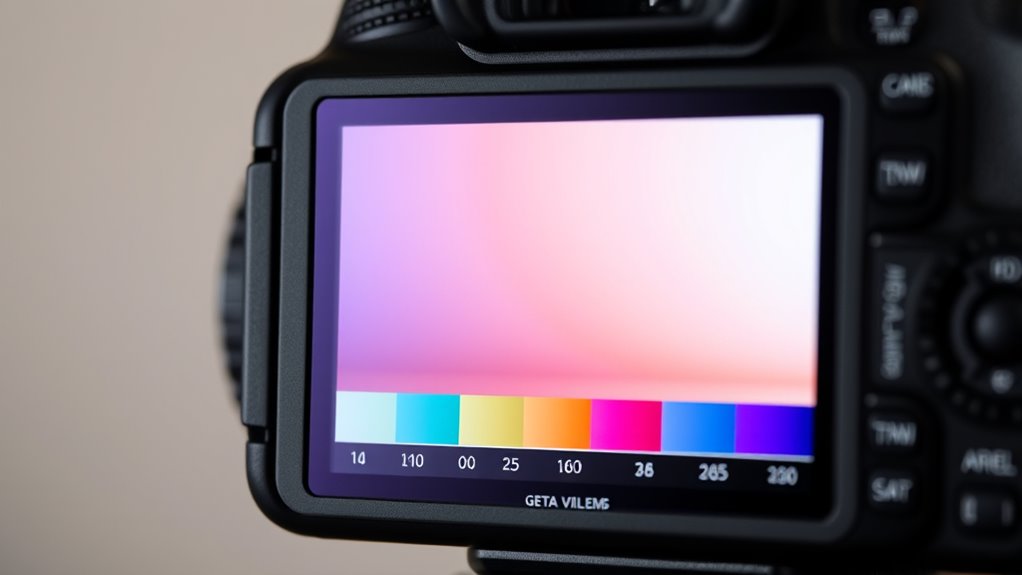
What Causes Unwanted Gradients in Digital Images?
Unwanted gradients in digital images often result from uneven lighting conditions or flaws in the camera sensor. Lighting inconsistencies happen when the illumination isn’t uniform across your scene, causing some areas to appear brighter or darker than others. These variations create visible gradients that distract from the main subject. Sensor artifacts also contribute to unwanted gradients; imperfections or noise in the camera sensor can produce uneven color or brightness shifts across the image. Poor exposure settings or sensor limitations can exacerbate these issues, making gradients more pronounced. Understanding these causes helps you recognize that such artifacts are often unavoidable but manageable. By identifying whether lighting or sensor flaws are at play, you can better prepare or correct these gradients during post-processing. Additionally, ethical hacking techniques can be used to analyze and mitigate digital image flaws in security-sensitive applications.

Celestron StarSense Explorer 150AZ App-Enabled Telescope – 150mm Tabletop Dobsonian with Smartphone Dock & StarSense App – iPhone & Android Compatible – Easy-to-Use for Beginners
SMARTPHONE-POWERED SKY TOUR: No experience needed! Just dock your phone, launch the StarSense Explorer app, and follow the...
As an affiliate, we earn on qualifying purchases.
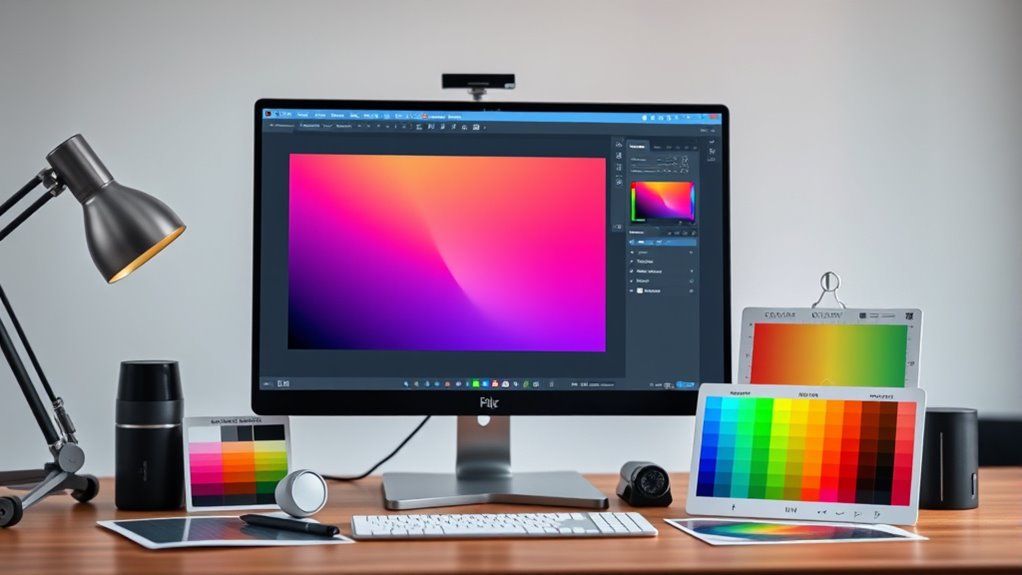
Which Tools Are Best for Removing Gradients?
Choosing the right tools can make gradient removal much easier. You’ll find popular software options that offer powerful features, as well as free editing tools suitable for quick fixes. Let’s explore which options best suit your needs and skill level. For precise color adjustments, understanding color accuracy and how it impacts your image quality can significantly improve your results.
Subheading 1: Popular Gradient Removal Software
When it comes to removing gradients from images, several software tools stand out for their effectiveness and ease of use. Adobe Photoshop remains a top choice, thanks to its powerful gradient masking features and advanced retouching capabilities that make removing uneven lighting or color shifts straightforward. Luminar AI offers intuitive tools tailored for color grading adjustments, allowing you to fine-tune hues and eliminate gradients seamlessly. Affinity Photo provides robust, affordable options with professional-grade tools for gradient removal and editing. For quick results, DxO PhotoLab’s smart correction features help smooth gradients with minimal effort. These tools excel at balancing color grading and gradient masking, giving you control over your images’ final look while ensuring a smooth, professional finish. Understanding color calibration techniques can further enhance the accuracy of your edits and ensure consistent results across different devices.
Subheading 2: Best Free Editing Tools
Many free editing tools offer effective solutions for removing gradients without the need for expensive software. Tools like GIMP and Paint.NET are popular choices because they incorporate powerful photo editing techniques that can address digital image artifacts caused by uneven lighting or background issues. With GIMP, you can use the Clone Tool or the Healing Tool to smooth out gradient areas. Paint.NET offers similar features, allowing you to adjust brightness and contrast locally to minimize unwanted shading. These tools provide user-friendly interfaces and tutorials to help you master gradient removal. Additionally, understanding how to manage image artifacts can greatly improve your editing results. By applying these photo editing techniques, you can preserve image quality and achieve a more balanced, professional look without investing in costly programs.

Celestron – Origin Intelligent Home Observatory – All-in-one Astroimaging and Stargazing Smart Telescope – 6-inch RASA Telescope – Fully-Automated GoTo Mount – User-Friendly – iOS/Android Compatible
STARGAZING AND ASTROIMAGING REDEFINED: Celestron Origin is an intelligent, all-in-one home observatory that captures stunning views of celestial...
As an affiliate, we earn on qualifying purchases.
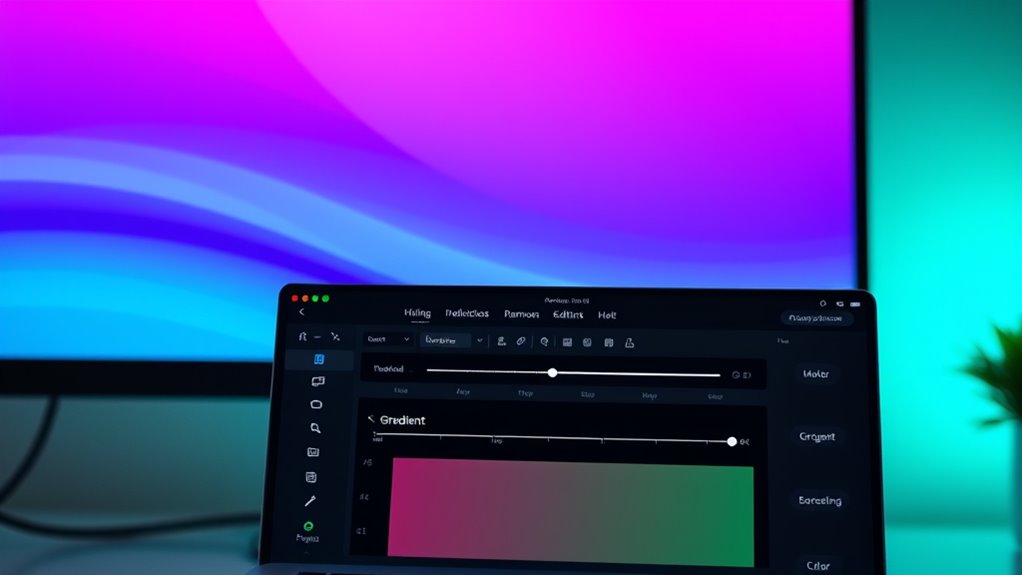
How Can I Use Photoshop to Correct Gradients?
Photoshop offers powerful tools to correct gradients that can help create a more even and professional-looking image. To start, use the Clone Stamp or Healing Brush tool for targeted digital blending, seamlessly removing uneven gradient areas. Adjust the curves or levels to fine-tune the tonal shifts, ensuring smooth color matching across the image. If the gradient is more extensive, try applying a gradient filter or using the Gradient Tool to overlay a new, uniform color. Combining these methods allows you to effectively diminish harsh transitions and achieve a consistent look. Remember to work on separate layers for non-destructive editing. With patience and precision, Photoshop helps you correct gradients, enhancing your image’s overall quality and making colors appear more natural and balanced. Proper gradient removal techniques can significantly improve the visual cohesion of your images.
Celestron – AstroMaster 114EQ Newtonian Telescope – Manual Reflector for Beginners – Aluminized Mirror – Adjustable-Height Tripod – Includes Accessories Plus Astronomy Software Package
POWERFUL TELESCOPE FOR ASTRONOMY BEGINNERS: The AstroMaster 114EQ delivers sharp optics, a stable equatorial mount, and smooth manual...
As an affiliate, we earn on qualifying purchases.
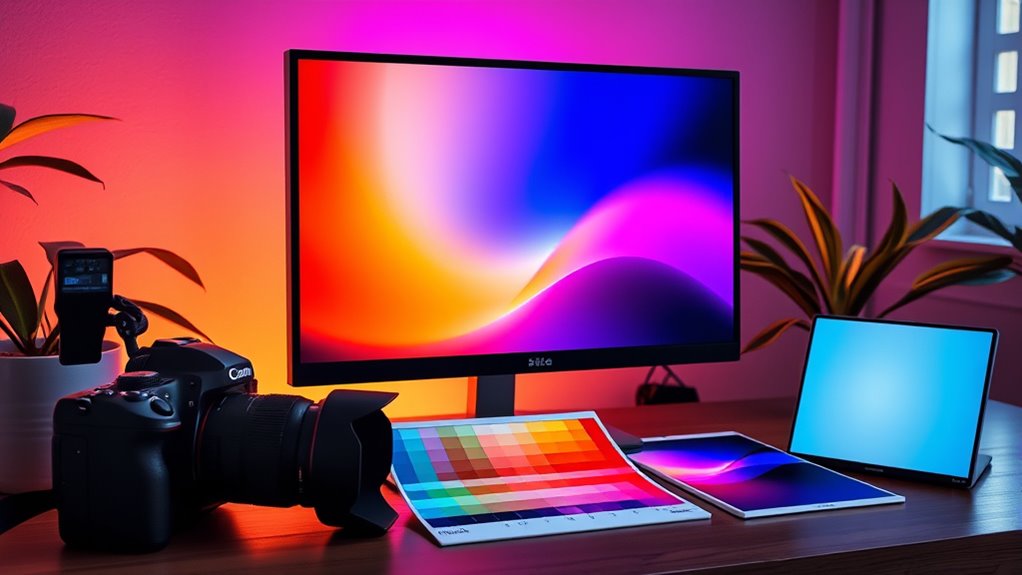
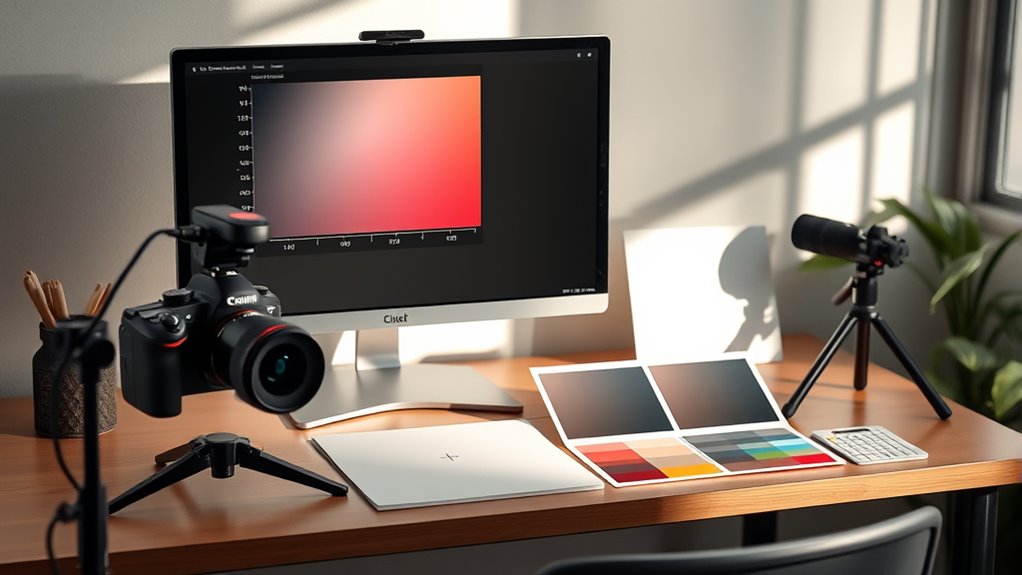
What Is Color Calibration and Why Is It Important?
Color calibration is the process of adjusting your display or output device to make certain that colors are represented accurately and consistently. This guarantees your color perception matches real-world colors, which is crucial for tasks like photo editing or printing. Proper display calibration affects how you see contrast, brightness, and color balance. Here are four reasons why it’s important:
- You get true-to-life colors, reducing guesswork.
- Consistent color perception across devices.
- Better color accuracy for professional work.
- Improved visual consistency for printing and sharing.
- Creativity can be cultivated through proper calibration, enabling more reliable experimentation with colors and designs.
Without calibration, colors may appear dull or oversaturated, leading to poor decisions or compromised results. By calibrating your display regularly, you maintain reliable color perception and ensure your images look their best across different platforms.
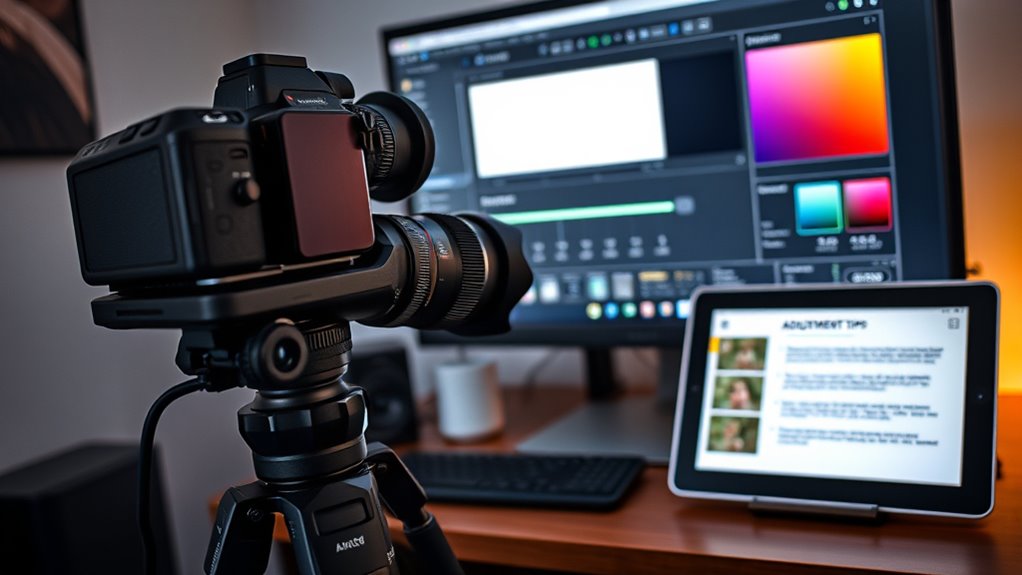
How Do I Calibrate Colors in Lightroom?
Calibrating colors in Lightroom helps make sure your photos display accurately across devices and platforms. To achieve this, start with monitor calibration using a color profiling tool, which guarantees your screen shows true colors. Once your monitor is calibrated, import your photos into Lightroom. Use the Basic panel to adjust exposure, contrast, and white balance, which set a solid foundation. Then, refine colors with the Tone Curve, HSL sliders, or Color Grading tools to match the desired look. Remember, consistent color profiling across your workflow is key to maintaining color accuracy. Regularly recalibrate your monitor, especially if you notice color shifts. This process helps your edits translate well when viewed on other calibrated devices, ensuring your final images look consistent everywhere. Additionally, understanding vetted formulations for skin protection can help you better grasp color nuances and skin tones in your images.
What Are Common Challenges When Removing Gradients and Calibrating Colors?
Removing gradients and ensuring accurate color calibration can be challenging because subtle variations and inconsistencies often become noticeable during the editing process. Common challenges include: 1. Lighting inconsistencies that make it hard to blend gradients seamlessly. 2. Variations in monitor calibration, which can cause colors to appear different across devices. 3. Difficulty in matching colors after gradient removal, leading to unnatural transitions. 4. Overcorrection, resulting in loss of detail or unnatural-looking images. Additionally, understanding how different color correction techniques impact overall image quality is essential for achieving professional results. To overcome these issues, you need consistent lighting conditions during shooting, regularly calibrate your monitor, carefully adjust gradient masks, and use reference images for color accuracy. Proper attention to these factors helps achieve a more natural and professional result.
Can Automated Software Effectively Handle Gradient Removal?
Automated software can be quite effective at removing simple gradients, saving you time and effort. However, it often struggles with complex or uneven backgrounds, which may require manual adjustments. Understanding these limitations helps you choose the right tools and set realistic expectations for your projects. Additionally, knowledge of color calibration can enhance the accuracy of your results and ensure consistent image quality.
Tool Effectiveness Assessment
Although automated software has made significant strides in handling gradient removal, its effectiveness varies depending on the complexity of the image and the tools used. To evaluate tool effectiveness, you should compare features and results across different software options. Consider these factors:
- Accuracy: How well does the software remove gradients without affecting image details?
- Ease of Use: Is the interface intuitive, allowing quick adjustments?
- Processing Speed: How fast does it complete gradient removal?
- Consistency: Does it produce reliable results across diverse images?
Conducting a software comparison helps you identify the most effective tool for your needs. Remember, no single program excels in all areas, so weigh these factors carefully to choose the best option for your specific workflow and image complexity. Additionally, understanding the emotional support needs associated with change can be helpful when adapting to new tools or workflows.
Limitations and Challenges
While comparing different software tools helps determine their strengths, it’s important to recognize their limitations when addressing gradient removal. Automated software, even those leveraging artificial intelligence, can struggle with complex or uneven gradients, often producing artifacts or incomplete corrections. AI algorithms depend heavily on training data and may not adapt well to unusual lighting conditions or unusual gradient patterns. Additionally, hardware limitations, such as processing power and memory capacity, can hinder real-time or high-resolution gradient removal, especially in large datasets. These constraints can lead to longer processing times or less accurate results. Despite advances, automation isn’t foolproof; human oversight remains essential to achieve ideal results, particularly when dealing with challenging gradients or subtle color nuances.
How Do I Ensure Consistent Colors Across Multiple Images?
Wondering how to keep colors consistent across multiple images? Achieving reliable color consistency and image uniformity requires careful steps. First, use a color calibration target or gray card in each shot to create accurate reference points. Second, ensure your monitor is calibrated regularly for consistent viewing conditions. Third, apply the same color correction settings across all images, preferably using batch processing tools or presets. Fourth, maintain consistent lighting conditions during shooting to minimize variations. These practices help you control color shifts, ensuring your images match closely. Consistent color calibration and attention to detail are key to maintaining professional, uniform results across your photo series.
What Are Tips for Achieving Natural-Looking Corrections?
Achieving natural-looking corrections requires a subtle approach that enhances the image without making it obvious. Focus on maintaining natural harmony by balancing colors and tones carefully. Use subtle adjustments rather than drastic changes; small tweaks often produce more authentic results. When correcting gradients or color shifts, work gradually, toggling between before and after views to ensure the changes blend seamlessly. Pay attention to skin tones and neutral areas, as these often reveal unnatural corrections. Avoid oversharpening or overly boosting saturation, which can distort the image’s realism. Remember, less is more—aim for enhancements that support the image’s original mood and lighting. With patience and careful fine-tuning, your corrections will feel smooth, genuine, and visually pleasing.
How Do I Troubleshoot Persistent Gradient or Color Issues?
Persistent gradient or color issues can be frustrating, but they often stem from incorrect settings or overlooked details in your editing workflow. To troubleshoot, start by checking your monitor calibration to ensure color consistency. Next, review your color profiles and make sure they match across all software. Third, examine your tone curve and levels for any unintended adjustments that could cause gradients. Finally, revisit your editing workflow, ensuring you’re applying corrections uniformly and using appropriate tools. By systematically verifying these areas, you can identify the root cause of persistent issues and improve both color consistency and overall image quality. Staying attentive to these details helps prevent recurring problems and streamlines your editing process.
Frequently Asked Questions
Can Gradient Removal Affect Image Resolution or Sharpness?
Gradient removal can sometimes affect image resolution or sharpness if not done carefully. You might notice a slight resolution loss or reduced image detail, especially in areas with subtle color shifts. To avoid this, use gentle algorithms and fine-tune settings. Proper processing preserves your image’s clarity, ensuring the removal process doesn’t compromise the sharpness or resolution you want to maintain.
Are There Specific Color Calibration Standards for Different Industries?
Think of industry-specific color standards as a secret handshake that guarantees your images look perfect everywhere. You need calibration for printing to meet these standards, which vary across industries like fashion, medical, or digital media. By following these industry-specific color calibration standards, you guarantee consistent, accurate colors that match your client’s expectations. This targeted calibration is essential to make your work stand out with precision and professionalism.
How Often Should I Recalibrate My Monitors for Consistent Color?
You should recalibrate your monitor weekly or bi-weekly to maintain consistent color, especially if you work in color-sensitive fields. Regular recalibration helps account for changes caused by monitor age, ambient lighting, and monitor refresh. Use reliable calibration tools to guarantee accuracy. This routine ensures your display remains true-to-life, reducing color discrepancies and improving your overall workflow.
What Are the Best Practices for Batch Processing Multiple Images?
To guarantee consistent image quality and optimize processing speed when batch processing multiple images, use automated workflows in your editing software. Apply preset adjustments for color, exposure, and gradients to save time. Always start with high-quality source images and review a few samples after processing to maintain consistency. Regularly update your calibration to prevent color shifts, ensuring your batch results stay true to your original vision.
How Does Ambient Lighting Impact Color Calibration Accuracy?
Imagine ambient light as a silent artist shaping your colors. It can distort your perception, making calibration less precise. When ambient light varies, your color calibration accuracy suffers because the environment’s lighting influences how your monitor displays colors. To guarantee calibration precision, control ambient light by working in consistent, neutral lighting conditions or using light-blocking aids. This way, your colors stay true, no matter where or when you work.
Conclusion
Did you know that over 70% of photographers report struggling with unwanted gradients and color inconsistencies? By mastering tools like Photoshop and Lightroom, you can easily fix these issues and achieve professional-looking results. Remember, consistent calibration is key to creating seamless images. With a little practice and patience, you’ll turn tricky gradients into smooth, natural finishes—making your photos truly stand out. Keep experimenting, and your skills will keep improving!