To polar align effectively, use proven methods like Polaris and your polar scope, but don’t rely solely on quick fixes or myths about easy setups. Precision comes from accurate star drift adjustments, modern tools like smartphone apps, and visual cues such as star trail patterns. Your mount’s design and mechanical quality play crucial roles in maintaining alignment. Understanding what genuinely impacts accuracy—like environmental factors and equipment stability—will help you achieve better results, and there’s more to learn ahead.
Key Takeaways
- Proper polar alignment is essential for accurate tracking; it requires patience and understanding of visual cues, not just quick fixes.
- The Polaris-based method provides a good initial alignment, but fine-tuning with drift alignment improves long-exposure accuracy.
- Mechanical stability and mount quality directly impact alignment precision and tracking performance over time.
- Modern tools like smartphone apps can assist but do not replace fundamental skills and environmental considerations.
- Common myths, such as polar alignment being quick or easy, can lead to poor results; accuracy depends on careful, deliberate procedures.

Equatorial Mount Star Tracker with Latitude Adjustment Base for Astrophotography
The shell of the equatorial mount is made of PETG and carbon fiber (CF).
As an affiliate, we earn on qualifying purchases.
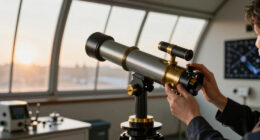
The Traditional Method: Using Polaris and the Polar Scope

The traditional method of polar alignment involves locating Polaris and using a polar scope to align your telescope mount with the Earth’s rotational axis. This technique relies on celestial navigation, where Polaris serves as a reliable reference point near the North Celestial Pole. First, you center Polaris in your polar scope’s reticle, then adjust your mount accordingly. Proper equipment calibration is essential; ensure your mount’s polar scope is aligned correctly and your mount is level. This guarantees accurate tracking during long exposures. While it’s a straightforward process, it requires a steady hand and good eyesight. This method is widely used because it provides a solid initial alignment, making subsequent fine-tuning easier, especially when aiming for precise astrophotography. Discover Your Next Favorite Pop Culture Obsession

iOptron SkyGuider Pro Camera Mount Full Package
SUPERIOR STABILITY - All-metal body construction and precise machining ensures minimal vibration, providing a stable platform for astrophotography,...
As an affiliate, we earn on qualifying purchases.
Drift Alignment: The Classic Technique for Precision
While polar alignment with Polaris provides a good starting point, achieving pinpoint accuracy often requires drift alignment, a precise and time-tested technique. This method helps correct polar misalignment and ensures better celestial calibration. To perform drift alignment:
For pinpoint accuracy, refine your polar alignment with drift alignment techniques.
- Point your telescope east or west, depending on your hemisphere.
- Observe a star near the celestial equator and note if it drifts north or south over time.
- Adjust your mount’s altitude to eliminate the drift.
- Repeat with a star near the meridian, adjusting azimuth until the star remains steady.
- Consistently refine your alignment to maintain precise tracking during extended observations.

Sky-Watcher EQ6-R – Fully Computerized GoTo German Equatorial Telescope Mount – Belt-driven, Motorized, Computerized Hand Controller with 42,900+ Celestial Object Database
PRECISE ACCURATE GOTO: Computerized, motorized GoTo German equatorial telescope mount capable of accurately tracking astronomical objects for both...
As an affiliate, we earn on qualifying purchases.
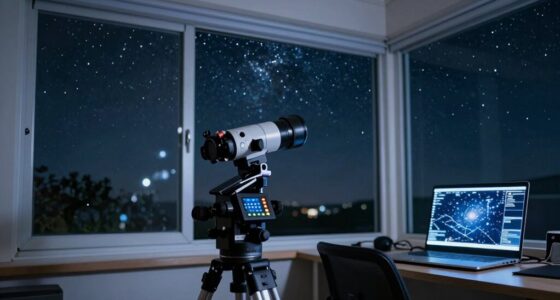
Smartphone Apps and Digital Tools: Modern Aids for Alignment
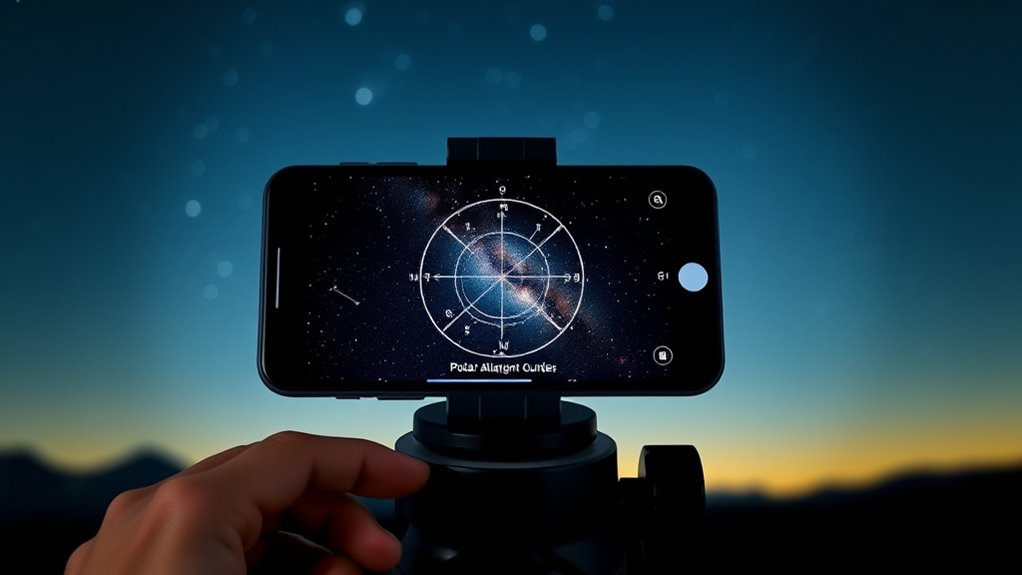
Smartphone apps and digital tools are increasingly popular for polar alignment, offering convenience and quick feedback. You should understand their precision, features, and potential limitations to get the most accurate results. Knowing how these tools work helps you decide when they’re reliable and when manual methods are still necessary. Additionally, understanding cookie categories can help you manage your privacy preferences while using online alignment tools that require data collection.
Digital Precision Tools
Digital precision tools have revolutionized the way amateur and professional astronomers achieve accurate polar alignment. These tools enhance your accuracy by compensating for hardware calibration issues and environmental factors. Here’s how they help:
- They use sensors to measure your mount’s alignment precisely, reducing guesswork.
- They factor in environmental influences like temperature or vibration to improve accuracy.
- They provide real-time feedback, allowing quick adjustments to your polar alignment.
- They often integrate with smartphone apps, streamlining the calibration process.
- Many of these tools utilize natural materials incorporated into their design to withstand outdoor conditions and ensure durability.
App Features and Limitations
Modern alignment apps and digital tools offer significant advantages, but they also come with certain limitations that users should be aware of. The user interface varies widely, with some apps offering intuitive controls while others can be confusing or cluttered. This affects how easily you can input data or interpret results. App compatibility is another concern; not all apps work seamlessly across different smartphones or operating systems, which can restrict your options. Additionally, some features rely heavily on sensors or GPS accuracy, which can vary based on device quality and environmental conditions. While these apps can streamline the alignment process, it’s important to recognize their limitations and guarantee your device meets the app’s requirements for peak performance. Increasingly, app features are incorporating user feedback to improve accuracy and usability over time.

Sky-Watcher Star Adventurer 2i Pro Pack – Motorized DSLR Night Sky Tracker Equatorial Mount for Portable Nightscapes, Time-Lapse and Panoramas – Wi-Fi App Camera Control – Long Exposure (S20512)
Portable nightscape tracking platform: Motorized portable tracking platform perfect for capturing incredible detail of the Milky Way, eclipses...
As an affiliate, we earn on qualifying purchases.
Polar Alignment Using Star Trails and Visual Indicators

You can use star trail patterns and visual cues to align your telescope accurately. By recognizing common trail shapes and using visual aids properly, you improve your chances of a precise polar setup. Be aware of typical mistakes, so you can avoid errors that compromise your tracking. Additionally, understanding celebrity lifestyle insights can inspire you to approach your hobby with more creativity and dedication.
Recognizing Star Trail Patterns
Ever wondered how to identify the correct star trail pattern for precise polar alignment? Recognizing these patterns is key to effective celestial navigation. Here are four tips to help you:
- Look for circular trails around Polaris; they indicate proper alignment with Earth’s axis.
- Identify elongated trails pointing toward the celestial pole; these show misalignment.
- Note the trail’s direction—trails should appear as arcs centered on Polaris in the Northern Hemisphere.
- Use star trail patterns to confirm your mount’s orientation, especially when visual aids are limited.
Using Visual Aids Effectively
Have you ever struggled to verify your polar alignment in low-light conditions? Using visual aid techniques can make this process much easier. Star trails are a powerful visual indicator: by observing their curvature over time, you can confirm if your mount is aligned correctly. Incorporate simple visual cues, like the length and shape of star trails, to improve accuracy. To enhance audience engagement—whether you’re guiding yourself or others—highlight these visual signs clearly, using a flashlight or red light to maintain night vision. Consistently referencing visual indicators helps you stay confident in your adjustments. Remember, effective visual aid techniques are vital, especially in challenging lighting, to ensure precise polar alignment without guesswork. This approach keeps you focused and improves your overall success rate. Additionally, understanding the role of automation in business intelligence can help streamline the data analysis process, making your troubleshooting more efficient.
Common Alignment Mistakes
One common mistake when using star trails and visual indicators for polar alignment is misinterpreting their shapes and lengths, which can lead to inaccurate adjustments. Your aperture size and light pollution levels considerably affect visibility and accuracy. To avoid errors:
- Rely on clear, steady star trail arcs rather than faint or broken ones.
- Ensure your aperture size is appropriate to reduce light pollution effects, providing sharper star images.
- Avoid rushing; take your time to observe subtle trail curvatures.
- Confirm your visual indicators align consistently over multiple observations, accounting for any light pollution distortion.
- Remember that understanding the fundamentals of sound design, such as the importance of accurate visual cues, can significantly improve your polar alignment process.
Misreading trail shapes or ignoring light pollution can cause misalignment, so focus on clarity and patience for precise polar alignment.
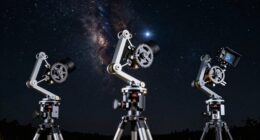
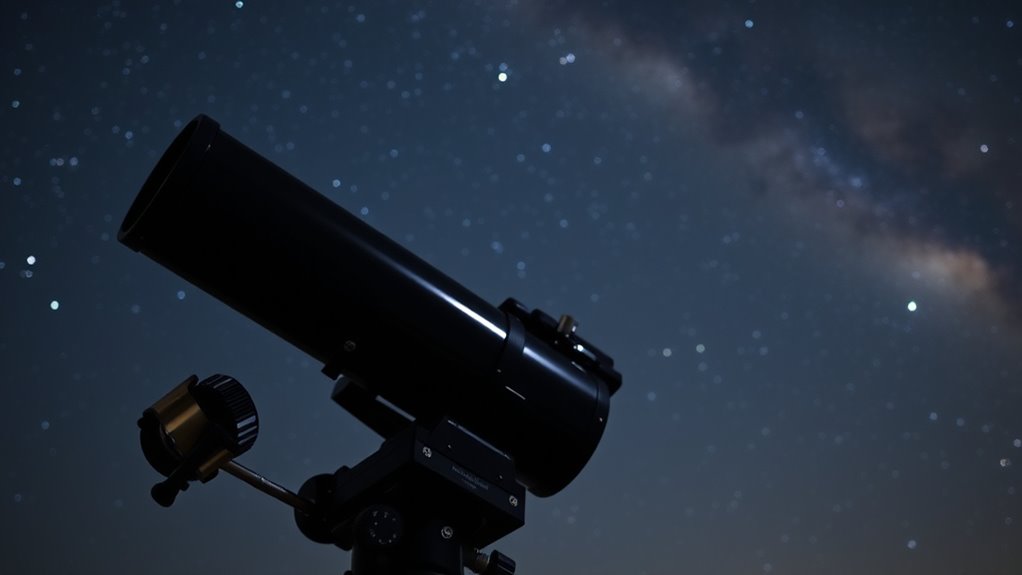
The Role of Mount Design and Mechanical Accuracy
The design of your mount plays a essential role in achieving precise polar alignment, as it directly influences stability and tracking accuracy. A well-built mount provides better mount stability, reducing vibrations and sudden movements that can disrupt your alignment. Mechanical accuracy in the mount’s components ensures smooth, consistent motion, which is indispensable for accurate tracking. Proper gear calibration is critical; misaligned gears can cause periodic errors that undermine your polar alignment efforts. High-quality mounts typically feature rigid construction and precise gear systems, making it easier to maintain alignment over long periods. Investing in a mount with sound mechanical design helps you focus on fine-tuning your polar alignment without fighting against instability or calibration issues. Ultimately, good mount design simplifies the process and improves your overall astrophotography experience. Additionally, understanding the role of AI technology in mount control systems can further enhance alignment precision and ease of use.
Common Misconceptions and Myths About Speed and Ease

Many beginners believe that achieving perfect polar alignment is quick and effortless with minimal effort or specialized tools, but this is a misconception. Speed misconceptions often lead newcomers to rush the process, sacrificing accuracy. Ease myths suggest that alignment should be simple, but in reality, it requires patience and practice.
To clarify, consider these points:
- Proper polar alignment takes time, especially for beginners.
- Using advanced tools can improve speed but doesn’t eliminate the need for understanding fundamentals.
- Rushing leads to poor imaging results and frustration.
- Consistent practice enhances both speed and accuracy over time.
Understanding that speed and ease are secondary to correctness helps you avoid common pitfalls and achieve better results in the long run.
What Truly Impacts Alignment Accuracy and Imaging Success

Achieving accurate polar alignment and successful imaging depends primarily on your attention to detail and understanding of key principles. Mount stability plays a vital role; a steady, well-balanced mount minimizes vibrations that can blur images. Even slight shifts or wobbling reduce tracking precision, compromising your results. Atmospheric conditions also considerably impact alignment accuracy; turbulence, temperature changes, and wind cause refraction and instability, making precise polar alignment more challenging. To improve success, ensure your mount is secure and well-maintained, and monitor weather conditions before imaging sessions. Using appropriate equipment and adapting to environmental factors help maintain alignment. Additionally, performance tuning of your setup can enhance tracking accuracy and image quality. Ultimately, understanding how mount stability and atmospheric conditions influence tracking precision allows you to optimize your setup for sharper images and more reliable results.
Frequently Asked Questions
How Does Temperature Affect Polar Alignment Accuracy?
Temperature affects polar alignment accuracy by causing thermal expansion of your equipment, which can shift the mount’s position. You need to regularly check and recalibrate your sensors to account for these changes. When temperatures fluctuate, sensor calibration becomes essential to maintain precision. By understanding thermal expansion and performing timely calibrations, you ensure your polar alignment stays accurate despite temperature variations.
Can Polar Alignment Be Maintained Over Multiple Nights Automatically?
You can keep polar alignment stable over multiple nights with automated tracking systems. While no system is foolproof, precise alignment tools and periodic checks help maintain accuracy, so you’re not chasing shadows. These tools adjust for Earth’s rotation, ensuring your setup stays aligned and reliable. Remember, a watchful eye and proper calibration go a long way—think of it as keeping the ship on course through calm and storm.
What Are the Best Practices for Aligning in Light-Polluted Areas?
In light-polluted areas, you should use a robust star alignment process, like software-assisted polar alignment, to compensate for sky glow and light pollution. Shield your telescope from local sky glow with hoods or shields, and choose your alignment stars carefully, ideally those less affected by light pollution. Conduct your alignment during the darkest part of the night, and verify your setup regularly to maintain accuracy.
How Does Latitude Influence the Choice of Alignment Method?
Your latitude determines whether you should use an equatorial or altazimuth mount for better polar alignment. At higher latitudes, an equatorial mount simplifies tracking and reduces the need for frequent adjustments, especially with a stable mount. Conversely, at lower latitudes, altazimuth mounts are easier to set up, but you might need more frequent realignment. In all cases, prioritize mount stability to make certain of precise alignment and smooth tracking.
Are There Specific Mount Types Better Suited for Precise Polar Alignment?
You’ll find that equatorial mounts are generally better suited for precise polar alignment because their compatibility with polar aligning tools enhances tracking accuracy. German equatorial mounts, in particular, offer fine adjustments and stability, making them ideal for detailed astrophotography. While altazimuth mounts aren’t designed for this, choosing a mount with good tracking accuracy and compatibility with polar scope accessories guarantees you get the most precise alignment possible.
Conclusion
Remember, mastering polar alignment isn’t about chasing quick fixes or falling for myths. It’s the secret weapon that transforms your astrophotography from frustrating chaos to breathtaking clarity. Ignore the shortcuts and focus on precision, because one perfectly aligned shot can outshine dozens of rushed images. So, invest the time, trust the process, and realize that true accuracy isn’t just a detail — it’s the difference between a blurry mess and a cosmic masterpiece.