
To master the Bortle Scale in practice, you need to understand its classifications and accurately assess your local sky brightness, considering factors like moon phases, weather, and nearby light pollution sources. Using apps and tools helps refine your observation conditions, while terrain and obstructions can improve visibility even in brighter skies. Knowing when to wait for better conditions boosts your chances of seeing more. Keep exploring these tips to discover the full potential of your night sky.
Key Takeaways
- Understand Bortle scale categories to accurately assess local sky darkness and light pollution levels.
- Use consistent observation conditions, avoiding moonlight and artificial lights, for reliable Bortle assessments.
- Recognize signs of light pollution, such as skyglow and washed-out stars, to classify your observing site correctly.
- Consider terrain and obstructions; natural features can improve sky visibility even in higher Bortle classes.
- Adjust expectations and plan stargazing sessions based on Bortle class to optimize celestial object visibility.
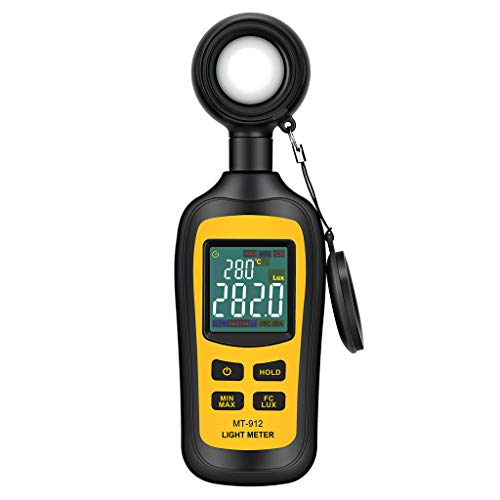
Light Meter Digital Illuminance Meter Handheld Ambient Temperature Measurer, Range up to 200,000 Lux, Luxmeter with 4 Digit Color LCD Screen
Measures luminosity from 0 to 200,000 Lux and ambient temperature
As an affiliate, we earn on qualifying purchases.
As an affiliate, we earn on qualifying purchases.
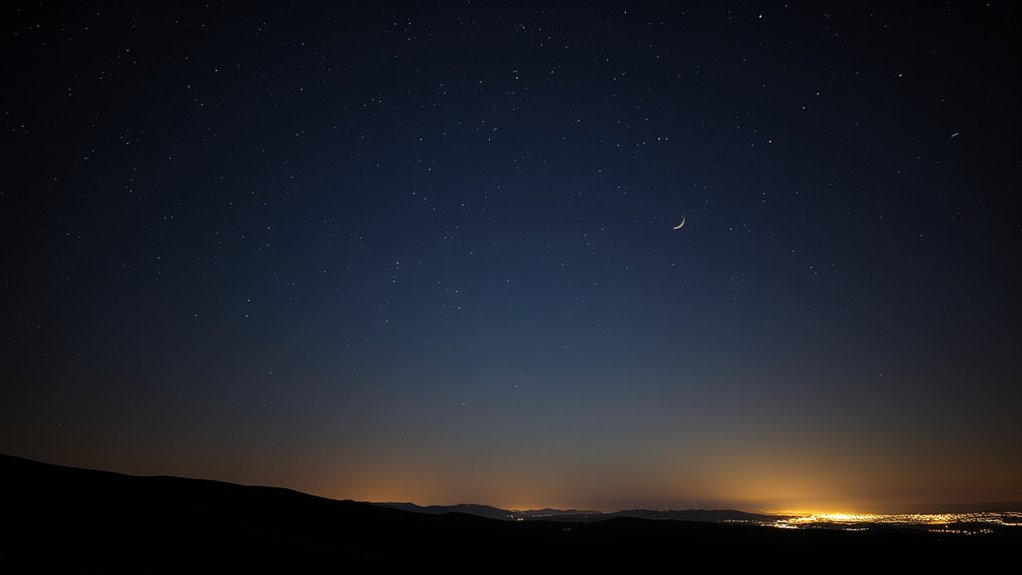
Understanding Bortle Scale Classifications and What They Really Mean

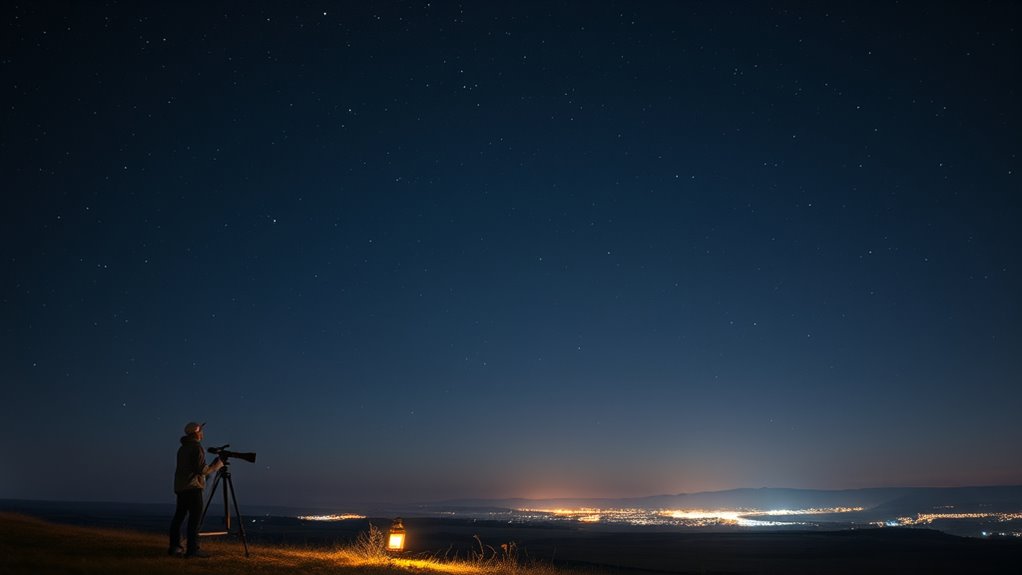
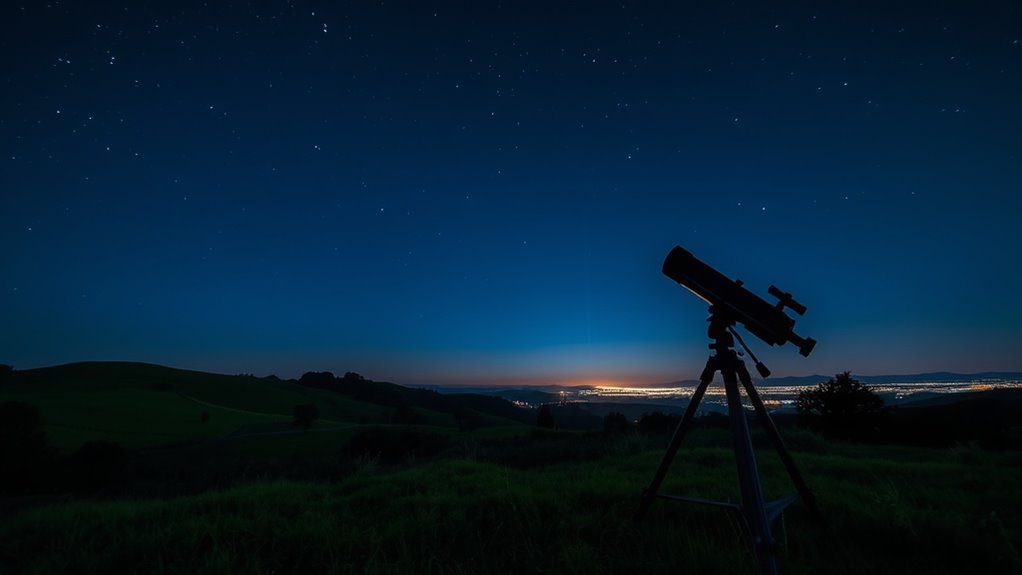
To truly grasp what the Bortle Scale reveals about your night sky, it’s important to understand its classifications. The scale measures sky brightness, which directly reflects the level of light pollution in your area. Lower classes, like Class 1 or 2, indicate dark skies with minimal light pollution, offering ideal conditions for stargazing. Higher classes, such as Class 8 or 9, show heavily light-polluted skies, making it difficult to see anything beyond the brightest stars. These classifications help you understand how much artificial light impacts your view of the cosmos. Knowing your Bortle class allows you to gauge the quality of your local sky and plan your stargazing sessions accordingly, giving you a clear picture of the effects of light pollution on your night sky experience.

Sky-Watcher Star Adventurer 2i Astro Pack – Motorized DSLR Night Sky Tracker for Portable Nightscapes, Time-Lapse, and Panoramas – Remote Camera Control – Long Exposure Imaging (S20510), Black
PORTABLE NIGHTSCAPE TRACKING PLATFORM: Motorized portable tracking platform perfect for capturing incredible detail of the Milky Way, eclipses…
As an affiliate, we earn on qualifying purchases.
As an affiliate, we earn on qualifying purchases.
How to Properly Assess Your Local Sky Brightness
To assess your local sky brightness accurately, start by recognizing signs of light pollution around you. Make sure you use the Bortle Scale properly by understanding its categories and applying them consistently. Keep track of your sky conditions by recording brightness levels to monitor changes over time. Incorporating information about sky brightness levels can help you better interpret your observations and ensure more accurate assessments.
Recognize Light Pollution Signs
Recognizing light pollution signs is essential for accurately evaluating your local sky brightness. By observing light pollution indicators, you can determine how much artificial light affects your view of the night sky. Look for sky brightness cues such as a washed-out horizon, a noticeable glow near urban areas, or a dullening of stars that should be visible. If you notice a persistent haze or a brightening near the horizon, these are clear signs of light pollution. You might also see skyglow extending above city lights or a lack of contrast between stars and the background sky. These signs help you assess how much light pollution impacts your area, guiding you toward better observation conditions and understanding your Bortle scale class. Additionally, understanding light pollution sources can help you identify specific factors contributing to the brightness and plan accordingly.
Use Bortle Scale Correctly
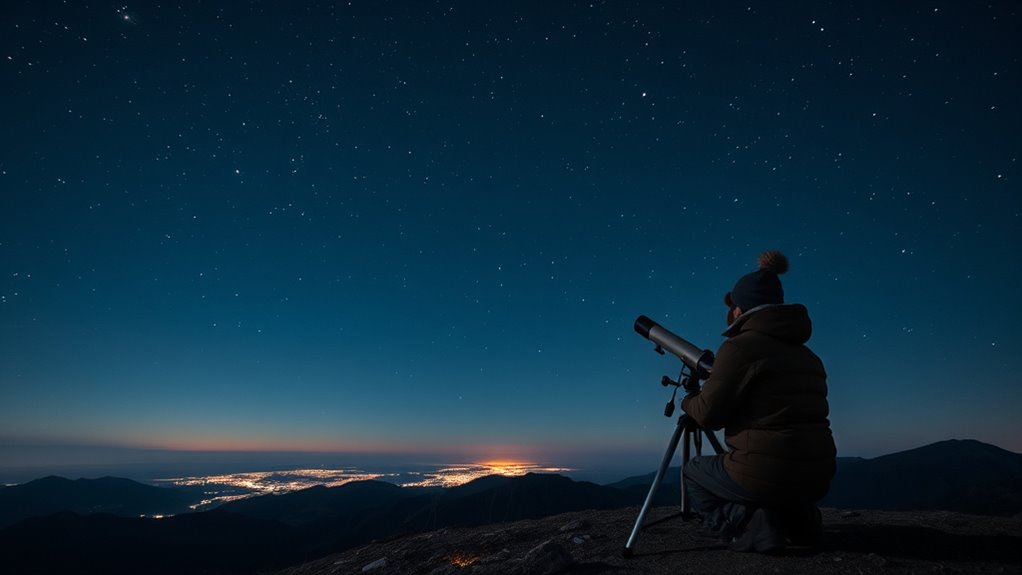
Accurately evaluating your local sky brightness using the Bortle Scale requires careful observation and consistent technique. To do this effectively, choose clear, stable nights with minimal moonlight and avoid times of heavy light pollution. Use a consistent point of reference, such as familiar stars or constellations, to compare the apparent darkness of your sky. Take note of how easily you can see faint stars and deep-sky objects, which indicate low or high sky brightness. Avoid rushing your assessment—spend several minutes observing the sky from different angles. Remember, light pollution can vary throughout the night, so perform multiple observations if possible. Properly assessing your sky brightness helps you determine your Bortle class accurately and improves your stargazing experience. Incorporating proper observation techniques can further enhance the accuracy of your assessment.
Record Sky Brightness Levels
Recording your sky brightness levels accurately is essential for evaluating your Bortle class. To do this, you need reliable measurement techniques that capture the true state of your local sky. Start by using a light meter or a smartphone app designed for sky brightness assessment. Take multiple readings at different times and locations within your observing site to account for variability. Keep the sky conditions consistent—avoid moonlit nights or nearby light sources that could skew your data. Record the measurements carefully, noting the date, time, and weather conditions. Properly gauging your sky brightness helps you understand your Bortle class more precisely and track changes over time. Accurate measurement techniques ensure your observations are both meaningful and comparable. Additionally, understanding the types of light pollution prevalent in your area can help interpret your data more effectively.
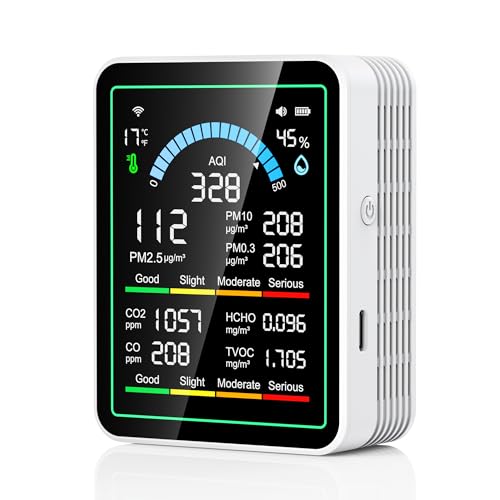
Air Quality Monitor Indoor, 10 in 1 Portable Smartair Quality Tester for CO2 | CO | TVOC | HCHO | Temp | AQI | PM0.3-1 Detection Suitable for Home, Cars, Plants, Pets and Hotels
【10-in-1 Smart Air Quality Monitor: Your All-Round Environmental Guardian】 This portable intelligent air quality tester delivers ultra-precise multi-gas…
As an affiliate, we earn on qualifying purchases.
As an affiliate, we earn on qualifying purchases.
The Importance of Moon Phases and Weather Conditions
Since the moon’s brightness varies with its moon phases, it can especially impact your night sky viewing, especially in areas with light pollution. During a full moon, the increased brightness washes out fainter stars and celestial details, making it harder to get an accurate Bortle reading. Conversely, new moons provide darker skies, ideal for observing faint objects. Weather conditions also play an essential role; clear skies maximize visibility, while clouds, humidity, or wind can obscure your view and distort your perception of sky brightness. Planning your observations around moon phases and weather forecasts helps you optimize conditions for quality stargazing. By choosing nights with minimal moonlight and stable weather, you’ll enhance your ability to accurately assess sky darkness and get the most out of your experience.

The Night Sky 30°-40° (Small) Star Finder
As an affiliate, we earn on qualifying purchases.
As an affiliate, we earn on qualifying purchases.
Recognizing Common Light Pollution Sources and How to Avoid Them
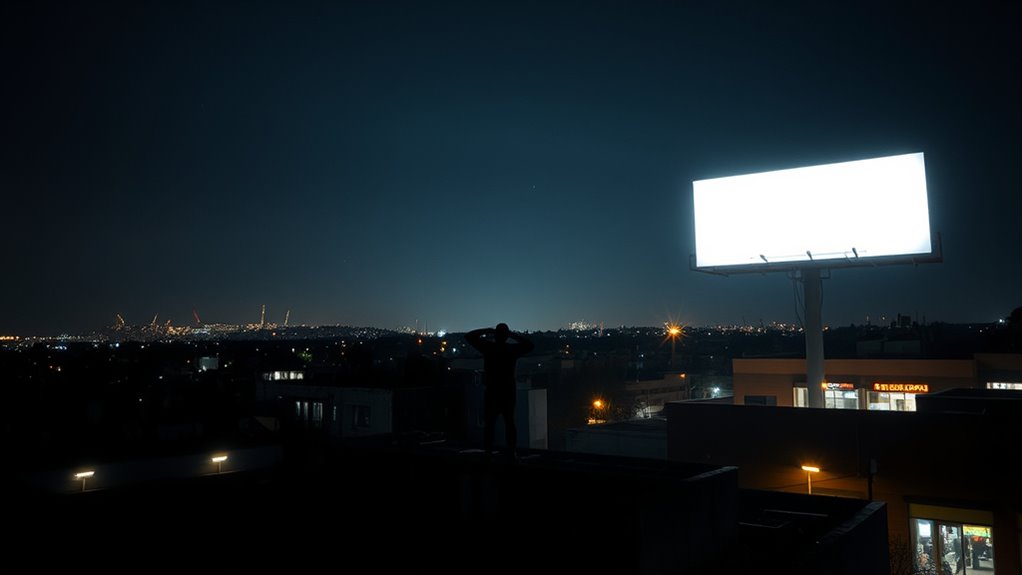
Light pollution from nearby sources can considerably diminish your night sky visibility, making it harder to observe faint celestial objects. Common sources include outdoor lighting, such as floodlights, security lights, and poorly shielded fixtures. Street lamps are often significant contributors, especially when they emit excessive or unshielded light that spills into the sky. To avoid this, turn off unnecessary outdoor lighting or use fixtures with shields that direct light downward. When planning your viewing spot, choose locations away from busy streets with bright street lamps. You can also advocate for community lighting policies that reduce light pollution, such as installing downward-shielded fixtures or dimming lights after hours. Recognizing these sources helps you minimize interference and enjoy a darker, clearer sky. Additionally, selecting areas with minimal artificial light can greatly improve your stargazing experience.
Tips for Using Apps and Tools to Gauge Your Viewing Environment
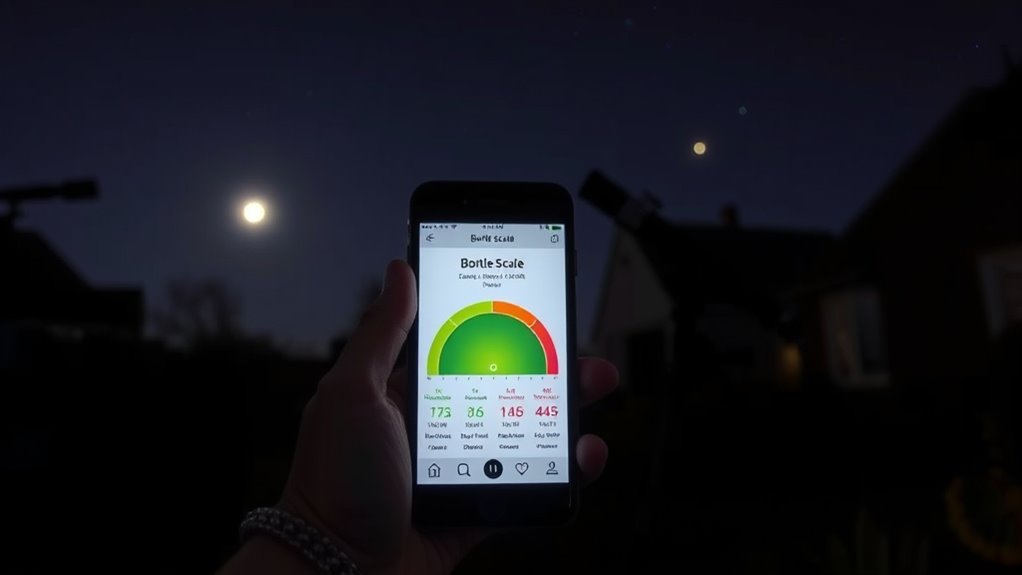
Using apps and tools to gauge your viewing environment can substantially improve your stargazing experience. These tools provide quick, accurate sky quality assessments and help you measure light pollution levels through light measurement features. Start by downloading reliable sky quality apps that use your phone’s sensors or connect to external light meters. When you’re outdoors, use these apps to check the light measurement and determine your Bortle class. Always calibrate your device in a dark area for more accurate readings. Pay attention to factors like nearby light sources and cloud cover, which can affect results. Regularly monitoring your environment helps you choose the best times and locations for observing, ensuring you get the clearest views possible. Incorporating light pollution data from these tools can further refine your observation planning.
Adjusting Expectations Based on Your Bortle Class
Your Bortle class directly affects how much light pollution impacts your view, so adjust your expectations accordingly. As the class increases, you’ll notice more observation limitations, making faint objects harder to see. To stay realistic, focus on brighter targets and use strategies like planning around moon phases or light pollution levels. Incorporating visualization techniques can help you better understand which objects are suitable for your sky conditions.
Light Pollution Impact
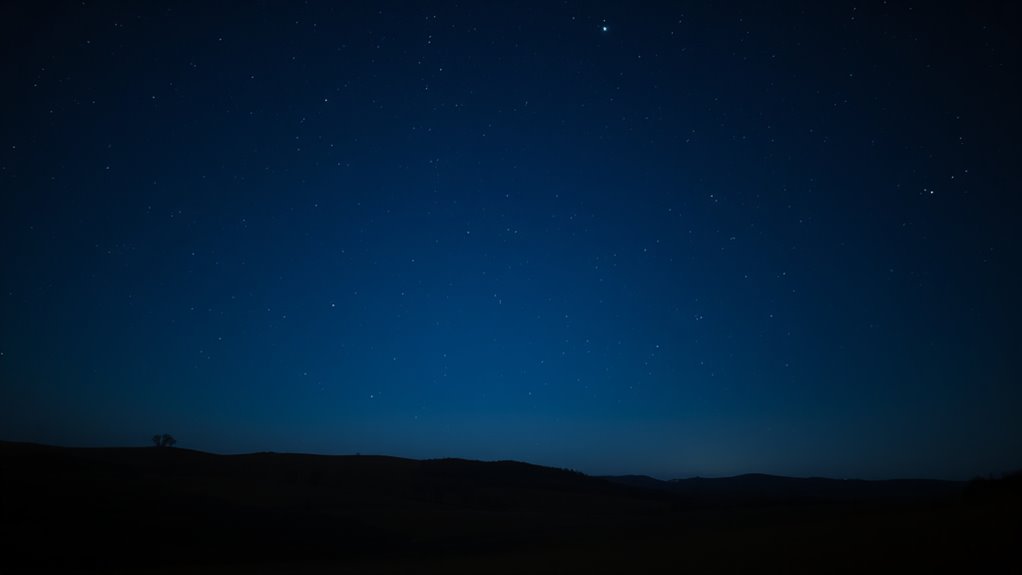
Understanding how light pollution varies across Bortle classes helps you set realistic expectations for stargazing. As you move from lower to higher Bortle classes, sky brightness increases markedly, making it harder to see faint objects. Light pollution from nearby city lights, streetlamps, and even distant glow diminishes your night sky’s clarity. In darker skies, you’ll notice a profound difference in star visibility and the richness of the Milky Way. Conversely, in more polluted environments, only the brightest stars shine through, and details fade into the background glow. Recognizing these variations helps you choose suitable locations and adjust your expectations accordingly. Being aware of your Bortle class’s impact on sky brightness allows you to make the most of your stargazing experience. Additionally, understanding the light pollution impact on sky quality can inform your planning for optimal observation conditions.
Observation Limitations Increase
As the Bortle class increases, the limitations on what you can observe become more pronounced, making it essential to modify your expectations accordingly. Higher Bortle classes mean greater light pollution, which washes out many celestial objects, reducing sky clarity. You’ll find that faint stars and distant galaxies become difficult or impossible to see, even with binoculars or telescopes. Bright objects like the Moon, planets, and some bright star clusters remain visible, but your view of dimmer targets diminishes markedly. Recognizing these constraints helps prevent frustration and encourages you to focus on objects suited for your sky conditions. Additionally, understanding light pollution levels can help you choose optimal observation times and locations, maximizing your viewing experience despite increasing Bortle classes. Adjusting your expectations based on your Bortle class ensures you enjoy observing without disappointment, appreciating the objects that remain visible despite increasing light pollution.
Expectation Adjustment Strategies
Adjusting your expectations based on your Bortle class helps you make the most of your observing sessions despite increasing light pollution. As sky brightness grows, your ability to see faint objects diminishes, so it’s important to recalibrate what you hope to observe. Instead of aiming for distant galaxies or intricate nebulae, focus on brighter targets like planets, the Moon, or prominent star clusters. Recognize that light pollution limits your view, and accept that some objects may be out of reach. By adjusting your expectations, you reduce frustration and enhance your experience. Embrace the beauty of what’s visible under your sky brightness conditions, and appreciate the unique sights available at your Bortle class. This mindset ensures enjoyable, fulfilling observing sessions regardless of light pollution challenges.
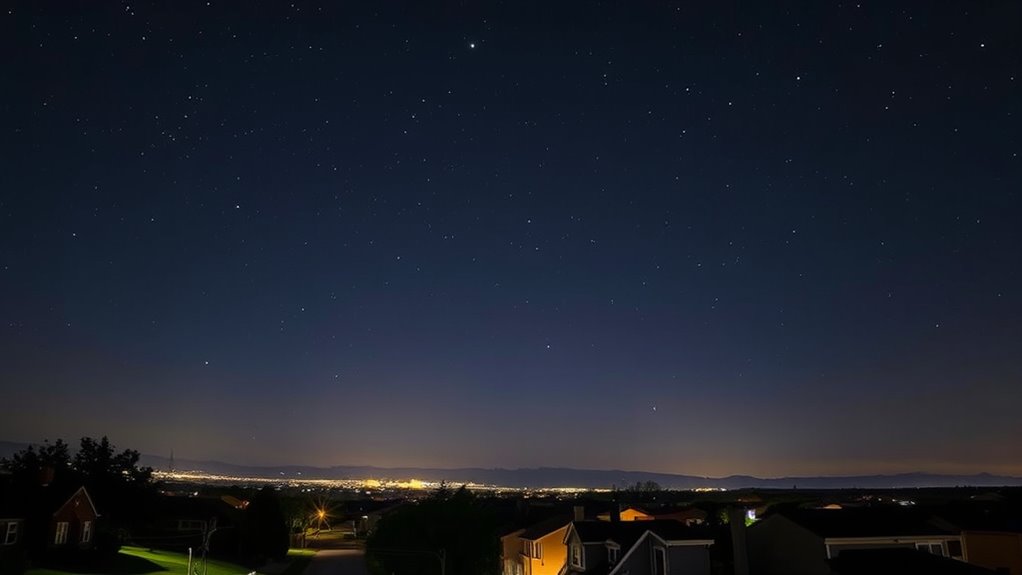
The Role of Terrain and Obstructions in Your Viewing Conditions
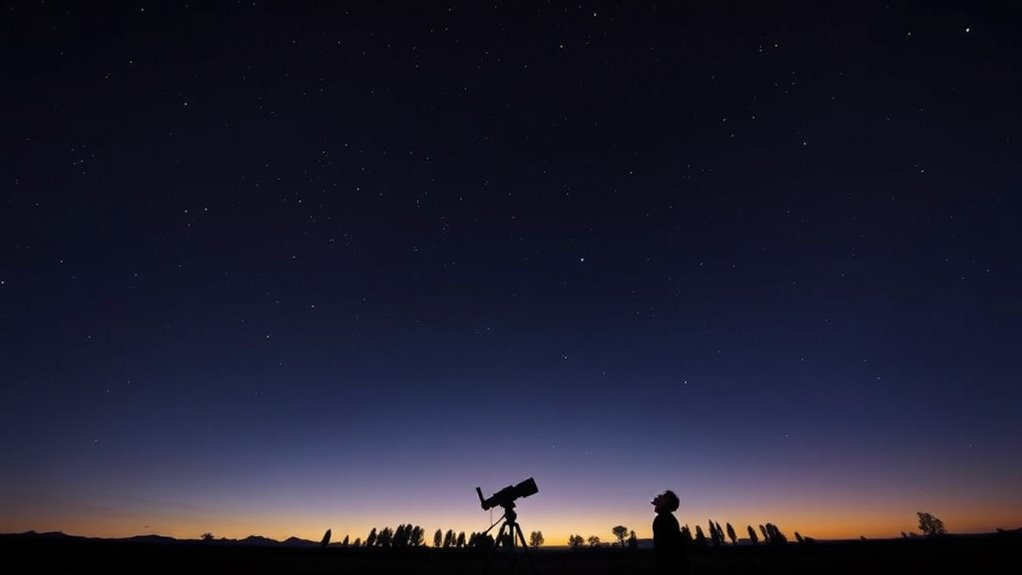
Terrain and obstructions play a crucial role in your viewing conditions because they can substantially block or scatter the light pollution that reaches your eyes. Terrain obstructions like hills, trees, or buildings can shield your line of sight, reducing the impact of artificial lights and improving your sky’s darkness. Natural horizons, such as mountains or distant ridges, also help by limiting the amount of ambient light spilling over the horizon. When these features are present, they create a more favorable environment for stargazing, even in areas with moderate light pollution. By choosing locations with natural horizons or terrain obstructions, you can markedly enhance your viewing experience. Remember, the landscape around you can be just as important as how dark the sky itself appears.
When and Why to Wait for Better Conditions
Waiting for better conditions can considerably improve your stargazing experience, especially when the sky isn’t as dark or clear as it could be. If sky glow from urban lighting or atmospheric disturbances is high, your view of faint objects diminishes. Patience pays off when you wait for nights with minimal sky glow, clear skies, and low humidity.
| Condition | Benefit |
|---|---|
| Reduced urban lighting | Brighter, more detailed celestial objects |
| Clear, stable sky | Less atmospheric distortion, sharper images |
| Low humidity | Fewer haze and moisture interference |
| Darker sky (Bortle 1-3) | Better contrast and visibility of faint objects |
Waiting ensures you maximize your observing session, revealing more of the universe’s true beauty.
How to Document and Track Changes in Your Viewing Sites
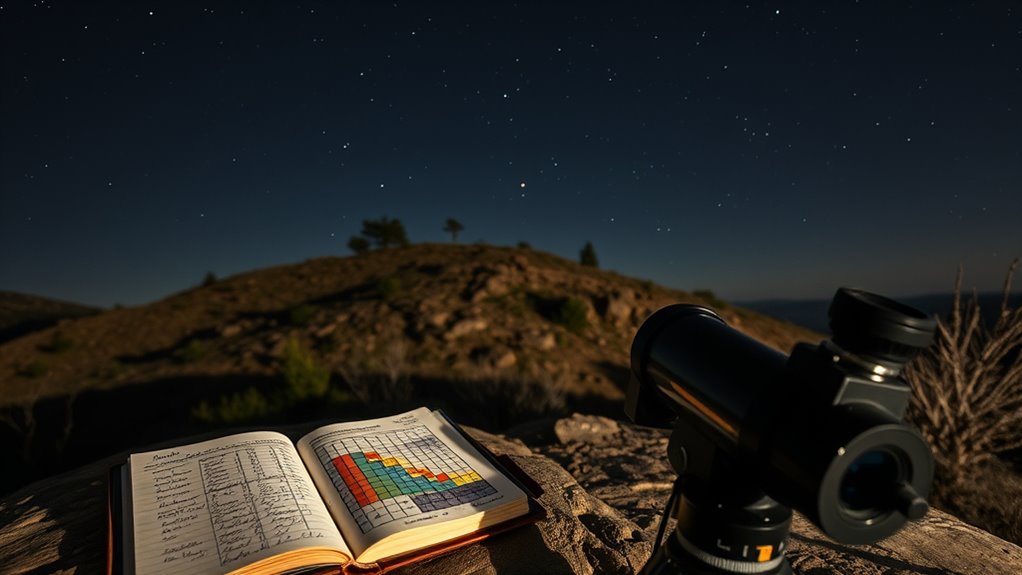
Keeping track of how your viewing sites change over time is essential for improving your stargazing experience. To do this, regularly note observations of sky brightness and levels of light pollution at each location. Use a simple log or digital app to record date, weather conditions, and any noticeable changes in visibility or sky quality. Photograph your site periodically to document shifts in light pollution or horizon obstructions. Keep a record of how nearby developments or street lighting affect the darkness of your site. Tracking these details helps you identify patterns and determine whether a site’s Bortle class is improving or worsening. Consistent documentation guarantees you can make informed decisions about when and where to observe, maximizing your chances of enjoying darker skies.
Practical Ways to Improve Your Viewing Environment Over Time
You can improve your viewing environment gradually by reducing external light pollution around your site. Additionally, controlling your indoor lighting and using light pollution filters on your equipment make a noticeable difference. Small, consistent adjustments like these can considerably enhance your stargazing over time.
Reduce External Light Pollution
Reducing external light pollution is essential for improving your night sky viewing environment, and small, consistent efforts can make a significant difference over time. By minimizing sources of light pollution, you lower sky brightness and enhance your ability to see faint celestial objects. Start by turning off unnecessary outdoor lights and using fixtures that direct light downward. Encourage neighbors to do the same, creating a darker local environment. Review the table below to understand key actions and their impact:
| Action | Effect on Sky Brightness | Tips |
|---|---|---|
| Use shielded outdoor lights | Decreases light spill | Install downward shields |
| Switch to motion sensors | Reduces unnecessary lighting | Use timers for outdoor lights |
| Limit bright exterior lights | Lowers overall sky brightness | Use dimmer bulbs |
| Close curtains at night | Blocks interior light spill | Keep curtains closed during dark hours |
Enhance Domestic Lighting Controls
Improving your domestic lighting setup can considerably boost your night sky visibility over time. By optimizing your domestic lighting and incorporating lighting automation, you create a darker environment conducive to stargazing. Here are three practical steps:
- Install dimmable switches or smart lighting systems to control brightness levels easily.
- Use motion sensors or timers to turn off or dim lights when not needed, reducing unnecessary light spill.
- Choose warm-colored bulbs and fixtures that direct light downward, minimizing skyglow and light pollution.
These adjustments help you manage your lighting environment efficiently, making it easier to enjoy the night sky. Enhancing your domestic lighting controls is a simple yet impactful way to support better astronomical observation and preserve dark skies.
Invest in Light Pollution Filters
Investing in light pollution filters is a highly effective way to enhance your night sky viewing experience over time. These filters reduce sky brightness caused by artificial lights, making faint objects more visible. By blocking specific wavelengths, they improve contrast and clarity, especially in areas with moderate light pollution. Consider different types of filters based on your target objects and local conditions. Use them with your telescope or binoculars for better results. Keep in mind, filters won’t eliminate all light pollution but can markedly improve your view. To help you choose, here’s a quick comparison:
| Filter Type | Best For | Effectiveness |
|---|---|---|
| Broadband | General light pollution | Moderate improvement |
| Narrowband | Emission nebulae | High contrast for specific objects |
| UHC (Ultra High Contrast) | Deep-sky objects | Enhances faint details |
| O-III | Planetary nebulae | Sharpens emission lines |
| CLS (City Light Suppressor) | Urban areas | Reduces overall sky brightness |
Frequently Asked Questions
Can Bortle Scale Readings Vary Throughout the Year?
Yes, Bortle scale readings can vary throughout the year due to seasonal variation and atmospheric effects. During different seasons, factors like humidity, temperature, and weather patterns can impact sky darkness. For example, summer haze or winter clouds may reduce visibility, while clear nights in fall or spring improve conditions. These atmospheric effects cause fluctuations in your Bortle scale reading, so expect occasional changes even at the same location.
How Does Light Pollution Affect Astronomical Observations Differently?
Think of light pollution as a fog that dims your view of the stars. Skyglow impact from artificial lights creates a hazy glow that washes out faint celestial objects, making them harder to see. Atmospheric scattering spreads this artificial light, further reducing visibility. So, the more light pollution you face, the less you’ll enjoy clear, crisp views of the night sky, especially the dimmest stars and deep-sky wonders.
Are There Specific Tools to Measure Light Pollution Levels Precisely?
Yes, you can use specialized tools like light pollution mapping apps and devices to measure light pollution levels precisely. These tools help you identify areas with minimal light interference, improving your astronomical observations. For telescope calibration, understanding local light pollution helps you adjust settings for better clarity. By combining light pollution maps with your equipment, you guarantee ideal viewing conditions and more accurate observations, making your stargazing experience truly rewarding.
How Do Urban Planning Policies Influence Local Bortle Classifications?
A chain is only as strong as its weakest link, so urban planning policies greatly shape local Bortle classifications. When you focus on smart urban development and enforce strict lighting regulations, you reduce light pollution, improving sky quality. Conversely, lax policies lead to higher Bortle ratings. You can influence this by advocating for responsible lighting and supporting policies that prioritize dark skies, making stargazing better for everyone.
Can Bortle Scale Help Predict Future Sky Conditions?
Yes, the Bortle Scale can help predict future sky conditions by guiding sky condition forecasts and pollution trend analysis. By monitoring current Bortle ratings, you can identify patterns indicating increasing light pollution or improvements in dark sky preservation. This enables you to anticipate how local sky conditions might change, helping you plan stargazing activities and support efforts to reduce pollution for clearer skies ahead.
Conclusion
Mastering the Bortle Scale is like finding your own secret passage to clearer skies, revealing the universe’s true beauty. By understanding and applying these rules, you become your own guide in steering light pollution and weather challenges. Remember, each step you take is like adding another star to your sky—brighter, clearer, and more awe-inspiring. Keep exploring, and soon, the cosmos will feel just a little closer, waiting for you to discover its wonders.