
To achieve precise polar alignment, start with a rough alignment using Polaris or the mount’s finder scope. Fine-tune your position by adjusting altitude and azimuth controls or use drift alignment for higher accuracy. Modern tools like PoleMaster or ASIAir can simplify this process with software guidance. Since accurate alignment improves tracking for astrophotography, it’s worth exploring each method thoroughly—keep going to discover all the essential techniques used by experienced astronomers.
Key Takeaways
- Understand the importance of polar alignment for accurate tracking and long-exposure astrophotography.
- Learn how to locate and center Polaris as a quick initial alignment reference.
- Explore basic methods like rough alignment and fine-tuning for improved accuracy.
- Utilize advanced techniques such as drift alignment for high-precision setup.
- Incorporate modern tools like PoleMaster and software-assisted methods to streamline and enhance alignment accuracy.

Astromania Polar Alignment Scope for EQ-5, Quickly and Easily Align Your Equatorial Mount with The North Celestial Polar – The Foundations for Successful Astrophotography
Full metal; Good alignment of the mount with the North Celestial Pole can be achieved in a short…
As an affiliate, we earn on qualifying purchases.
As an affiliate, we earn on qualifying purchases.
Essential Guide to Polar Alignment Techniques

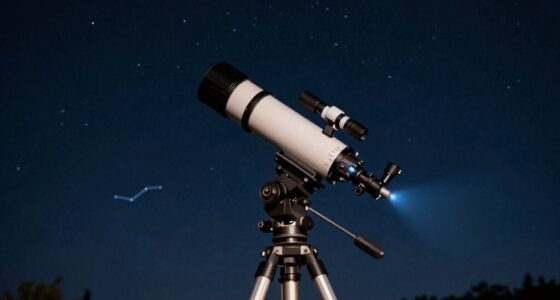
Achieving accurate polar alignment is essential for successful astrophotography and precise tracking, but it can often seem challenging for beginners. If you’re using an equatorial mount, mastering the alignment process becomes even more critical. An equatorial mount is designed to follow the Earth’s rotation, which means it needs to be aligned with the celestial pole to track objects smoothly across the sky. Proper polar alignment minimizes star trails and helps you capture sharp, clear images over long exposures.
To start, you’ll want to locate the celestial pole, which is near Polaris in the Northern Hemisphere. Many astrophotography tips emphasize the importance of using Polaris as a reference point because it stays close to the true celestial pole. You can perform a quick polar alignment by centering Polaris in your mount’s finder scope or eyepiece, then adjusting the mount’s altitude and azimuth controls until Polaris remains steady in the eyepiece during tracking. This method, called the rough polar alignment, is quick and effective for many astrophotography sessions.
For more precise results, you can use a polar scope, which is built into many equatorial mounts. It provides a reticle with markings that help you align with the celestial pole more accurately. Make sure your mount is set to the correct time and location, as these parameters influence the star’s position. Some astrophotography tips recommend performing drift alignment, a technique where you observe the drift of a star over time and adjust your mount until the star remains stationary. While it takes longer, drift alignment offers exceptional precision, especially for astrophotographers planning to do deep-sky imaging.
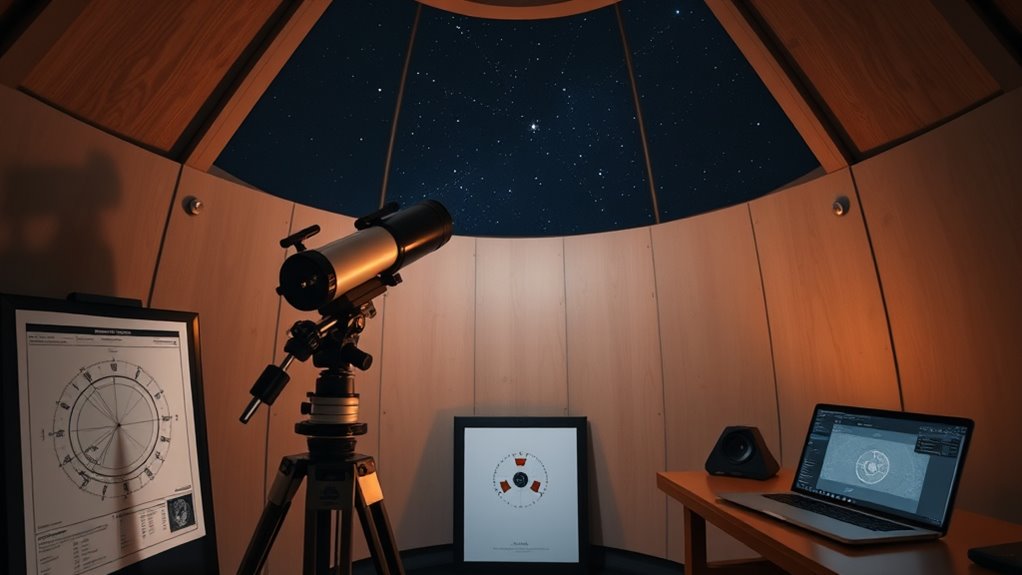
Alternatively, many modern mounts are compatible with electronic polar alignment tools or software solutions, like PoleMaster or ASIAir. These devices use a camera or software-assisted process to analyze the star’s position and guide you through alignment steps, considerably reducing setup time and increasing accuracy. Incorporating these tools into your workflow can streamline the process, especially if you’re new to astrophotography. Additionally, understanding the importance of high-quality polar alignment methods can significantly improve your imaging results.
Astromania Polar Alignment Scope for EQ-5, Quickly and Easily Align Your Equatorial Mount with The North Celestial Polar – The Foundations for Successful Astrophotography
Full metal; Good alignment of the mount with the North Celestial Pole can be achieved in a short…
As an affiliate, we earn on qualifying purchases.
As an affiliate, we earn on qualifying purchases.
Frequently Asked Questions
Can I Polar Align Without a Mount or Tripod?
You can polar align without a mount or tripod by using a portable setup like a star tracker or handheld device. A polar scope isn’t necessary in this case, but it can help if you’re using a small, portable mount. Focus on locating Polaris or the celestial pole visually, then adjust your device accordingly. Keep in mind, a stable surface or tripod improves accuracy, but minimal gear still allows decent polar alignment.
How Often Should I Realign My Telescope During Sessions?
You should realign your telescope whenever you notice a loss of mount stability or drift out of alignment. During longer sessions, it’s best to check your alignment every hour or so, especially if you’re using alignment tools that help maintain accuracy. Regular adjustments ensure your telescope tracks celestial objects properly, minimizing errors caused by mount vibrations or slight shifts, so your viewing remains clear and precise throughout your session.
What Are the Signs of a Poor Polar Alignment?
If your images appear blurry or streaked, it’s a sign of polar misalignment causing tracking errors. You might also notice objects drifting out of the field of view over time or star trails forming despite your efforts. These subtle clues hint that your polar alignment needs fine-tuning. Addressing these issues quickly guarantees your telescope tracks accurately, giving you crisp, clear astrophotos and enjoyable stargazing sessions.
Is Polar Alignment Necessary for Astrophotography?
Yes, polar alignment is vital for astrophotography because it guarantees your mount’s precision, minimizing star trails and improving image sharpness. Proper polar alignment enhances mount stability, reducing vibrations and tracking errors during long exposures. When your polar alignment is precise, you’ll enjoy smoother tracking, clearer images, and less post-processing correction. Skipping this step often results in blurry or elongated stars, making it essential for high-quality astrophotography results.
How Does Temperature Affect Polar Alignment Accuracy?
Temperature affects your polar alignment accuracy because thermal expansion causes your mount’s components to shift slightly, leading to misalignment. Additionally, atmospheric refraction can alter the apparent position of celestial objects, especially at lower angles. When temperatures fluctuate, these effects become more pronounced, so it’s vital to perform alignments during stable conditions or allow your equipment to acclimate. This helps guarantee your polar alignment remains precise for sharp astrophotography images.

Right Angle Viewer for Polar Scope with Metal Adapter: Crystal-Clear and Easy Polar Alignment | Built in Diopter(1x-2x Zoom) – 90 Degree Viewfinder for Finder Scope Camera & Telescopes/No More Crouch
Say Goodbye to Cracks and Scratches: Remember those "oops" moments when your adapter took a tumble? Yeah, no…
As an affiliate, we earn on qualifying purchases.
As an affiliate, we earn on qualifying purchases.
Conclusion
Now that you’ve mastered these polar alignment tricks, you’re practically a celestial wizard. Who needs perfect accuracy when you can impress your friends with your cosmic dance moves? Remember, even the best astronomers stumble—so if your stars seem a bit wonky, just blame it on the moon. Keep practicing, stay patient, and soon you’ll be gazing at perfectly aligned skies, all while secretly chuckling at how easy it was to outsmart the universe. Happy stargazing!
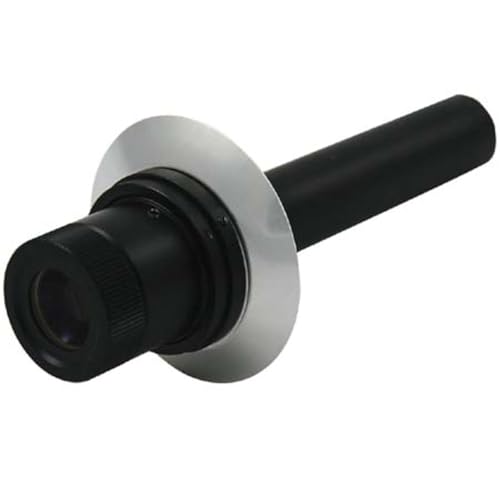
Celestron CG-4 Polar Axis Finder
Polar align your Celestron Omni or CG-4 equatorial mount more easily with this Celestron Polar Axis Finder
As an affiliate, we earn on qualifying purchases.
As an affiliate, we earn on qualifying purchases.