
Calibration frames—darks, flats, and bias—are essential tools for cleaning up your astrophotography images. Darks help remove sensor noise and hot pixels by capturing images with the same exposure and temperature but with the lens or telescope covered. Flats even out uneven illumination and dust shadows, ensuring consistent brightness across your shot. Bias frames record readout noise with the shortest exposure, helping to sharpen details. Understanding how these frames work will improve your image quality; keep exploring to learn more.
Key Takeaways
- Darks remove thermal noise by capturing images with the same exposure and temperature as light frames, with the lens covered.
- Flats correct uneven illumination and dust shadows by imaging a uniformly lit surface, ensuring consistent brightness across images.
- Bias frames record sensor readout noise with minimal exposure, aiding in electronic noise reduction during calibration.
- Combining dark, flat, and bias frames ensures correction of thermal noise, optical irregularities, and electronic artifacts for cleaner astrophotos.
- Proper calibration frames are essential for high-quality, professional astrophotography, improving image detail and accuracy.

Calibration frames are essential tools in astrophotography that help you correct imperfections in your images. When capturing faint celestial objects, your camera picks up not only the light from stars and galaxies but also unwanted signals like sensor noise, dust, and electronic artifacts. To achieve clear, detailed images, you need to reduce these imperfections through proper calibration. This is where calibration frames come into play, enhancing your image processing techniques and ensuring noise reduction, so your final astrophotos are as clean as possible.
Calibration frames are vital for correcting imperfections and achieving clear, detailed astrophotography images.
The three main types of calibration frames are darks, flats, and bias frames. Darks are images you take with the same exposure time and temperature as your light frames, but with the camera lens or telescope covered so no light enters. These frames record the thermal noise and hot pixels produced by your camera’s sensor. When processing your images, you subtract the dark frames from your light frames, effectively removing thermal noise and hot pixels. This step is critical because it minimizes sensor-related noise, making your images sharper and more accurate. Proper use of dark frames allows you to improve the overall quality of your astrophotography, especially in long exposures where noise tends to accumulate.
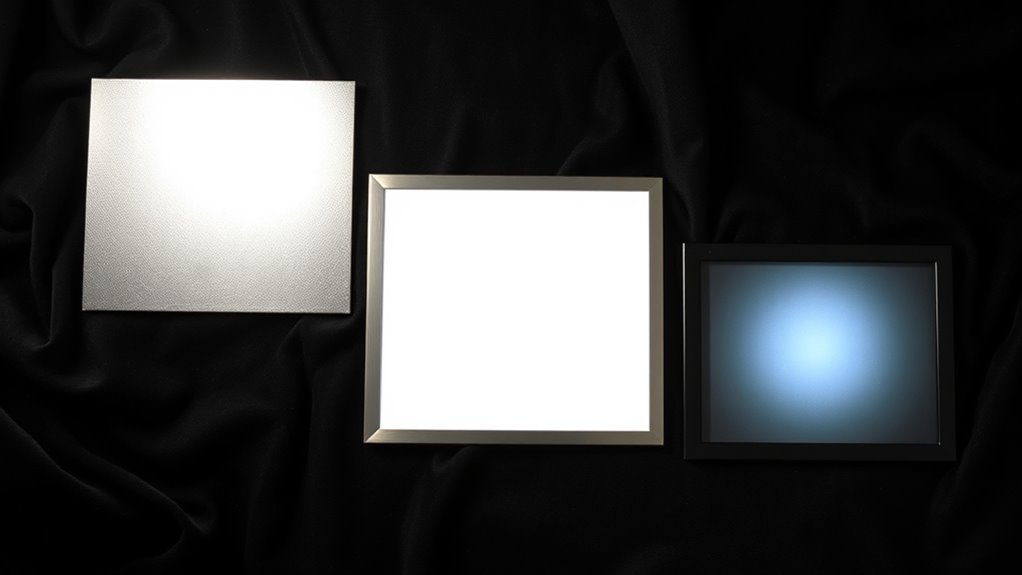
Flat frames help correct uneven illumination caused by vignetting, dust on your optics, or sensor irregularities. To capture flats, you take images of a uniformly illuminated surface—like the twilight sky or a light panel—ensuring that the brightness is consistent across the frame. When you process your images, you divide your light frames by these flat frames, which evens out brightness variations and removes dust shadows. This step is essential for achieving even background levels and accurate color balance, both of which are key for professional-looking astrophotos. Without flats, your images might display dark spots or uneven brightness, compromising detail and clarity.
Bias frames are the shortest possible exposures taken with the lens or telescope cap on, capturing the readout noise inherent to your camera’s sensor. They are used to eliminate readout noise from your images during calibration. When you subtract bias frames from your darks and light frames, you further reduce electronic noise, sharpening details and improving your image’s overall fidelity. Bias frames are a quick and easy way to refine your image processing techniques, ensuring that the noise reduction process is as thorough as possible. Additionally, understanding the importance of sensor characteristics helps in selecting the appropriate calibration methods for optimal results.
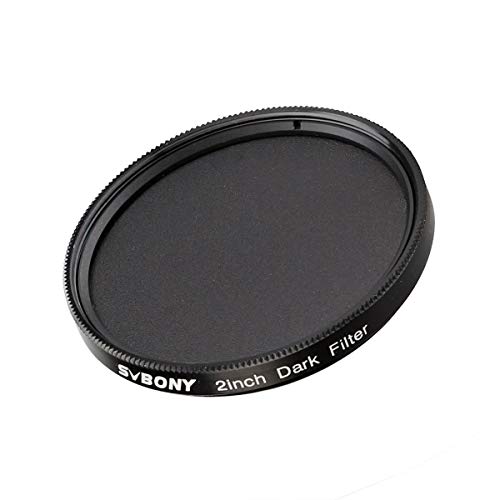
SVBONY SV164 Telescope Filter Dark Frame Imaging Filter 2 Inch for Astrophotography Astronomy Filters for Eliminate Camera Noise and Hot Pixels
Quickly capture dark frames to optimize photo quality; SV164 filter blocks all light from imaging camera sensors; help…
As an affiliate, we earn on qualifying purchases.
As an affiliate, we earn on qualifying purchases.
Frequently Asked Questions
How Often Should I Update My Calibration Frames?
You should update your calibration frames whenever your equipment or environment changes considerably. Regular calibration frequency depends on factors like temperature shifts, equipment wear, and dust buildup. Following a consistent updating schedule, such as monthly or after major observing sessions, helps guarantee ideal image quality. Don’t forget to retake darks, flats, and bias frames if you notice new noise or artifacts, keeping your calibration data accurate and reliable.
Can Calibration Frames Be Reused Across Different Sessions?
You can reuse calibration frames across different sessions, especially if your camera stays at the same temperature and setup remains consistent. Studies show that up to 90% of amateurs reuse frames effectively. Frame reuse helps maintain session consistency and saves time, but avoid it if conditions change markedly. Always inspect your calibration frames before use to guarantee they still match your current imaging session for ideal results.
What Are Common Mistakes When Capturing Calibration Frames?
You often make mistakes when capturing calibration frames by neglecting to match sensor temperature and exposure time to your actual imaging conditions. Make certain you set the sensor temperature consistently, as variations can introduce noise. Also, use the same exposure time for dark frames as your light frames to achieve accurate calibration. Avoid rushing the process; careful, consistent captures will improve your calibration results considerably.
How Do Calibration Frames Affect Image Quality?
Calibration frames improve your image quality by reducing sensor noise and ensuring image uniformity. When you use properly captured darks, flats, and biases, they help eliminate unwanted artifacts and uneven illumination, resulting in clearer, more accurate images. Skipping or poorly capturing calibration frames can leave noise and inconsistencies, making your final photo look less professional. Proper calibration is essential for achieving sharp, balanced images with minimal noise.
Are Calibration Frames Necessary for CMOS Sensors?
You should definitely use calibration frames with CMOS sensors because they help reduce sensor noise and improve image consistency. Without calibration, your images may show unwanted noise and uneven brightness, making your final photo less sharp. Calibration frames like darks, flats, and biases correct for these issues, ensuring cleaner images and more accurate astrophotography results. They’re essential even with CMOS sensors for professional-quality images.
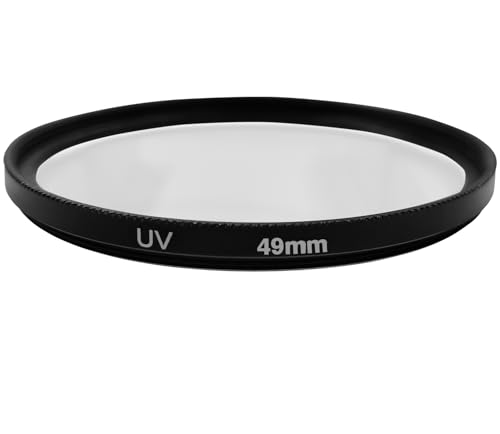
49mm UV Filter for Canon EOS R100 R50 R10 with RF-S 18-45mm Kit Lens, for Canon EOS M50 M50 Mark II M5 M6 M6 Mark II M200 M100 with EF-M 15-45mm Kit Lens & More Lenses with 49mm Filter Thread
✪Helps absorb ultraviolet light and reduce the bluish cast of daylight and reduce dust, moisture and scratches from…
As an affiliate, we earn on qualifying purchases.
As an affiliate, we earn on qualifying purchases.
Conclusion
Now that you understand darks, flats, and biases, you’re better equipped to capture clearer images. Think of calibration frames as your trusty tools that help you cut through the noise and make your astrophotography shine. Remember, Rome wasn’t built in a day, so don’t get discouraged if your first attempts aren’t perfect. Keep practicing, and soon you’ll be able to see the stars in a whole new light—literally!

Jeimier 5 Sizes Bias Tape Makers, Upgraded Bias Binding Tape Making Tool for Fabric Quilting Sewing, Quickly Customize, Solidly Bias Quilting Tool, 1/4IN 3/8IN 1/2IN 3/4IN 1IN
QUICKLY MAKE BIAS BINDING: The Jeimier 5 sizes professional Bias Tape Makers out of any fabric to match…
As an affiliate, we earn on qualifying purchases.
As an affiliate, we earn on qualifying purchases.

DSLRKIT Lens Focus Calibration Tool Alignment Ruler Folding Card(Pack of 2)
This compact ruler allows you to determine if your lens is auto-focusing accurately as it should. It is…
As an affiliate, we earn on qualifying purchases.
As an affiliate, we earn on qualifying purchases.