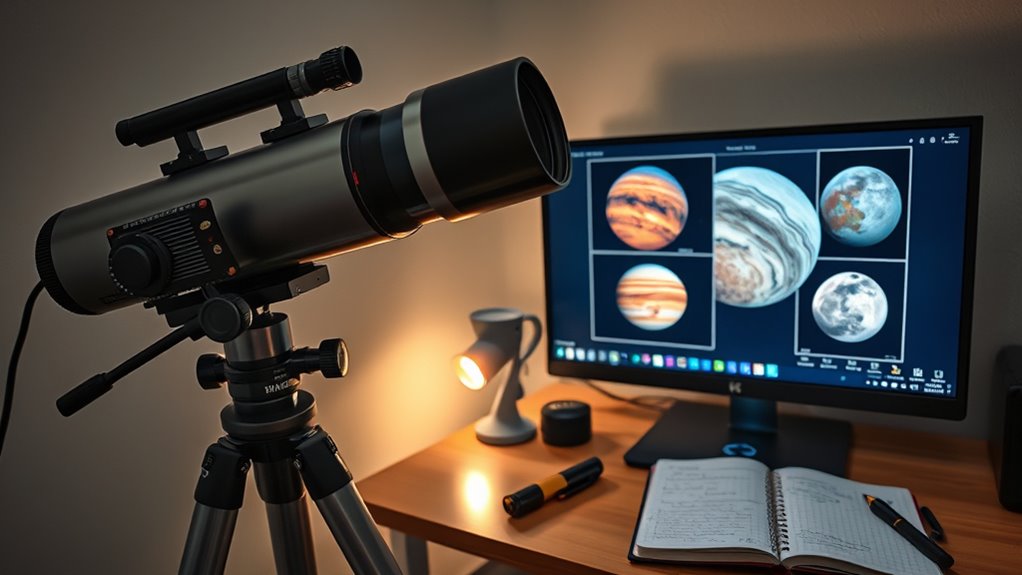
Autostakkert is a great tool for planetary imaging, helping you align and stack videos easily. It automates the process by analyzing your frames to identify common surface features, then adjusts for position, rotation, and size. This guarantees your final image is sharp and detailed by stacking the best frames and reducing noise. Understanding its features can improve your results markedly, and if you keep exploring, you’ll discover even more tips to enhance your planetary photos.
Key Takeaways
- Autostakkert automates the alignment of planetary videos by matching surface and limb features for precise positioning.
- It analyzes frames to select the best quality images, ensuring optimal data for stacking.
- The software uses advanced algorithms to align frames, preventing blurring and ghosting in the final image.
- Stacking enhances details and reduces noise, revealing fine planetary features like cloud bands and surface markings.
- Autostakkert’s user-friendly interface and alignment tools make high-quality planetary imaging accessible for all skill levels.
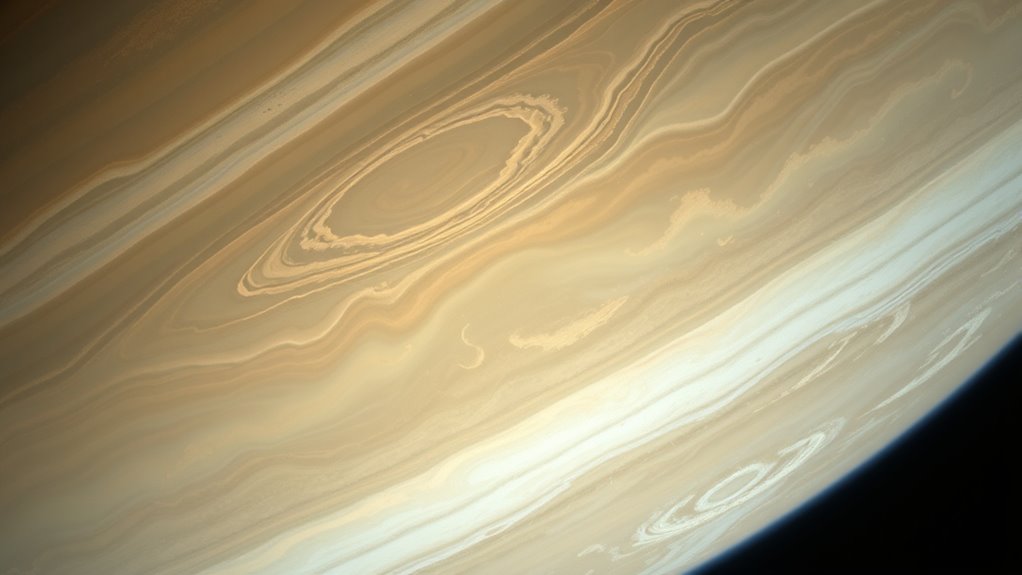
Have you ever wondered how professional planetary images achieve such stunning clarity? The secret often lies in the careful process of image alignment and stacking techniques, which dramatically enhance detail and reduce noise. When capturing planetary videos, you record dozens or even hundreds of frames, each with slight variations due to atmospheric turbulence and camera movement. To transform these raw recordings into crisp, detailed images, you need to align each frame precisely before stacking them together. This is where Autostakkert shines, offering an efficient way to automate the alignment process and produce high-quality results.
Image alignment is the foundation of a successful planetary stacking workflow. As you load your video frames into Autostakkert, the software analyzes each frame to identify common features on the planetary surface or limb. It then adjusts each frame’s position—shifting, rotating, or resizing as needed—to guarantee that all features line up perfectly. This step is vital because even tiny misalignments can cause blurring or ghosting effects in the final image. Autostakkert’s advanced algorithms make this process swift and accurate, saving you time and frustration compared to manual alignment. When all frames are aligned correctly, stacking techniques come into play to combine the data from multiple images into a single, detailed picture.
Image alignment ensures all planetary features match perfectly before stacking for crisp, detailed images.
Stacking involves averaging pixel information across all aligned frames, which helps to enhance the true planetary features while suppressing random noise. By stacking hundreds of frames, you effectively boost the signal-to-noise ratio, revealing finer details like cloud bands on Jupiter or surface markings on Mars. Autostakkert employs sophisticated stacking algorithms that intelligently select the best frames—discarding those heavily affected by atmospheric distortion—to make certain only the highest quality data contributes to the final image. This selective stacking is a game-changer, allowing you to produce sharper, more detailed planetary photographs.
The process isn’t just about combining images; it’s about optimizing every step to maximize clarity. Autostakkert’s user-friendly interface and precise alignment tools make it accessible even if you’re new to planetary imaging. Additionally, understanding the scientific aspects of each frame can help you make better choices during processing, ensuring your results are as accurate as possible. By mastering image alignment and stacking techniques with this software, you’re taking significant strides toward professional-grade results. The outcome is a stunning, highly detailed planetary image that captures the planet’s true beauty. So, next time you record a planetary video, remember that proper alignment and stacking are your best tools for turning raw footage into breathtaking images.
Frequently Asked Questions
What Are the System Requirements for Autostakkert?
You need a Windows PC with at least 4GB RAM and a decent graphics card for Autostakkert’s hardware compatibility. It runs on Windows 7, 8, and 10, so make certain your system is up-to-date for smooth software updates. A multi-core processor helps speed up processing, but it’s not essential. Overall, keeping your OS and drivers current ensures peak performance and compatibility with Autostakkert.
How Do I Troubleshoot Alignment Errors in Autostakkert?
Oh, alignment issues again? Don’t worry, troubleshooting tips are your friends here. First, make sure your video quality is good enough—blurry or shaky footage causes errors. Next, check if the correct alignment mode matches your data, and try adjusting the contrast or brightness. If errors persist, reselect your reference frame or restart the program. Sometimes, a simple restart and proper settings make all the difference.
Can Autostakkert Process Videos From Different Planetary Cameras?
Yes, Autostakkert can process videos from different planetary cameras. You just need to make certain your camera compatibility and that your videos are in supported formats like AVI or SER. Before stacking, convert any incompatible formats and check that your videos have similar resolutions and frame rates. This way, Autostakkert aligns and stacks your footage correctly, regardless of the camera used. Just keep your settings consistent for best results.
Is There a Way to Automate Stacking Procedures?
Think of Autostakkert like a vintage camera, capturing moments with precision. You can automate stacking procedures by exploring automation options and scripting workflows within Autostakkert. While the software doesn’t have built-in batch processing, you can streamline your process with external scripts or third-party tools to run multiple stacks automatically. This way, you save time and maintain consistency, making planetary imaging more efficient and enjoyable.
How Do I Optimize Image Quality After Stacking?
After stacking your videos, you can optimize image quality by applying image sharpening to enhance details and increase clarity. Use tools like RegiStax or AstroSurface for precise sharpening adjustments. Additionally, perform color correction to balance hues and improve overall visual appeal. Fine-tuning these settings helps bring out planetary features, resulting in a crisper, more vibrant final image. Remember to make subtle adjustments to avoid introducing noise or artifacts.
Conclusion
Autostakkert simplifies planetary imaging, turning shaky videos into clear, detailed images. You capture fleeting moments, then refine them with ease. It’s quick, powerful, and accessible—yet behind the scenes, complex algorithms work tirelessly. You get stunning results without the steep learning curve. So, embrace the blend of technology and artistry; let your passion for the stars shine brighter. In the end, it’s about transforming raw footage into breathtaking planetary portraits—fast, precise, and rewarding.
