To make altitude and azimuth adjustments on your equatorial mount, start by ensuring your mount is roughly aligned with the celestial pole—using a polar scope or app helps. Then, tweak the altitude to tilt the RA axis up or down and rotate the mount left or right for azimuth alignment, aiming directly at the celestial pole. Make small, gradual movements and verify with stars to improve accuracy. Keep going for more tips that help you perfect your alignment.
Key Takeaways
- Use a star or Polaris as a reference to guide altitude and azimuth adjustments toward the celestial pole.
- Adjust the mount’s altitude tilt gradually to match the latitude of your observing location.
- Rotate the mount left or right (azimuth) to align the RA axis with the celestial pole.
- Make small, incremental adjustments while observing star movement for precise alignment.
- Verify and refine adjustments regularly to maintain accurate polar alignment during sessions.
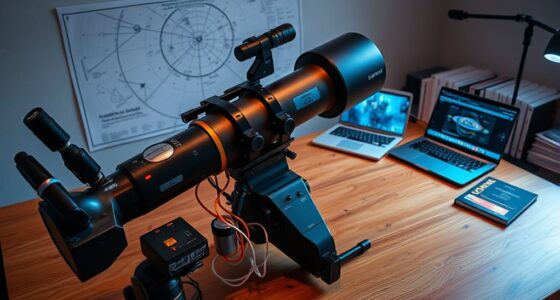
When using an equatorial mount, making precise altitude and azimuth adjustments is essential for accurate tracking of celestial objects. To do this effectively, you need to start with proper polar alignment, which sets the mount’s axis parallel to Earth’s rotational axis. Without correct polar alignment, your telescope won’t follow objects smoothly across the sky, making it difficult to observe or photograph objects over extended periods. Before making any altitude or azimuth adjustments, ensure your mount is properly calibrated. Mount calibration involves aligning the mount’s axis with celestial pole coordinates, which provides a reliable foundation for tracking.
Proper polar alignment is essential for accurate celestial tracking with an equatorial mount.
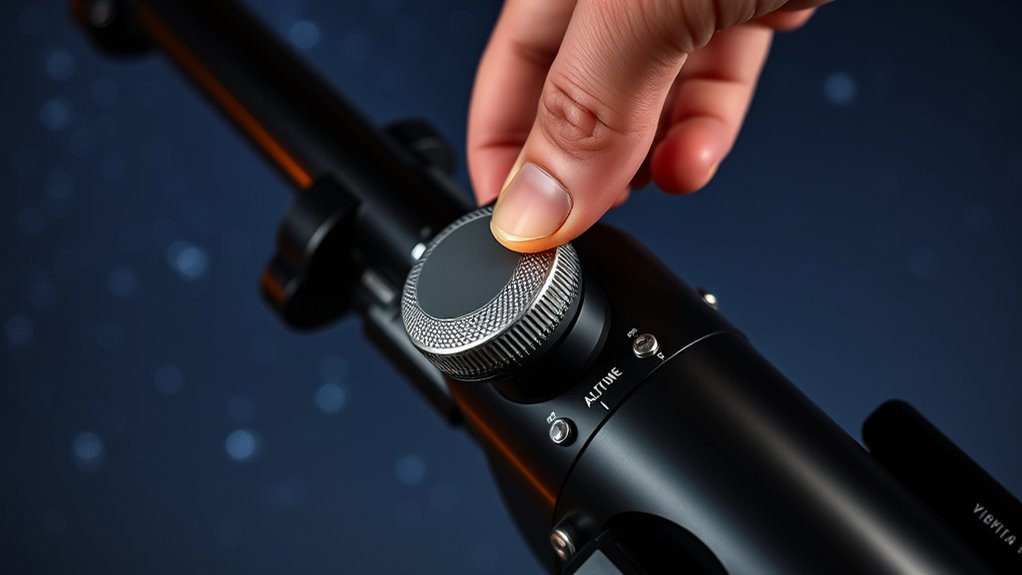
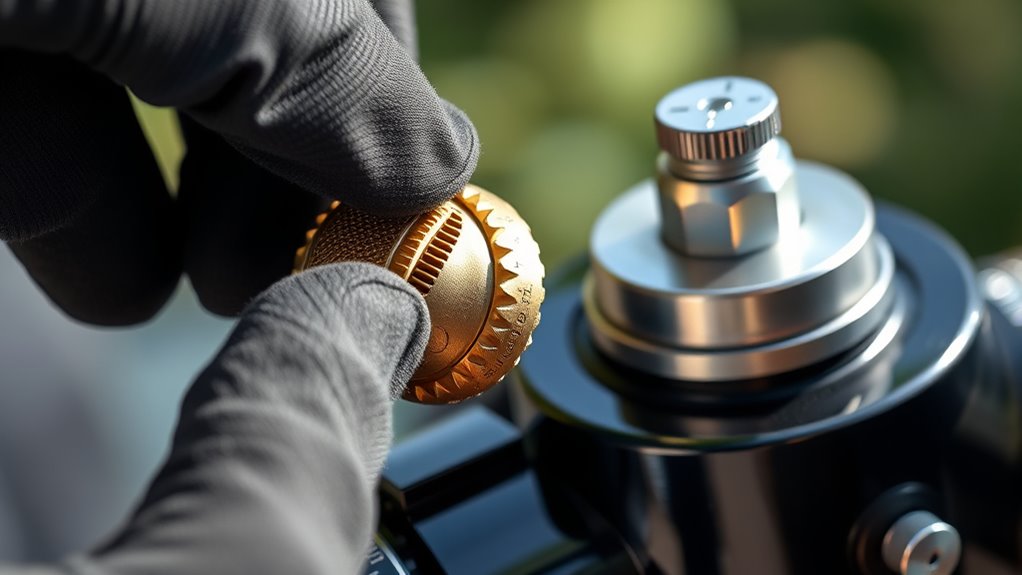
First, locate your celestial pole—either Polaris in the Northern Hemisphere or the approximate south celestial pole in the south. You can use a polar scope or a polar alignment app to assist with this step. When the mount is correctly polar aligned, the axis of your mount should point directly toward the celestial pole. This step is crucial because all subsequent altitude and azimuth adjustments hinge on a solid polar alignment. Once aligned, you can proceed to fine-tune your mount’s position by adjusting the altitude and azimuth knobs. Altitude adjustments tilt the mount’s RA axis up or down, aligning it parallel to Earth’s axis, while azimuth adjustments rotate the mount left or right, ensuring it points precisely toward the celestial pole.
As you make these adjustments, constantly verify your alignment by observing the movement of stars or using a star alignment tool. Minor tweaks to altitude and azimuth can greatly improve tracking accuracy, especially during long observation sessions or astrophotography. Remember, mount calibration isn’t a one-time task; it’s an ongoing process that benefits from regular refinement. Over time, atmospheric conditions, ground stability, or mechanical shifts can throw off your initial setup, so periodic realignment ensures your mount stays accurate. Additionally, using a reticle or polar scope can help you make these adjustments more precise and efficient.
It’s also helpful to use a reticle or polar scope to make these adjustments more precise. With a steady hand, turn the knobs slowly while observing the movement of reference stars. Small, incremental changes are best, preventing over-adjustment. Once your mount is properly aligned in altitude and azimuth, you’ll find that tracking becomes smoother and more reliable, enhancing your viewing experience. In summary, investing time in correct polar alignment and mount calibration ensures your altitude and azimuth adjustments lead to accurate celestial tracking, making your stargazing or astrophotography sessions far more successful.

Astromania Polar Alignment Scope for EQ-5, Quickly and Easily Align Your Equatorial Mount with The North Celestial Polar – The Foundations for Successful Astrophotography
Full metal; Good alignment of the mount with the North Celestial Pole can be achieved in a short…
As an affiliate, we earn on qualifying purchases.
As an affiliate, we earn on qualifying purchases.
Frequently Asked Questions
How Often Should I Realign My Equatorial Mount?
You should realign your equatorial mount after every few observing sessions or if you notice tracking issues. Alignment frequency depends on how often you move or bump your mount, as well as environmental factors like temperature shifts. Use proper adjustment methods, such as polar alignment and star calibration, to maintain accuracy. Regular checks guarantee your telescope stays aligned, giving you clear, precise views with minimal frustration.
Can Altitude and Azimuth Adjustments Affect Tracking Accuracy?
Yes, altitude and azimuth adjustments can affect your tracking accuracy if not done carefully. Poor polar alignment or mechanical slack in the mount can cause your adjustments to misalign the telescope, leading to inaccurate tracking. Regularly check and tighten mechanical parts, and make sure your polar alignment stays precise. Small, intentional adjustments help maintain accurate tracking and avoid introducing errors caused by loose or uneven movements.
What Tools Are Recommended for Precise Adjustments?
For precise adjustments, you should use quality adjustment tools like a bubble level and a torque wrench to guarantee proper mount calibration. A digital inclinometer can help you set accurate altitude angles, while a magnetic or optical compass assists with azimuth alignment. These tools ensure your mount stays stable and accurately tracks celestial objects, reducing errors caused by misalignment and improving your overall stargazing experience.
How Do Temperature Changes Impact Mount Adjustments?
Temperature changes can affect your mount by causing thermal expansion, which can shift its calibration stability. As temperatures fluctuate, metal parts expand or contract, leading to slight misalignments. To maintain accuracy, you should regularly check and re-calibrate your mount, especially after significant temperature shifts. Using materials with low thermal expansion and allowing your mount to reach ambient temperature before observing can help keep adjustments precise.
Is It Necessary to Recheck Adjustments After Transportation?
Like a trusty steed returning from a long ride, you should recheck your mount’s adjustments after transportation. Movement can affect stability, causing minor shifts. Confirm the altitude and azimuth are still accurate, especially if your mount is prone to vibrations. Ensuring proper vibration damping and secure mounting will keep your telescope steady. Regular rechecks help maintain precise tracking, so you get the best views and avoid frustrating adjustments mid-observation.

Audio-Technica AT-VTAZ1 Dual Purpose Azimuth and Vertical Tracking Angle Alignment and Adjustment Tool for Proper Playback Geometry
Reduce Stylus and Record Wear: Incorrect geometry may cause uneven wear and damage over time
As an affiliate, we earn on qualifying purchases.
As an affiliate, we earn on qualifying purchases.
Conclusion
Just like maneuvering with a seasoned sailor adjusts their sails to catch the wind, mastering altitude and azimuth tweaks guarantees your telescope stays on course. With patience and practice, you’ll find yourself tracking celestial wonders with confidence, as if guided by the stars themselves. Remember, every small adjustment brings the universe a little closer—turning your stargazing journey into an experience as timeless as the night sky. Keep refining your skills, and enjoy the cosmic voyage ahead.

SVBONY SV225 Alt-Azimuth Mount, Adjustable Angle Alt-Azimuth Mount, Load-Bearing 10kg, CNC Hollow Structure, Telescope Altazimuth Fine Adjustment Shift, Telescope Accessories with Variable Speed Gear
CNC hollow structure; SV225 altazimuth mount adopts hollow structure; reduce the weight(2.34Kg); convenient for you to carry out;…
As an affiliate, we earn on qualifying purchases.
As an affiliate, we earn on qualifying purchases.
Astromania Polar Alignment Scope for EQ-5, Quickly and Easily Align Your Equatorial Mount with The North Celestial Polar – The Foundations for Successful Astrophotography
Full metal; Good alignment of the mount with the North Celestial Pole can be achieved in a short…
As an affiliate, we earn on qualifying purchases.
As an affiliate, we earn on qualifying purchases.