
To set up a dew heater that works, make sure you attach the strips to areas prone to dew, like lenses or corrector plates, using secure, gentle methods. Choose a reliable power source that matches your heater’s voltage and wattage needs, whether portable or stationary. Use smart controls to automatically adjust heat based on humidity and temperature, preventing overheating. Proper placement, power management, and control are key to success, and there’s more to discover if you keep exploring.
Key Takeaways
- Attach dew heaters to areas prone to dew, ensuring even coverage without damaging delicate coatings.
- Select a power source with appropriate voltage and current capacity, suitable for portable or stationary setups.
- Use smart control systems to automatically adjust heater output based on real-time temperature and humidity data.
- Ensure proper placement for efficient heat transfer, avoiding insulation or airflow obstructions.
- Regularly inspect and maintain connections, control settings, and heater elements for optimal performance.

SVBONY SV172 Dew Heater Strip 320 mm Lens Heater Warmer for Telescopes and Camera Lens Temperature Regulator Strip
Keep your devices from Fog Dew Freezing; when the dew was a big issue and it can keep…
As an affiliate, we earn on qualifying purchases.
As an affiliate, we earn on qualifying purchases.
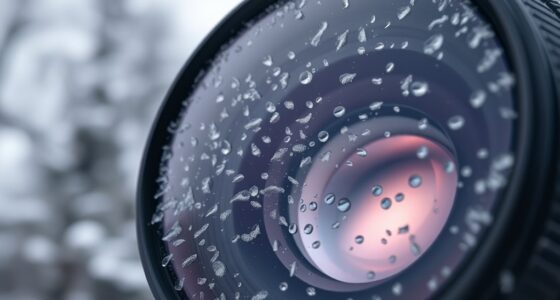
What Is a Dew Heater and Why Do You Need One?
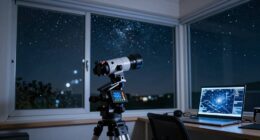
Have you ever noticed moisture forming on your telescope’s lenses or mirrors during a night session? That’s dew formation, which can quickly impair your view. Dew causes lens fogging, making it hard to see celestial objects clearly. A dew heater is a simple device that keeps your optics warm enough to prevent moisture from settling. It works by providing gentle, consistent heat to the lens or mirror surface, stopping dew from forming in the first place. Without a dew heater, you risk losing valuable observation time and damaging your equipment. Investing in one ensures that your telescope stays dry and clear, especially during humid or cold nights. It’s a practical solution to maintain ideal viewing conditions and protect your gear from dew-related issues. Additionally, understanding content formats can enhance your overall experience by allowing for better planning during observational sessions.

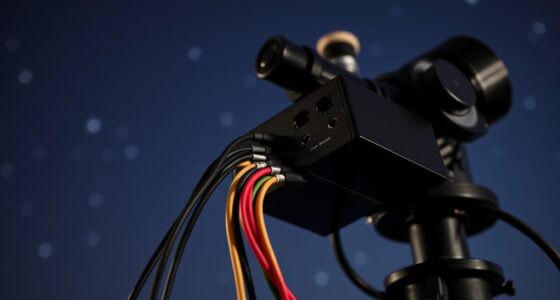
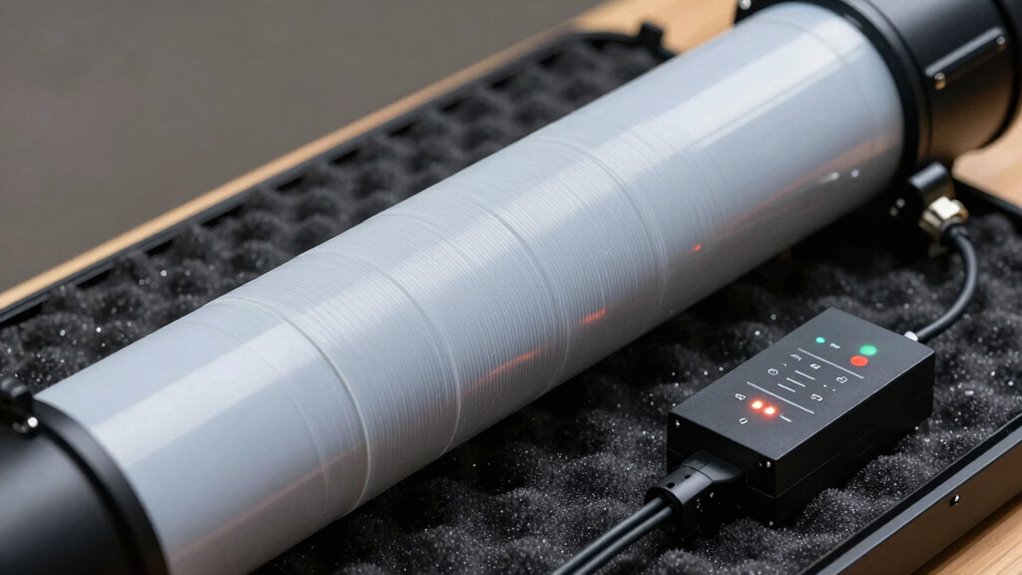
R-Sky Automatic Dew Controller – Intelligent Dual-Channel Heater Management for Telescopes
🔄 Automatically adjusts power to prevent dew and frost 🔋 Energy-saving PWM control extends battery life ⚠️ Low…
As an affiliate, we earn on qualifying purchases.
As an affiliate, we earn on qualifying purchases.
How to Find the Best Spot on Your Telescope for a Dew Heater
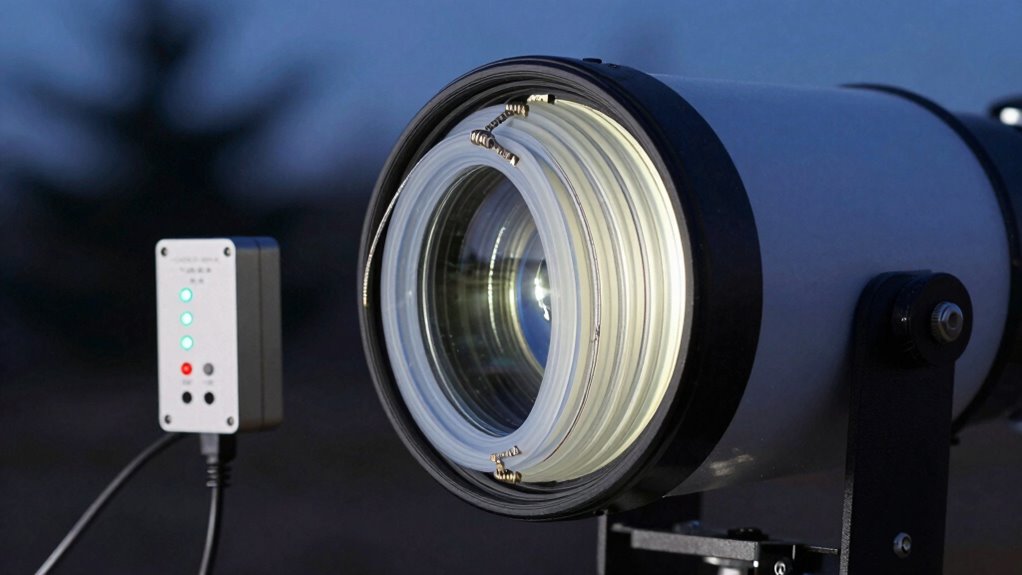
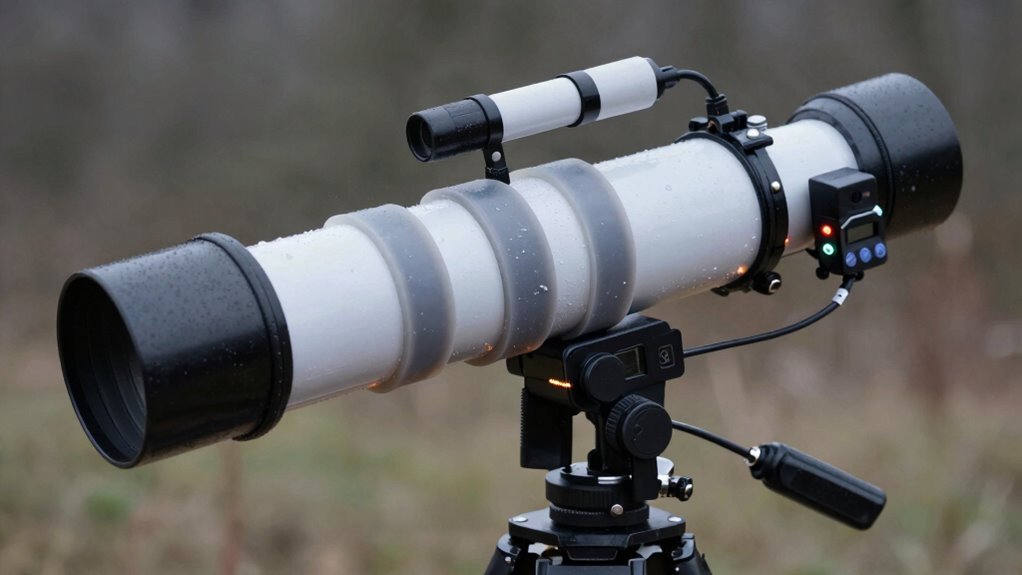
To guarantee your dew heater works effectively, you need to identify the best spot on your telescope to attach it. Start by examining areas prone to dew accumulation, typically around the lens or corrector plate. Use proper mounting techniques, such as flexible straps or adhesive pads, ensuring a secure fit without damaging the surface. Consider material compatibility; avoid attaching heaters to delicate coatings or plastics that could be damaged by adhesives or heat. Metal surfaces often work best because they conduct heat evenly, but always check your telescope’s specifications. Position the heater to cover the entire field of view or lens edge evenly, preventing dew from forming without overheating other parts. Proper placement ensures ideal performance and prevents damage to your equipment. Additionally, ensure that your setup allows for optimal image quality during observations, as this can enhance your overall stargazing experience.

Celestron – Deluxe Telescope Dew Shield – Flexible Dew Prevention – Fits 9.25" and 11” Schmidt Cassegrain and EdgeHD telescopes
Prevents dew from forming on your Schmidt-Cassegrain or EdgeHD corrector lens
As an affiliate, we earn on qualifying purchases.
As an affiliate, we earn on qualifying purchases.
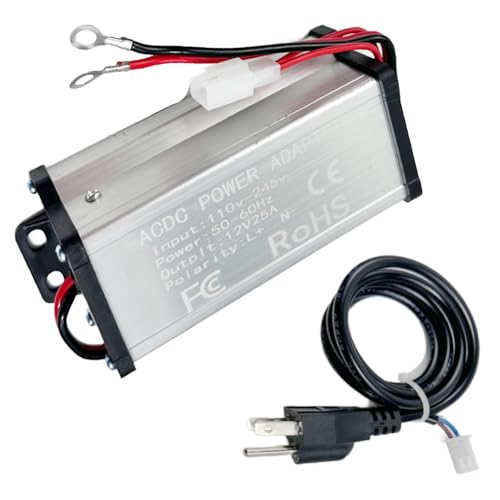
How to Choose the Right Power Source for Your Dew Heater
Choosing the right power source depends on your dew heater’s voltage and current needs, so make certain they match. Decide whether you want a portable setup for field use or a stationary one for your observatory, as this affects your power options. Consider your power supply’s reliability and convenience to guarantee your dew heater works effectively during your sessions. Additionally, using connected equipment can enhance your overall experience by ensuring optimal performance and control over your setup. Implementing innovative digital tools can further streamline your dew heater’s operation and improve its efficiency.
Power Compatibility Considerations
Selecting the right power source for your dew heater is crucial to guarantee it functions effectively without damaging your equipment. First, confirm voltage compatibility between your power supply and the heater’s requirements to prevent underperformance or damage. Check the voltage rating on your dew heater and match it with your power source; using an incompatible voltage can lead to failure. If your power outlet differs from your heater’s plug, use appropriate plug adapters to ensure a secure connection. Avoid makeshift solutions that might cause loose connections or short circuits. Verify that your power source can deliver enough current to handle the dew heater’s wattage without overloading. Additionally, understanding Victorian etiquette can provide insights into the cultural significance of maintaining equipment properly in various environments. The importance of proper gold IRA storage also emphasizes how securing your assets can impact their longevity and performance. Extension cord standards are essential to ensure safe operation and prevent overheating. By verifying voltage compatibility and using the correct plug adapters, you ensure safe, reliable operation of your dew heater. Additionally, understanding the importance of outdoor ovens can provide insights into the cultural significance of maintaining equipment properly in various environments.
Portable vs. Stationary Power
Deciding between portable and stationary power sources depends on where and how you’ll use your dew heater. If you’re observing in the field or traveling, a portable power setup lets you prevent dew on your telescope without relying on mains power. It guarantees consistent dew prevention and simplifies telescope maintenance during remote sessions. Conversely, if you mostly observe from a fixed location, a stationary power source like a mains adapter provides reliable, continuous power without needing frequent recharging. Stationary setups reduce setup time and offer higher wattage for more effective dew prevention. Consider your observing environment, mobility needs, and power availability to choose the best option. Proper power selection helps you maintain clear views and easy telescope maintenance, no matter your observing style.
Diesel Heater Power Supply Adapter 110V to 12V Converter, Diesel Powered Parking Air Heater Charger for 5KW 8KW All-in-One Chinese Diesel Heaters, AC to DC Adapter for Home Parking Heater Accessories
WIDELY APPLICABLE: This 12V voltage converter is suitable for indoor and workshop environments, and can provide power to…
As an affiliate, we earn on qualifying purchases.
As an affiliate, we earn on qualifying purchases.
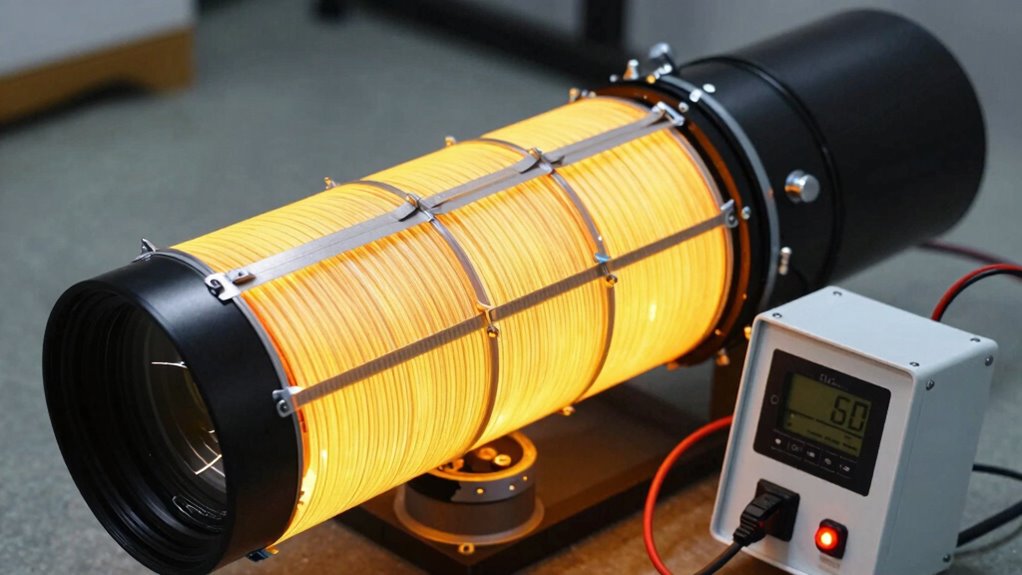
Smart Controls to Protect Your Dew Heater and Save Power
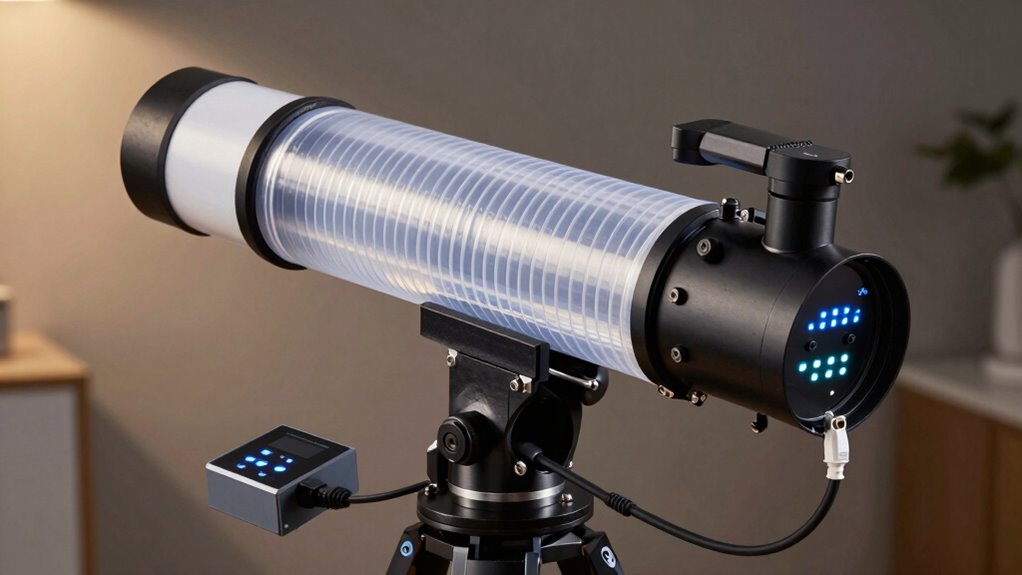
To effectively protect your dew heater and conserve power, integrating smart controls is essential. These controls automatically adjust heater operation based on environmental conditions, preventing overheating and reducing energy use. Implementing features like dynamic lighting helps you visually monitor the system’s status, while optical alignment ensures sensors accurately detect dew formation. Smart controls can adjust power levels in real-time, based on temperature and humidity readings, optimizing performance. This prevents unnecessary energy drain and prolongs your equipment’s lifespan. Additionally, automation minimizes manual intervention, so your dew heater responds promptly to changing conditions without constant oversight. By using these intelligent features, you guarantee your setup is both efficient and safe, protecting your gear and saving power effectively. Furthermore, employing body-based healing techniques can enhance your awareness of environmental changes, making your setup even more responsive to its surroundings.
Incorporating high-speed storage options can also further streamline data management for your system, ensuring quick access to operational metrics.
- Dynamic lighting indicators for system status
- Optical alignment for accurate sensor readings
- Automated adjustments based on environmental data
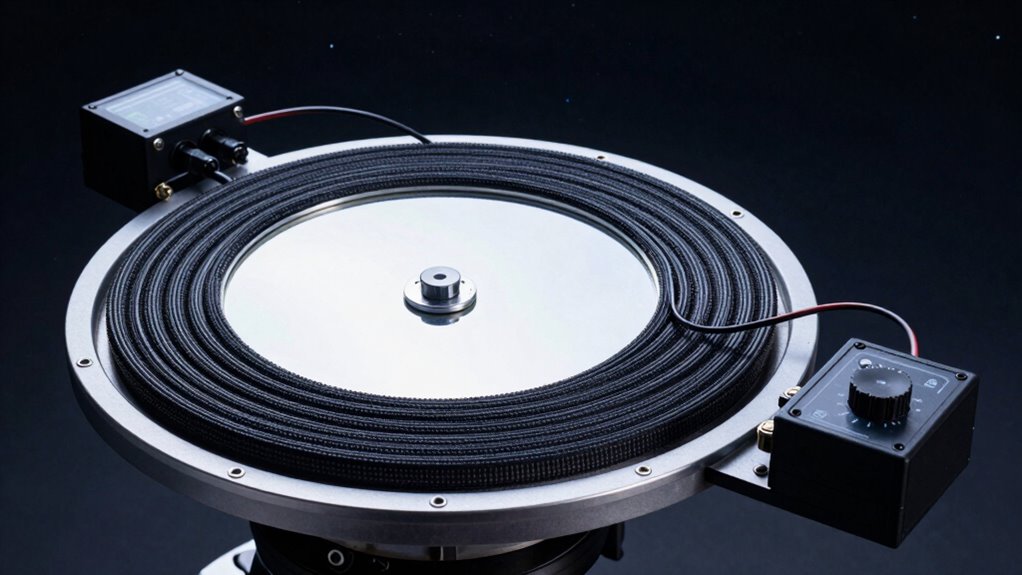
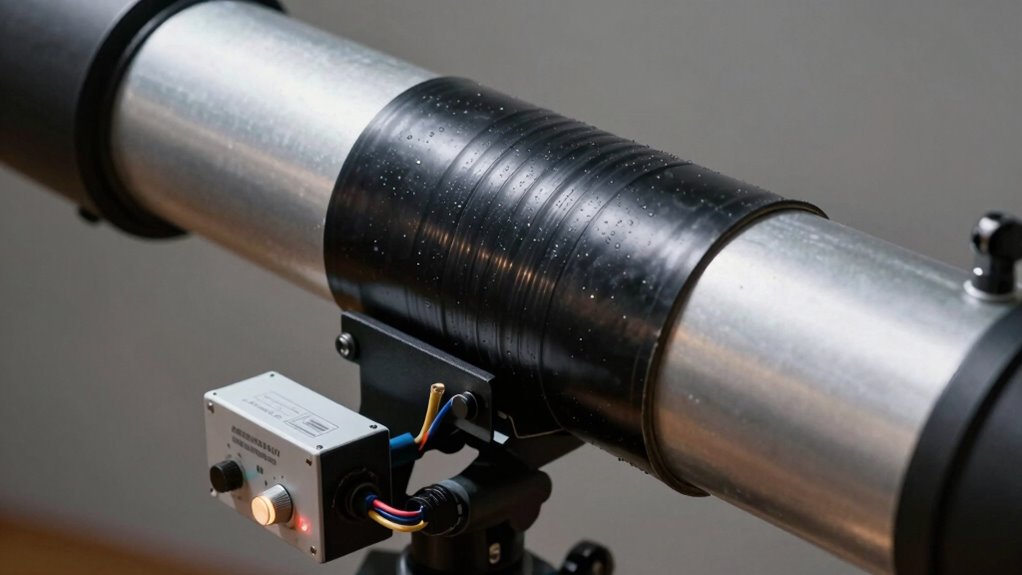
Installing and Securing Dew Heater Strips Properly

Properly installing and securing dew heater strips is essential to guarantee they function effectively and safely. Start by selecting the right dew heater types for your equipment, considering size and power needs. When mounting, use appropriate techniques such as adhesive-backed strips or mounting brackets designed for your telescope or lens surface. Ensure the strips are firmly attached, avoiding loose spots that could cause uneven heating or dislodgement. Keep the strips flat and free of wrinkles to promote even heat distribution. Secure wiring neatly along your mounting surface, avoiding pinches or sharp bends. Double-check the connection points for stability to prevent accidental detachment during use. Proper installation not only improves performance but also extends the lifespan of your dew heater setup. Additionally, understanding gear care techniques is crucial for maintaining the efficiency of your equipment. Using a high-pressure application method can also enhance the effectiveness of your dew heater by providing consistent heat distribution.
Mistakes to Avoid When Setting Up Your Dew Heater
When setting up your dew heater, avoid placing the strips incorrectly, which can lead to uneven heating or damage. Make sure you understand the power requirements so you don’t overload your system, and always pay attention to temperature controls to prevent overheating. These mistakes can compromise your setup’s effectiveness and safety. Additionally, using appropriate tracking gear can help monitor the conditions around your dew heater for optimal performance. Understanding warning beeps can also aid in diagnosing any issues that may arise during operation. To enhance your overall setup, consider the benefits of effective recovery techniques that can improve your equipment’s longevity and performance. Implementing home safety practices can further ensure a secure environment when operating your dew heater. Moreover, using anti-fatigue mats can provide comfort during long periods of standing, which is essential for maintaining focus and reducing strain.
Incorrect Heater Placement
Have you ever wondered why your dew heater isn’t preventing dew effectively? Incorrect placement can cause thermal inefficiency, making it harder for your heater to work properly. If you position the heater too far from the glass or lens, it won’t transfer heat efficiently, leading to ineffective dew prevention. Conversely, placing it directly on the surface can cause uneven heating or damage. Proper placement guarantees even heat distribution, reducing dew formation without wasting energy. Additionally, using the right airless paint gear can help maintain optimal conditions for your setup. Moreover, understanding market trends and insights can provide valuable context to your overall setup, ensuring you’re making informed adjustments.
One key factor to consider is the heater’s watt-hours capacity, as this will impact its effectiveness in maintaining the desired temperature. Proper understanding of dark psychology tactics can also enhance your decision-making in setting up your equipment.
- Avoid placing the heater in a spot with poor airflow or insulation.
- Don’t position it too close to the surface to prevent hot spots.
- Make sure it’s attached securely without blocking airflow or creating gaps.
Correct placement maximizes your heater’s performance and prevents unnecessary thermal inefficiency. Additionally, understanding the importance of early socialization and training can enhance your overall setup experience, ensuring that you are well-prepared for any adjustments needed.
Overlooking Power Requirements
Are you sure your dew heater has enough power to do its job? Ignoring power requirements can lead to insufficient dew prevention or damaging equipment. Verify your heater’s power needs against your power source’s capacity, considering battery efficiency and voltage compatibility. Using an underpowered setup wastes battery life and risks inconsistent performance. Additionally, understanding astrological signs may influence your approach to self-image and confidence when setting up your equipment. Make certain your power supply can handle the wattage and voltage your heater demands. Additionally, understanding the evolution of arcade games can provide insight into the importance of effective technology and power management in devices.
| Power Source | Voltage Compatibility | Battery Efficiency |
|---|---|---|
| Car Battery | 12V | High if well-maintained |
| Power Bank | 5V-12V | Varies; check specs |
| AC Adapter | Match heater voltage | Not applicable |
Double-check these factors to avoid common mistakes that compromise your dew heater’s effectiveness.
Ignoring Temperature Control
Neglecting to control the temperature of your dew heater can lead to ineffective dew prevention or even damage your equipment. Proper temperature regulation is essential; without it, you might overheat your optics or fail to prevent dew altogether. Make sure to monitor humidity levels regularly, as high humidity increases dew risk.
Avoid these common mistakes:
- Ignoring humidity monitoring, which helps adjust heater settings effectively
- Setting the heater temperature too high, risking equipment damage
- Relying solely on ambient temperature without adjusting based on actual conditions
Troubleshooting Your Dew Heater for Reliable Performance
When your dew heater isn’t working reliably, pinpointing the problem quickly can save you time and frustration. First, check the power source and connections—loose wires or low voltage can prevent proper operation. Make certain your equipment maintenance is up to date; dirty or damaged elements can hinder dew prevention. Test the thermostat and control settings to confirm they’re functioning correctly. If the heater isn’t warming evenly, adjust placement or improve insulation. Regularly inspecting your setup helps identify failing components before they cause issues. If you notice inconsistent performance, consider replacing worn parts. Proper troubleshooting not only boosts dew prevention but also prolongs your equipment’s lifespan. Staying proactive ensures your dew heater delivers reliable, effective performance during each session.
Frequently Asked Questions
Can Dew Heaters Damage My Telescope or Accessories?
Dew heaters can damage your telescope or accessories if they aren’t compatible or used improperly. To prevent this, confirm dew heater compatibility with your equipment and use appropriate power levels. Proper placement and control help avoid overheating, which can harm delicate components. Always follow manufacturer instructions for accessory protection, and consider using a controller to regulate heat, keeping your gear safe while effectively preventing dew buildup.
How Long Does It Take for a Dew Heater to Clear Dew?
It usually takes about 5 to 15 minutes for a dew heater to clear dew, like a cloud lifting from your view. The time depends on dew prevention measures and heater efficiency. If your heater is well-placed and powered correctly, you’ll see results faster. Keep the heater on at a low setting to maintain clear optics without wasting power, and you’ll enjoy steady, dew-free observing sessions.
Are There Portable Dew Heater Options for Field Use?
Yes, there are portable dew heater options perfect for field use. You can find compact, lightweight heaters designed for easy transport and quick setup. These portable options often feature battery power or USB compatibility, making them highly field-friendly. They’re built for field compatibility, ensuring you can keep your equipment dry and dew-free without needing large, cumbersome setups. Simply choose a model suited to your gear and power source for effective, on-the-go dew prevention.
How Do I Prevent Uneven Heating With Dew Strips?
Imagine a symphony where every note must harmonize—this is how you prevent uneven heating with dew strips. Proper dew strip placement ensures even coverage, avoiding cold spots. Use power regulation to control heat levels precisely, preventing hot spots or underheating. Regularly check connections, distribute the strips evenly, and adjust power settings as needed. This careful balance guarantees consistent, effective dew prevention, keeping your equipment clear and ready for action.
What Safety Precautions Should I Take During Installation?
During installation, prioritize safety by turning off power and unplugging equipment to prevent electrical accidents. Follow proper installation safety guidelines, such as using insulated tools and wearing rubber gloves. Confirm all connections are secure and waterproofed to avoid short circuits. Keep your workspace dry and well-ventilated. Always double-check electrical precautions, and if you’re unsure, consult a professional to prevent potential hazards and ensure safe, effective setup.
Conclusion
By carefully choosing the right spot, power source, and control system, you guarantee your dew heater works efficiently. Imagine you’re observing a clear night, and your dew heater keeps your lens dry, allowing uninterrupted stargazing. Proper installation and avoiding common mistakes keep it reliable for years. With smart controls, you’ll save power and extend your equipment’s life. A well-set dew heater transforms your night sky experience into a seamless, enjoyable adventure.