To polar align in just 10 minutes on busy nights, gather your essential tools like a smartphone app, polar scope, and a stable mount. Set up your equipment quickly by ensuring everything is level and secure, then use your app or polar scope to identify Polaris accurately. Make small, precise adjustments to align your mount. Avoid rushing or skipping calibration steps. If you follow these tips, you’ll maximize your observing time—and there’s more to discover if you keep going.
Key Takeaways
- Use a smartphone app with polar alignment features to quickly identify Polaris and streamline the process.
- Prepare and calibrate your mount and tools beforehand for rapid setup and precise initial alignment.
- Focus on quick Polaris identification by utilizing star charts or constellation guides near the North Celestial Pole.
- Perform a minimal, targeted fine-tuning of Polaris using mount controls for accurate tracking within minutes.
- Follow a consistent, step-by-step routine to avoid errors and ensure efficient alignment on busy nights.

Celestron 94224 CG-5/AVX/CGEM Polar Telescope Finderscope, Black
POLAR ALIGN YOUR CELESTRON GERMAN EQUATORIAL MOUNT: Compatible with Celestron CGEM, Advanced VX, and CG-5 equatorial mounts.
As an affiliate, we earn on qualifying purchases.
As an affiliate, we earn on qualifying purchases.
Why Speedy Polar Alignment Saves Time on Busy Nights
On busy nights, every minute counts, and spending too long setting up your telescope can mean missing prime observing conditions. A quick polar alignment helps you maximize your night’s potential by freeing up time for celestial navigation and exploration. When you streamline your setup, you’re better able to manage your time effectively, ensuring you don’t rush or overlook details. Speedy alignment reduces frustration and keeps you focused on what matters most—observing the night sky. It also minimizes the risk of missing fleeting celestial events or ideal viewing windows. By sharpening your timing, you gain more quality hours under the stars, making your night more productive and enjoyable. Ultimately, efficient setup means more time for discovery, not delay. Moreover, using high-quality gear can significantly improve your visual experience, making it easier to track moving celestial objects. Additionally, exploring new frontiers in digital content can enhance your understanding of effective observing techniques. Incorporating landscaping to enhance natural beauty can also create a more inviting atmosphere for your stargazing sessions.
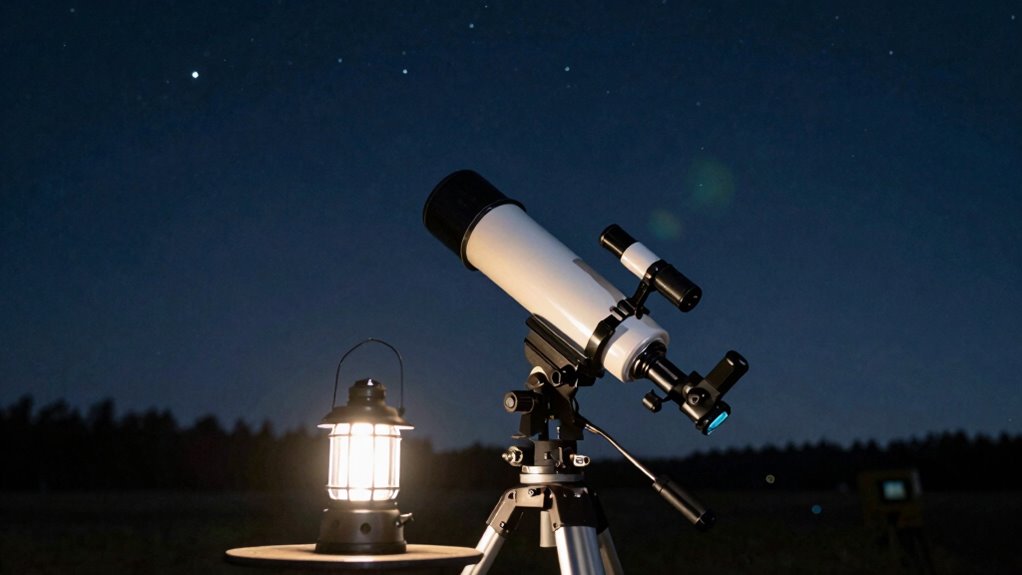
smartphone app for polar alignment
As an affiliate, we earn on qualifying purchases.
As an affiliate, we earn on qualifying purchases.
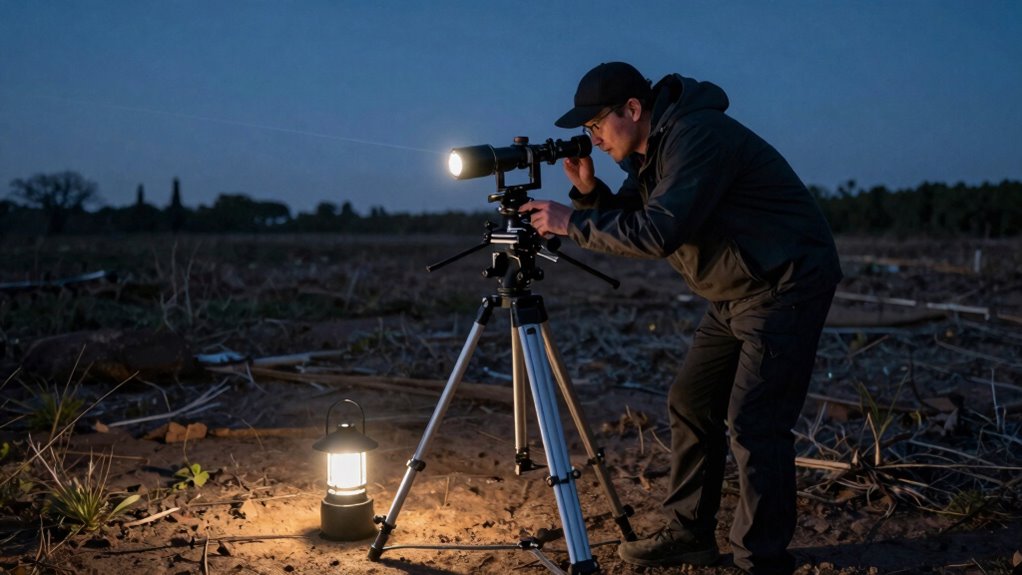
Gather Your Tools for a Quick Polar Alignment
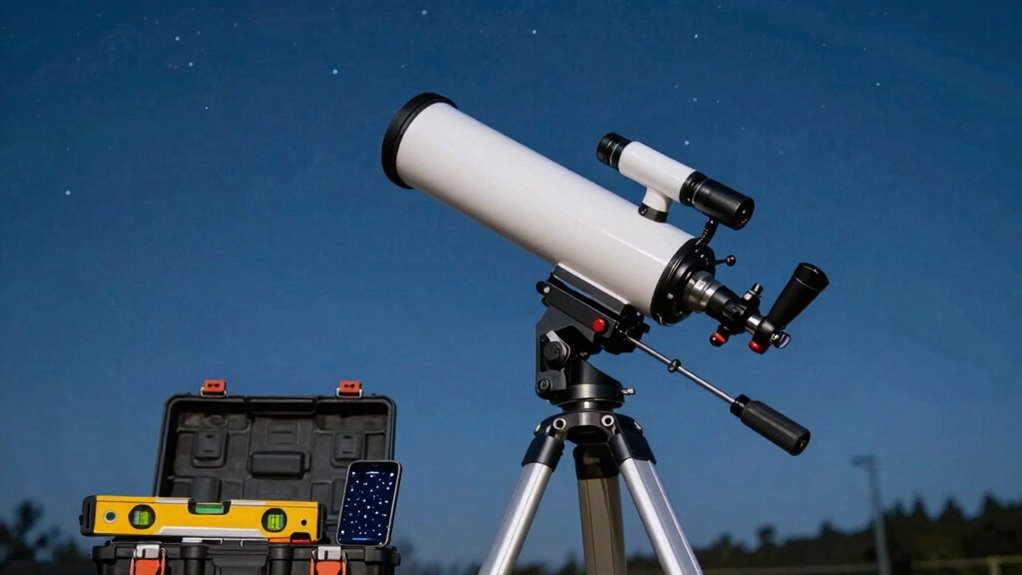
Before you start your quick polar alignment, gather all the essential tools you’ll need to streamline the process. Historically, astronomers relied on simple tools, but today’s advancements emphasize efficiency. A smartphone app with polar alignment features can save time and improve accuracy, reflecting the cultural significance of technological progress in astronomy. You’ll also need a mount, a sturdy tripod, and a level to confirm stability. A polar scope or laser pointer helps you identify Polaris quickly. Having a compass or GPS device guarantees correct orientation, especially if you’re unfamiliar with your location. Gathering these tools in advance minimizes disruptions, letting you focus on the task at hand. This preparation honors the tradition of swift, effective alignment techniques developed over centuries to make stargazing accessible for everyone.

ACUMETA Scope Leveling Ring for Outdoor Observation Horizontal Calibration for 34mm Tube
1. Precision: ACUMETA Scope Leveling for 34mm tube diameter to horizontal calibration
As an affiliate, we earn on qualifying purchases.
As an affiliate, we earn on qualifying purchases.
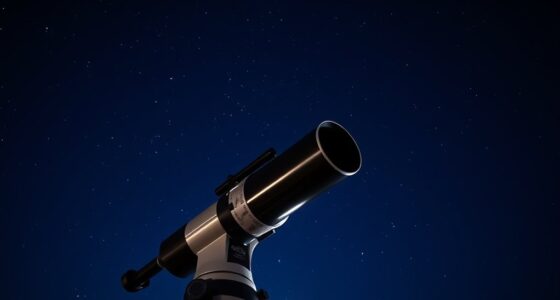
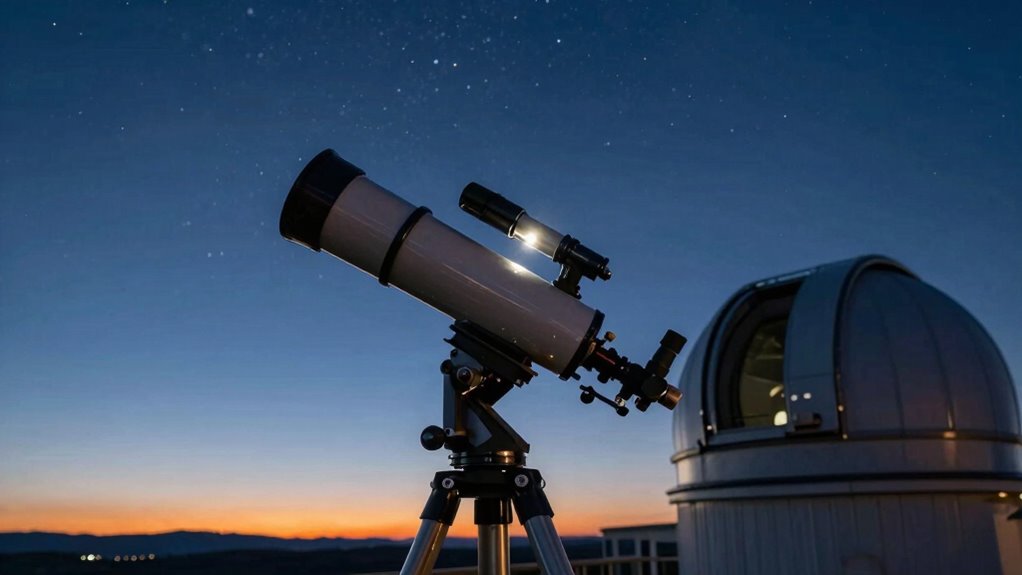
Set Up Your Telescope and Mount Properly Before Starting
Make certain your mount is stable and level before you start. Properly align the polar axis with your celestial pole to ensure accurate tracking. Taking these steps now will save you time and frustration during the alignment process. Additionally, understanding ergonomics in your workspace can enhance your overall comfort while you engage in this intricate setup. Proper preparation also includes using straining paint to ensure your equipment is in top condition. Remember, being aware of real-world safety can also help prevent accidents while you’re focused on your telescope.
Ensure Stable Mount Setup
A stable mount is essential for accurate polar alignment, so take the time to set up your telescope and mount carefully. Confirm your mount is on a level surface and all screws and bolts are tightly secured. A wobbling or unsteady mount can compromise mount stability, making star tracking difficult and leading to blurry images. Check that the tripod or base is firm and that the mount’s axes move smoothly without resistance. Use a bubble level if needed. A stable setup minimizes vibrations and keeps your telescope steady during adjustments. Proper stability allows you to focus on aligning quickly, without fighting movement or drift. Remember, a solid foundation is key to successful polar alignment and clear, sharp astrophotos.
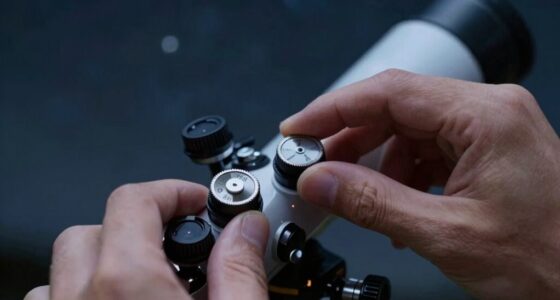
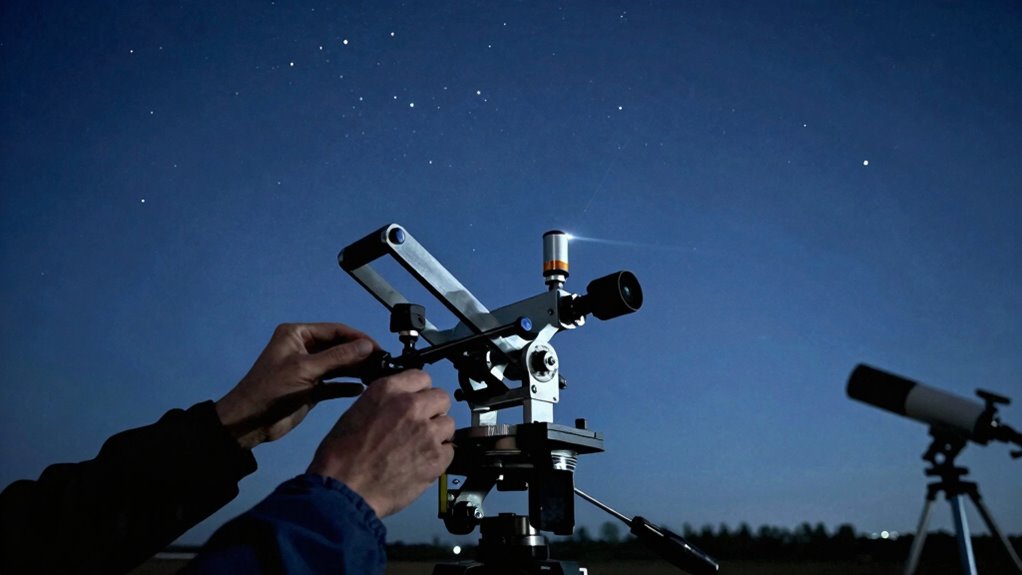
Align Polar Axis Properly
Have you properly aligned your mount’s polar axis? Making sure it’s correctly set is essential for accurate celestial navigation. Start by locating the polar star, which marks the celestial pole. Use your mount’s adjustment controls to align the polar axis with this star. A precise alignment minimizes errors and simplifies tracking. Confirm the mount’s setting by checking if the polar star stays fixed in your eyepiece or camera view as the sky moves. Proper polar axis alignment allows your telescope to follow celestial objects smoothly, saving you time and frustration. Remember, a well-aligned polar axis is the backbone of quick, accurate polar alignment—especially when you’re in a hurry. Taking this step guarantees your astrophotography or observations are precise and enjoyable.
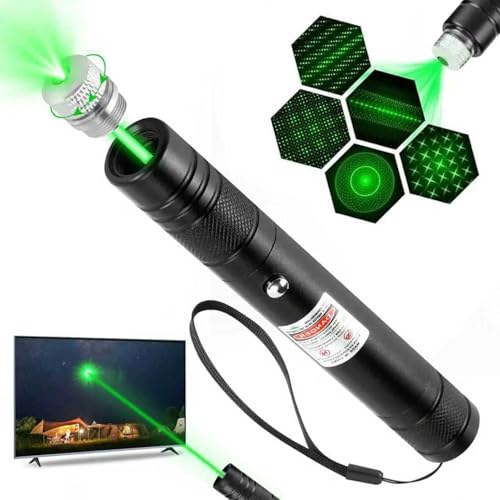
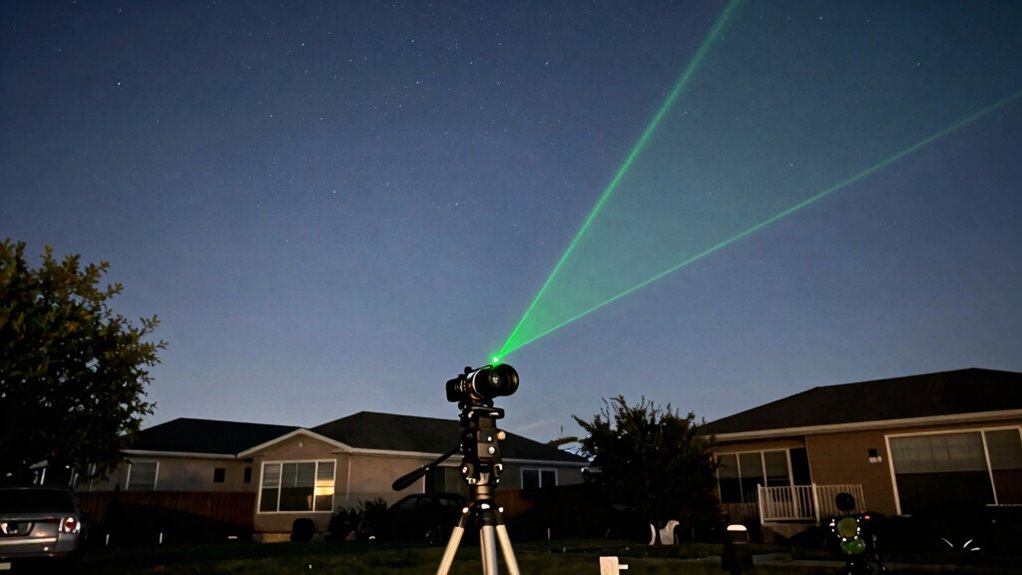
JANHER High Power Green Laser Pointer with Removable Star Cap, Long Range Single Pinpoint Mode, Built-in USB Rechargeable Lazer for Astronomy, Hiking, Presentations and Interactive
[High-Performance Adjustable Beam]:Experience exceptional clarity with our intense green laser beam. A simple twist of the focusing bezel…
As an affiliate, we earn on qualifying purchases.
As an affiliate, we earn on qualifying purchases.
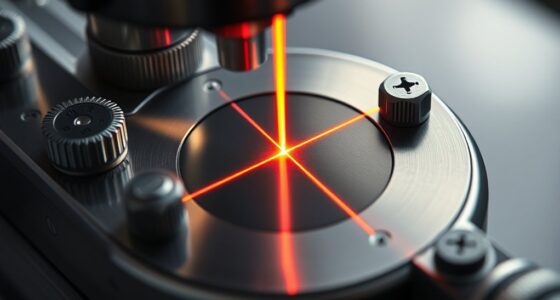
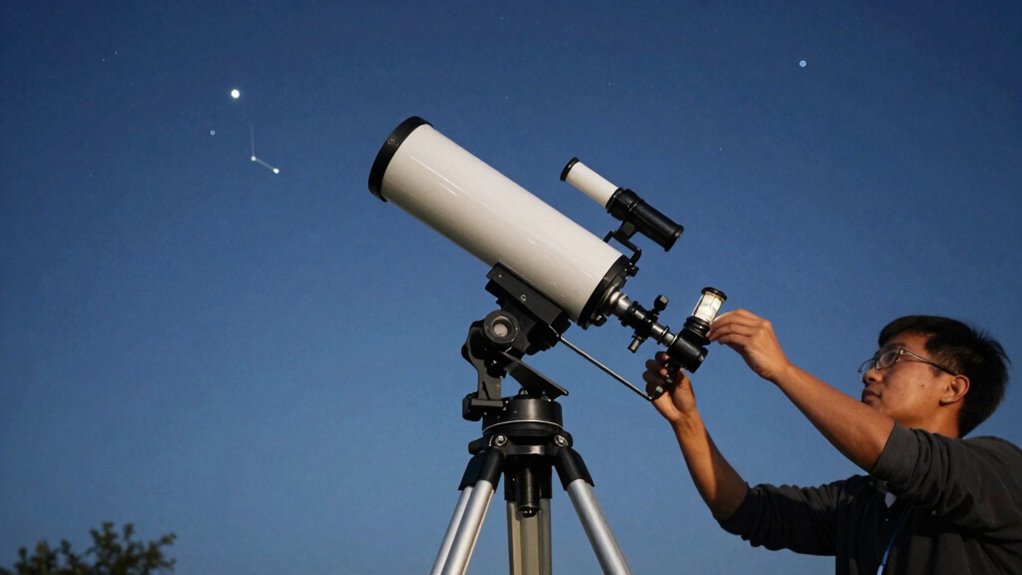
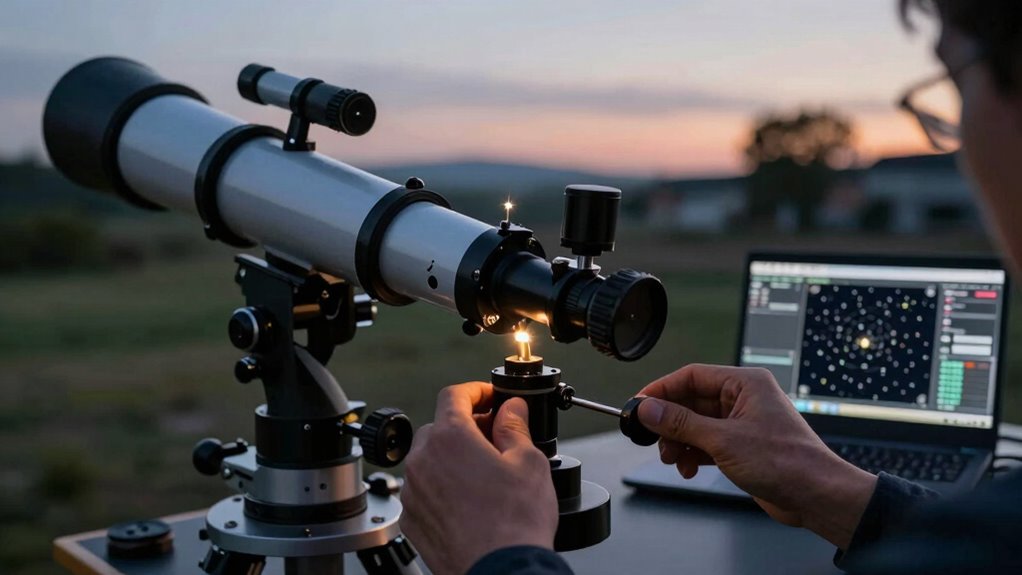
How to Quickly Use Your Polar Scope for Fast Alignment
To quickly align your telescope, start by accurately aligning the polar scope itself. Then, identify Polaris swiftly in the eyepiece, using your mount’s markings for guidance. Finally, make small adjustments to fine-tune the alignment for maximum precision. Incorporating premium items like a high-quality polar scope can greatly enhance your observing experience.
Aligning the Polar Scope
Wondering how to quickly align your polar scope? Start by ensuring your polar scope is properly calibrated. Accurate polar scope calibration is essential for reliable celestial navigation, especially when time is tight. Begin by leveling your mount and then remove the polar scope cover. Look through the scope and adjust its rotation so that the reticle aligns perfectly with the mount’s markings. Use the calibration markings or a known reference star to fine-tune the scope’s alignment. This quick calibration step guarantees your polar scope shows the correct celestial position, making subsequent night sky navigation faster and more precise. Additionally, knowing how to navigate celestial objects can significantly enhance your stargazing experience. Regularly checking your HEPA filters can also help maintain a clean environment for your equipment, ensuring optimal performance. Once calibrated, you can swiftly locate Polaris and other celestial objects, streamlining your polar alignment process and saving valuable time on busy nights. Furthermore, investing in high-quality gear can improve the overall reliability of your setup. Additionally, ensuring that your setup promotes independence for seniors can enhance the overall experience of celestial observation, especially for those who may require assistance.
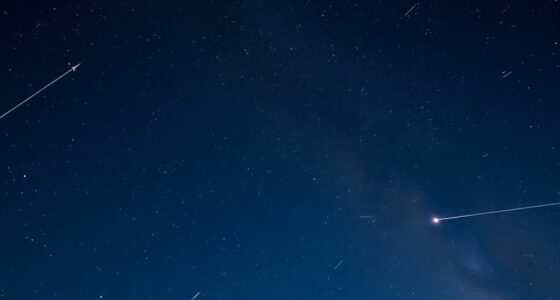
Identifying Polaris Quickly
Once your polar scope is calibrated, the next step is to identify Polaris quickly. Using a star chart simplifies celestial navigation, helping you locate Polaris among the surrounding stars. Find the Big Dipper or Cassiopeia first, then use their positions to guide your search. Polaris sits nearly directly above the North Celestial Pole, so once you’ve pinpointed the general area, look for the brightest star in that vicinity. Align your polar scope’s reticle with Polaris by matching it to the star’s position relative to nearby stars on your chart. This method saves time during busy nights, allowing for swift, accurate polar alignment. With a clear star chart and steady celestial navigation, you can identify Polaris in seconds.
Fine-Tuning for Accuracy
After you’ve identified Polaris, the key to quick, accurate polar alignment is fine-tuning your scope’s position. Use your polar scope to make small adjustments, confirming Polaris is precisely centered in the reticle. Proper polar calibration involves aligning the scope’s markings with the celestial pole, but fine-tuning confirms accuracy. Keep in mind, accurate star tracking depends on this precise alignment. If Polaris isn’t perfectly in place, your mount won’t track stars smoothly, causing blurring or streaks in images. Gently shift your mount or scope until Polaris remains steady in the reticle over several seconds. This quick adjustment ensures your telescope’s tracking is spot-on, saving time and improving your astrophotography or viewing experience. Fine-tuning is the final step to reliable, fast polar alignment.
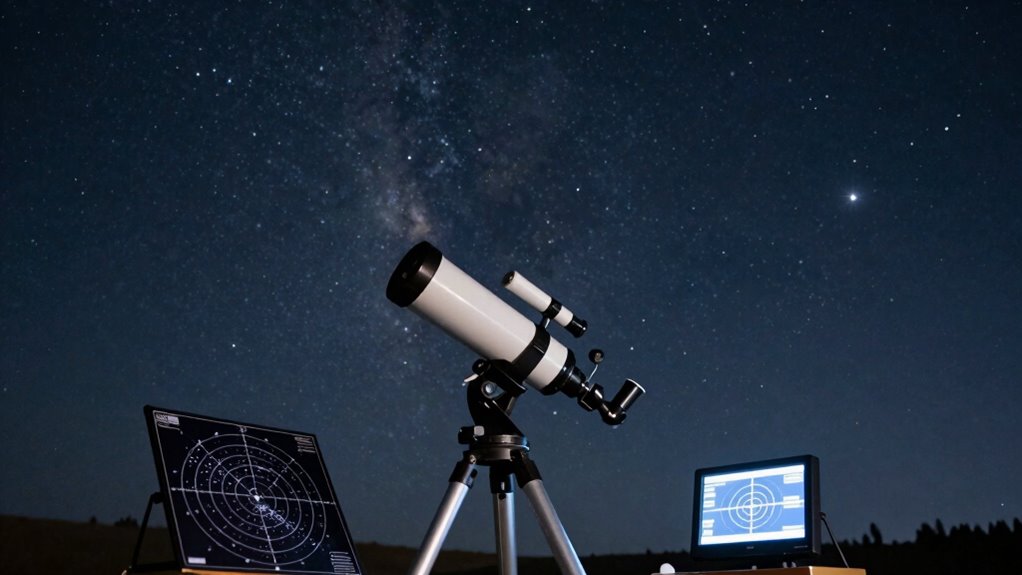
Align With Your Smartphone App in Minutes
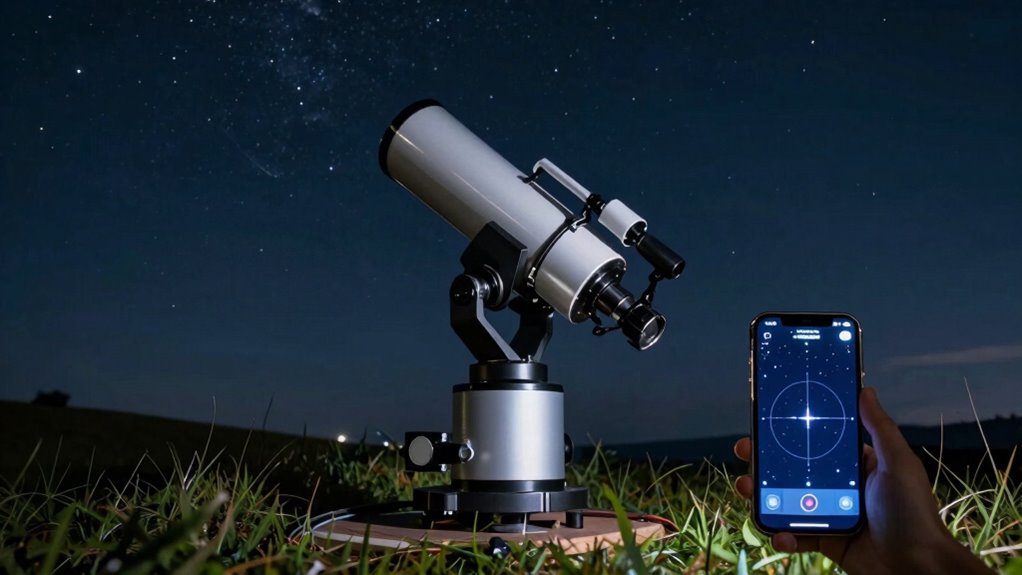
Using your smartphone app makes polar alignment quick and straightforward. It streamlines celestial navigation, reducing setup time and increasing your observing window. To get started:
- Download a trusted polar alignment app compatible with your mount.
- Connect your smartphone via Bluetooth or Wi-Fi.
- Enter your location and time for accurate sky mapping.
- Follow the app’s visual guides to adjust your mount swiftly.
This method minimizes errors and speeds up telescope maintenance, letting you focus on your night sky observations. The app’s real-time feedback guarantees your polar alignment is spot-on, which improves tracking accuracy. Additionally, drones are increasingly used for aerial imaging, enhancing our understanding of the night sky. Plus, it’s perfect for busy nights when you need to get aligned fast. With these tools, you’ll enjoy more time stargazing and less time fiddling with equipment. Additionally, ensuring your equipment is properly rated for altitude can further enhance performance during your observations. Using eco-friendly materials in your crafting can also help minimize your environmental impact while you enjoy your hobby.
Fine-Tune Your Polar Alignment for Accurate Tracking
Even if you’ve completed a rough polar alignment, fine-tuning is essential for precise tracking. Small adjustments help counteract polar drift, which can gradually cause your telescope to lose alignment during long exposures. To fine-tune, use your mount’s slow-motion controls or software tools to make tiny corrections, ensuring your polar axis points exactly at the celestial pole. Celestial navigation techniques, like star alignment, can help verify your precision. Focus on bright, easily identifiable stars near the celestial pole, and adjust your mount until they stay centered in your eyepiece. Consistent fine-tuning minimizes tracking errors, resulting in sharper images and more accurate astrophotography. Remember, even minor tweaks can considerably improve your results over time. Additionally, understanding polar alignment techniques can enhance your skills and efficiency in astrophotography.
Common Mistakes to Avoid During Fast Polar Alignment
Avoid rushing through the alignment process, as it can lead to inaccuracies and longer setup times later. Don’t skip or overlook calibration steps, since they guarantee your mount tracks correctly. Taking your time and following each step carefully will save you headaches and improve your results. Remember that proper ergonomic setup can enhance your focus and efficiency during the alignment process. Additionally, understanding the importance of seasonal adjustments can significantly improve your overall polar alignment accuracy.
Rushing the Alignment Process
Rushing through the polar alignment process can lead to mistakes that compromise your entire night of astrophotography. When you try to accelerate, you risk overlooking key steps like celestial navigation and using star charts correctly. To avoid errors, keep in mind these common pitfalls:
- Skipping detailed star identification, leading to incorrect pole star alignment.
- Rushing calibration, which affects tracking accuracy.
- Ignoring subtle adjustments based on star movement observations.
- Underestimating the importance of precise latitude and longitude setup.
Taking extra time guarantees your mount is properly aligned, making star charts and celestial navigation tools more effective. Patience during this step prevents wasted hours correcting errors later. Remember, accuracy saves time in the long run.
Ignoring Calibration Steps
Skipping calibration steps can seem tempting when you’re trying to speed up the alignment process, but it’s a mistake that can severely impact your astrophotography results. Calibration omission leads to inaccurate polar alignment, causing star trails and blurred images. Without proper calibration, your mount’s tracking precision suffers, making it difficult to achieve sharp images in a short timeframe. While it might save a few minutes initially, neglecting these steps compromises overall precision, leading to frustration and wasted nights. Always perform essential calibration routines, even when in a hurry. These steps ensure your mount’s movements are accurately aligned with celestial poles, enabling consistent tracking. Skipping calibration may seem like a time-saver, but it ultimately undermines your goal of quick, reliable polar alignment.
Troubleshooting Tips When Your Quick Alignment Needs Fixing
Troubleshooting Tips When Your Quick Alignment Needs Fixing
When your quick polar alignment isn’t holding steady, troubleshooting begins with checking your mount’s setup. First, verify your mount is on a level surface to improve stability. Second, confirm all mounting screws are tight, preventing any wobble. Third, double-check that your tripod or pier is secure and not shifting during adjustments. Fourth, recalibrate your mount’s alignment process, focusing on calibration accuracy. These steps help maintain mount stability, which is vital for a precise quick alignment. If your mount wobbles or shifts, your polar alignment will be off. Correcting these issues ensures your setup remains stable and your calibration accurate, giving you a reliable quick alignment every time. Remember, a sturdy mount is the foundation of successful polar alignment. Additionally, understanding angel numbers can provide spiritual insight and encouragement during your stargazing endeavors. To ensure optimal performance, always remember that a smooth finish can greatly enhance your overall setup experience. Consider that a level surface is crucial for preventing misalignment during your observations, just as a healthy hive contributes to the overall pollination effectiveness of the environment. Furthermore, regular monitoring and updates of your equipment can help identify potential issues before they affect your alignment.
Verify Your Polar Alignment and Maximize Observation Time
To guarantee your polar alignment is accurate, regularly verify it during your observing session rather than assuming it stays perfect after initial setup. This is essential for effective celestial navigation and confirming your telescope tracks smoothly. Use quick check methods, like observing Polaris or nearby stars, to confirm your alignment. If you notice drift, make minor adjustments promptly. Proper equipment maintenance, such as cleaning mount gears and ensuring stable tripod setup, helps maintain alignment accuracy. Verifying your polar alignment throughout the night maximizes your observation time by preventing tracking errors and reducing frustration. Taking these quick checks keeps your session efficient and ensures you get the most out of your time under the stars, especially during busy nights when every minute counts.
Practice to Speed Up Your Polar Alignment Even More
Practicing your polar alignment regularly is the best way to become faster and more confident with the process. To improve your speed, focus on these key areas:
- Celestial navigation: Familiarize yourself with star patterns and key Polaris references to reduce search time.
- Equipment calibration: Regularly calibrate your mount and polar scope to guarantee accuracy, saving adjustment time during setup.
- Standardized routines: Develop a step-by-step checklist to streamline your process, avoiding unnecessary movements.
- Consistent practice: Spend dedicated nights practicing in different conditions to adapt quickly to varying skies and light pollution.
Frequently Asked Questions
What Are the Best Weather Conditions for Fast Polar Alignment?
You want clear, stable weather for fast polar alignment. Low atmospheric turbulence is ideal, so choose nights with steady air and minimal wind. Avoid times of high solar activity, as it can cause atmospheric disturbances that complicate alignment. Clear skies also improve visibility of Polaris, helping you align quickly. On such nights, you’ll find the process faster, more accurate, and less affected by atmospheric or solar-induced fluctuations.
Can I Perform Quick Polar Alignment With Any Telescope Mount?
You can perform quick polar alignment with many telescope mounts, but not all are created equal. Mount compatibility is key; equatorial mounts are ideal, making alignment more straightforward, while alt-azimuth mounts require extra steps. Don’t cut corners on accuracy—precision is essential for sharp images. When your mount is compatible and you follow the fast method carefully, you’ll find that even busy nights don’t have to be a headache.
How Often Should I Recheck My Polar Alignment During a Session?
You should recheck your polar alignment every hour or so during a session to maintain accuracy, especially if you’re tracking for extended periods. Regular checks help guarantee your equipment remains well-calibrated and alignment accuracy stays high. Environmental factors like temperature changes or vibrations can shift your setup, so staying vigilant and performing quick adjustments as needed keeps your astrophotography or observing smooth and precise.
Is It Possible to Automate the Quick Polar Alignment Process?
Yes, you can automate the quick polar alignment process. Many modern mounts feature built-in calibration routines that streamline star tracking and alignment, making quick adjustments easier. By using software or hardware tools designed for mount calibration, you can guarantee precise polar alignment with minimal effort. This automation helps you save time, especially during busy nights, while maintaining accurate star tracking for clear astrophotography or observation sessions.
What Accessories Can Improve the Speed of My Polar Alignment?
To speed up your polar alignment, use a quality polar scope for precise, quick targeting of Polaris. Pair it with alignment software that guides you step-by-step, reducing guesswork and saving time. A sturdy mount with smooth tracking also helps. These accessories streamline the process, making it faster and more accurate, especially during busy nights when every minute counts.
Conclusion
With practice, your quick polar alignment becomes a swift dance under the night sky, like catching fireflies in a jar. In just ten minutes, you’ll be ready to chase stars without missing a beat, your telescope perfectly aligned as the cosmos twinkle above. So, embrace these fast methods, and soon, you’ll be gazing at distant galaxies, knowing you’ve mastered the art of rapid setup—making every busy night a window to wonder.