Avoid mistakes like confusing filter types, ignoring their quality, or neglecting camera compatibility to guarantee sharp, accurate images. Be mindful of how filters impact exposure and autofocus, especially in low light or astrophotography. Proper handling and maintenance extend filter lifespan, while understanding coatings helps maintain durability. Rushing to choose filters based solely on appearance or specifications can harm your results. Keep these points in mind to improve your photography—if you explore further, you’ll gain even more valuable insights.
Key Takeaways
- Understand the differences between filter types, purposes, and compatibility to choose the right UV/IR cut filter.
- Prioritize high-quality filters with durable coatings and proper maintenance to ensure long-term performance.
- Test filters with your camera setup to verify effectiveness and avoid image quality issues.
- Be aware of how filters may affect exposure, autofocus, and overall camera performance during shooting.
- Match filter specifications, especially wavelength limits, to your imaging targets for accurate results.
Confusing UV and IR Cut Filters With Multilayer or UV/Ir Combined Filters

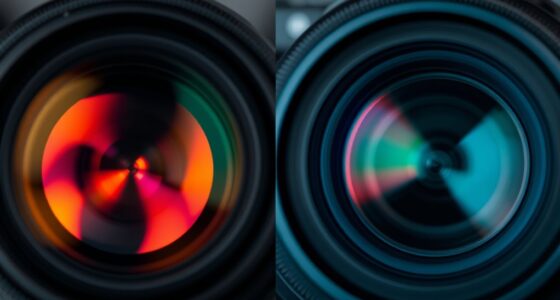
Many photographers mistakenly assume that multilayer or combined UV/IR filters serve the same purpose as dedicated UV or IR cut filters. However, in filter manufacturing, these types differ markedly. Multilayer or combined filters are designed to block multiple wavelengths simultaneously, often for specialized applications, but they don’t always effectively cut UV or IR light for photography. Dedicated UV and IR cut filters are engineered specifically to eliminate unwanted wavelengths, ensuring ideal image clarity. When considering pricing, multilayer or combined filters tend to be more expensive due to complex manufacturing processes, but their versatility isn’t always aligned with your needs. It’s essential to understand these distinctions to choose the right filter, avoiding unnecessary costs and ensuring your camera’s sensor captures the intended spectrum accurately. Additionally, understanding the specific filter design can help you select the most effective option for your photographic needs.
Overlooking the Impact of Filter Quality on Image Clarity
While choosing the right filter type is important, overlooking the quality of the filter can substantially affect your image clarity. Poorly manufactured filters may introduce unwanted reflections, distortions, or color shifts, undermining your UV IR applications. High-quality filters undergo rigorous filter manufacturing processes, ensuring precise optical performance and durability. When you opt for subpar filters, you risk reduced contrast, haziness, or uneven light transmission, which can compromise your results. For clear, sharp images, invest in filters made with superior materials and craftsmanship. Additionally, filter coating quality plays a critical role in maintaining image clarity and reducing glare or reflections. Remember, the quality of your filter directly influences image clarity, especially in sensitive UV and IR photography. Don’t cut corners—prioritize filter manufacturing standards to achieve optimal results in your UV IR applications.
Ignoring Compatibility With Specific Camera Sensors and Lenses

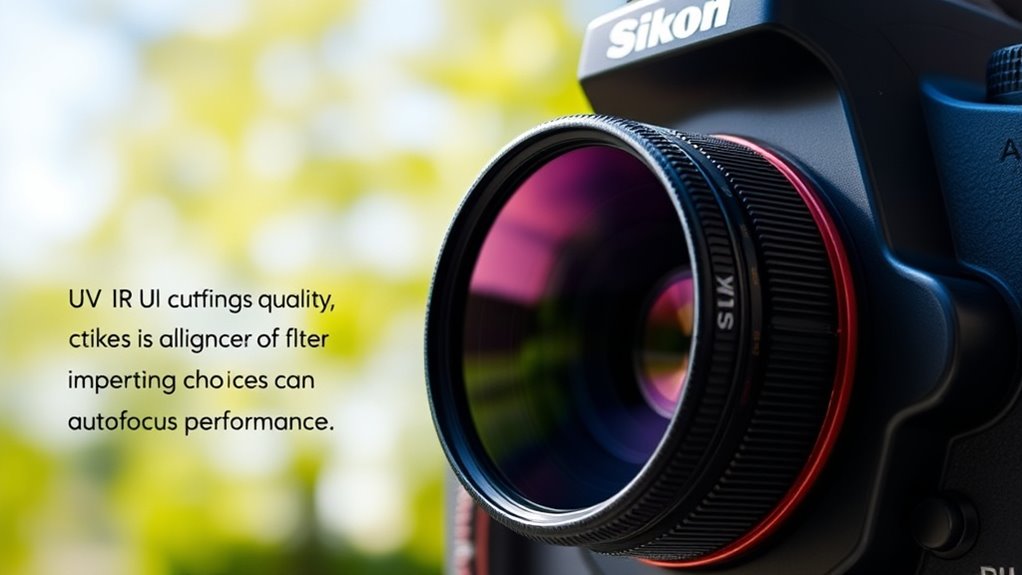
You need to guarantee your UV IR cut filter is compatible with your camera sensor and lens. Different sensors and lenses can react differently to filter transmission, affecting image quality. Ignoring these factors might lead to poor results or damage your equipment over time. Additionally, understanding sensor compatibility can help prevent issues related to inaccurate color reproduction or reduced image clarity.
Sensor Compatibility Considerations
Understanding sensor compatibility is crucial when choosing UV or IR filters because not all sensors respond equally to these wavelengths. A sensor mismatch can lead to inaccurate color capture or unintended image effects. Some cameras may require precise filter calibration to guarantee the UV or IR cut filter works effectively without affecting image quality. Failing to verify compatibility might result in reduced clarity or color shifts, especially with older or specialized sensors. Always check your camera’s sensor specifications and consult manufacturer guidelines before selecting a filter. Proper calibration helps prevent issues caused by subtle sensor responses. Ignoring these considerations can cause inaccurate results, forcing you to redo shots or adjust images post-processing. Sensor responses can vary significantly between different camera models and sensor types, emphasizing the importance of compatibility checks. Prioritize compatibility to maximize filter performance and preserve your camera’s best functionality.
Lens Transmission Variability
Lens transmission can vary substantially depending on the specific camera sensor and lens combination, which can impact the effectiveness of UV and IR filters. This lens transmission variability means that some lenses may block or allow more UV or IR light, regardless of the filter used. Filter material limitations also influence how well a filter performs; certain materials may not transmit specific wavelengths efficiently. Ignoring these factors can lead to poor image quality or inadequate light blocking. It is crucial to test filters with your particular lens and camera setup to ensure maximum performance. Be aware that even high-quality filters may behave differently across various lenses, so understanding the interaction between filter material limitations and lens transmission variability helps you select the right filter for your equipment. Additionally, sensor compatibility plays a critical role, as different sensors may respond uniquely to UV and IR light, affecting overall image results.
Filter Material Limitations
Filter material limitations can substantially affect UV and IR filtration, even if the filters are compatible with your camera. Not all filter materials effectively block UV or IR light, which can lead to unwanted color shifts or reduced image clarity. Different UV IR filter types use various materials like glass, resin, or coated substrates, each with distinct filtration capabilities. Some materials may transmit certain wavelengths unintentionally, compromising your photos’ quality. It’s essential to understand these limitations before choosing a filter, as not all options provide the same level of blocking. Relying solely on compatibility with your camera isn’t enough; you must also consider the filter material’s inherent properties. Selecting the right filter material guarantees maximum UV and IR blocking, preserving image accuracy and color fidelity. Additionally, understanding the filter material properties can help you avoid potential issues related to wavelength transmission and ensure optimal image quality.
Misunderstanding the Effect of Filters on Exposure and Brightness

Many photographers assume that adding a UV or IR cut filter simply reduces brightness equally across all shots, but this isn’t quite true. These filters affect *filter transmission*, meaning they block certain wavelengths, which can result in a slight dimming of your image. However, this reduction isn’t uniform and varies depending on the filter’s quality and design. As a result, you might need to perform *exposure adjustment* to maintain proper brightness. Relying solely on your camera’s auto-exposure can lead to underexposed images if you don’t compensate for the filter’s light loss. Understanding how your filter influences light transmission helps you set the correct exposure settings upfront, avoiding overly dark images or unnecessary post-processing corrections. Proper knowledge ensures consistent results across different lighting conditions.
Failing to Consider the Filter’s Effect on Autofocus and Autofocusing Speed
Because UV and IR cut filters alter the light reaching your camera’s autofocus sensors, they can slow down or even hinder autofocus performance. This can cause an autofocus delay and reduce focusing accuracy, especially in low-light conditions or with fast-moving subjects. To avoid surprises, consider how the filter impacts focusing. Additionally, understanding how color accuracy can be affected by filters may help in choosing the right one for your needs.
- Test autofocus speed before shooting important moments
- Use lenses with faster autofocus motors when possible
- Switch to manual focus if autofocus becomes unreliable
- Be aware that focusing accuracy might decrease with certain filters, requiring adjustments
Using Inappropriate Filters for Astrophotography or Night Shooting
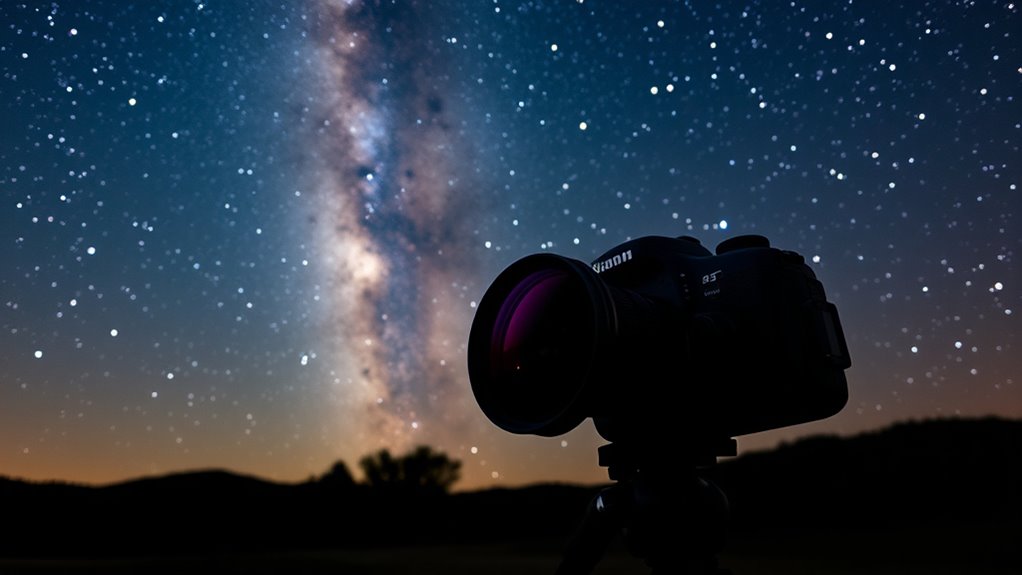
Using the wrong filters for astrophotography or night shooting can cause problems like compatibility issues or poor image quality. You might also misjudge filter quality or overlook the specific wavelength limits your camera needs. Ensuring you pick the right filter is essential to avoid these common mistakes. Additionally, understanding filter specifications can help you select options that match your camera and shooting environment for optimal results.
Filter Compatibility Issues
Choosing the wrong filter for astrophotography or night shooting can lead to poor image quality and wasted effort. Compatibility issues often stem from mismatched filter material or sensor compatibility. To avoid these problems, consider:
- Using filters made from materials that suit your camera’s sensor type
- Ensuring the filter’s optical coating matches your intended wavelength range
- Checking if your sensor supports the filter’s design and thickness
- Confirming that the filter fits securely without causing vignetting or reflections
- Always verify that the filter material aligns with your camera’s sensor specifications and sensor compatibility to prevent image artifacts or transmission loss.
Incompatible filters can introduce artifacts or reduce light transmission, compromising your results. Always verify that the filter material is suitable for your camera’s sensor and that your equipment can handle the filter’s specifications. Proper compatibility ensures sharper, clearer images during night shooting.
Misjudging Filter Quality
Selecting the right filter quality is just as important as guaranteeing compatibility. Poor-quality filters can compromise your images, leading to poor color accuracy and unwanted artifacts. When evaluating filters, consider the filter manufacturing process and brand reputation. High-quality filters are made with precision, ensuring consistent performance and durability. Lower-quality options may look similar but often degrade quickly and produce uneven cuts. Additionally, understanding the science behind filter manufacturing can help you make more informed choices.
| Filter Type | Manufacturing Quality | Brand Reputation |
|---|---|---|
| Budget Filters | Inconsistent | Unknown or questionable |
| Mid-Range Filters | Moderate | Mixed reviews |
| Premium Filters | Precise, durable | Reputable, trusted |
Investing in better filter manufacturing and reputable brands ensures your astrophotography or night shooting yields sharp, accurate results without unnecessary frustration.
Overlooking Wavelength Limits
Have you ever contemplated that an inappropriate filter could block essential wavelengths and ruin your astrophotography or night shots? Ignoring wavelength limits in filter specifications can lead to missing important details or capturing unwanted light. To avoid this, always check the filter’s wavelength limits to verify they match your target scene. Using a filter with too narrow a range might cut out useful signals, while one that’s too broad could let in unwanted light pollution.
Key points to consider include:
- Confirm the filter’s wavelength cutoff matches your needs
- Avoid filters that block necessary spectral lines
- Understand the filter’s specifications for your camera sensor
- Match filter properties with your target astrophotography subjects
Getting this right ensures your images are clear and accurately exposed.
Neglecting Proper Maintenance and Handling of Filters to Prevent Damage

Neglecting proper maintenance and handling of UV and IR filters can easily lead to damage that compromises their effectiveness. If you don’t follow correct procedures, dirt, fingerprints, or scratches can degrade the filter’s performance. Always store filters properly in a dedicated case to prevent accidental damage. When cleaning, use gentle cleaning procedures with appropriate solutions and soft cloths—avoid abrasive materials. Handle filters by their edges to avoid smudges. Regularly inspect and clean your filters to maintain clarity. Here’s a quick guide:
| Action | Method | Purpose |
|---|---|---|
| Filter Storage | Use padded cases | Prevent physical damage |
| Cleaning Procedures | Use lens cleaning solution | Remove dirt and fingerprints |
| Handling | Handle by edges | Avoid smudges and scratches |
Proper maintenance preserves filter longevity and effectiveness.
Relying Solely on Visual Inspection When Choosing Filters
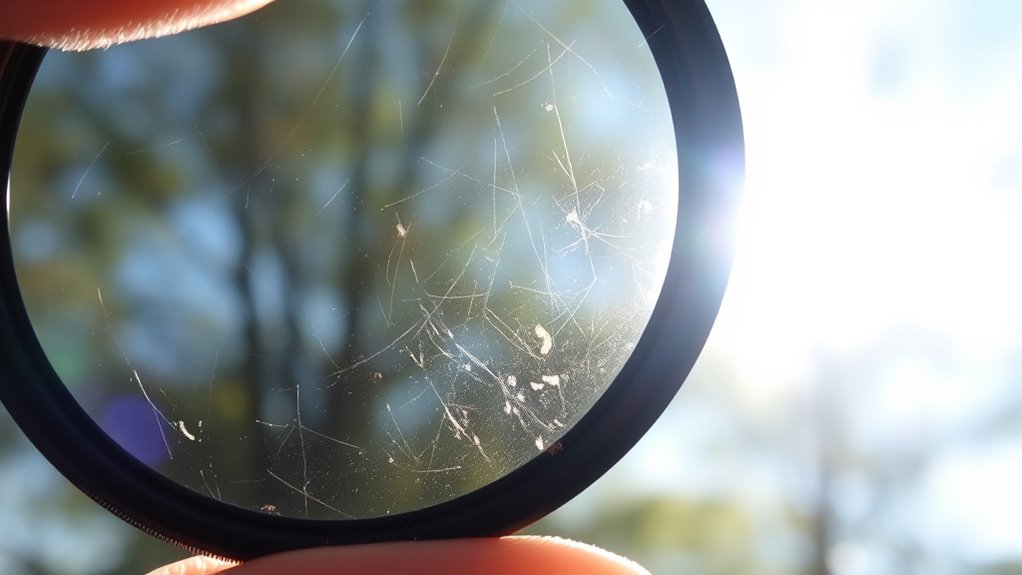
While a clear, blemish-free appearance is important, relying solely on visual inspection when choosing filters can be misleading. Your visual assessment might overlook key factors like coating quality or material composition, which affect filter performance. Aesthetic judgment alone won’t reveal issues like uneven coatings or internal damage that impact UV IR cut effectiveness.
Consider these points:
- Visual inspection can’t detect subtle defects or coating inconsistencies
- Appearance doesn’t reveal filter durability or long-term performance
- Relying on looks ignores technical specs and manufacturer data
- Proper testing ensures filters meet required optical standards
Always combine visual assessment with technical information and testing to make an informed choice, instead of depending solely on how a filter looks.
Overlooking the Importance of Filter Coatings and Their Durability

Since filter coatings directly influence their ability to block UV and IR wavelengths effectively, overlooking their quality and durability can lead to compromised performance over time. If you ignore coating resilience, your filters may degrade faster, reducing their effectiveness. Pay close attention to the coating application process, ensuring it’s applied uniformly and securely. Poor coating application can cause peeling, scratches, or uneven filtering, which diminishes protection. High-quality coatings resist environmental factors like moisture, temperature changes, and UV exposure, maintaining their blocking capabilities longer. Skimping on coating durability risks frequent replacements and increased costs. Always choose filters with proven coating performance, and verify that the coating process adheres to strict standards. This ensures your UV IR cut filters stay reliable and effective for the long haul.
Frequently Asked Questions
Can UV IR Cut Filters Cause Color Shifts in Images?
Yes, UV IR cut filters can cause color shifts in images. They may affect color accuracy by altering light transmission, especially if the filter isn’t high quality or properly designed. You might notice tinges or color casts, particularly in certain lighting conditions, which can compromise your photo’s true colors. To maintain accurate color reproduction, select filters with minimal impact on light transmission and confirm they are compatible with your camera system.
Are Cheaper Filters More Prone to Damage Than Expensive Ones?
Cheaper filters are generally more prone to damage because their filter durability and material quality are often lower. You might notice they scratch or crack more easily, especially under harsh conditions. Investing in higher-quality filters means better material quality, which enhances durability and protects your gear. While they might cost more upfront, they offer better longevity and reliability, making them a smarter choice for demanding photography environments.
How Do Filter Thickness and Material Affect Image Quality?
You should consider that filter thickness and material directly impact image quality by influencing durability and material transparency. Thicker filters tend to be more durable but may reduce light transmission, potentially causing image loss. The material’s transparency affects how well the filter blocks UV and IR rays without distorting colors. Selecting a balance between thickness and quality material ensures you get clear images with ideal protection, avoiding unnecessary degradation.
Do UV IR Cut Filters Reduce Lens Flare or Ghosting?
Stop the streaks and splashes of stray light with UV IR cut filters! These filters help reduce lens flare, keeping your images clear and crisp, while also preventing ghosting that can ruin detail. By blocking unwanted ultraviolet and infrared rays, they improve overall image quality and enhance contrast. So, yes, UV IR cut filters actively assist in lens flare reduction and ghosting prevention, ensuring you get cleaner, more professional photos every time.
Can Using Multiple Filters Degrade Overall Image Sharpness?
Yes, using multiple filters through filter stacking can degrade your overall image sharpness. When you stack filters, it can negatively impact optical performance by introducing additional glass surfaces, which may cause reflections, flare, and reduced clarity. To maintain sharpness, limit filter stacking and choose high-quality filters. This way, you preserve the integrity of your images and avoid unnecessary degradation caused by multiple layers of glass.
Conclusion
By steering clear of these nine pitfalls, you’ll navigate the world of UV/IR cut filters like a seasoned sailor. Don’t let poor choices cloud your vision or cause your gear to stumble. Instead, equip yourself with knowledge as your compass, guiding you through clear, vibrant images. With proper care and understanding, you’ll open a world where your camera’s eye sees with crisp clarity, turning every shot into a masterpiece that shines bright and true.