Cranking up ISO might seem like a quick fix for dark night photos, but it actually introduces grain and noise, ruining sharpness and detail. Instead, prioritize lower ISO settings and boost exposure by using longer shutter speeds, wider apertures, or external lighting. Stabilize your camera to prevent blur and experiment with post-processing to reduce noise. Want to turn grainy shots into vibrant images? Keep exploring for proven tips and tricks.
Key Takeaways
- Higher ISO increases brightness but also amplifies noise, leading to grainy night photos; lower ISO preserves image quality.
- Larger sensors naturally handle low light better, allowing for lower ISO and cleaner images.
- Using a tripod and longer exposures allows you to avoid high ISO and reduce noise.
- Proper calibration and focus improve night photo clarity, especially when working with low ISO settings.
- Post-processing noise reduction can help, but it’s best to minimize noise during capture by using optimal ISO and settings.
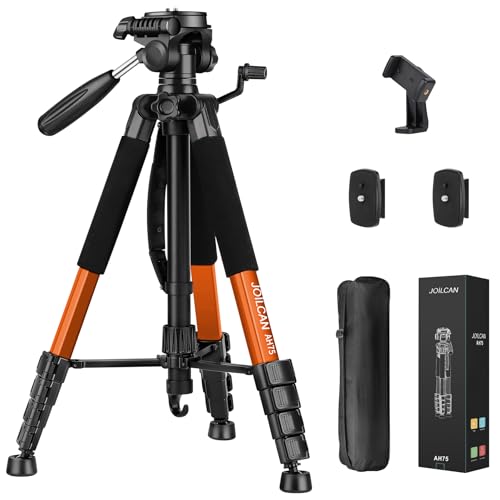
JOILCAN Tripod Camera Tripods, 74" Tripod for Camera Cell Phone Video Photography, Heavy Duty Tall Cameras Tripod Stand, Professional Travel DSLR Tripods Compatible with Canon iPhone, Max Load 15 LB
【Lightweight & Easy to Adjust】Upgraded trapezoidal flap lock tripod adjusted from 19.5" and 74" to meet different height…
As an affiliate, we earn on qualifying purchases.
As an affiliate, we earn on qualifying purchases.
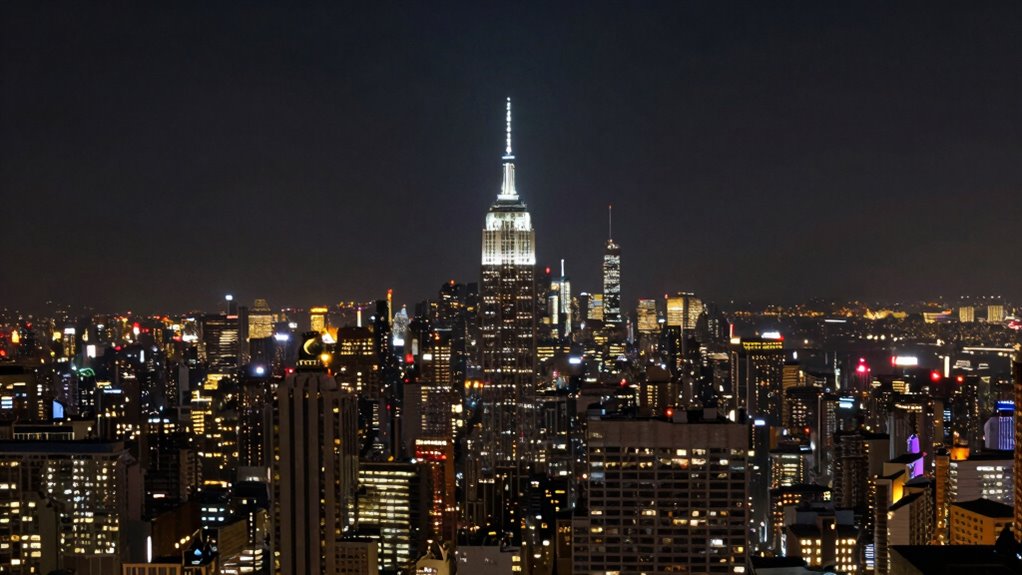
Is ISO Ruining Your Night Photos?

Have you ever wondered if your high ISO settings are ruining your night photos? The answer might involve more than just ISO. Your camera’s sensor size plays a big role—larger sensors gather more light, allowing you to keep ISO lower and reduce noise. Smaller sensors, like those in smartphones, often require higher ISO, which can lead to grainy images. Additionally, color calibration impacts how your camera processes low-light scenes. If your camera isn’t properly calibrated, colors can look off or muted, making it seem like noise or poor quality is ruining your shot. Instead of blindly cranking ISO, focus on your sensor size and guarantee proper color calibration. This approach helps you capture clearer, more vibrant night photos without unnecessary grain or color issues. Furthermore, understanding flywheel dynamics can enhance how you think about optimizing your camera settings for better performance. Additionally, utilizing contrast ratios can improve your low-light photography by ensuring a balanced representation of light and dark areas. Exploring digital concepts can further enhance your understanding of how to optimize low-light photography. Understanding current AI trends in photography could also provide innovative solutions for improving image quality in challenging conditions.

NexiGo N980P 1080P 60FPS Webcam with Microphone and Software Control, USB Computer Camera, Built-in Dual Noise Reduction Mics, 120° Wide-Angle for Zoom/Skype/FaceTime/Teams, PC Mac Laptop Desktop
【60FPS Smooth Streaming】Chat in full 1080p FHD at up to 60 frames per second with a smooth, fluid…
As an affiliate, we earn on qualifying purchases.
As an affiliate, we earn on qualifying purchases.
Why Cranking Up ISO Creates Grainy Night Shots
Cranking up your ISO setting often leads to grainy night shots because higher ISO amplifies the camera sensor’s signal, including noise. When you increase ISO, you’re boosting sensor sensitivity, which enhances the image’s brightness in low-light conditions. However, this also amplifies the inherent electronic noise within the sensor, resulting in grainy textures. To combat this, noise reduction techniques can help smooth out the grain, but they can also reduce detail if overused. The key is finding a balance—using the lowest ISO possible for your scene and relying on proper exposure settings. By understanding how ISO impacts sensor sensitivity and noise, you can avoid grainy images and achieve cleaner, sharper night photos.
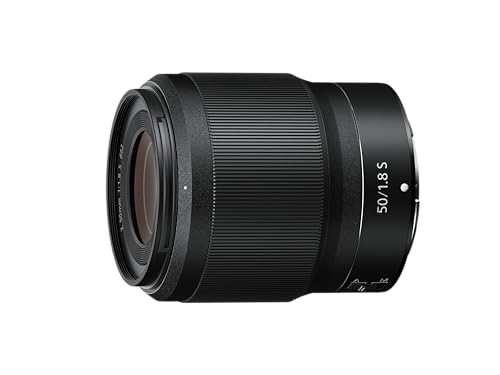
Nikon NIKKOR Z 50mm f/1.8 S | Premium large aperture prime lens (nifty fifty) for series mirrorless cameras | USA Model, Black
Fast 50mm prime for Z Mirrorless cameras
As an affiliate, we earn on qualifying purchases.
As an affiliate, we earn on qualifying purchases.
How to Brighten Night Photos Without Increasing ISO
To brighten your night photos without cranking up ISO, try using longer shutter speeds to let in more light. Open your aperture wider to maximize the amount of light reaching the sensor, and consider adding external light sources like a flashlight or lantern for extra illumination. These techniques help you achieve brighter images without sacrificing image quality. Additionally, ensuring your camera settings are optimized for low-light conditions can greatly enhance your results, especially when considering filter sizing/flow for your overall setup. Understanding home improvement fundamentals can also help you create ideal shooting environments for your photography.
Use Longer Shutter Speeds
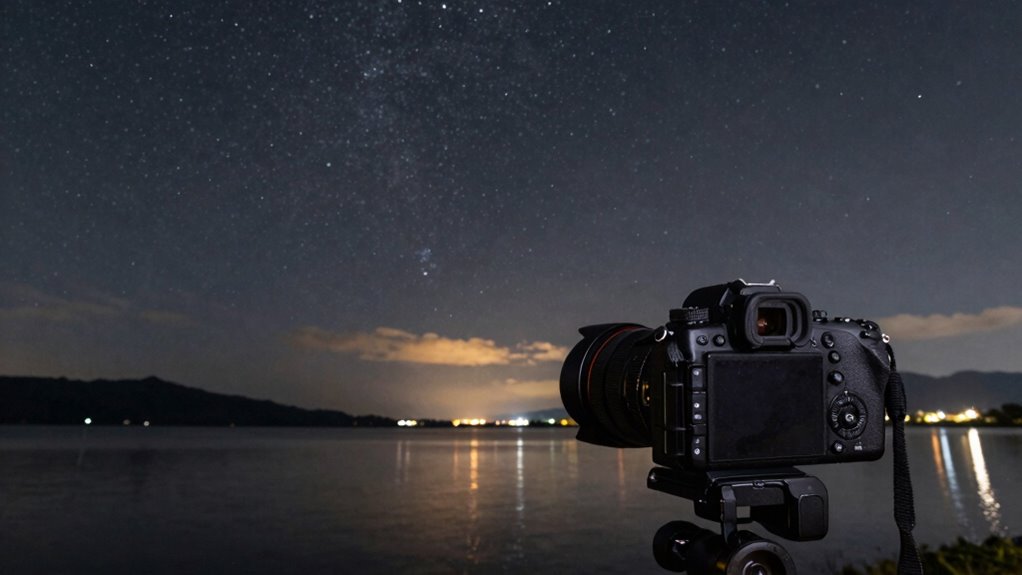
When photographing at night, using longer shutter speeds allows more light to hit your camera sensor, brightening your images without the need to boost ISO. This technique is effective because it lets you capture more detail in low-light conditions without increasing noise. To stabilize your camera during longer exposures, consider using a tripod or sturdy surface, which improves camera ergonomics and reduces blur. Proper stabilization is crucial for achieving clear images and minimizing shake during these extended exposures. Additionally, smart choices about your shooting environment can greatly enhance your results. Utilizing Milky Way photography techniques can also help you maximize the impact of your night shots. Keep in mind that robot mowers can be programmed to maintain your yard during optimal hours, allowing you to focus on your photography without worrying about lawn care. Lens filters, like neutral density filters, can help you control exposure times further, especially in brighter night scenes. Keep in mind that longer shutter speeds require steady handling to avoid motion blur. Experimenting with different shutter durations can help you find the perfect balance between brightness and sharpness, resulting in crisp, well-exposed night photos. Additionally, creating cozy spaces can enhance your shooting environment, making nighttime photography more enjoyable and productive.
Open Up Aperture Settings
Opening up your aperture is an effective way to brighten night photos without raising your ISO. A wider aperture lets in more light, reducing the need for higher ISO settings that can introduce noise. Use lens filters like neutral density filters to control exposure without sacrificing sharpness. Keep your camera steady and maintain tripod stability to prevent blur during longer exposures. If your lens has a wide maximum aperture, take advantage of it to gather more light naturally. Just remember, opening the aperture too much can cause a shallow depth of field, so choose your settings based on your desired focus area. By adjusting your aperture wisely, you’ll achieve brighter night photos with cleaner image quality and less noise.
Add External Light Sources
Adding external light sources can substantially brighten your night photos without increasing your ISO. By using artificial lighting or enhancing ambient illumination, you create more light in your scene, reducing noise and improving detail. Consider using portable LED lights, flashlights, or even streetlights to add targeted light. Reflectors and diffusers can also help bounce existing light onto your subject, softening shadows and evening out exposure. These techniques give you more control over exposure without sacrificing image quality.
| External Light Source | Best Use Case |
|---|---|
| Portable LED lights | Precise, adjustable illumination |
| Reflectors | Enhancing ambient illumination |
| Flashlights | Spotlighting specific areas |
| Streetlights | Natural ambient illumination |
| Diffusers | Softening artificial lighting |

2 Pack LED Photo Lighting kit with Stand 2800-6500K Dimmable Photoshoot Lights for Product Photography,12" Background Lights for Streaming,Video Recording, Food Picture,Content Creators
MULTIPLE COLOR TEMPERATURE & ADJUSTABLE BRIGHTNESS】There are 3 Color temperatures (2800K, 4800K & 6500K) which offer different lighting…
As an affiliate, we earn on qualifying purchases.
As an affiliate, we earn on qualifying purchases.
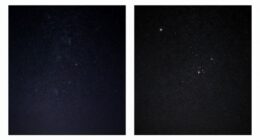
Best Camera Settings for Clear Night Photography
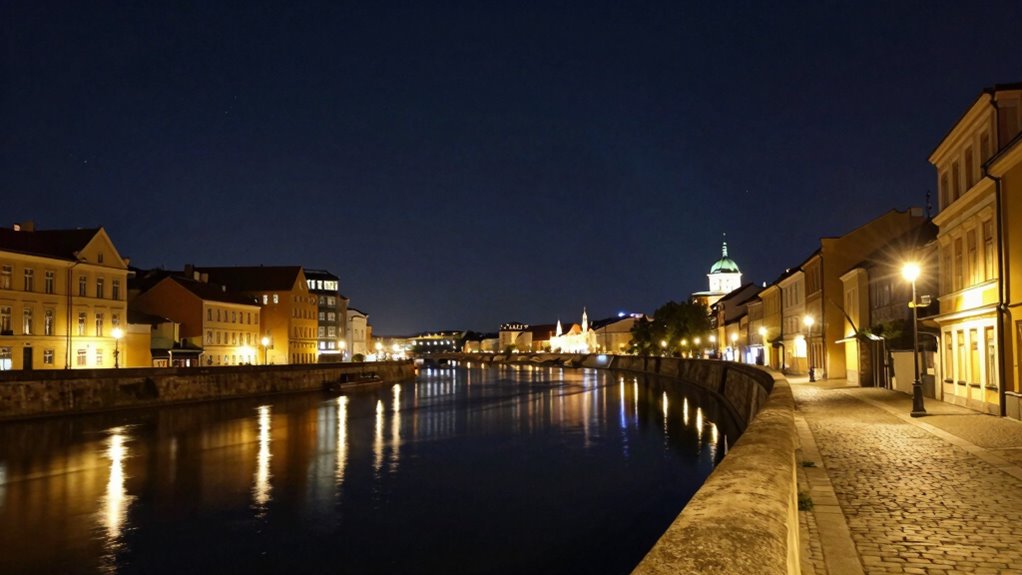
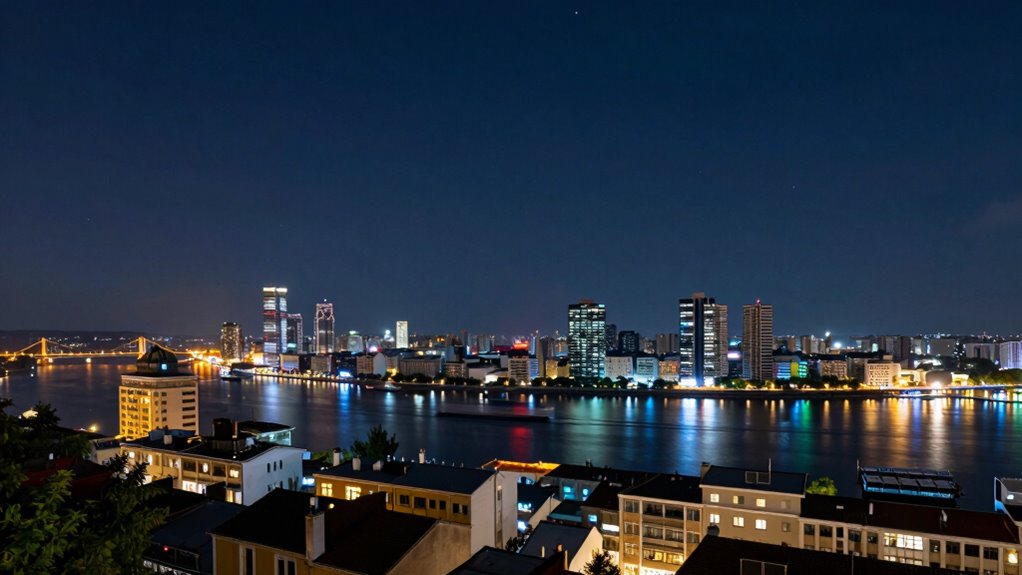
Achieving clear night photos hinges on selecting the right camera settings to capture enough light without introducing noise or blur. Start by using a wide-angle camera lens, which helps gather more light from the night sky. Keep your ISO low—around 800 or less—to minimize noise, especially since high ISO settings can make your photo grainy. Use a tripod to stabilize your camera and enable a slow shutter speed, typically between 10-30 seconds, to allow sufficient light to reach the sensor. Set your aperture wide open (f/2.8 or lower) to maximize light intake. These settings balance exposure and clarity, ensuring your night sky images are sharp, detailed, and free of unnecessary noise. Additionally, consider incorporating fire pits into your outdoor setup for added ambiance during nighttime photography sessions. Incorporating hydrating ingredients into your setup can enhance your overall experience by keeping your focus sharp and minimizing distractions.
Simple Techniques to Improve Your Night Shots
To improve your night shots, start by using lower ISO settings to reduce noise and keep your images crisp. Additionally, consider smart shopping techniques for camera accessories that can enhance your photography experience. Make sure to stabilize your camera with a tripod or steady surface to prevent blurriness, especially during long exposures. In the end, adjust your aperture to let in more light, which helps brighten your scene without sacrificing image quality. Additionally, consider early socialization practices that can enhance your ability to adapt to varying lighting conditions and environments. Understanding how light conditions affect exposure can also significantly enhance your photography skills. Engaging with fan culture can provide insights into how different environments and settings influence visual storytelling in your photography. Improving your skills in media literacy will help you better analyze and interpret the unique challenges of night photography.
Use Lower ISO Settings
Using lower ISO settings is one of the simplest ways to improve your night photos. Many ISO myths suggest cranking up the ISO for better low-light shots, but in night photography, high ISO often introduces unwanted noise. Lowering your ISO helps keep your images crisp and clean, revealing more detail and true colors. Additionally, incorporating interactive murals into your photography setup can create stunning visual effects in low light. Utilizing crystal glassware can also enhance the ambiance of your shooting environment, adding elegance to your compositions. To achieve stunning results, consider how gear care impacts your overall photography experience. Maintaining your equipment, including portable oil radiators, can ensure a comfortable shooting environment, which is essential for optimal performance. Understanding user consent management can also play a role in how you handle your photography data and settings.
Here are some quick tips to keep in mind:
- Use the lowest ISO your camera allows to minimize noise.
- Combine a tripod with low ISO for sharper images.
- Adjust your exposure time instead of increasing ISO to gather enough light.
Stabilize Your Camera Properly
A steady camera is essential for sharp night photos, especially since long exposures amplify even tiny movements. To achieve stability, use camera accessories like tripods, monopods, or sturdy surfaces to prevent shake. If you don’t have these, try shooting techniques such as bracing against a wall or resting your elbows on a stable surface. Also, enable your camera’s timer or remote shutter release to minimize vibrations caused by pressing the shutter button. Keep in mind, manual stabilization methods can be surprisingly effective when used correctly. Proper stabilization guarantees your camera stays still during long exposures, resulting in clear, crisp night shots. Mastering these techniques and using the right accessories will drastically improve your results and eliminate blurry photos caused by camera movement. Additionally, understanding filtration/suction basics can help you choose the right cleaning tech to keep your gear in top shape for optimal performance.
Adjust Aperture for Light
Adjusting your camera’s aperture is a straightforward way to control the amount of light entering your lens, which is essential for capturing clear night photos. Proper aperture control helps you balance light exposure without relying solely on high ISO settings. By opening the aperture wider (a lower f-number), you allow more light in, making your shots brighter and clearer. Conversely, narrowing the aperture (higher f-number) can reduce overexposure in bright points of your scene.
- Use a wide aperture (f/1.8 to f/4) for more light exposure in low-light conditions
- Avoid overly narrow apertures that cause diffraction and reduce sharpness
- Combine aperture control with longer shutter speeds for ideal night shots
Additionally, understanding regional flavors in your surroundings can inspire creative compositions in your night photography.
Post-Processing Tips for Sharper Night Photos
Post-processing is a crucial step in sharpening night photos, especially since low-light conditions often introduce noise and softness. Begin by cleaning your sensor to guarantee no dust or smudges compromise image clarity. Use noise reduction tools carefully—overdoing it can soften details, so find a balance. Sharpen your image selectively, focusing on key areas to enhance detail without creating artifacts. Color correction helps restore accurate tones that may have shifted in low light; adjusting white balance ensures natural-looking colors. After these edits, re-evaluate your photo for any remaining softness or noise. Remember, subtle adjustments often yield the best results. By maintaining a clean sensor and carefully fine-tuning color and sharpness, you’ll considerably improve the clarity of your night images.
Frequently Asked Questions
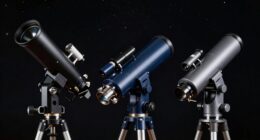
How Does Lens Choice Affect Night Photography Quality?
Your lens choice impacts night photography quality through lens sharpness and autofocus accuracy. A sharp lens guarantees clear, detailed images even in low light, while accurate autofocus helps you focus precisely on your subject. Fast lenses with wide apertures let in more light, improving overall image quality. Choosing a quality lens minimizes distortions and blurring, so you capture crisp, vibrant night shots with ease and confidence.
What Role Does Aperture Play in Low-Light Shots?
Aperture plays a vital role in low-light shots by controlling how much light reaches your camera sensor. Using wider aperture settings (like f/1.8 or f/2.8) allows more light in, making your photos brighter. It also affects depth of field, so a wider aperture creates a shallower depth of field, isolating your subject from the background. Adjust your aperture carefully to balance exposure and desired focus effects.
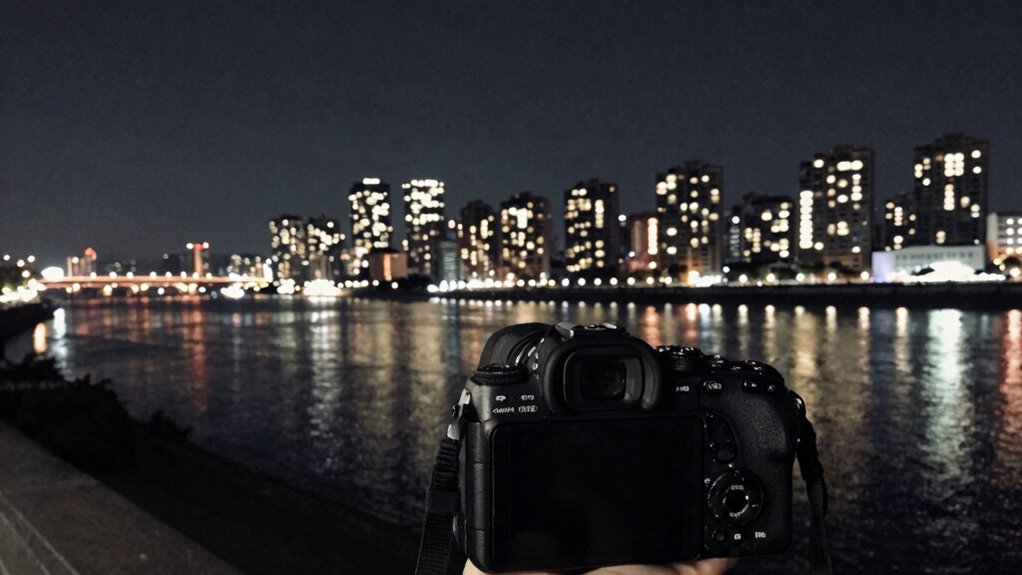
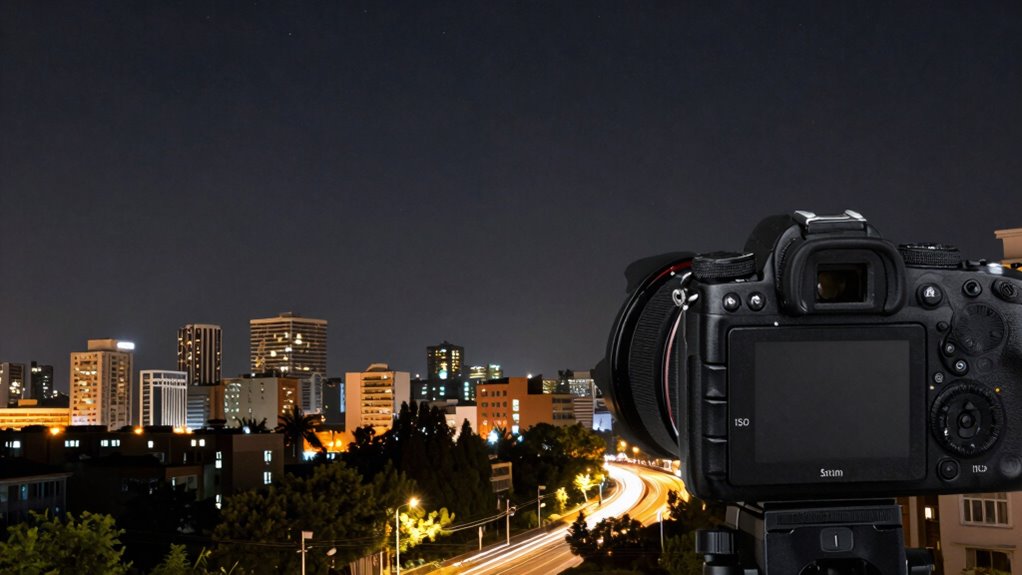
Can Using a Tripod Reduce Noise in Night Photos?
In the grand tapestry of night photography, using a tripod certainly helps reduce noise by allowing you to lower ISO and extend exposure times. Tripod stability guarantees sharp images and minimizes camera shake, which can contribute to graininess. Combine this with noise reduction techniques in post-processing for best results. Even if you’re capturing a cityscape or stars, a sturdy tripod makes a significant difference in achieving cleaner, clearer night shots.
Are There Specific Camera Brands Better for Night Photography?
Certain camera brands excel for night photography thanks to advanced sensor technology and strong brand ecosystems. Sony’s sensors, for example, deliver excellent low-light performance, while Canon and Nikon offer reliable options with great lens selections and user support. You benefit from their ecosystems with accessories and software tailored for night shots. Choose a brand that matches your style, budget, and desired sensor features, ensuring you get the best results for your night photography adventures.
How Does Sensor Size Impact Night Photo Clarity?
Sensor size considerably impacts night photo clarity, and larger sensors usually perform better because they capture more light, reducing noise. Sensor resolution matters too, but larger sensors with compatible high-resolution sensors deliver sharper images in low-light conditions. Smaller sensors often struggle with noise, even at low ISO settings. So, if you want clearer night shots, choose cameras with bigger sensors and compatible high-resolution sensors for ideal results.
Conclusion
Don’t let the ISO myth steal your night photography mojo. Remember, you don’t need a flash of lightning or a flashbulb to capture crisp, dazzling shots. With a few simple tweaks—lower ISO, steady hands, and clever post-processing—you’ll be turning night into day. Think of your camera as a trusty steed, ready to gallop through shadows and light up the darkness like a scene straight out of a vintage film. Keep experimenting and enjoy the journey!