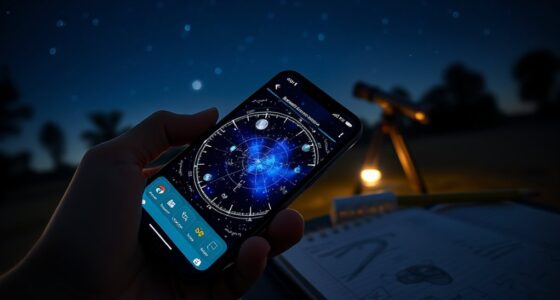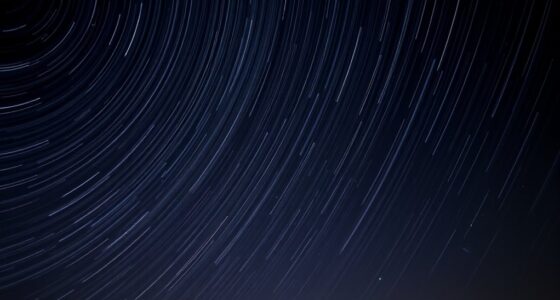

To understand the exposure triangle in astrophotography, you need to balance shutter speed, aperture, and ISO to capture enough light without causing star trails or excessive noise. Use a wide aperture and longer shutter speeds to gather more light, but keep exposure times short enough to prevent star movement. Adjust ISO carefully to boost sensitivity without adding too much noise. Mastering these settings helps you take clearer, more detailed night sky images; exploring further will deepen your understanding.
Key Takeaways
- The exposure triangle includes shutter speed, aperture, and ISO, which work together to control light in astrophotography.
- Longer shutter speeds and wider apertures allow more light, revealing faint stars and celestial details.
- Keeping ISO low reduces noise, maintaining image quality while adjusting other settings for proper exposure.
- Balancing the three settings prevents star trails, overexposure, or dull images in low-light conditions.
- Practice and understanding focal length help optimize the triangle for sharp, well-exposed night sky images.
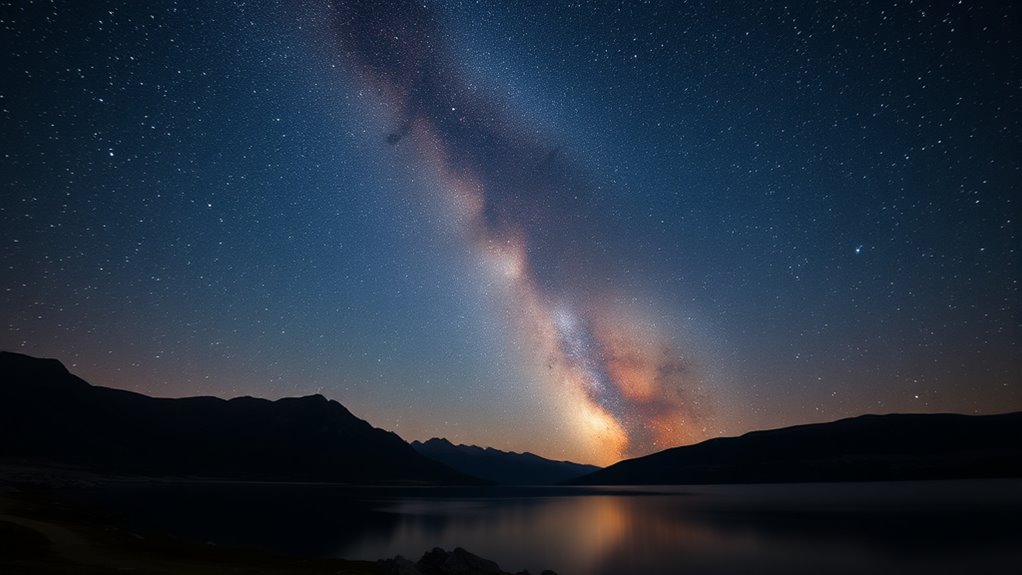
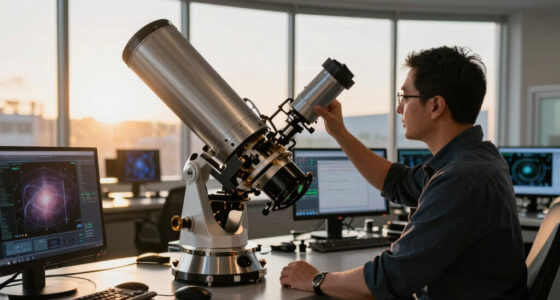
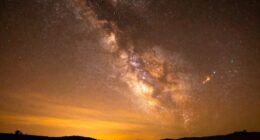
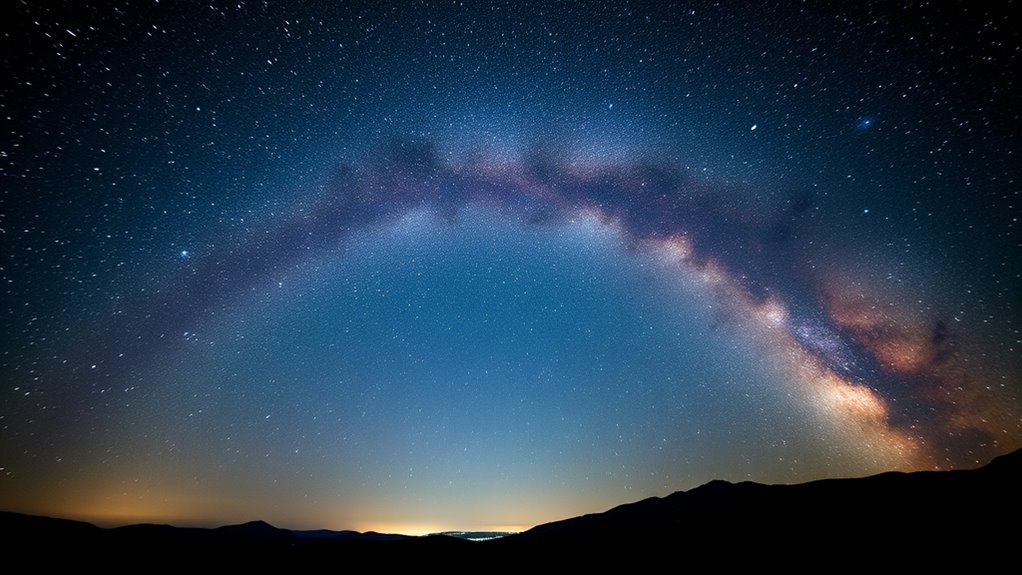
The exposure triangle is a fundamental concept in photography that helps you understand how three key settings—shutter speed, aperture, and ISO—work together to create a well-exposed image. When it comes to astrophotography, mastering this triangle is essential because you’re dealing with low-light conditions and need precise light management. Your camera settings directly influence how much light your sensor captures, affecting the brightness, sharpness, and detail of the stars and night sky. In astrophotography, light management is crucial. You want to gather enough light to reveal faint stars and celestial details without overexposing the image. To do this, you’ll primarily adjust your shutter speed and aperture, with ISO playing a supporting role. A longer shutter speed allows more light to hit the sensor, making faint objects more visible. However, too long a exposure can cause star trails due to Earth’s rotation, so you’ll need to find a balance based on your focal length and camera stability. Your aperture, which controls how wide the lens opens, also plays an important role. A wider aperture (smaller f-number) lets in more light, helping you capture brighter images in dark conditions. But keep in mind that a very wide aperture can reduce depth of field and introduce optical aberrations, so choose an ideal setting for sharpness and exposure. Additionally, understanding the impact of camera technology on your images can help you optimize your settings further. ISO settings are the least influential but still significant. Increasing ISO makes your camera sensor more sensitive to light, allowing you to shoot at faster shutter speeds or smaller apertures. However, higher ISO introduces noise, which can obscure faint details in your astrophotos. The key is to set the ISO as low as possible while still achieving a well-exposed image, then adjust shutter speed and aperture accordingly. Your goal is to manage these camera settings synergistically: a wider aperture and longer exposure with a low ISO usually produce the best results. Understanding light management within the constraints of your camera settings enables you to capture stunning night sky images. It’s a delicate balance—too much exposure can wash out stars, while too little leaves your image dull and underexposed. Practice adjusting these settings in different conditions, and pay attention to how each change impacts the overall exposure. Over time, you’ll develop an intuitive sense for how to manipulate your camera settings effectively, helping you create clear, detailed astrophotos that showcase the beauty of the night sky.
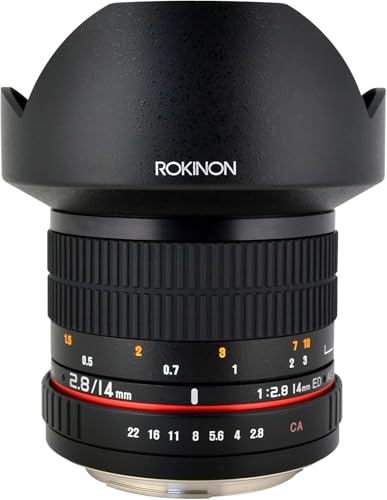
Rokinon 14mm f/2.8 IF ED Super Lens for Canon EF
Ultra wide-angle 14mm lens with an approximately 90� angle of view using an APS-C camera, for dramatic effects
As an affiliate, we earn on qualifying purchases.
As an affiliate, we earn on qualifying purchases.
Frequently Asked Questions
How Does ISO Affect Star Trailing in Astrophotography?
Increasing ISO makes your sensor more sensitive, which brightens your stars but also increases sensor noise, potentially causing star trailing. Higher ISO can help you capture faint stars faster, reducing trailing, but the added noise may obscure details. Conversely, lowering ISO minimizes sensor noise and star trailing but requires longer exposures, risking star trails from Earth’s rotation. Balance ISO carefully to maintain image brightness without sacrificing clarity.
What Is the Optimal Exposure Time for Capturing Deep-Sky Objects?
Think of your camera as a delicate dance partner in the vast cosmic ballroom. To capture deep-sky objects, aim for an exposure time around 30 seconds to 2 minutes, balancing enough light without inviting star trails or sensor noise. Longer exposures invite light pollution to drown your image, while shorter ones might miss faint details. Use stacking techniques to improve clarity, ensuring your celestial portrait remains sharp and luminous.
How Do Weather Conditions Influence Exposure Settings?
Weather conditions substantially influence your exposure settings. Temperature fluctuations can cause your camera’s sensor to produce more noise, so you might need shorter exposures or higher ISO. Humidity effects, like dew or fog, can reduce clarity, requiring adjustments to exposure time or using protective gear. Keep an eye on the forecast and adapt your settings accordingly to guarantee clear, sharp images despite changing weather conditions.
Can Exposure Triangle Principles Be Applied to Night Videography?
Imagine your camera as a storyteller capturing quiet night scenes. Yes, you can apply the exposure triangle principles to night videography. Adjust your camera settings to balance ISO, shutter speed, and aperture, helping you control motion blur and light sensitivity. Just like painting with light in darkness, these settings let you craft vivid videos of the night sky, ensuring stars sparkle without turning into streaks or blurs.
How to Balance Aperture and ISO When Using a Fast Lens?
When using a fast lens, you should balance lens aperture and ISO sensitivity by opening the aperture wide to gather more light without overexposing your shot. Keep ISO sensitivity as low as possible to minimize noise. Adjust the aperture based on your scene’s brightness, then fine-tune ISO to achieve proper exposure. This balance guarantees clear, detailed images with minimal grain, especially in low-light astrophotography settings.

Sky-Watcher Star Adventurer 2i Pro Pack – Motorized DSLR Night Sky Tracker Equatorial Mount for Portable Nightscapes, Time-Lapse and Panoramas – Wi-Fi App Camera Control – Long Exposure (S20512)
Portable nightscape tracking platform: Motorized portable tracking platform perfect for capturing incredible detail of the Milky Way, eclipses…
As an affiliate, we earn on qualifying purchases.
As an affiliate, we earn on qualifying purchases.
Conclusion
Mastering the exposure triangle is like tuning a delicate instrument; when all parts harmonize, your astrophotography captures the universe’s symphony in stunning detail. As you experiment with aperture, shutter speed, and ISO, you’ll learn to paint the night sky’s story with precision and passion. Remember, each adjustment is a brushstroke, shaping a masterpiece that reveals the cosmos’s hidden wonders. Embrace the dance, and watch your astrophotography reach new celestial heights.
Sky-Watcher Star Adventurer 2i Pro Pack – Motorized DSLR Night Sky Tracker Equatorial Mount for Portable Nightscapes, Time-Lapse and Panoramas – Wi-Fi App Camera Control – Long Exposure (S20512)
Portable nightscape tracking platform: Motorized portable tracking platform perfect for capturing incredible detail of the Milky Way, eclipses…
As an affiliate, we earn on qualifying purchases.
As an affiliate, we earn on qualifying purchases.

Canon RF50mm F1.8 STM Lens, Mirrorless Lens, Fixed Focal Length, Compatible with EOS R Series Mirrorless Cameras, Compact, Lightweight Design, Portraits, Landscapes, Photography, Black
Compact, Lightweight Fixed 50 millimeter Focal Length Lens.
As an affiliate, we earn on qualifying purchases.
As an affiliate, we earn on qualifying purchases.