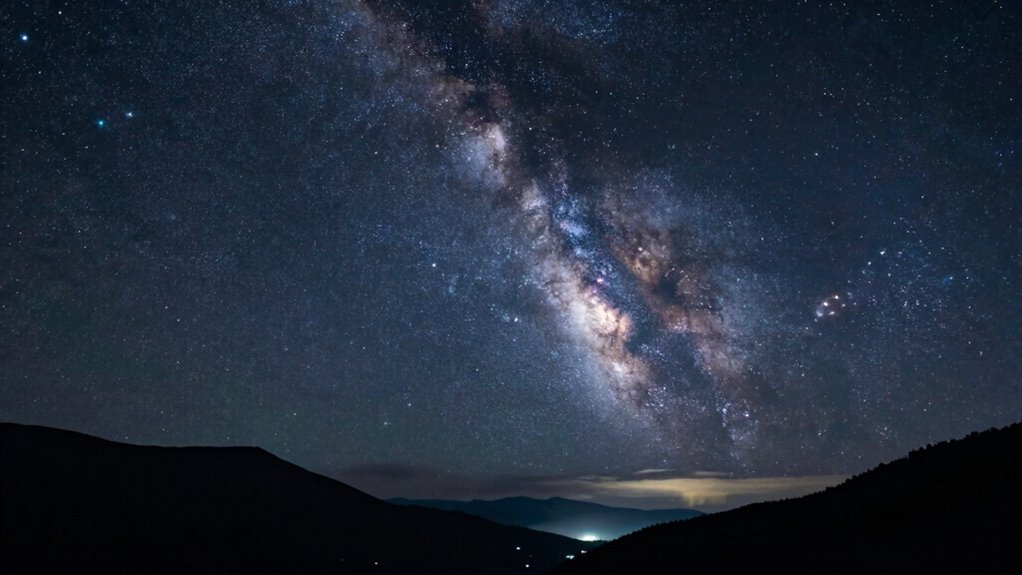
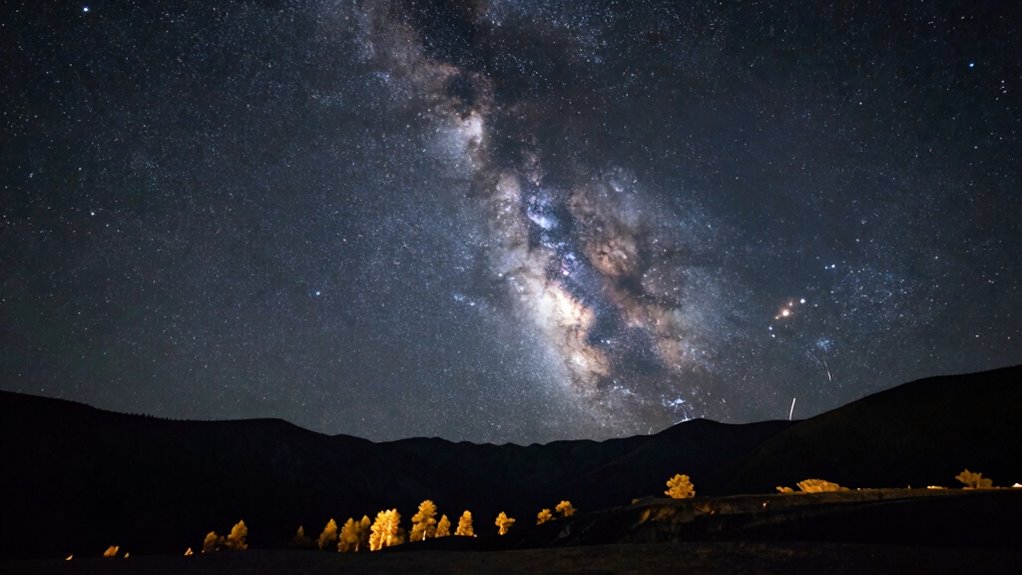
To capture the Milky Way clearly, use a wide aperture (f/2.8) to let in more light and select a higher ISO (around 1600-3200) to brighten faint stars, but avoid excessive noise. Set your shutter speed between 20-30 seconds to prevent star trails while preserving star sharpness. Keeping your camera steady on a tripod is essential, and focusing manually on a distant light ensures sharp images. Keep exploring for deeper tips on perfecting your shots.
Key Takeaways
- Use 15-30 second exposures to balance star sharpness and prevent star trail overexposure.
- Set a wide aperture (f/2.8 or lower) to maximize light intake and improve visibility of faint Milky Way details.
- Choose ISO 1600-3200 to enhance brightness while minimizing noise for clearer star and galaxy images.
- Focus manually on a distant light or star for pinpoint accuracy, ensuring sharpness throughout the shot.
- Utilize a sturdy tripod and intervalometer to maintain stability and consistency for multiple, high-quality shots.

Sky-Watcher Star Adventurer Photo Kit – Motorized DSLR Night Sky Tracking Mount For Nightscapes, Time-lapse, and Panoramas
NEW FEATURES: The new, upgraded Star Adventurer 2i includes Wi-Fi, allowing for smartphone control using Sky-Watcher’s free SAM…
As an affiliate, we earn on qualifying purchases.
As an affiliate, we earn on qualifying purchases.
Understanding the Key Camera Settings for Milky Way Photography
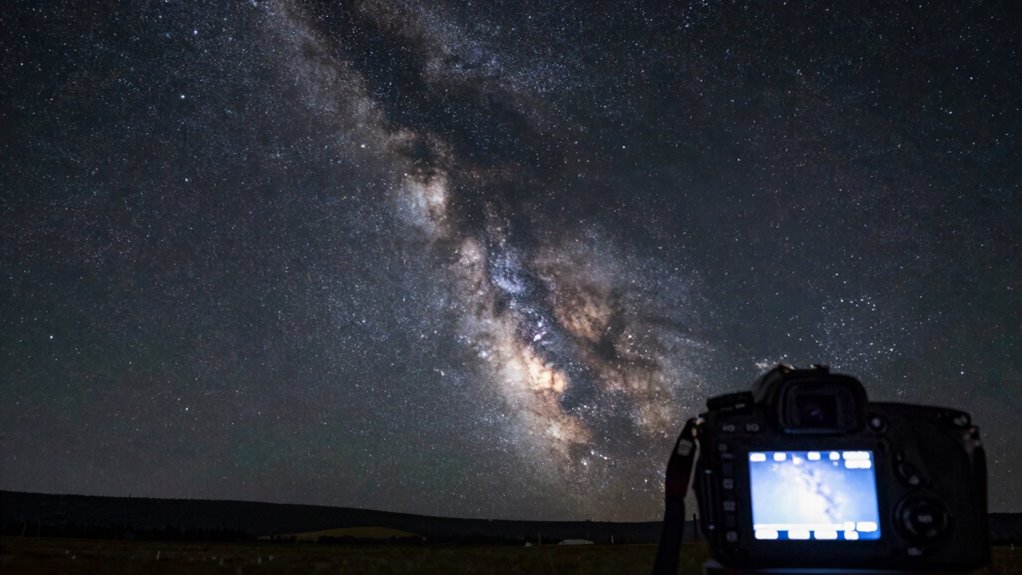
To capture stunning images of the Milky Way, you need to understand the essential camera settings that bring the night sky to life. Mastering star trail techniques involves using long exposures, typically between 15 to 30 seconds, to create smooth, continuous trails without overexposing the sky. Keep your equipment well-maintained—clean lenses and functioning batteries ensure sharp images and reliable performance during your shoots. Use a sturdy tripod to prevent camera shake, and consider intervalometers for multiple shots. Adjust focus carefully on a distant light or star, and keep your camera’s settings consistent to avoid flickering in star trails. Proper equipment upkeep and correct settings are key to capturing crisp, breathtaking Milky Way images. Additionally, high contrast ratios can enhance the clarity of the stars against the night sky.
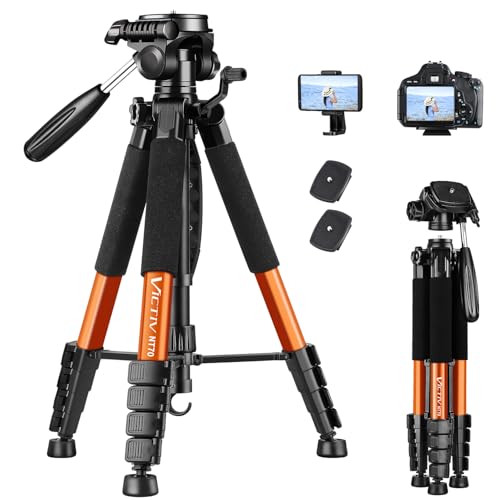
Victiv Tripod 74-Camera-Tripod for Cell Phone, Aluminum Professional Heavy Duty Camera Tripod Stand, Tripod for Camera DSLR SLR with Carry Bag, Compatible with Canon Nikon iPhone
【74 Inch Tall Tripod and Compact Tripod】 This tall camera tripod has a height adjustment range of 19-74…
As an affiliate, we earn on qualifying purchases.
As an affiliate, we earn on qualifying purchases.
Why Aperture and ISO Are Crucial for Night Sky Shots
Why Aperture and ISO Are Crucial for Night Sky Shots
Aperture and ISO settings are essential because they control how much light your camera captures during night sky shots. A wider aperture allows more light to enter, enhancing your aperture flexibility for brighter images. ISO sensitivity determines how your camera amplifies this light; higher ISO settings make faint stars and the Milky Way more visible. Balancing these settings helps you avoid noise while capturing enough detail. Use the table below to see how different combinations affect your shot:
| Aperture | ISO Sensitivity |
|---|---|
| Wide (f/2.8) | High (e.g., 3200) |
| Narrow (f/5.6) | Low (e.g., 800) |
| Wide (f/2.8) | Low (e.g., 800) |
| Narrow (f/5.6) | High (e.g., 3200) |
Adjusting these settings based on your environment guarantees vibrant, clear night sky images. Understanding content formats can help you effectively communicate the intricacies of photography to your audience.

JJC Intervalometer Timer Remote Shutter Release Time Laspe for Panasonic S9 and G100D Cameras, for Long-Exposure Timer Shooting Photography
Compact Size:12.1x4x2.1cm, 90cm/2.95ft long wired remote controller, powered by 2 AAA Alkaline batteries
As an affiliate, we earn on qualifying purchases.
As an affiliate, we earn on qualifying purchases.
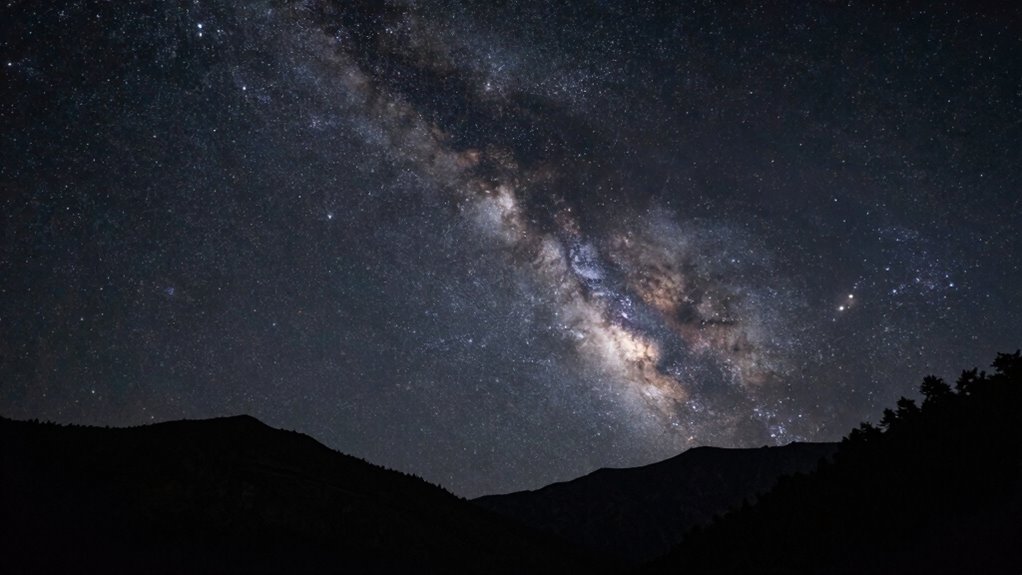
How Shutter Speed Affects Your Milky Way Images
Shutter speed plays a crucial role in capturing the stunning details of the Milky Way, as it determines how long your camera’s sensor is exposed to light. The right shutter speed depends on your lens selection and desired star trail effects. For sharp, pinpoint stars, use a fast shutter speed, typically around 20-30 seconds, to prevent star trails caused by Earth’s rotation. If you’re aiming for star trails, extend the exposure time, but keep in mind that longer exposures can introduce noise. Your choice of lens, especially its focal length, influences this decision—wider lenses allow longer exposures without trails. Adjusting shutter speed properly ensures you capture the intricate details of the Milky Way while controlling star movement and trail effects for stunning night sky images.

CZQC Follow Focus Zoom Lever 2PCS Adjustable Manual Flexible Focus Gear Ring Belt and Handle for DSLR Camera Zoom Lens
Material: High-quality aluminum alloy handle + ABS, sturdy and durable.
As an affiliate, we earn on qualifying purchases.
As an affiliate, we earn on qualifying purchases.
Tips to Balance Exposure and Minimize Noise in Night Photos
Ever wondered how to get a bright, detailed night sky image without the dreaded noise? To balance exposure and minimize noise, start by using star trail techniques—long exposures that spread out light over time, reducing the need for high ISO. Keep your ISO low, around 1600 or less, to prevent noise from creeping in. Use a wide aperture to gather more light efficiently. Proper foreground lighting is essential; add gentle fill light or use landscape lights to brighten nearby elements without overexposing the sky. Bracketing exposures and blending them in post-processing can also help achieve the right balance. Remember, the goal is to expose enough for detail without pushing your camera’s limits, which keeps noise at bay and results in cleaner, sharper night photos. Additionally, consider incorporating eco-friendly practices in your photography setup to enhance both your images and the environment.
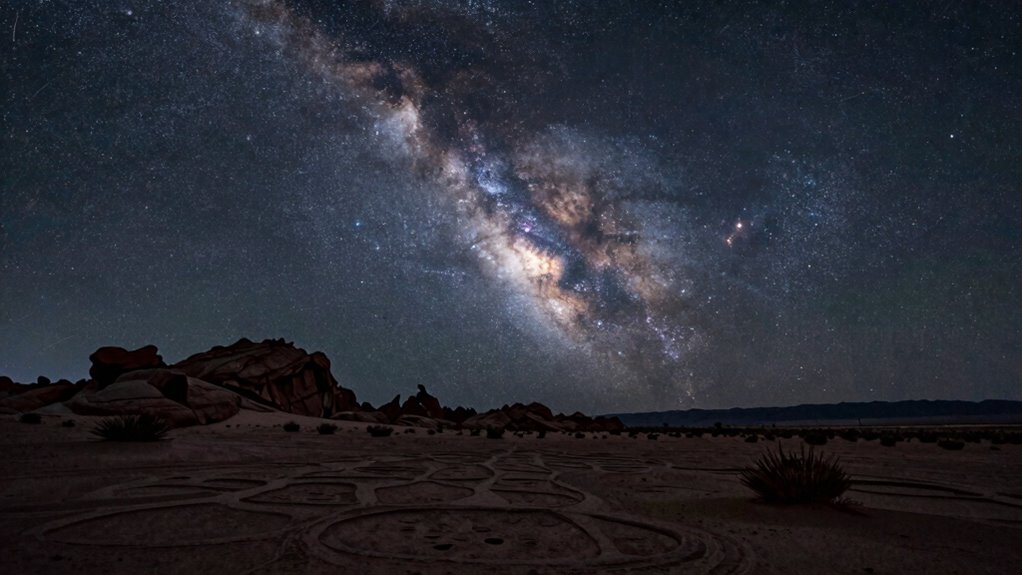
Milky Way Photography Settings Checklist for Stunning Shots
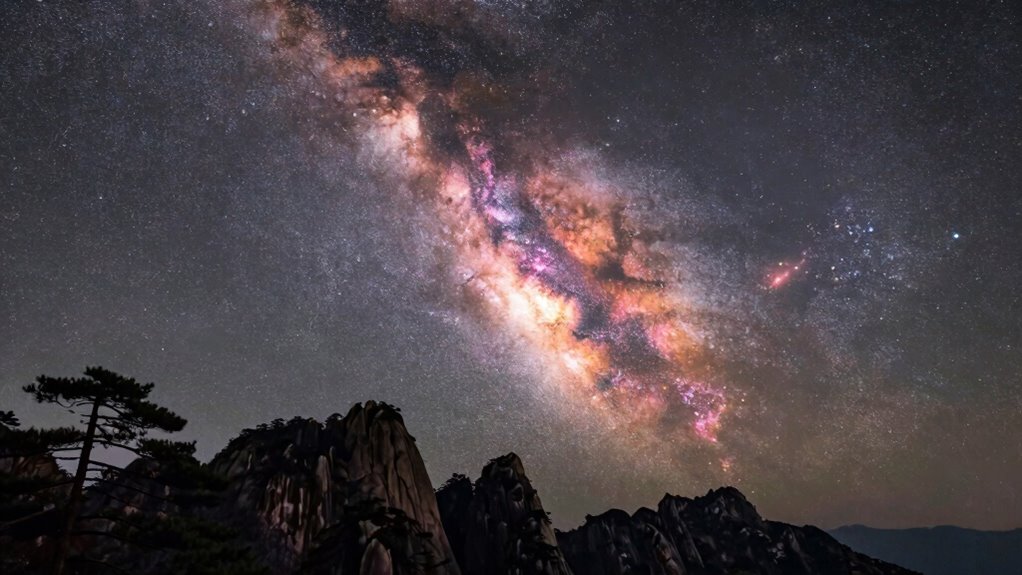
To capture the stunning glow of the Milky Way, setting your camera with the right parameters is key. Use a wide-angle lens with a fast aperture (f/2.8 or lower) to gather maximum light. Set your ISO between 1600 and 3200, balancing brightness and noise. Keep your shutter speed around 20-30 seconds to prevent star trails unless you’re intentionally using star trail techniques; in that case, extend exposure. To reduce light pollution, shoot from dark sky locations and consider using light pollution mitigation filters. Focus manually on a distant star or distant light source to ensure sharpness. Keep your camera steady on a tripod, and use a remote shutter release or timer to avoid vibrations. These settings help produce crisp, vibrant Milky Way shots with minimal noise. Additionally, understanding the best times to shoot can significantly enhance your astrophotography experience.
Frequently Asked Questions
What Lens Focal Length Works Best for Milky Way Photography?
For Milky Way photography, a lens with a focal length between 14mm and 24mm works best, as it captures a broad sky view. Make sure your lens is compatible with your camera and offers a wide aperture, ideally f/2.8 or lower, to gather more light. This combination allows you to shoot stunning, detailed nightscapes with minimal star trails, making your images sharp and vibrant.
How Does Moon Phase Impact Optimal Camera Settings?
The moon phase can make or break your Milky Way shot. During a new moon, you get the dark skies needed for long exposures, so dial down ISO and keep your shutter open longer. A bright moon, especially during full moon, increases light pollution, so you’ll want to boost your ISO slightly or shorten exposure times. Adjust your settings accordingly to avoid washing out the stars and keep your shots sharp.
Can I Shoot Milky Way With a Smartphone?
Yes, you can shoot the Milky Way with a smartphone, but results vary. Use a manual mode if available, set a long exposure, and keep your phone steady. Focus on capturing vibrant galaxy colors and star trails, which are best during a new moon. Apps can enhance your photos, helping you highlight the galaxy’s hues and star trails, making your shots more stunning and detailed despite smartphone limitations.
What Post-Processing Tips Enhance Night Sky Images?
Imagine you’re a painter refining a starry night—post-processing can bring your sky to life. Use star trail techniques to add motion, and reduce light pollution to enhance clarity. Boost contrast and sharpness to make stars pop, and fine-tune colors for depth. Noise reduction is essential for crisp images, while adjusting exposure and highlights can reveal hidden details. These steps help turn your raw shot into a stunning cosmic masterpiece.
How Important Is Camera Sensor Size for Milky Way Shots?
Sensor size plays a pivotal role in Milky Way shots because larger sensors capture more light, resulting in brighter, clearer images with better detail. When comparing sensors, a bigger sensor like full-frame outperforms smaller ones, especially in low-light conditions. Camera sensor technology has advanced, improving noise reduction and dynamic range. So, choosing a camera with a larger sensor enhances your ability to capture stunning night sky images with rich detail and minimal noise.
Conclusion
Mastering your Milky Way is all about mindful settings and meticulous adjustments. By balancing brightness, boosting brilliance, and minimizing noise, you’ll make magic in the night sky. Remember these tips, trust your tools, and take your time to tweak your settings. With patience and practice, perfect photos are within your grasp. Go grab your gear, get under the galaxy, and let your stellar shots tell a stunning story of the starry sky!