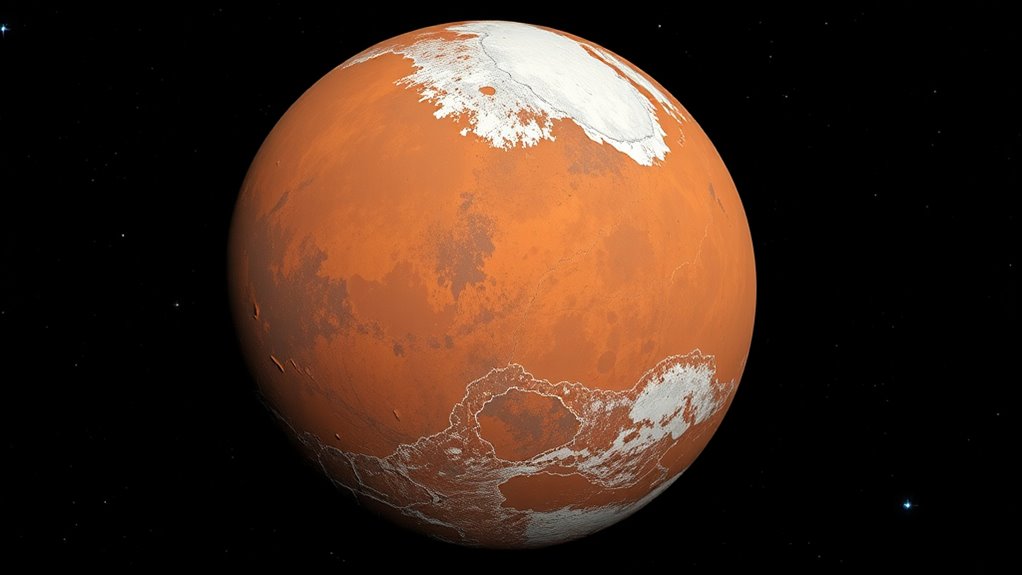
During Mars opposition, harness the increased brightness and closeness by using a high-quality telescope or camera with a focal length of at least 800mm for detailed shots. Pick a night with clear, steady atmospheric conditions to avoid turbulence and maximize sharpness. Capture many short video clips to create stacked images that reveal surface features. Practice and refine your techniques over time, and if you keep exploring, you’ll discover even more tips for stunning red planet images.

Prime made for students and young adults
- Fast, free delivery for dorm and study essentials
- Prime Video and Amazon Music included
- Member-only deals
Key Takeaways
- Use a telescope with high zoom (800mm+ focal length) and a stable mount for detailed planetary images.
- Capture multiple short video sequences at high frame rates during clear, stable nights for best results.
- Research Mars’s current surface features to plan focus points and improve imaging accuracy.
- Apply stacking and sharpening software during post-processing to enhance surface details and reduce noise.
- Check weather conditions and planetary opposition timings to optimize imaging sessions and maximize visibility.
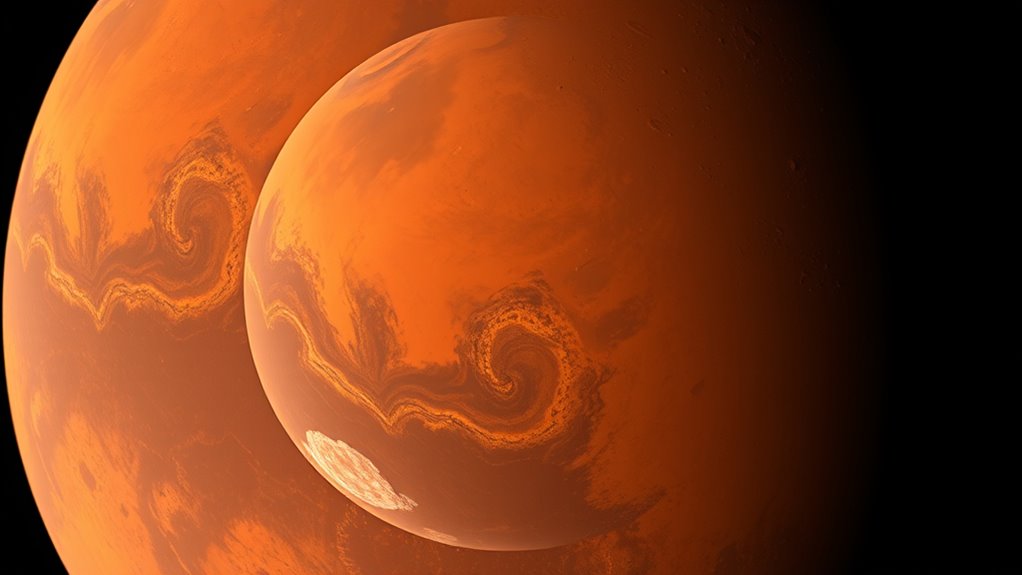
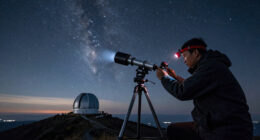
When Mars reaches opposition, it appears larger and brighter in the night sky, making it the ideal time for amateur astronomers and photographers to capture stunning images. This is your chance to get detailed shots of the Red Planet, revealing its surface features and atmospheric details. To do so effectively, understanding planetary imaging and how to maximize your equipment’s potential is essential. Start by selecting a telescope or a camera with a good zoom; a high-quality telescope with a stable mount will help you achieve sharper images. The key is to get as close as possible to the planet’s surface details, so consider using a focal length of at least 800mm or higher.
Preparation is vital. Before the opposition, research the current features visible on Mars, such as polar ice caps, dark markings, and surface ridges. Knowing what to look for will help you plan your sessions and focus your imaging efforts. During your shoot, pay attention to atmospheric conditions. Clear, stable nights with minimal turbulence will give you sharper images, so check weather forecasts carefully. Use a planetary camera or a dedicated astrophotography setup that allows you to capture video sequences. This approach enables you to stack multiple frames later, reducing noise and enhancing detail. Additionally, understanding atmospheric turbulence can help you choose the best moments for imaging.
When capturing images of Mars, frame the planet carefully in your viewfinder or camera software. Use a high frame rate to record short videos—this technique, called planetary imaging, lets you select the best frames for stacking. The goal is to freeze atmospheric turbulence by capturing thousands of frames, then processing them with stacking software to sharpen details of the Mars surface. Focus precisely, as even slight deviations can blur surface features like craters, valleys, and surface markings. Experiment with different exposure times; too long, and you might overexpose bright features, too short, and you’ll miss surface details.
Post-processing is where planetary imaging truly shines. Use stacking and sharpening tools to bring out surface features with clarity. Adjust contrast and brightness to highlight surface variations and atmospheric details. Don’t be discouraged if your initial images don’t meet your expectations—practice, patience, and refining your techniques will improve your results over time.
high focal length telescope for planetary imaging
As an affiliate, we earn on qualifying purchases.
As an affiliate, we earn on qualifying purchases.
Frequently Asked Questions
What Equipment Is Best for Capturing Detailed Images of Mars?
You’ll want a DSLR or mirrorless camera paired with a powerful telephoto lens, ideally 300mm or longer, to capture detailed images of Mars. Use camera stabilization, like a sturdy tripod or image stabilization features, to prevent blurring. Set a high ISO and fast shutter speed to freeze planetary motion. This combination guarantees sharp, detailed shots, making your Mars photos stand out during opposition.
How Does Atmospheric Interference Affect Mars Photography?
Atmospheric interference causes atmospheric distortion, which can blur and distort your images of Mars, especially when viewing from areas with high light pollution. Light pollution from city lights hampers your ability to capture clear, detailed photos. To minimize these issues, choose a dark sky location, use appropriate filters, and timing your shots when atmospheric conditions are stable. This helps you get sharper, more vivid images of the Red Planet.
Can Amateur Astronomers Achieve Professional-Quality Mars Images?
You can achieve professional-quality Mars images by mastering amateur astrophotography techniques, even with atmospheric conditions affecting Mars. For example, a hobbyist used stacking and filtering to enhance detail despite turbulence. While atmospheric interference can limit clarity, careful planning—like shooting during ideal opposition—and advanced processing tools enable you to capture stunning, detailed images of Mars. With patience and proper technique, your photos can rival those taken by professionals.
What Post-Processing Techniques Improve Mars Photographs?
To improve your Mars photographs, focus on post-processing techniques like color correction to enhance true hues and detail enhancement to bring out surface features. Use software like Adobe Photoshop or GIMP to adjust contrast, sharpness, and color balance. Carefully apply these edits to avoid overprocessing, ensuring your images look natural and detailed. These techniques help you create striking, professional-quality images that truly capture the Red Planet’s beauty.
When Is the Optimal Time During Opposition to Photograph Mars?
The best time to photograph Mars is during the tight planetary alignment at opposition, when the planet appears gigantic in your sky. You should target the viewing window that spans a few days before and after opposition, as Mars shines brightest and details are most vivid. During this period, your chances of capturing stunning images skyrocket, making it the perfect moment to seize the opportunity before the planet begins its retreat.
planetary astrophotography camera
As an affiliate, we earn on qualifying purchases.
As an affiliate, we earn on qualifying purchases.
Conclusion
Now that you know the secrets to shooting Mars at opposition, go grasp this golden glow and get great shots. With patience, preparation, and a bit of persistence, you’ll produce powerful pictures that pop with planetary perfection. Don’t forget to focus, filter, and frame your focus—your fabulous, fiery, red planet awaits your skilled shot. So seize the spectacle, stay steadfast, and showcase your stellar skills—success is just a snapshot away!
telescope stable mount for astrophotography
As an affiliate, we earn on qualifying purchases.
As an affiliate, we earn on qualifying purchases.
As an affiliate, we earn on qualifying purchases.
Halloween Picks
halloween
As an affiliate, we earn on qualifying purchases.