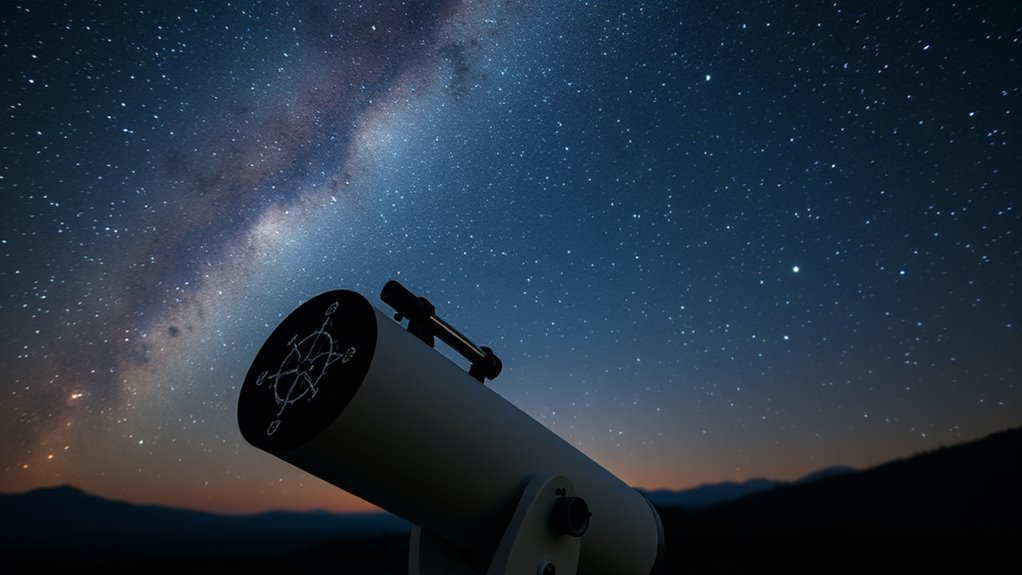

All Star Polar Alignment is a quick and accurate method for aligning your telescope mount with Earth’s rotational axis using a bright star near the celestial pole. It works by centering a single star in your polar scope and making fine adjustments, often with the help of software tools that guide you through the process. This approach is suitable for portable setups and offers precise tracking for astrophotography. If you want to master the details, there’s more to explore below.
Key Takeaways
- All Star Polar Alignment simplifies polar alignment by using a bright star near the celestial pole without locating a specific star.
- Proper setup involves leveling the mount, calibrating the polar scope, and selecting suitable stars for alignment.
- Software tools can enhance accuracy, guide star selection, and streamline the alignment process for beginners and experts.
- Regular verification and fine-tuning of alignment points help maintain precise tracking during astrophotography sessions.
- This method offers high accuracy, is portable, and ideal for fieldwork, providing reliable mount alignment regardless of environment.

Celestron 94224 CG-5/AVX/CGEM Polar Telescope Finderscope, Black
POLAR ALIGN YOUR CELESTRON GERMAN EQUATORIAL MOUNT: Compatible with Celestron CGEM, Advanced VX, and CG-5 equatorial mounts.
As an affiliate, we earn on qualifying purchases.
As an affiliate, we earn on qualifying purchases.
What Is All Star Polar Alignment and How Does It Work?

Have you ever wondered how astronomers precisely aim their telescopes at celestial objects? All Star Polar Alignment makes this possible without needing to locate a specific star. You start by using a polar scope, which helps you align your mount with the Earth’s rotational axis. Unlike traditional methods, this technique relies on star tracking rather than pinpointing a single star. You position your mount so the polar scope’s reticle lines up with the North Celestial Pole or South Celestial Pole, depending on your hemisphere. Once aligned, the mount can accurately follow stars across the sky through star tracking. This method simplifies polar alignment, especially for beginners, and improves tracking accuracy for long-exposure astrophotography. It’s a reliable way to keep your telescope precisely pointed at celestial objects. Proper alignment practices are essential for achieving optimal tracking and image quality.

Astromania Polar Alignment Scope for EQ-5, Quickly and Easily Align Your Equatorial Mount with The North Celestial Polar – The Foundations for Successful Astrophotography
Full metal; Good alignment of the mount with the North Celestial Pole can be achieved in a short…
As an affiliate, we earn on qualifying purchases.
As an affiliate, we earn on qualifying purchases.
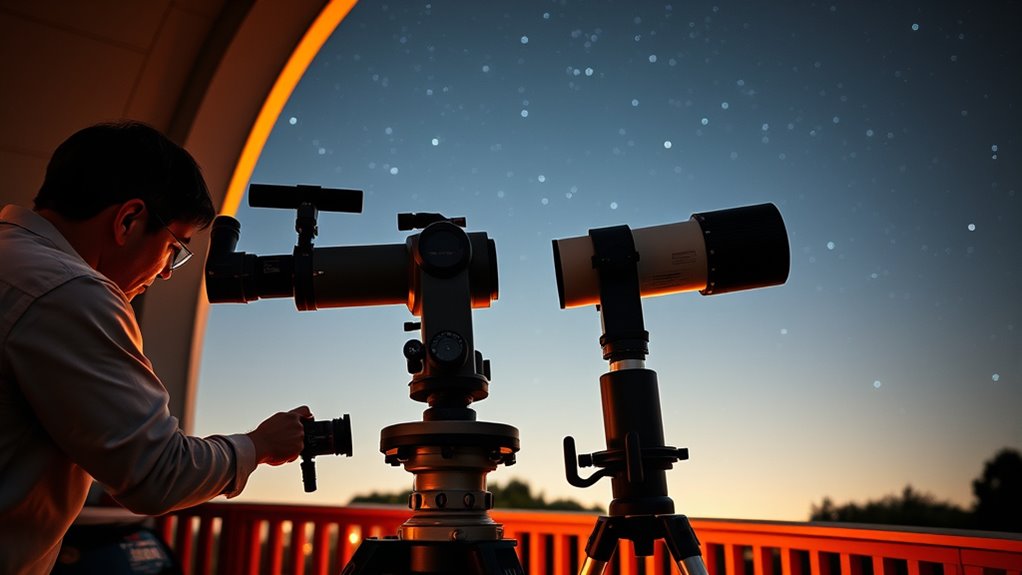
What Equipment Do I Need to Perform All Star Polar Alignment?

To perform All Star Polar Alignment effectively, you’ll need some essential tools to guide your setup. These include a good quality mount, a sturdy tripod, and a reliable polar scope or finder. Additionally, recommended accessories like a level, a reticle eyepiece, and software can help improve your accuracy and ease the process. Ensuring your equipment is compatible and suited to your specific telescope can also enhance your results space‑heating basics.
Essential Alignment Tools
Performing an accurate All Star Polar Alignment requires a few essential tools to guarantee precision. First, you’ll need a reliable polar scope, which helps you precisely locate Polaris or other reference stars. Making sure your mount is properly calibrated is also vital; mount calibration involves aligning your mount’s axes with true celestial north and south. This step improves tracking accuracy during alignment. Additionally, a sturdy tripod or mount base is necessary to keep everything stable. A good quality level can help verify that your mount is perfectly horizontal. While not a tool per se, a star chart or app can assist in identifying the appropriate stars for alignment. These tools work together to ensure your polar alignment is accurate, setting the foundation for successful astrophotography or observing sessions. Reliable equipment and proper setup are crucial for achieving optimal alignment results.
Recommended Accessories
A successful All Star Polar Alignment starts with gathering the right accessories to guarantee accuracy. First, you’ll need a high-quality polar scope, which allows precise alignment with Polaris or other suitable stars. Ensure the polar scope is compatible with your mount and provides clear, illuminated reticles for easy star pinpointing. Additionally, an alignment tripod is essential; it offers a stable platform that minimizes vibrations and maintains steady positioning during calibration. A sturdy tripod also helps in fine-tuning adjustments without shifts. You might also consider accessories like a magnifying eyepiece for detailed star identification, a lens heater to prevent dew buildup, and a mount with smooth slow-motion controls for fine movements. These accessories streamline the process, making your All Star Polar Alignment accurate, efficient, and hassle-free.
OrionU Star Tracking Equatorial Mount, Dual-Screw Steel Shaft Astro Tracker with High-Brightness Polar Pointer, ESP32 Dual-Core Control, 4kg Load Capacity for Deep-Sky Astrophotography & Time-Lapse
🛠 Reinforced Dual-Screw Steel Shaft for Rock-Solid Stability: Built with a thickened steel main axis and a custom…
As an affiliate, we earn on qualifying purchases.
As an affiliate, we earn on qualifying purchases.
How Do I Locate a Suitable Star for the Alignment Process?

Finding a suitable star for your polar alignment begins with identifying a bright, easily recognizable star near the celestial pole. To do this effectively, use celestial navigation skills and consult star catalogues, which list stars by brightness and position. Focus on stars close to Polaris if you’re in the Northern Hemisphere, or suitable candidates near the South Celestial Pole in the south. Star catalogues, whether printed or digital, help you pinpoint stars that are visible from your location and time of year. Use a star chart or astronomy app to cross-reference stars near the pole, ensuring you pick a prominent, well-positioned target. This careful selection will make the alignment process smoother and more accurate. Additionally, understanding the position of stars relative to the celestial pole can improve the precision of your alignment efforts.

Wheel Alignment Front End Toe Gauge and Magnetic Strut Alignment Level Tool
This tool measures toe-out and toe-in on a simple to read gauge and reads wheel wobble
As an affiliate, we earn on qualifying purchases.
As an affiliate, we earn on qualifying purchases.
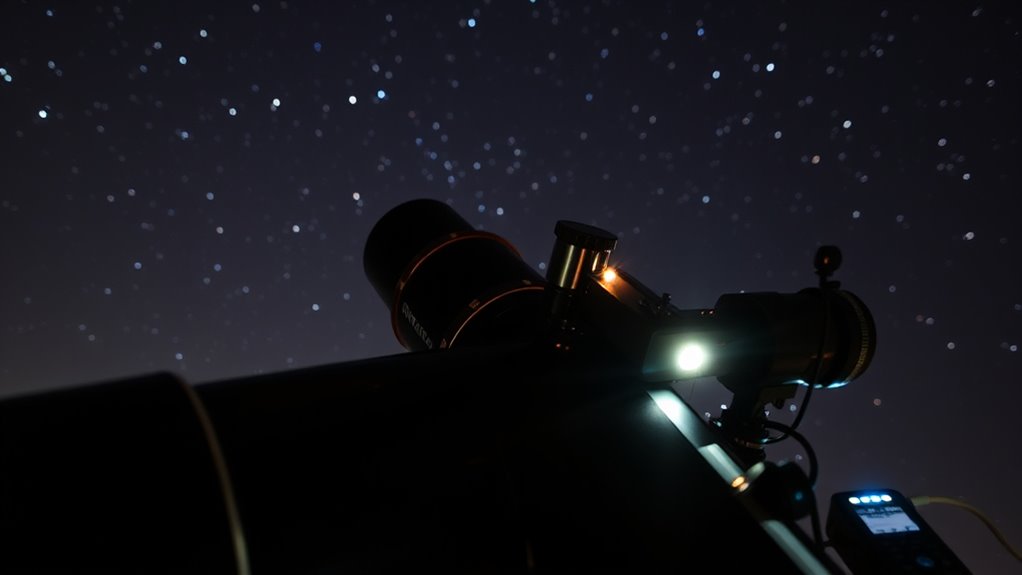
What Are the Step-By-Step Procedures for Performing All Star Polar Alignment?
To start the all-star polar alignment process, you’ll first set up your mount and telescope on a stable, level surface, guaranteeing that the mount’s latitude is correctly adjusted to your observing location. Next, power on your mount and access its sky calibration feature. Choose a suitable star near the celestial pole for alignment. Use your mount’s controls to center the star in your eyepiece or camera, making small adjustments as needed. Repeat this process with additional stars if required, refining your alignment. This step-by-step procedure ensures precise mount alignment, enabling accurate tracking during astrophotography. Here’s a quick overview:
| Step | Action | Tips |
|---|---|---|
| 1 | Level mount | Use a bubble level |
| 2 | Adjust latitude | Match your location |
| 3 | Power on mount | Access sky calibration |
| 4 | Select star | Near celestial pole |
| 5 | Center star | Fine-tune adjustments |
Additionally, ensuring proper polar alignment is essential for long-exposure astrophotography, as it minimizes tracking errors over time.
How Can I Troubleshoot Common Issues During the Alignment?
If your alignment isn’t going smoothly, start by checking that your mount is level and properly positioned. Make sure your equipment is stable and secure to prevent any shifts during the process. If issues persist, fine-tune your polar alignment points to improve accuracy. Additionally, understanding industry trends can help you adapt your techniques for better results.
Check Level and Position
How can you troubleshoot common issues when checking the level and position during polar alignment? First, verify your mount’s stability; shaky or uneven setups can throw off your readings. Use a bubble level to confirm the mount is perfectly horizontal, adjusting as needed. If your mount wobbles, recheck and secure all mounting screws. When selecting stars, pick bright, well-defined ones far from the horizon to avoid atmospheric distortion. If the star appears to drift unexpectedly, double-check your mount’s level and position—an uneven setup can cause misalignment. Also, make sure your tripod or pier is stable and not shifting during adjustments. Proper mounting stability and careful star selection are key to troubleshooting issues and achieving accurate polar alignment. Additionally, ensure your warranty and maintenance are up to date to prevent equipment issues from affecting your alignment accuracy.
Verify Equipment Stability
Ensuring your equipment remains stable is essential for accurate polar alignment, as even minor movements can cause significant errors. Start by checking mount stability; if your mount wobbles or shifts, realign or tighten the mounting screws. Next, confirm tripod calibration—ensure the tripod is level and firmly positioned. Look for any unevenness or looseness in the tripod legs and tighten as necessary. Use a bubble level or built-in leveling tools to verify the setup. Avoid touching or adjusting the equipment during the alignment process, as vibrations can introduce errors. If you notice persistent instability, consider replacing worn or damaged tripod parts. Maintaining a steady mount and properly calibrated tripod minimizes errors, ensuring your star alignment stays precise. Additionally, understanding the importance of equipment stability can help prevent alignment errors and improve overall accuracy.
Adjust Polar Alignment Points
Troubleshooting common issues during polar alignment begins with verifying that your alignment points are correctly set and stable. If your polar scope isn’t calibrated properly, your polar alignment accuracy suffers, leading to tracking errors. Adjust the alignment points carefully, ensuring they’re secure and aligned with the mount’s markings. Use this table to troubleshoot common problems:
| Issue | Cause | Solution |
|---|---|---|
| Difficult polar scope view | Dirty or misaligned polar scope | Clean and calibrate polar scope |
| Inconsistent alignment | Unstable mount or target points | Stabilize mount and recheck points |
| Poor polar scope calibration | Incorrect calibration | Recalibrate polar scope |
| Drift during setup | Inaccurate alignment points | Fine-tune alignment points |
| Low accuracy readings | Mount or tripod instability | Secure mounting and recheck |
Regular calibration and careful adjustments improve polar alignment accuracy. Proper calibration methods can further enhance your setup process.
How Accurate Is All Star Polar Alignment Compared to Other Methods?

All Star Polar Alignment is generally quite accurate, often comparable to or exceeding the precision of other methods like drift alignment or star alignment routines. Its polar alignment accuracy typically results in minimal declination drift and stable tracking during long exposures. When compared to traditional methods, All Star offers a quicker process while maintaining high precision. Unlike drift alignment, which can take time and requires careful adjustments, All Star uses the position of a single bright star to calibrate your mount efficiently. Compared to star alignment routines, it directly aligns the mount’s polar axis, leading to more consistent results. Overall, All Star Polar Alignment provides a reliable balance of speed and precision, making it a competitive choice among various comparison methods. Additionally, resources and tools such as star charts and software can further enhance the accuracy of your polar alignment process.
Can All Star Polar Alignment Be Used With Portable or Mobile Setups?
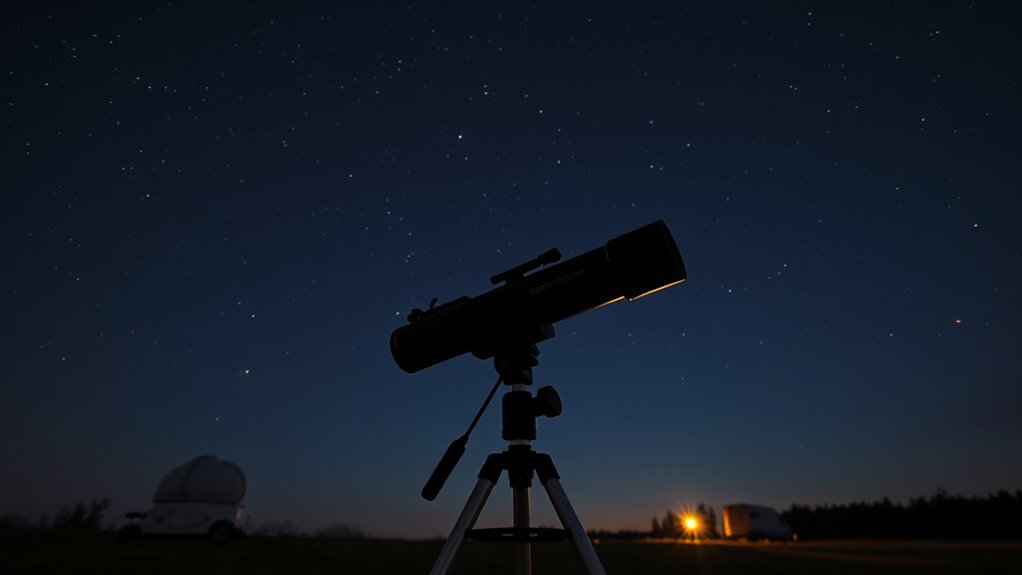
If you have a portable or mobile setup, you’ll be pleased to know that All Star Polar Alignment works well in such environments. Its flexibility allows you to perform alignment regardless of your mounting options, whether you’re using a sturdy tripod, a lightweight mount, or a more compact setup. The method doesn’t require permanent infrastructure, making it ideal for fieldwork or travel. You can easily adapt the process to your portable setups without sacrificing accuracy. Just confirm your mount is stable and well-balanced, and you’ll be able to achieve precise polar alignment without hassle. This versatility makes All Star Polar Alignment a practical choice for amateur astronomers on the go, providing reliable results no matter where your observing session takes you.
What Are the Best Practices for Maintaining Alignment Over Multiple Sessions?

Maintaining your polar alignment over multiple observing sessions guarantees consistent tracking and image quality. To achieve this, regularly check and fine-tune your equipment calibration, ensuring your mount’s settings remain accurate. Use a polar scope or software tools to verify alignment before each session, especially if you move your setup or experience temperature changes. Keep detailed records of your calibration adjustments to streamline future setups. Avoid neglecting small misalignments, as they can accumulate and reduce tracking accuracy over time. Periodically re-align if you notice stars drifting from their expected positions. Proper equipment calibration and routine checks help preserve the precision needed for long exposure astrophotography and detailed observations. Consistent maintenance ensures reliable performance and sharp, accurate images session after session.
How Does the Time of Year or Location Affect the Process?

The time of year and your location play a big role in polar alignment because the night sky changes throughout the seasons. Your latitude affects which stars are visible and how you align your scope, while local celestial timing influences when you can perform the best observations. Understanding these factors helps you plan the most accurate alignment for your setup.
Seasonal Sky Changes
Seasonal sky changes substantially impact the star alignment process, as the position of celestial objects shifts throughout the year. This variation affects your ability to perform celestial navigation and capture star trails accurately. During different seasons, stars appear in different parts of the sky at the same time each night, so your polar alignment needs to account for these changes. For example, the North Star’s position relative to Polaris varies slightly with the seasons, influencing your tracking accuracy. Recognizing these shifts helps you plan your star trail photography and alignment procedures more effectively. By understanding how the sky changes across seasons, you improve your ability to maintain precise polar alignment regardless of the time of year, ensuring sharper images and better celestial navigation.
Latitude Impact Variations
How does your geographic latitude influence the polar alignment process throughout the year? Your latitude determines the angle at which you align your mount to the celestial pole, affecting star tracking accuracy. Near the equator, the celestial pole appears low, requiring a smaller tilt, while higher latitudes demand a steeper angle. This variation influences how you perform polar alignment and maintain accurate star tracking. Use the table below to see how latitude impacts your setup:
| Latitude Range | Polar Alignment Adjustment | Effect on Star Tracking |
|---|---|---|
| 0° – 30° | Minimal tilt | Slight drift |
| 30° – 60° | Moderate tilt | Moderate drift |
| 60° – 90° | Steep tilt | Significant drift |
Your location’s latitude directly impacts your polar alignment accuracy throughout the year.
Local Celestial Timing
Have you noticed that the time of year influences your polar alignment process? Seasonal changes affect the position of stars, impacting stellar navigation and celestial mapping. When the Earth’s orbit shifts, the night sky’s orientation changes, making precise alignment trickier.
- The position of Polaris varies slightly throughout the year, requiring adjustments in your star reference points.
- Atmospheric conditions fluctuate with seasons, affecting star visibility and clarity.
- Your local celestial timing determines when key stars are visible for alignment, so timing your session is essential.
Understanding these factors helps you adapt your approach, ensuring accurate polar alignment. The more you consider local celestial timing, the better your star calibration becomes, leading to improved tracking and astrophotography results.
Are There Software Tools That Can Assist With All Star Polar Alignment?

Software tools can considerably simplify the All Star Polar Alignment process by guiding you through the necessary steps with precision. These programs leverage software automation to help you align your mount accurately, reducing guesswork and errors. Many tools include star catalog integration, allowing you to select specific reference stars based on your location and time. This integration ensures the software can provide precise pointing directions and alignment adjustments. Additionally, some applications offer real-time feedback, guiding you through minor tweaks for ideal alignment. By using such software, you save time and improve accuracy, making polar alignment more straightforward, especially for beginners. Overall, these tools enhance your observing experience, ensuring your telescope is properly aligned for successful astrophotography or celestial observation.
Frequently Asked Questions
Can All Star Polar Alignment Be Performed During the Day?
Yes, you can perform all star polar alignment during the day, but daytime visibility is limited, making it challenging to spot stars. Cloud cover constraints can also hinder visibility, so clear skies are ideal. Use a polar scope or alignment tools designed for daylight, and consider performing the alignment during twilight when some stars become visible. Patience and proper equipment are key to successful daytime polar alignment.
How Long Does the All Star Polar Alignment Process Typically Take?
The all star polar alignment process usually takes about 10 to 20 minutes, depending on your experience and equipment. The alignment duration includes setup time, so make certain your mount is properly assembled and calibrated beforehand. If you’re familiar with the procedure, it can be quicker. Take your time to double-check your polar alignment to ensure accurate tracking during your astrophotography session, making the setup time well worth it.
Is Special Training Required to Perform All Star Polar Alignment?
You don’t need special training to perform all star polar alignment; your skill level matters less than your willingness to learn. While some experience with telescopes helps, it’s designed to be accessible, with clear instructions guiding you through each step. With patience and attention, you’ll master the process, turning complex-sounding tasks into achievable steps. So, jump in—your skyward journey starts with a little guidance and a lot of curiosity.
Can All Star Polar Alignment Be Used With Equatorial Mounts Only?
All Star Polar Alignment primarily works with equatorial mounts due to their design for celestial tracking and calibration procedures. While some advanced mounts might support similar methods, most non-equatorial mounts aren’t compatible because they lack the necessary polar alignment features. To guarantee accurate results, you should check your mount’s compatibility and follow specific calibration procedures tailored for your equipment, making the alignment process straightforward and reliable.
What Are the Limitations of All Star Polar Alignment in Urban Areas?
In urban areas, all star polar alignment faces limitations due to light pollution and limited sky visibility. Heavy light pollution makes it harder to spot the necessary stars for precise alignment, reducing accuracy. Limited sky visibility means fewer stars are visible, which can hinder proper calibration. To improve results, try finding darker spots away from city lights or use software that compensates for light pollution, ensuring better alignment accuracy despite urban challenges.
Conclusion
Mastering All Star Polar Alignment is your gateway to pinpoint accuracy in astrophotography and celestial tracking. With the right equipment, a keen eye for star selection, and a bit of practice, you’ll navigate the night sky’s dance effortlessly. Think of it as deciphering the universe’s secret code—once you get the hang of it, the stars will be your guiding light, revealing their mysteries one precise alignment at a time.