
A meridian flip planning calculator helps you time your telescope’s flip accurately, ensuring seamless tracking when your target crosses the meridian. In just 15 minutes, you’ll learn how to set up your telescope and input parameters like target coordinates and mount details. It then predicts the ideal flip window, saving you setup time and avoiding image distortion. Keep going to discover how to streamline your imaging sessions and get the most out of your equipment.
Key Takeaways
- Understand the importance of meridian flips for maintaining image quality during long exposures.
- Learn how the calculator automates timing predictions based on your target and mount data.
- Familiarize with inputting accurate coordinates, mount specifics, and target details for precise results.
- Review the predicted flip windows to plan imaging sequences and avoid disruptions.
- Incorporate the calculator into your workflow to maximize imaging time and ensure smooth session management.
Understanding Meridian Flips and Their Role in Astrophotography

Have you ever wondered why astrophotographers need to plan for meridian flips? When your telescope tracks celestial objects, precise polar alignment guarantees accurate movement. As the object crosses the local meridian, the telescope must flip to continue tracking without errors, especially with longer focal lengths. Without planning, this flip can cause image distortion or field rotation, ruining your shot. The focal length determines how much the object moves in your camera’s view, making flips more critical for high-magnification setups. By understanding when a meridian flip is necessary, you can prepare your equipment in advance, minimizing downtime and maximizing image quality. Proper planning ensures seamless tracking, keeping your astrophotography sharp and clear as you capture the night sky. Additionally, understanding how arcade machines operate can inspire innovative ways to engage with technology and gaming during downtime or breaks in your astrophotography sessions.
Key Benefits of Using a Planning Calculator for Flips

Using a planning calculator helps you schedule flips more accurately, ensuring your imaging sessions stay on track. It also reduces the chance of mistakes that can disrupt your night’s work. Plus, you save time by automating complex calculations, giving you more opportunity to enjoy astrophotography.
Improved Scheduling Accuracy
A planning calculator substantially enhances scheduling accuracy by providing precise time estimates for each step of the flip process. It helps you allocate sufficient time for tasks like mount synchronization and sky calibration, reducing surprises during the night. Accurate timing ensures you’re prepared for unexpected delays and can optimize your observing session. Additionally, understanding the importance of precise timing can help you improve your overall observing efficiency.
Reduced Planning Errors
By leveraging a planning calculator, you considerably reduce the chances of errors that can disrupt your meridian flip process. Manual planning often leads to mistakes in timing, which can cause misaligned calibration routines or overlooked equipment maintenance needs. A calculator automates calculations, guaranteeing you select optimal flip windows and avoid scheduling conflicts. It also accounts for equipment calibration routines, preventing errors caused by overlooked or misaligned settings. This streamlined approach minimizes the risk of forgetting critical maintenance tasks that could affect imaging quality. Additionally, precise timing is essential for successful flips, and a calculator helps you achieve that accuracy consistently. By reducing these planning errors, your observing sessions become more reliable and efficient. Overall, a planning calculator helps you maintain precise schedules, avoid costly mistakes, and ensure your equipment remains properly calibrated and maintained for successful flips.
Time-Saving Efficiency
Implementing a planning calculator considerably boosts your efficiency by automating complex timing calculations, saving you valuable setup time. It quickly determines ideal meridian flip times, so you don’t waste minutes adjusting or double-checking. With precise calculations, you can confidently plan your session, ensuring your polar alignment is accurate and your focal length is accounted for, which affects field rotation and flip timing. This means less guesswork and fewer interruptions during your imaging session. The calculator handles the intricate details, letting you focus on capturing quality images rather than manual calculations. Overall, it streamlines your workflow, reduces setup time, and minimizes errors, so you spend more time observing and less time troubleshooting, making your astrophotography more efficient and enjoyable. Additionally, understanding projector calibration can further enhance your setup by ensuring optimal image quality for your viewing sessions.
Setting Up Your Telescope and Imaging Parameters
To get the best results, guarantee your mount is precisely aligned before starting your imaging session. Next, fine-tune your camera and filter settings to match your target and sky conditions. Proper setup of these parameters helps you achieve clear, consistent images and simplifies planning your meridian flips. Additionally, understanding special occasions can inspire you to celebrate milestones with your astrophotography community, adding a joyful dimension to your imaging sessions.
Precise Mount Alignment
Achieving precise mount alignment is essential for successful imaging sessions, as it guarantees your telescope accurately tracks celestial objects. Proper mount alignment improves star tracking and reduces errors during long exposures. To get started, ensure your mount is level and polar aligned correctly. Use calibration tools or software to refine your alignment. Remember, even slight misalignments can compromise image quality. Keep your alignment routine consistent for reliable results. Regularly reviewing alignment accuracy helps maintain optimal performance.
Optimal Imaging Settings
Setting up your telescope with ideal imaging settings is crucial for capturing high-quality astrophotographs. Begin with proper camera calibration to guarantee your images are free of biases and noise. Use focusing techniques like Bahtinov masks or software autofocus to achieve pinpoint sharpness. Adjust exposure time and ISO based on your target and sky conditions, avoiding overexposure or underexposure. Keep your temperature settings consistent to prevent focus shifts caused by thermal variations. Confirm your focus periodically during imaging sessions, especially for long exposures. Fine-tuning these parameters improves image detail and reduces post-processing time. Remember, consistent calibration and precise focusing are essential for maximizing your telescope’s imaging potential and capturing stunning celestial details.
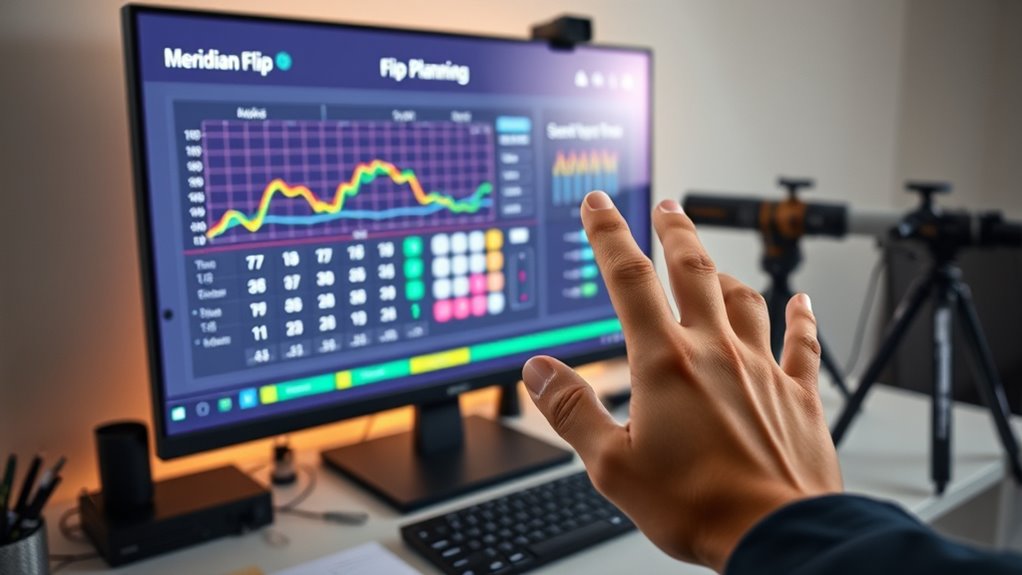
Navigating the Calculator Interface and Input Fields

Understanding how to navigate the calculator interface and input fields is essential for efficiently planning your meridian flip. The interface overview reveals a clean layout with labeled sections for each input, making it straightforward to find what you need. You’ll typically see fields for target coordinates, mount specifics, and desired flip timing. Input customization is simple—just enter your data directly into the relevant boxes. Some calculators allow dropdown menus for common options, reducing errors and speeding up setup. Take care to double-check your inputs for accuracy, as even small mistakes can affect the flip timing. Familiarizing yourself with the interface layout ensures you can quickly adjust parameters and interpret results, streamlining your planning process and minimizing downtime during imaging sessions. Additionally, understanding astronomical coordinate systems can help you input precise target data more effectively.
Interpreting the Results: When and How to Perform Flips

Interpreting the results from your meridian flip calculator helps you determine the most advantageous timing for performing the flip. You should look for the window when the target is crossing the meridian, guaranteeing minimal disruption to your imaging session. If your calculator suggests a flip close to twilight or high light pollution periods, it’s best to delay until conditions improve or the target is well-positioned. Properly calibrated cameras, with accurate camera calibration, are essential for reliable results, as they reduce errors in timing predictions. Perform flips when the target is still well-exposed, avoiding unnecessary interruptions. Knowing the ideal flip time minimizes image distortion and ensures consistent data collection, especially when light pollution affects your sky brightness. Additionally, considering factors like atmospheric conditions can further improve your planning accuracy. This careful planning improves your overall imaging efficiency.
Tips for Integrating the Calculator Into Your Imaging Workflow
To seamlessly incorporate the meridian flip calculator into your imaging workflow, start by establishing a routine for checking the predicted flip times before each session. This helps you plan your imaging sequence around your aperture size and mount stability, ensuring smooth progression. Make it a habit to verify the calculator’s predictions early, especially if you’re using a larger aperture size, which can influence exposure times and field of view. Consistently reviewing these predictions allows you to adjust your target and framing accordingly, reducing downtime during flips. Also, double-check your mount stability beforehand, as any minor shifts can affect the timing accuracy. Incorporating portable power stations into your setup ensures your imaging session remains uninterrupted, even during longer sessions or power outages. Integrating this step into your workflow minimizes surprises and keeps your imaging session running efficiently.
Common Challenges and How to Troubleshoot Them

One common challenge when using the meridian flip planning calculator is inaccurate timing predictions, which can disrupt your imaging session. Alignment issues often cause these inaccuracies, especially if your equipment isn’t properly calibrated or if your mount’s coordinates are off. Additionally, software compatibility problems can lead to incorrect data input or errors, making the calculator unreliable. To troubleshoot, verify your telescope’s alignment is precise and regularly updated. Double-check that your software versions are compatible with the calculator and your hardware. Clear communication between your guiding software and mount control is also vital. Keeping everything calibrated and updated minimizes timing errors and alignment issues, allowing your meridian flip planning to proceed smoothly. Understanding the point of no return during imaging sessions can help prevent unexpected interruptions.
Enhancing Your Observation Sessions With Quick, Accurate Planning

Enhancing your observation sessions begins with quick and accurate planning, making sure you make the most of clear skies and ideal conditions. Proper planning streamlines your astrophoto techniques and helps you maximize equipment calibration, reducing errors and save time. Use tools like the Meridian Flip Planning Calculator to anticipate flip times and minimize downtime. Preparing in advance allows you to focus on capturing quality images without interruption. Consider this table for efficient session planning:
| Task | Details |
|---|---|
| Equipment Calibration | Ensure sensors and mounts are precisely aligned |
| Weather Check | Confirm skies remain clear during session |
| Target Selection | Choose objects with optimal visibility |
| Timing Optimization | Schedule around flip windows to avoid delays |
This approach maximizes your observing efficiency and image quality.
Frequently Asked Questions
Can the Calculator Account for Local Horizon Obstructions?
Yes, the calculator can account for horizon limitations and obstruction impact. It factors in local horizon obstructions by allowing you to input specific details about your observing site. This way, it adjusts the meridian flip schedule accordingly, helping you plan better around terrain or structures that might block your view. You’ll find it useful for optimizing your observing sessions, ensuring you avoid potential issues caused by obstruction impact and horizon limitations.
Is the Tool Compatible With All Types of Telescopes?
You’ll find that the calculator isn’t compatible with all types of telescopes, especially specialized or older models, which may require specific calibration. While it works seamlessly with most modern, standard mounts, you’ll need to check the compatibility and calibration requirements for your equipment. Think of it as a universal tool that works best with well-calibrated, compatible telescopes, ensuring accurate planning without the need for extensive adjustments.
How Often Should I Update My Imaging Parameters?
You should update your imaging parameters regularly, especially after camera calibration or if you change equipment. This guarantees ideal image stacking and reduces errors caused by drift or calibration shifts. Check your settings before each imaging session and tweak parameters based on recent data. Consistent updates help maintain high image quality, making your astrophotography more successful and your data more accurate over time.
Can the Calculator Suggest Optimal Flip Timings for Multiple Targets?
Imagine orchestrating a symphony of stars, perfectly timed for your target selection and observation scheduling. The calculator can indeed suggest ideal flip timings for multiple targets, helping you choreograph your night’s imaging like a master conductor. It analyzes celestial positions, ensuring each target’s meridian flip happens at the perfect moment, so your imaging sessions flow seamlessly, capturing stunning data across various targets without missing a beat.
Does the Calculator Consider Weather Conditions Affecting Visibility?
No, the calculator doesn’t directly consider weather impact or atmospheric interference. You need to input local weather conditions before planning your session, as these factors can affect visibility. It’s crucial to monitor weather updates in real-time, since atmospheric interference like clouds or humidity can delay or prevent your imaging. Incorporating weather considerations ensures you choose ideal times for your imaging session and avoid unexpected disruptions.
Conclusion
Think of your planning calculator as a trusted navigator on a sea of stars. When I first started, I’d struggle to predict my flips, often losing precious imaging time. But now, with just a few clicks, I stay on course, capturing clearer images. It’s like having a lighthouse guiding you safely through the night—saving you time, frustration, and ensuring your astrophotography journey stays smooth and rewarding.