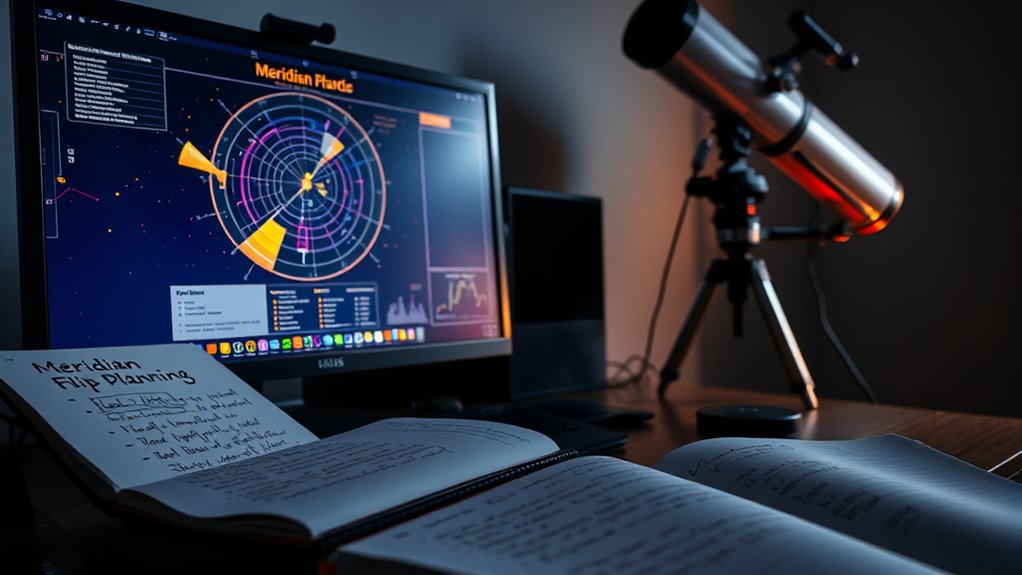
Understanding the meridian flip involves knowing about the meridian, which is an imaginary line crossing the sky from north to south. When your target crosses this line, you reach the flipping point, and your mount needs to perform a flip to continue tracking correctly. Proper mount calibration and monitoring the flip timeout make sure smooth operation during your imaging session. Automation software helps coordinate these steps seamlessly, and mastering this planning will keep your observations on track—more details ahead will help clarify each step.
Key Takeaways
- The meridian flip occurs when the target crosses the local meridian, requiring the mount to switch sides for continued tracking.
- Flip timing indicators signal the precise moment to perform the flip, based on celestial position and observation schedule.
- Proper calibration and latency adjustment ensure smooth flips, maintaining tracking accuracy and image quality during the process.
- Planning observation windows around the target’s position minimizes image shifts and optimizes imaging sessions.
- Automating flip procedures with synchronized equipment reduces errors, saves time, and enhances observational efficiency.

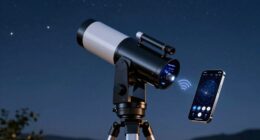
Sky-Watcher Star Adventurer 2i Pro Pack – Motorized DSLR Night Sky Tracker Equatorial Mount for Portable Nightscapes, Time-Lapse and Panoramas – Wi-Fi App Camera Control – Long Exposure (S20512)
Portable nightscape tracking platform: Motorized portable tracking platform perfect for capturing incredible detail of the Milky Way, eclipses…
As an affiliate, we earn on qualifying purchases.
As an affiliate, we earn on qualifying purchases.
Meridian Flip

What exactly is a meridian flip, and why does it matter in astrophotography? It’s a maneuver your mount performs when your target crosses the local meridian, preventing your equipment from colliding or losing tracking accuracy. Without proper planning, the flip can disrupt your imaging session. When a meridian flip happens, your mount needs to synchronize equipment correctly to maintain precise tracking. If you don’t prepare, your images could become blurry or misaligned, wasting valuable time. Ensuring your mount is properly calibrated and synchronized before the flip helps keep tracking accuracy consistent. Knowing when and how to perform a meridian flip allows you to capture sharp, high-quality images without interruptions, making it an essential part of astrophotography planning. Additionally, understanding the tracking accuracy of your mount can significantly improve your success rate during flips.
![WavePad Audio Editing Software - Professional Audio and Music Editor for Anyone [Download]](https://m.media-amazon.com/images/I/B1fcLEGCs6S._SL500_.png)
WavePad Audio Editing Software – Professional Audio and Music Editor for Anyone [Download]
Full-featured professional audio and music editor that lets you record and edit music, voice and other audio recordings
As an affiliate, we earn on qualifying purchases.
As an affiliate, we earn on qualifying purchases.
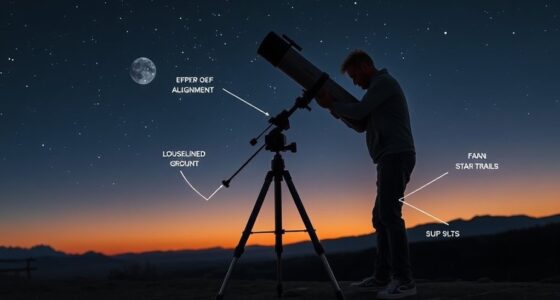
Meridian

The meridian is an imaginary line that runs from north to south, passing directly over your local zenith point. It’s vital for your observing session because it determines when your mount needs synchronization and star alignment adjustments. As your target crosses the meridian, your mount’s position shifts, making it essential to plan for a meridian flip. Proper understanding ensures smooth transitions without losing target alignment. Recognizing the importance of time zones helps coordinate your observing schedule across different locations. Consider this emotional impact:
| Moment of Shift | Your Confidence | The Sky’s Balance |
|---|---|---|
| Precise mount sync | Trust in your skills | Harmony in the night |
| Seamless star alignment | Joy of control | Connection to the cosmos |
| Accurate timing | Satisfaction | Stellar perfection |
| Smooth flip execution | Pride in your setup | Celestial rhythm |

Astromania Laser Collimator for Newtonian Dobsonian Marca Telescopes, Telescope Alignment 1.25 Inch with 7 Red Laser Bright Levels, Great Telescope Accessories Laser Alignment Tool for Collimation
Multi-Function: Designed for Reflector telescope; fit for standard 1.25 inch diameter; this sturdy laser unit allows to swiftly…
As an affiliate, we earn on qualifying purchases.
As an affiliate, we earn on qualifying purchases.
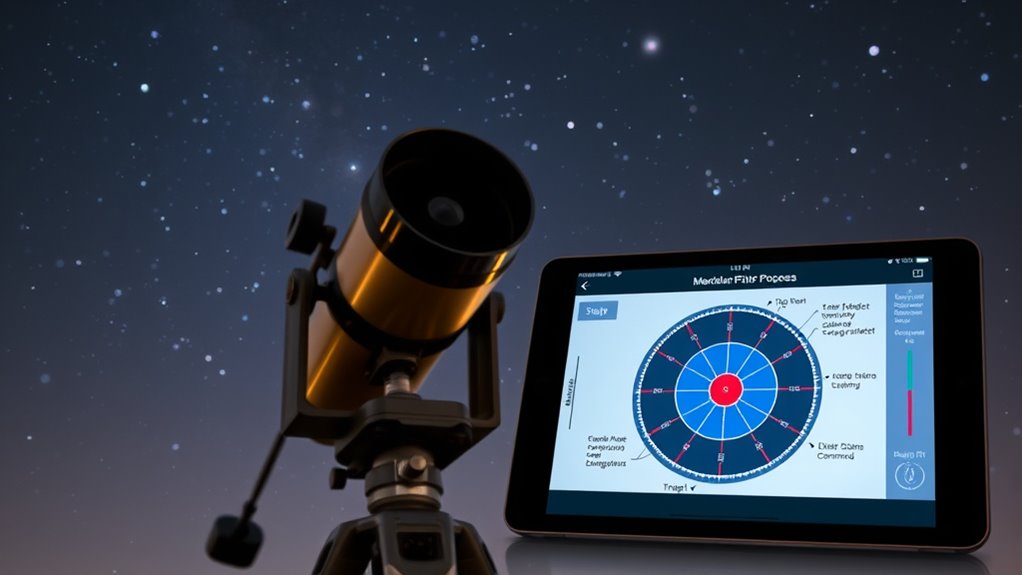
Flipping Point
Approaching the flipping point signals the moment when your telescope’s mount needs to switch sides to keep tracking your target accurately. This happens when your telescope positioning reaches the meridian, where the mount can no longer follow the object without a flip. Recognizing this point is essential for maintaining a smooth imaging schedule. As you near the flipping point, prepare your mount for a meridian flip to avoid interruptions. Timing is key: performing the flip too early or too late can affect image quality and tracking. Keep an eye on your target’s position and plan accordingly. Properly managing the flipping point ensures continuous imaging, minimizes downtime, and helps you capture sharp, well-aligned images without unnecessary adjustments. Understanding Honda Tuning concepts can also enhance your equipment setup for better performance during astrophotography.
Sky-Watcher Star Adventurer 2i Pro Pack – Motorized DSLR Night Sky Tracker Equatorial Mount for Portable Nightscapes, Time-Lapse and Panoramas – Wi-Fi App Camera Control – Long Exposure (S20512)
Portable nightscape tracking platform: Motorized portable tracking platform perfect for capturing incredible detail of the Milky Way, eclipses…
As an affiliate, we earn on qualifying purchases.
As an affiliate, we earn on qualifying purchases.
Target Object
When selecting your target object, you want to make certain it fits within your observing window and its position in the sky. Properly positioning the object guarantees you maximize exposure time while minimizing the need for adjustments during the meridian flip. Focusing on ideal object placement helps streamline your entire imaging session. Additionally, understanding arcade game hardware can provide insight into how specialized equipment ensures precise targeting and stability during observations.
Target Object Selection
Choosing the right target object is a crucial step in planning a successful meridian flip. You need to select an object that’s visible during your imaging session, so check its object visibility window carefully. Use a reliable star catalog to identify potential targets, ensuring they’re bright enough and well-positioned in the sky. This helps you avoid objects that set early or are obscured by the horizon. Consider the object’s altitude and azimuth to confirm it remains above your mount’s minimum elevation. Picking a target with stable visibility throughout your observation window minimizes interruptions. By planning ahead with accurate star catalog data, you guarantee your target is ideally positioned, making your meridian flip smoother and more efficient. Additionally, understanding soulmate angel numbers can inspire patience and trust in the universe’s timing for your celestial and personal connections.
Optimal Object Positioning
How can you guarantee your target object is positioned ideally for a smooth meridian flip? First, make certain precise polar alignment to minimize tracking errors during the flip. Second, consider the focal length of your telescope; longer focal lengths mean the object’s position is more critical, so plan accordingly. Third, position your object near the meridian—ideally within a few hours of culmination—to reduce the risk of unexpected camera rotation or focus issues. Adjust your mount’s alignment and target placement in your imaging software to optimize the object’s position. This careful positioning reduces the chances of image rotation or data loss during the flip, leading to smoother transitions and better imaging results. Proper object placement ultimately ensures your session runs efficiently and successfully. Additionally, understanding the AI discoveries related to astronomical phenomena can help inform your planning and troubleshooting efforts.
Mount Calibration
Ever wondered why precise mount calibration is essential for successful astrophotography? Accurate mount calibration ensures your telescope’s alignment accuracy, which directly impacts tracking and image quality. When you calibrate your mount properly, it minimizes errors like drift and star trailing during long exposures. This process involves adjusting your mount’s settings so that it accurately follows celestial objects across the sky. Without proper calibration, even small misalignments can cause significant issues during imaging sessions, especially when planning for a meridian flip. Regular calibration helps maintain the precision needed for seamless object tracking and reduces the need for extensive post-processing corrections. Ultimately, mount calibration is a crucial step to ensure your astrophotography sessions produce sharp, clear images with minimal hassle.
Imaging Session

An imaging session is the core of your astrophotography workflow, where you capture detailed images of celestial objects. To guarantee success, focus on these key steps:
An imaging session is central to successful astrophotography, requiring careful preparation and attention to detail.
- Prepare your camera by performing camera calibration to minimize noise and optimize image quality.
- Use effective imaging techniques, such as proper exposure settings and focusing, to get sharp, well-exposed images.
- Monitor your session closely, adjusting for changing conditions like light pollution or atmospheric disturbance to maximize data quality.
- Ensure your mount’s tracking accuracy and plan for a proper meridian flip to prevent field rotation and maximize imaging time.
Flip Timeout

Setting an appropriate flip timeout duration guarantees your imaging session runs smoothly without unnecessary interruptions. If it’s too short, equipment latency might cause missed flips; if it’s too long, you risk wasting observation windows. Adjusting this setting based on your gear’s response time helps optimize your overall observing efficiency. Monitoring effectiveness of eye patches can help determine the best timing for application, ensuring your eyes are well-prepared for each session.
Flip Timeout Duration Settings
Have you ever wondered how long the system waits before timing out during a meridian flip? The Flip Timeout Duration Settings determine this wait time. You can customize this to suit your needs, especially if your mount requires longer calibration or if your imaging session is complex. Additionally, understanding projector technology can help you optimize your setup for better performance. Here’s what to think about:
- Set a longer timeout if your mount calibration takes extra time or if your setup is prone to slight misalignments.
- Shorten it if you want quicker recovery after a failed flip, minimizing downtime during imaging.
- Adjust based on your typical imaging session length, making sure the system isn’t waiting unnecessarily or cutting off too soon.
Properly configuring this setting ensures smooth flips and uninterrupted imaging, especially during long exposures.
Impact on Observation Windows
Ever wondered how the Flip Timeout impacts your observation windows? It directly influences your observation scheduling, especially when equipment synchronization is critical. A longer timeout extends the window for a successful meridian flip, reducing missed data opportunities. Conversely, a shorter timeout tightens these windows, demanding precise timing. Properly setting the flip timeout ensures your equipment stays synchronized, preventing delays or misalignments during observation. This balance affects how seamlessly you can plan night-long sessions and maximize data collection. Here’s a quick comparison:
| Timeout Duration | Effect on Observation Windows |
|---|---|
| Longer | More flexible, less rushed |
| Shorter | Tighter, requires precision |
| Optimal | Balances efficiency |
| Too long | Potential delays |
| Too short | Increased risk of missed data |
Adjusting the flip timeout is key to enhancing your observation schedule. Proper synchronization with retirement planning strategies can also help you optimize your time management during long observation sessions.
Adjusting for Equipment Latency
To effectively adjust for equipment latency, you need to account for the time it takes your gear to respond and stabilize during a meridian flip. This ensures smooth tracking accuracy and minimizes image shifts. First, perform sensor calibration to ensure your mount and camera are synchronized properly. Second, test your equipment’s response time by executing a few manual flips, observing how long it takes to regain stable tracking. Third, set your flip timeout slightly longer than this response time, allowing your system enough leeway to adjust without unnecessary delays. By doing so, you prevent premature flips or tracking errors, maintaining ideal sensor calibration and tracking accuracy throughout your session. Proper adjustment of equipment latency ultimately leads to clearer images and more reliable observations.
Meridian Crossing
What exactly happens during a meridian crossing, and why is it important to plan for it? During a meridian crossing, your telescope passes the local meridian, the imaginary line that runs from north to south through your celestial pole. This event marks the switch between east and west in the telescope’s coordinate systems, which is vital because it affects tracking and imaging. Proper planning guarantees your mount’s tracking remains accurate, avoiding image shifts or field rotation. Understanding celestial mechanics helps you anticipate when the crossing occurs, allowing you to prepare for a meridian flip. Coordinating your equipment’s movement during this transition minimizes disruptions, ensuring seamless observations and high-quality data collection.
Automation Software

How does automation software streamline your meridian flip planning? It simplifies the process by coordinating mount alignment and software integration seamlessly. Here’s how:
- Automates mount positioning, reducing manual input and ensuring precise alignment before flips.
- Syncs with your imaging software, enabling smooth progression without interrupting your session.
- Schedules flips based on celestial data, so you don’t have to monitor the sky constantly.
This automation minimizes errors, saves time, and improves efficiency. With reliable software integration, you can trust that your mount stays aligned and ready for each flip. As a result, your observing and imaging sessions become more productive, letting you focus on capturing great data rather than managing technical details.
Frequently Asked Questions
How Do I Manually Override a Meridian Flip?
To manually override a meridian flip, you need to access your mount’s control panel or software. Locate the manual override option, which allows you to control flip timing manually. Use this feature to delay or initiate the flip as needed, ensuring your imaging session continues smoothly. Always double-check the mount’s status before executing a manual override to prevent errors and maintain accurate flip timing.
What Are Common Signs of Incorrect Mount Calibration?
You’ll notice incorrect mount calibration through poor tracking accuracy, such as stars appearing elongated or drifting during long exposures. You might also see inconsistent star positions across images or difficulty aligning objects. These signs indicate your mount isn’t properly calibrated. To fix this, recheck your calibration process, verify your polar alignment is precise, and verify that all gears and connections are secure. Proper calibration is vital for accurate tracking and successful astrophotography.
Can I Schedule Multiple Flips per Imaging Session?
You can absolutely schedule multiple flips per imaging session; it’s like orchestrating a symphony of celestial captures! With careful flip scheduling, you optimize your imaging sessions, capturing every detail without missing a beat. Planning multiple flips guarantees you cover different targets or angles efficiently, maximizing your time under the stars. Just keep track of your flip timing, so your telescope’s movements stay smooth and your data stays pristine.
How Does Weather Affect the Flipping Process?
Weather impact plays a significant role in your meridian flip process, as sky conditions directly influence visibility and tracking. Poor weather, like clouds or rain, can delay or prevent flips, while clear skies ensure smooth shifts. Always monitor weather forecasts to anticipate potential disruptions, and be ready to adjust your schedule. By staying aware of sky conditions, you minimize risks and maximize imaging efficiency during your sessions.
Is There a Recommended Interval Between Consecutive Flips?
Think of your flip interval as a gentle pause in a symphony, letting each note settle. To keep your imaging schedule on track, it’s best to wait at least 10-15 minutes between consecutive flips. This allows your mount and camera to stabilize, reducing errors. Rushing the process can cause misalignments, so plan your flip interval accordingly, ensuring smooth, high-quality images without interruptions.
Conclusion
Now that you know the key terms, you’re ready to master Meridian flips with confidence. By understanding the basics — from the Meridian to the Flipping Point — you’ll make your imaging sessions smoother and more successful. Remember, preparation prevents problems, so plan and practice your flips proactively. With this glossary, you’re geared up to glide gracefully through galaxy-gazing goals, gaining greater gains in your astrophotography adventures. Happy imaging!