
To manage heat and condensation in cooled cameras, guarantee proper thermal regulation by using active cooling systems suited for your environment. Gradually acclimate your camera to ambient conditions to prevent moisture buildup, and incorporate desiccants to control internal humidity. Monitor internal temperatures regularly with sensors and turn off the device if condensation appears. Employ protective covers and maintain stable environments to extend your equipment’s lifespan. Continue to explore strategies to keep your camera functioning at its best in all conditions.
Key Takeaways
- Gradually acclimate cooled cameras to ambient conditions before powering on to prevent condensation.
- Use internal temperature sensors and active cooling systems to maintain optimal operating temperatures.
- Incorporate desiccants and moisture-absorbing packs to control internal humidity levels.
- Turn off equipment immediately if condensation is detected and allow it to dry before reuse.
- Transport cameras in protective, insulated cases and avoid rapid temperature changes to minimize condensation risks.
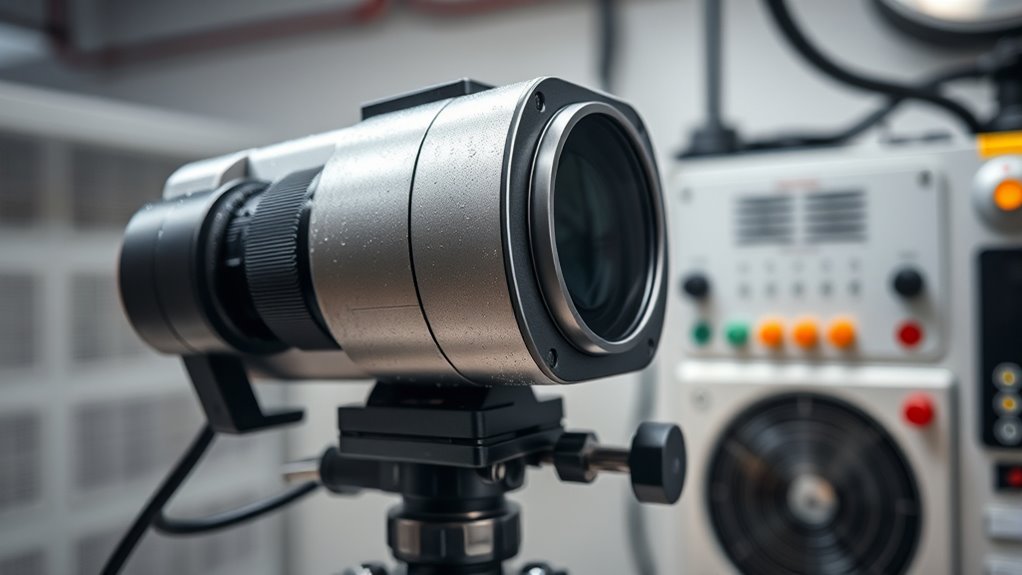
Cooled cameras are essential tools for capturing high-quality images in challenging conditions, but managing heat and condensation is necessary to maintain their performance. When working in environments with significant temperature differences, thermal regulation becomes critical. If your camera overheats, it can lead to image noise, decreased sensitivity, or even hardware failure. Conversely, if it gets too cold, internal components might become brittle or malfunction. Proper thermal management ensures the camera operates within ideal temperature ranges, preserving image quality and prolonging equipment lifespan.
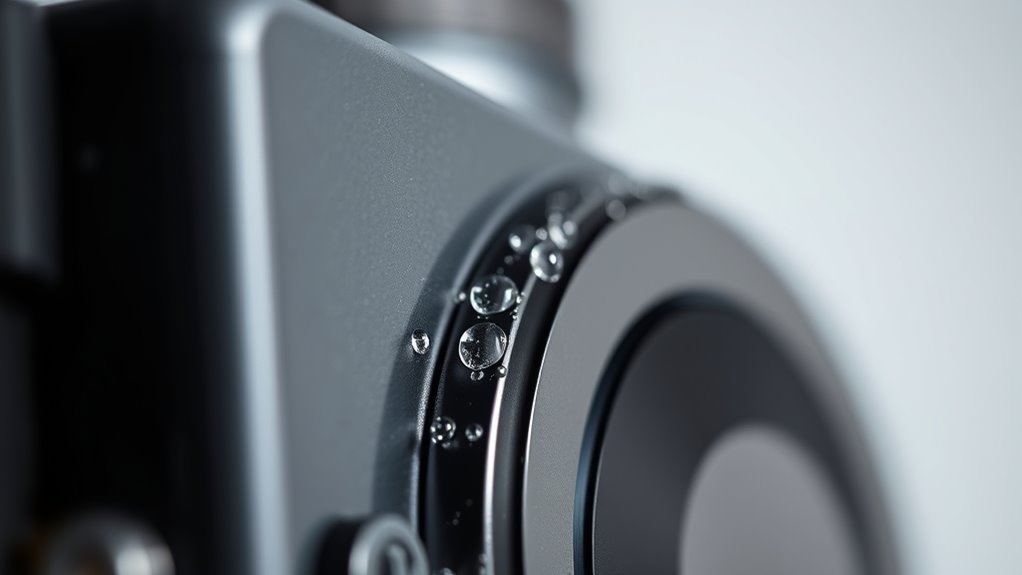
Moisture prevention is equally important. When you bring a cooled camera into a warmer or more humid environment, condensation can form on optical elements and internal surfaces. This moisture can distort images, damage sensitive electronics, or cause corrosion over time. To prevent this, you should acclimate your camera gradually by allowing it to reach room temperature before use. Using desiccants or moisture-absorbing packs inside the camera case can also help keep internal humidity levels low, especially during transportation or storage.
Implementing effective thermal regulation involves using dedicated cooling systems, such as thermoelectric coolers or liquid cooling, which actively control the camera’s temperature. These systems are designed to dissipate excess heat efficiently, ensuring the camera remains within safe operating limits. When choosing a cooling solution, consider the environment you’ll be working in. For example, in high-altitude or cold environments, you might need a different approach compared to hot, humid conditions. Regular monitoring of internal temperatures with built-in sensors allows you to adjust cooling systems proactively, preventing overheating or excessive cooling that could lead to frost formation.
To combat condensation, you should also pay attention to your workflow. Allow your cooled camera to acclimate to ambient conditions gradually before powering it on. If you notice signs of condensation, turn off the device immediately and give it time to dry out. Using protective covers or insulated cases during transport can also help maintain a stable temperature environment. When operating in moist conditions, consider deploying dehumidifiers or desiccants around your workspace to minimize ambient humidity, further protecting your equipment. Additionally, understanding vapor pressure and how it influences moisture formation can help you better plan your equipment handling in different environments.
Top picks for "manag heat condensation"
Open Amazon search results for this keyword.
As an affiliate, we earn on qualifying purchases.
Frequently Asked Questions
How Long Does It Take for a Cooled Camera to Reach Optimal Temperature?
It typically takes your cooled camera about 10 to 20 minutes to reach thermal equilibrium, depending on its size and cooling system. During this cooling time, the camera’s temperature drops steadily until it stabilizes at the desired level. To guarantee ideal performance, give it enough time to cool down fully before starting your observations or imaging sessions. Patience with the cooling process helps you achieve the best results.
Can External Environmental Factors Affect Camera Cooling Efficiency?
External conditions and environmental influences can definitely impact your cooled camera’s cooling efficiency. High ambient temperatures, humidity, and airflow can make it harder for your camera to reach and maintain ideal temperatures. If you’re in a hot or damp environment, expect longer cooling times and potential condensation issues. To guarantee better performance, control external conditions where possible, like using a temperature-controlled room or protective housing to minimize environmental impacts.
What Are the Signs of Condensation Damage in a Cooled Camera?
A stitch in time saves nine, and spotting condensation damage early saves your camera too. You might notice moisture intrusion around seals or on the sensor surface, which can lead to surface corrosion. Look for foggy lenses, water droplets, or a sudden drop in image quality. These signs indicate moisture has compromised your cooled camera, risking further damage if ignored. Stay vigilant to protect your investment.
Are There Specific Maintenance Routines to Prevent Heat Buildup?
To prevent heat buildup, you should regularly check and clean your camera’s fan to guarantee proper airflow and prevent dust accumulation. Use thermal insulation around sensitive components to minimize heat transfer. Additionally, inspect seals and insulation for damage and replace them as needed. Maintaining a clean, well-insulated environment helps keep temperatures stable, reducing condensation risks and protecting your cooled camera’s performance.
How Does Altitude Impact Cooling and Condensation Management?
Imagine your camera as a mountain climber facing the sky’s challenge. Higher altitude effects mean lower atmospheric pressure, which hampers cooling efficiency. As you ascend, heat dissipates less effectively, increasing condensation risk. To manage this, you’ll need enhanced insulation and active temperature control. Keep a close eye on environmental conditions, adjusting your cooling methods to counteract the thinner air’s impact, ensuring your camera stays dry and operational at any elevation.
Conclusion
By balancing heat and halting humidity, you’ll prevent problems and promote peak performance. Properly managing heat and controlling condensation keeps your cooled camera clear, consistent, and capable of capturing crisp, clean images. Stay vigilant, ventilate effectively, and verify your ventilation ventures frequently. When you prioritize prevention with proactive practices, you’ll preserve your camera’s condition and prolong its lifespan, ensuring your imaging remains impressive. Mastering moisture management makes all the difference in maintaining magnificent, malfunction-free photography.