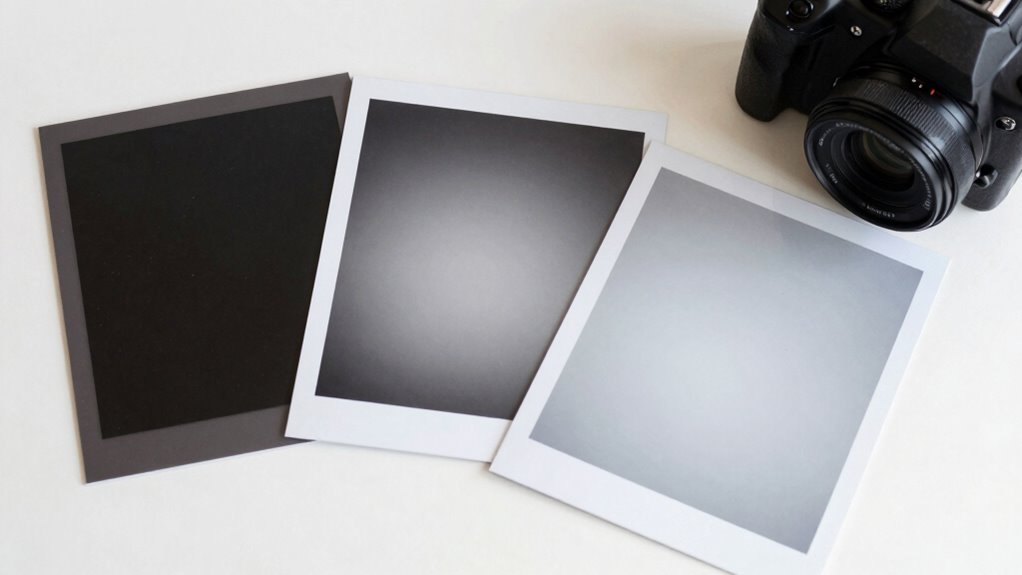
Calibration frames like darks, flats, and biases help you fix imperfections in your astrophotos, making your images clearer and more accurate. Darks remove sensor noise, flats fix uneven lighting and dust spots, and biases capture electronic noise from your camera. By taking these frames carefully and applying them during processing, you’ll get sharper, more detailed images that truly show the night sky. Keep exploring to learn how to take and use each type for the best results.
Key Takeaways
- Darks remove camera sensor noise by capturing images with the lens covered and matching exposure and temperature.
- Flats correct uneven lighting and dust spots by taking pictures of a uniformly lit surface.
- Bias frames record the camera’s baseline electronic noise with the sensor covered at the shortest exposure.
- Using calibration frames during editing improves image clarity, detail, and true color accuracy.
- Always match calibration frame settings to your light images for effective noise reduction and artifact correction.
astrophotography dark frames kit
As an affiliate, we earn on qualifying purchases.
As an affiliate, we earn on qualifying purchases.
What Are Calibration Frames and Why Do They Matter?
Sure! Here’s your article subheading content with the requested modifications:
—
Have you ever wondered how astrophotographers achieve clear, detailed images of the night sky? Calibration frames are essential tools that help improve your photos by correcting camera and telescope imperfections. They include darks, flats, and biases, which work together to guarantee accurate color balance and consistent image quality. Proper equipment maintenance, like cleaning lenses and sensors, reduces dust and dirt that can cause artifacts. Calibration frames remove these imperfections, making your images sharper and more vibrant. Without them, your photos might display unwanted noise or uneven brightness. Understanding how to use calibration frames correctly helps you maintain your equipment and produce stunning, professional-looking astrophotos. They’re a simple yet crucial part of capturing the night sky’s true beauty. Additionally, exploring digital concepts can enhance your understanding of how these frames work within the broader context of astrophotography.
—
Let me know if you need any further assistance!
flat field calibration panel for astrophotography
As an affiliate, we earn on qualifying purchases.
As an affiliate, we earn on qualifying purchases.
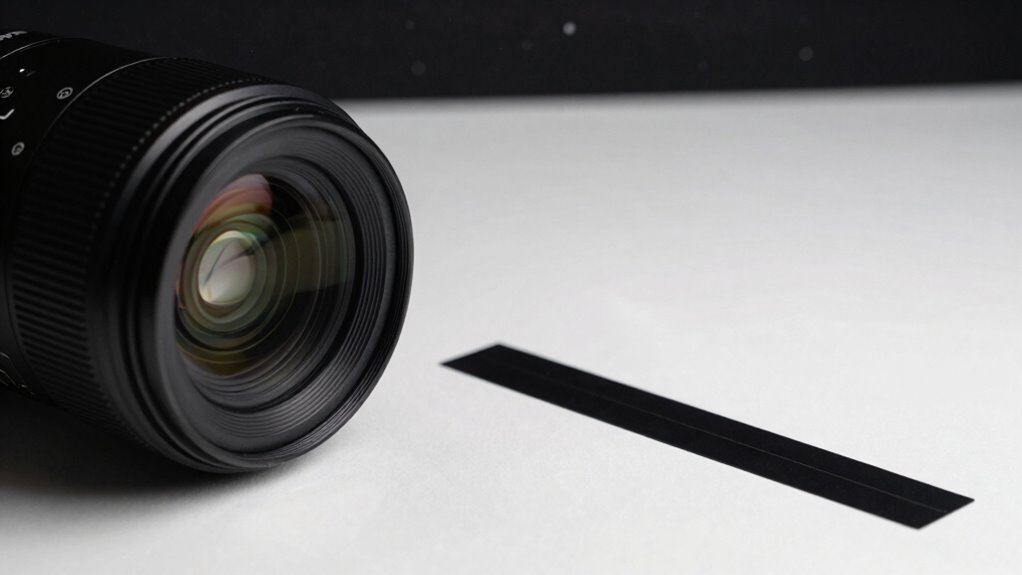
Understanding Dark Frames and How They Reduce Noise
Dark frames are essential for identifying and subtracting sensor noise from your images, leading to cleaner results. To create effective dark frames, you need to match your camera’s settings and temperature and take long exposures in a dark environment. Using these darks helps considerably reduce noise, improving the overall quality of your astrophotography. Additionally, having a solid support network for new fathers can be beneficial in managing the challenges that come with your new hobby.
Purpose of Dark Frames
Understanding dark frames is essential because they help you identify and subtract sensor noise from your images. This noise, caused by heat and electronic imperfections, appears as random speckles or streaks. Dark frames are taken with your camera’s shutter closed at the same camera settings used for capturing your images, guaranteeing they match the noise pattern. They act as a reference to isolate and remove this unwanted noise during processing. Proper equipment compatibility assures the dark frames accurately reflect your camera’s specific sensor behavior. By subtracting dark frames from your images, you reduce noise and improve overall image quality. This process helps reveal faint details and preserves true colors, making your astrophotography or low-light photography clearer and more professional. Additionally, achieving color accuracy through proper calibration enhances the visual experience even further.
Creating Effective Darks
Creating effective dark frames starts with matching your camera settings precisely to those used for your actual shots. The dark signal, which appears as unwanted noise in your images, originates from thermal activity within the sensor. To accurately subtract this noise, you need to confirm your dark frames are captured at the same sensor temperature as your light frames. Use the camera’s cooling system or keep your camera in a stable environment to maintain consistent temperature. Take multiple dark frames to average out anomalies, and keep your camera’s shutter closed during this process. Properly matched darks help eliminate the sensor’s inherent noise, leading to cleaner images. Remember, consistency in temperature and settings is key to creating effective dark frames.
Noise Reduction Benefits
Have you ever wondered how astrophotographers achieve clear, detailed images despite the noise that can obscure faint celestial objects? Dark frames play a crucial role by helping reduce this noise during image processing. They capture sensor sensitivity variations and thermal noise, which are consistent across images taken at the same temperature and exposure. When you subtract dark frames from your light images, you remove much of this unwanted noise, resulting in cleaner, sharper details. This process improves the overall quality of your astrophotos, especially in long exposures where noise buildup is more prominent. By understanding how dark frames work, you enhance your image processing, making your images clearer and more precise. This simple step can make a significant difference in revealing the true beauty of the night sky.
bias frame capture camera
As an affiliate, we earn on qualifying purchases.
As an affiliate, we earn on qualifying purchases.
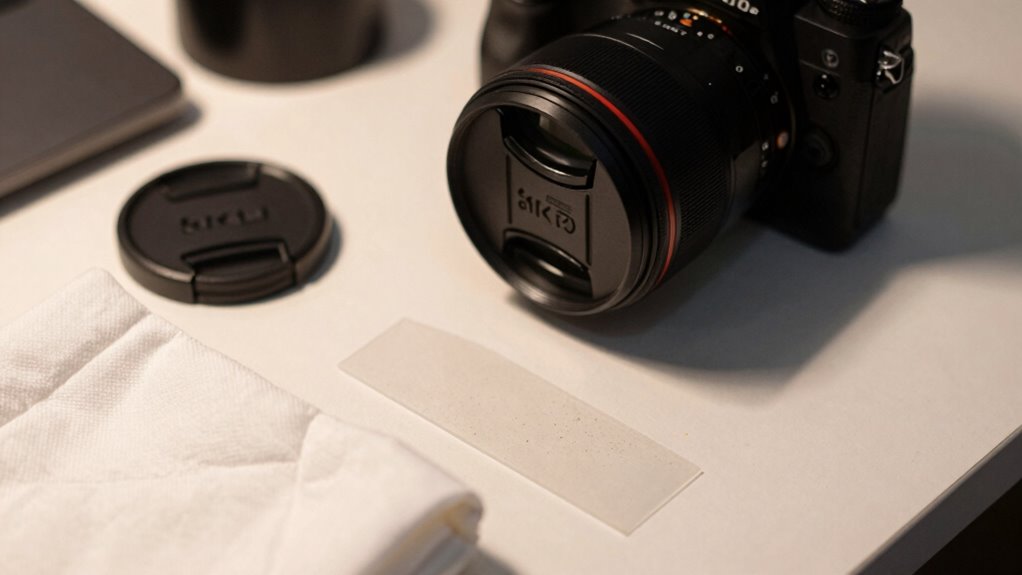
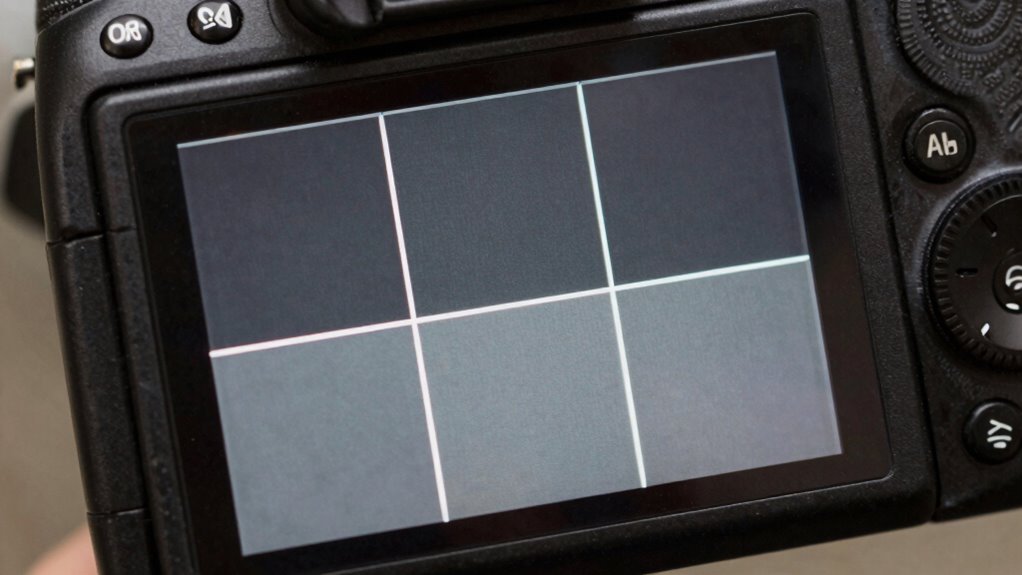
How Flat Frames Correct Light and Dust Artifacts
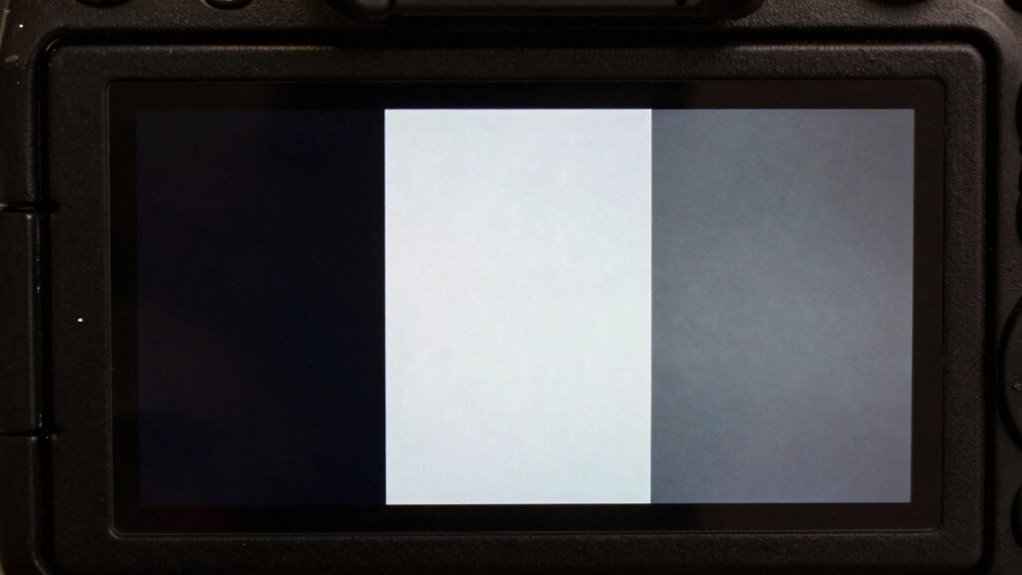
Flat frames play a crucial role in correcting light and dust artifacts that can compromise your astrophotography images. They help guarantee color accuracy by compensating for uneven illumination, vignetting, and dust spots on your optical path. To be effective, flat frames must match your exposure settings, including the same focus, filter, and camera orientation used during your light captures. Properly shot flat frames remove inconsistencies caused by dust on your sensor or optical surfaces, leading to cleaner, more accurate images. When you apply flat frames during calibration, they smooth out brightness variations and dust shadows, resulting in a more uniform background. This process considerably enhances your final image quality, making your astrophotography sharper, more detailed, and true to life.
astrophotography calibration frames set
As an affiliate, we earn on qualifying purchases.
As an affiliate, we earn on qualifying purchases.
What Are Bias Frames and Why Are They Important?
Bias frames help you remove electronic noise from your images by capturing the camera’s baseline signal. They work by recording the readout noise present when no light hits the sensor, which you can then subtract from your actual images. Understanding their purpose guarantees your data stays clean and accurate. Incorporating high-protein breakfast options can enhance your overall productivity on busy mornings.
Purpose of Bias Frames
Bias frames are crucial for correcting the electronic noise introduced by your camera’s sensor during image capture. They play a key role in sensor calibration, helping you remove the constant electronic offset that affects every image. Without bias frames, your photos might show unwanted patterns or uneven brightness, reducing image uniformity. By capturing bias frames, you ensure that your final images are cleaner and more accurate. They help eliminate the built-in noise of your camera’s electronics, making your data more reliable. This process improves the overall quality of your astrophotography, especially when stacking images. In short, bias frames are a quick but essential step to achieve better calibration, giving your images a consistent, noise-free appearance.
How Bias Frames Work
Understanding how bias frames work is essential for ensuring your astrophotography images are as clean and accurate as possible. Bias frames capture the electronic noise inherent to your camera’s sensor during image processing. They record the baseline signal when no light hits the sensor, helping you eliminate readout noise in your final images. By subtracting the bias frame from your light frames, you perform sensor calibration, reducing noise artifacts. Here’s a quick overview:
| Bias Frame Function | Purpose | Key Benefit |
|---|---|---|
| Capture electronic noise | Sensor calibration | Cleaner images |
| Subtract from light frames | Noise reduction | Accurate data |
| Quick and easy to take | Efficient workflow | Better image quality |
| Used before other frames | Proper calibration | Precise astrophotography |
Bias frames are crucial for precise, noise-free astrophotography. When combined with other calibration frames, they enhance your overall image processing techniques, leading to stunning results in your astrophotography endeavors.
How to Capture Calibration Frames Step-by-Step
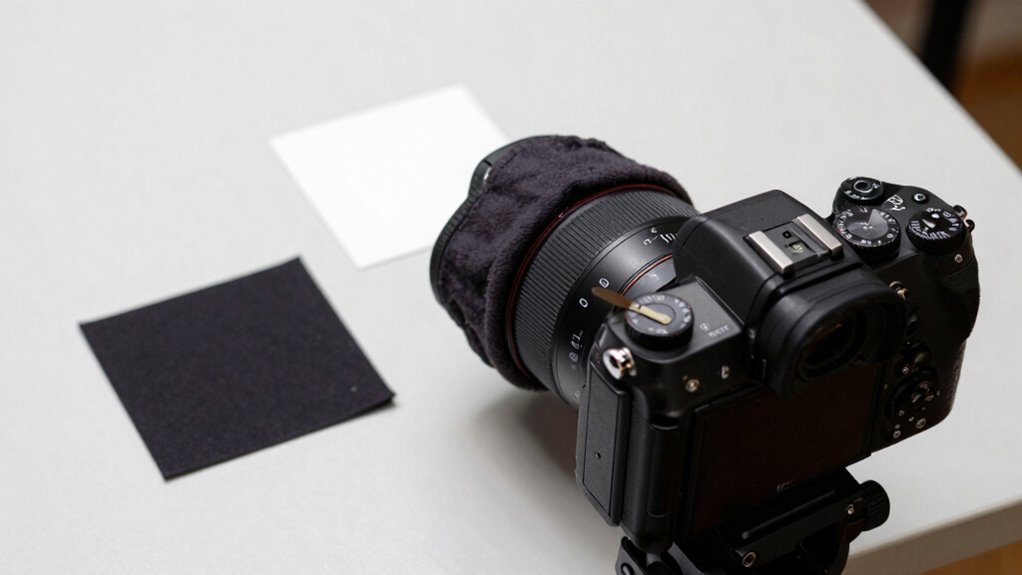
Capturing calibration frames is a straightforward process that guarantees your astrophotography images are free of sensor noise and imperfections. Start by setting your camera to the same exposure settings used for your light frames to maintain consistency. Next, prepare your equipment calibration by turning off any automatic features like gain or ISO adjustments. To capture your calibration frames:
Capture calibration frames with consistent settings to ensure noise-free, high-quality astrophotography images.
- Cover the lens or telescope to create dark frames.
- Use a uniformly illuminated surface or light source for flat frames.
- Keep the camera sensor covered for bias frames.
Make sure your camera is stable and in the same position as during your light exposures. Consistent exposure settings are vital for effective calibration, helping you achieve accurate, noise-free images.
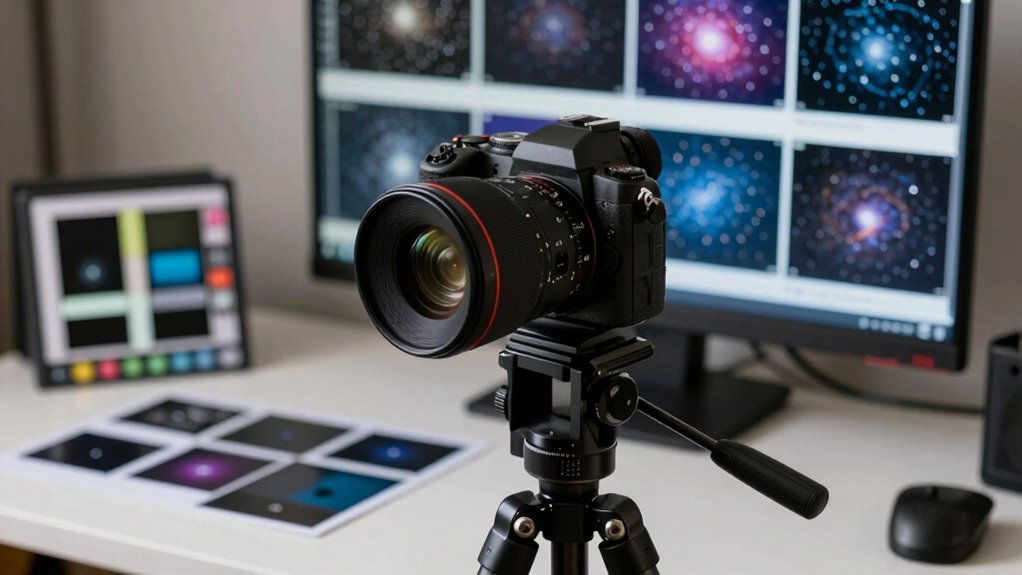
Using Calibration Frames to Improve Your Astrophotos
Once you’ve taken your calibration frames, incorporating them into your image processing workflow can considerably enhance your astrophotos. By applying calibration frames during image stacking, you reduce noise and correct sensor imperfections, leading to cleaner results. Adjust your camera settings carefully to guarantee consistent exposures, making calibration frames more effective. Use dark frames to eliminate thermal noise, flats to correct uneven illumination, and bias frames to address sensor readout noise. When stacking images, include your calibration frames to automatically subtract or correct for these issues. This process improves detail and contrast, revealing more of the night sky. The combination of proper calibration and thoughtful image stacking ensures your final astrophotos are sharp, clear, and true to the celestial objects you’re capturing.
Frequently Asked Questions
Can I Reuse Calibration Frames for Different Sessions?
Yes, you can reuse calibration frames across different sessions, but it depends on calibration frame longevity and your equipment’s stability. Follow calibration reuse guidelines by ensuring your camera and optics haven’t changed considerably. Keep in mind that calibration frames may degrade over time, especially if stored improperly. Regularly review and update your frames to maintain accuracy, and always test new frames if your setup or conditions change substantially.
How Often Should I Update My Calibration Frames?
You should update your calibration frames whenever your lens calibration or sensor temperature changes considerably, as these factors affect their accuracy. Regularly creating new darks, flats, and bias frames ensures your images stay sharp. If you notice inconsistencies or new artifacts, it’s a good sign to refresh your calibration frames. Generally, updating every few sessions or after major temperature shifts keeps your calibration precise and reliable.
What Equipment Is Best for Capturing Calibration Frames?
You should use a stable, clean camera with good sensor cleaning tools for capturing calibration frames. A DSLR or mirrorless camera with manual controls is ideal for lens calibration. Keep your lens and sensor spotless to avoid artifacts, and use a well-lit uniform surface or flat field panel for flats. Regularly check and update your calibration frames, especially after cleaning or changing lenses, to guarantee the best image quality.
Do Calibration Frames Work With All Types of Cameras?
Calibration frames are like a universal language, but their effectiveness depends on your camera’s compatibility. Most digital cameras and dedicated astrophotography gear respond well, yet some older or specialized models might face calibration limitations. You’ll want to check your camera’s specifications to confirm it can produce clean darks, flats, and bias frames. When compatible, calibration frames become your trusty toolkit, sharpening your images and revealing the universe’s hidden details.
Can Calibration Frames Fix Severe Image Distortions?
Calibration frames can’t fix severe image distortions caused by sensor noise or light pollution. They are designed to correct issues like hot pixels, uneven illumination, and sensor electronics, but can’t resolve major distortions or atmospheric effects. If you face severe distortions, you’ll need to use specialized software for image stacking, correction, or post-processing techniques. Calibration frames improve overall image quality but aren’t a fix-all for significant distortions.
Conclusion
So there you have it—your quick cheat sheet to mastering calibration frames without the jargon. Now, armed with darks, flats, and bias frames, you can banish noise, dust, and pesky light leaks like a pro. No more guesswork, no more frustration. Just smooth, stunning astrophotos that scream, “I know what I’m doing!” So go ahead, calibrate away, and turn those starry blobs into cosmic masterpieces—because, hey, even amateurs can look like the real deal.