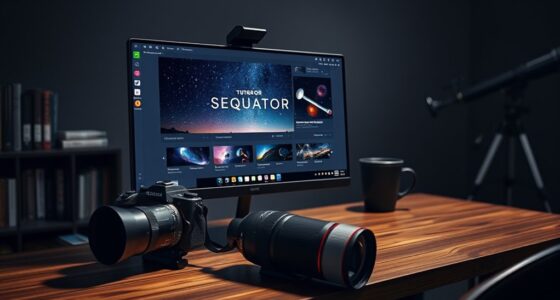

In the Complete Color Mapping in Narrowband Playbook, you’ll learn how to translate spectral signatures captured through narrowband filters into visually striking images. You’ll discover techniques for selecting appropriate color schemes, creating accurate maps, and enhancing contrast and detail effectively. Troubleshooting tips help refine your results and improve image quality. Continue exploring to access the full potential of your narrowband astrophotography and produce scientifically meaningful, enthralling visuals that reveal hidden cosmic features.
Key Takeaways
- Understand spectral signatures and filter characteristics to accurately assign colors corresponding to specific wavelengths.
- Select appropriate color mapping techniques—such as false color, hue blending, or gradient maps—to emphasize celestial features.
- Preprocess spectral data with noise reduction and normalization before applying color mappings for consistency.
- Calibrate color maps using known spectral references to ensure real-world wavelength accuracy.
- Troubleshoot and refine images by verifying filter calibration, adjusting processing parameters, and validating against spectral standards.
Understanding Narrowband Filters and Their Spectral Signatures
Narrowband filters are essential tools in astrophotography because they isolate specific wavelengths of light, allowing you to capture detailed information about celestial objects. These filters work by blocking out unwanted light and transmitting only narrow spectral signatures associated with specific elements, such as hydrogen-alpha, oxygen-III, or sulfur-II. Understanding spectral signatures helps you interpret the data captured through these filters, revealing the composition and structure of nebulae and other objects. Proper filter characterization is vital; it ensures you know the precise wavelength the filter transmits, which impacts your image’s accuracy and color mapping. By grasping how narrowband filters interact with spectral signatures, you can optimize your imaging process and produce more detailed, scientifically meaningful astrophotography. Accurate filter characterization is fundamental to achieving reliable and consistent results in your imaging workflow.
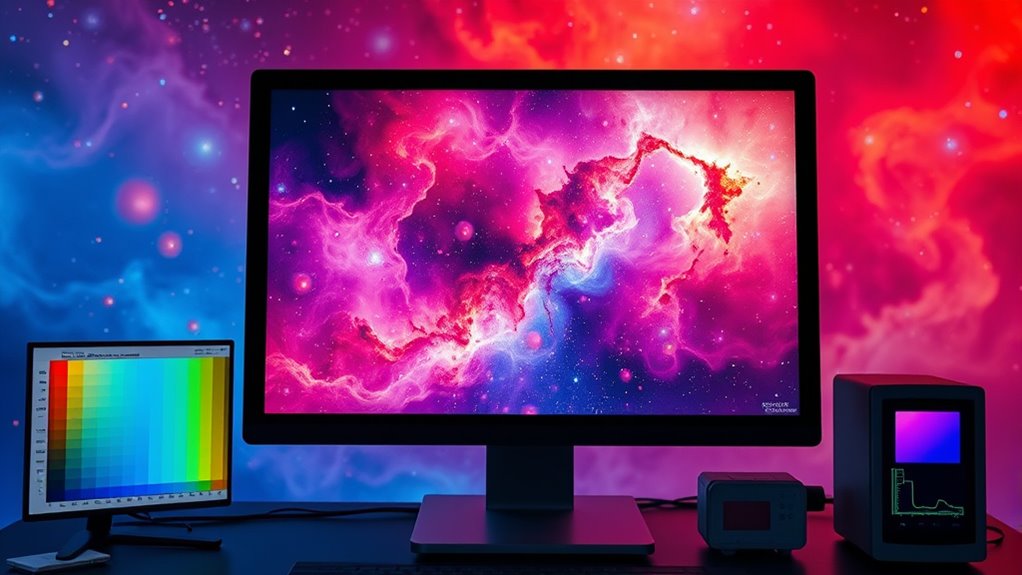
Selecting the Right Color Mapping Techniques for Your Data
Choosing the appropriate color mapping techniques is essential for effectively visualizing your narrowband data. You want to ensure your images accurately represent the true signals, which involves careful use of false color and proper color calibration. False color mapping highlights spectral features that are otherwise invisible, but selecting the right scheme can make details stand out without misleading viewers. Color calibration ensures your colors remain consistent across different devices and datasets. Use the following ideas to guide your choice:
| Technique | Purpose |
|---|---|
| False Color | Enhance spectral features |
| Color Calibration | Maintain color accuracy |
| Sequential Maps | Show data gradients |
| Diverging Maps | Highlight differences |
| Qualitative Maps | Classify categories |
Pick techniques aligned with your data’s message, avoiding misinterpretation. Additionally, understanding visualization principles can help you select the most effective mapping strategies.
Step-by-Step Workflow for Creating Accurate Color Maps

Creating accurate color maps involves following a clear, methodical process to guarantee your visualizations genuinely reflect your data. Begin by preprocessing your spectral analysis data to remove noise and normalize intensities. Next, choose an appropriate false color scheme that highlights key features without distortion. Assign color values systematically based on spectral signatures, ensuring consistent mapping across datasets. Use calibration references to align your color map with real-world wavelengths, which improves accuracy. Validate your results by comparing your false color images with known spectral features or reference images. Document each step to maintain reproducibility. Incorporating protective styling benefits from the Textile Line can help ensure your physical samples remain intact during analysis. This workflow helps prevent misinterpretation and ensures your color maps reliably communicate the underlying spectral information, ultimately providing a solid foundation for insightful analysis.
Advanced Methods for Enhancing Contrast and Detail

Have you ever struggled to distinguish subtle features in your spectral images? Advanced techniques like false color mapping can help. By assigning different wavelengths to specific colors, you enhance contrast and make faint details stand out. Hue blending is another powerful tool, allowing you to smoothly change between colors and emphasize subtle variations. These methods work together to reveal hidden structures and improve overall image clarity. Adjusting false color schemes and fine-tuning hue blending can dramatically improve your image’s depth and detail. Remember, small tweaks can have a big impact, so experiment to find the best settings for your data. Additionally, understanding glamping principles can inspire you to approach your imaging with a focus on sustainability and innovation, leading to more eco-conscious practices. Mastering these advanced methods elevates your narrowband imaging, giving you sharper, more detailed results that reveal the universe’s intricate beauty.
Tips for Troubleshooting and Refining Your Narrowband Images
When your narrowband images don’t look quite right, troubleshooting quickly becomes essential to identify and fix issues. First, check your filter calibration to ensure the filters are accurately aligned and functioning properly; miscalibrated filters can cause color inaccuracies and uneven brightness. Next, focus on noise reduction techniques—use appropriate stacking methods and adjust your processing settings to minimize noise without losing detail. If you notice color artifacts or inconsistent hues, revisit your calibration steps and verify your imaging conditions. Evaluating your calibration frames, such as flats and darks, helps correct any inconsistencies. Regularly refining your calibration process and applying targeted noise reduction will improve image quality, making your narrowband images clearer, more accurate, and easier to interpret. Additionally, understanding Resources and Tools available for troubleshooting can streamline your workflow and help you achieve better results.
Frequently Asked Questions
How Do Different Camera Sensors Affect Narrowband Color Mapping?
Different camera sensors affect narrowband color mapping because their spectral sensitivity varies, impacting how colors are captured. You need to perform sensor calibration to account for these differences, ensuring accurate color representation. Sensors with broader or shifted spectral sensitivity may require adjustments in your mapping process, so you can produce consistent results across different equipment. Proper calibration helps you manage these variations, leading to more precise and reliable narrowband color mapping.
Can I Apply These Techniques to Real-Time Narrowband Imaging?
Ever wondered if you can do real-time narrowband imaging? Yes, you can, but it requires optimized software for real-time processing and accurate sensor calibration. You’ll need to streamline your workflow, ensuring your camera sensor is calibrated precisely to maintain color fidelity. This way, you can achieve seamless, live narrowband color mapping, making real-time applications practical and effective for astrophotography or scientific imaging.
What Software Tools Are Best for Automating Color Mapping Processes?
You should consider software automation tools like PixInsight, Fiji, or MATLAB for automating color mapping processes. These programs offer powerful color mapping tools that allow you to streamline your workflow and achieve consistent results. They support scripting and batch processing, making it easier to handle large datasets or real-time imaging. By using these software tools, you can save time and guarantee precise, repeatable color mapping in your narrowband imaging projects.
How Does Atmospheric Condition Impact Narrowband Filter Effectiveness?
Atmospheric conditions can dramatically impact your narrowband filter effectiveness, especially when atmospheric interference and haze distortion come into play. As haze thickens or interference intensifies, your filters struggle to isolate specific wavelengths, reducing image clarity and contrast. You might notice subtle shifts or loss of detail, making it vital to monitor weather and atmospheric quality. Stay vigilant—these elements can turn an essential night into an unpredictable challenge.
Are There Industry-Specific Standards for Narrowband Color Representations?
You’ll find that industry-specific standards for narrowband color representations do exist, often guided by standardization guidelines and color calibration protocols. These standards guarantee consistency across different systems and applications, whether in astronomy, remote sensing, or imaging. Adhering to these guidelines helps you maintain accurate color interpretation, improves interoperability, and ensures your narrowband images align with industry best practices. Following these standards is essential for reliable, professional results in your work.
Conclusion
Think of your narrowband images as a canvas waiting to be painted with vibrant colors. By understanding filters, choosing the right techniques, and refining your workflow, you’ll bring out the hidden details like a master artist. With patience and practice, your images will transform into stunning masterpieces that reveal the universe’s secrets. Keep experimenting and fine-tuning—your perfect color map is just a brushstroke away, ready to illuminate the cosmos in breathtaking detail.