To stack stars and a comet without artifacts, start by properly calibrating your images with darks, flats, and biases. Use precise alignment to prevent blurriness, and select sharp, consistent frames. Separate the comet from the star field using masking tools, then stack and enhance each layer individually. Carefully blend the layers with masks, adjusting brightness and contrast to keep a natural look. Keep these tips in mind, and you’ll discover techniques for flawless astrophotography as you go.
Key Takeaways
- Use specialized software to align and stack star and comet images separately, minimizing artifacts.
- Create masks to isolate the comet from star fields before stacking to preserve detail.
- Apply calibration frames (darks, flats, biases) consistently to reduce noise and correct imperfections.
- Refine edges with “Select and Mask” or “Refine Edge” tools for seamless blending of layers.
- Adjust stacking parameters and perform sequential processing to optimize clarity and prevent streaks or trails.
astrophotography star and comet stacking software
As an affiliate, we earn on qualifying purchases.
As an affiliate, we earn on qualifying purchases.
Why Stacking Stars and Comets Can Be Challenging
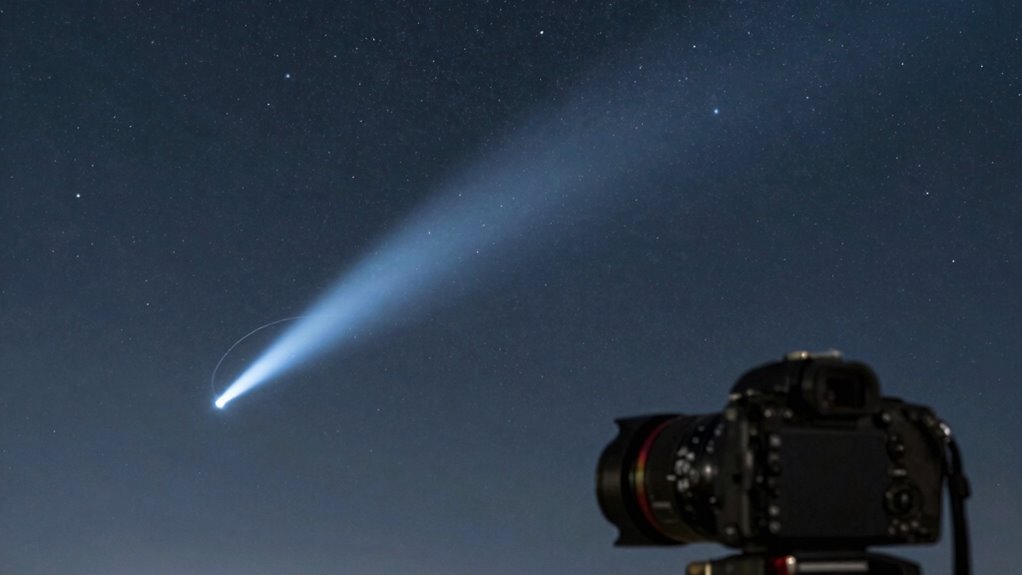
Stacking stars and comets in astrophotography can be tricky because these objects often move across the sky, making it difficult to align multiple images perfectly. Your astrophotography gear plays a critical role—using the right mount, tracking system, and camera settings helps minimize star trails and movement. Celestial navigation becomes essential, as you need to identify the comet’s position relative to fixed stars to keep your shots aligned. The challenge lies in accounting for the comet’s motion while keeping the stars sharp, especially during long exposures. Without proper tracking or alignment, you risk introducing artifacts or blurry streaks. Understanding how celestial objects move and adapting your gear accordingly helps guarantee your stacked images are clear, well-aligned, and free of unwanted distortions. Additionally, setting financial goals can help you allocate resources effectively for astrophotography gear upgrades, enhancing your overall imaging experience. Engaging in creative practices can also inspire new techniques and approaches to overcoming these astrophotography challenges.
calibration frames darks flats biases for astrophotography
As an affiliate, we earn on qualifying purchases.
As an affiliate, we earn on qualifying purchases.
Choosing the Right Images for Comet and Star Stacking
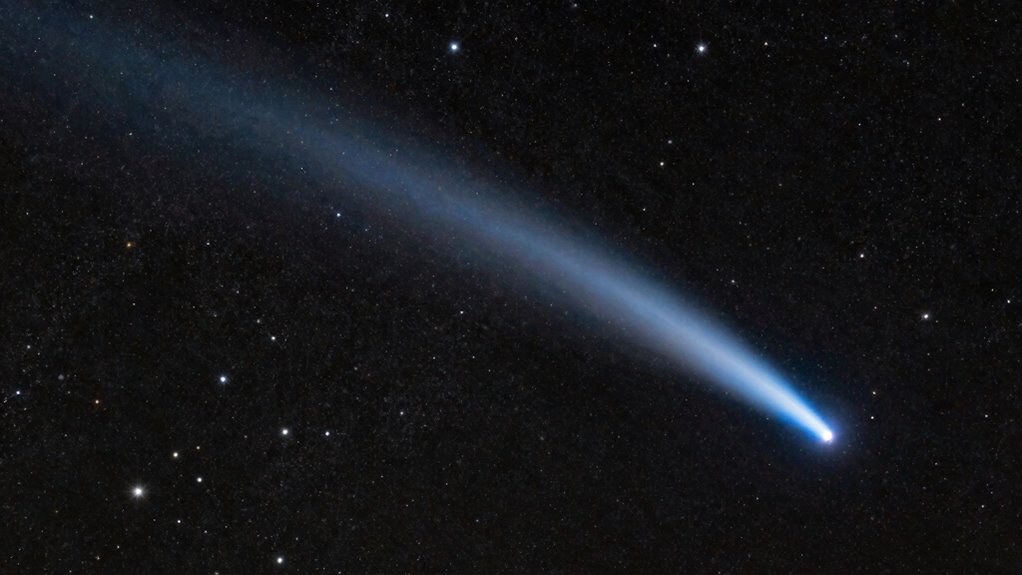
Selecting the right images is a vital step in creating clear, detailed stacks of comets and stars. You want images that enhance detail while minimizing artifacts. Focus on these aspects:
- Consistent Exposure and Focus: Choose shots with similar exposure and sharp focus to ensure smooth stacking.
- Color Correction: Pick images with accurate colors to make the comet and stars stand out without dullness or unnatural hues.
- Noise Reduction: Select frames with minimal noise, especially in dark areas, to avoid graininess and improve overall clarity. Additionally, exploring content formats can help you identify various image styles that may enhance your stacking process.

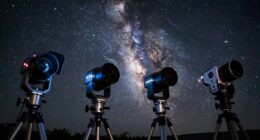
Sky-Watcher Star Adventurer 2i Pro Pack – Motorized DSLR Night Sky Tracker Equatorial Mount for Portable Nightscapes, Time-Lapse and Panoramas – Wi-Fi App Camera Control – Long Exposure (S20512)
Portable nightscape tracking platform: Motorized portable tracking platform perfect for capturing incredible detail of the Milky Way, eclipses…
As an affiliate, we earn on qualifying purchases.
As an affiliate, we earn on qualifying purchases.
Preparing Your Photos: Calibration, Alignment, and Exposure
To get the best results, you need to calibrate your camera and equipment for accuracy. Setting proper exposure guarantees your images capture enough detail without overexposing. Getting these basics right creates a solid foundation for successful comet processing. Additionally, understanding color accuracy can significantly enhance the visual quality of your astrophotography. Moreover, ensuring your equipment is optimized for efficiency can improve your overall imaging performance and reduce the likelihood of errors. Incorporating natural lighting techniques can also help elevate the effectiveness of your astrophotography setup.
Calibration for Accuracy
Have you ever wondered why your astrophotography images sometimes look off or lack detail? Calibration for accuracy is vital. It corrects imperfections caused by camera sensor noise, light pollution, or uneven star trails. Imagine your images as a clear window into the night sky, free of distortions. To achieve this, you need to perform calibration steps like creating master darks, flats, and biases. These help remove sensor noise and uneven illumination. Think of it as sharpening an image so stars appear crisp and trails smooth. Proper calibration ensures that your star trail images are accurate, preventing artifacts caused by light pollution or sensor flaws. This process sets the foundation for stunning, precise astrophotos, giving you the true beauty of the night sky without distractions.
Proper Exposure Settings
Proper exposure settings are the key to capturing clear, detailed astrophotos. To achieve this, start with a balanced exposure time that allows enough light without overexposing stars or the comet. Use a wide aperture to maximize light intake and set your ISO to a low or moderate level to reduce noise. Proper exposure ensures accurate color correction, helping the stars and comet display their natural hues. It also minimizes noise, which can obscure details and create artifacts during stacking. Keep your camera steady and avoid overexposure to prevent star trails and loss of detail. Adjust settings based on your camera’s sensor and sky conditions. Understanding seasonal variations in sky conditions is essential for precise exposure, ensuring effective noise reduction and achieving sharp, vibrant images of stars and comets.

Astro Pneumatic Tool ASMS2 Masking Station – Tree Type
Includes bars for 4 paper rolls up to 18"" and 4 tape rolls
As an affiliate, we earn on qualifying purchases.
As an affiliate, we earn on qualifying purchases.
Separating the Comet and Star Data for Better Processing
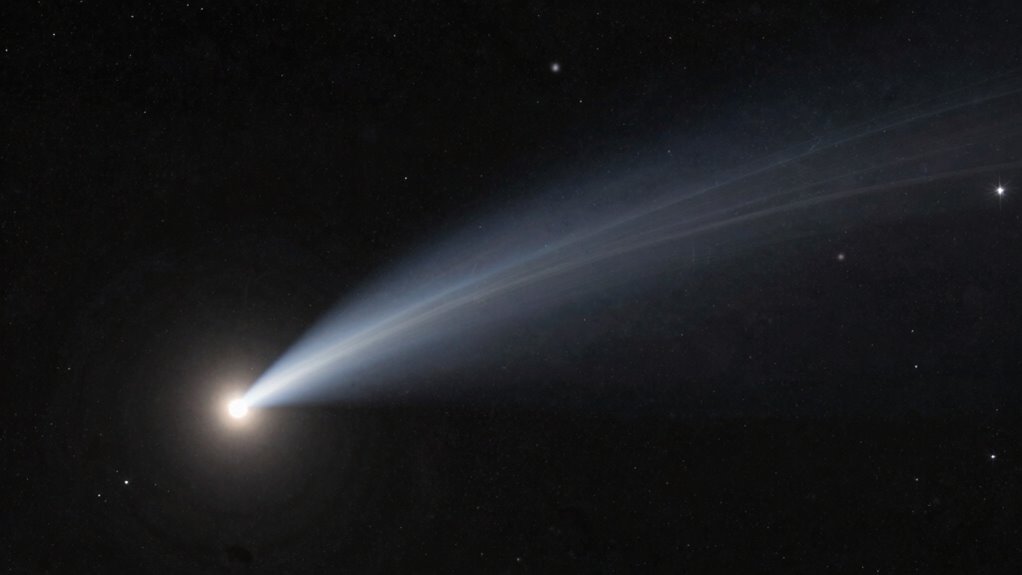
Separating comet data from star data is a crucial step to improve processing accuracy. This allows you to apply tailored techniques like color correction and noise reduction more effectively. Imagine isolating the comet against the starry background, giving you a clear view to enhance details. To do this, you might:
Isolating comet data from stars enhances detail and processing precision for stunning astrophotography results.
- Use masking tools to carefully delineate the comet from stars.
- Create separate stacks for the comet and stars, preserving their unique features.
- Apply color correction to the comet data to emphasize its details without affecting the stars, then reduce noise for a cleaner look.
How to Use Layer Masks to Blend Star and Comet Stacks
You can use layer masks to seamlessly blend your star and comet stacks, making the shift look natural. Focus on applying the mask effectively to hide or reveal parts of each layer as needed. Finally, refine the mask edges to guarantee smoothness and avoid harsh lines, creating a polished final image.
Applying Layer Masks Effectively
Layer masks are essential for seamlessly blending star and comet stacks, allowing you to control where each element appears in your composition. Use masks to hide or reveal parts of layers, guaranteeing smooth transitions. Focus on refining color correction by adjusting masked areas to match the overall scene, creating harmony between stars and the comet. Noise reduction is also vital; apply it selectively to masked areas to eliminate graininess without sacrificing detail. To visualize, imagine:
- Painting softly over the comet’s tail, revealing its glow while keeping stars crisp.
- Masking out noisy regions around the comet’s core, smoothing imperfections.
- Blending the background with star fields, making the scene appear natural and cohesive. Effective mask application enhances realism and guarantees your composite looks polished.
Blending Star and Comet Layers
Blending star and comet layers seamlessly is essential for creating a natural, cohesive scene. Use layer masks to control where each element appears, adjusting visibility for a smooth shift. Start by applying color correction to match the tones of both layers, guaranteeing they blend harmoniously. Noise reduction helps eliminate any graininess that might stand out at the edges, making the shift more seamless. Use a soft brush on your mask to gently fade the comet into the starfield, avoiding harsh lines. Pay attention to subtle differences in brightness and color to maintain realism. Proper masking combined with color correction and noise reduction ensures your composite looks natural, professional, and free from distracting artifacts.
Refining Mask Edges
Refining mask edges is key to achieving a seamless blend between your starfield and comet layers. Proper mask refinement ensures the handover appears natural, avoiding harsh lines or artifacts. To do this, focus on edge smoothing techniques that soften the mask’s boundary, making it blend effortlessly with the background.
- Use the “Refine Edge” or “Select and Mask” tool to paint over jagged areas, softening the edges.
- Adjust the sliders for feathering and contrast to improve smoothness and detail retention.
- Zoom in to meticulously refine details around the comet’s tail and star edges, guaranteeing a flawless handover.
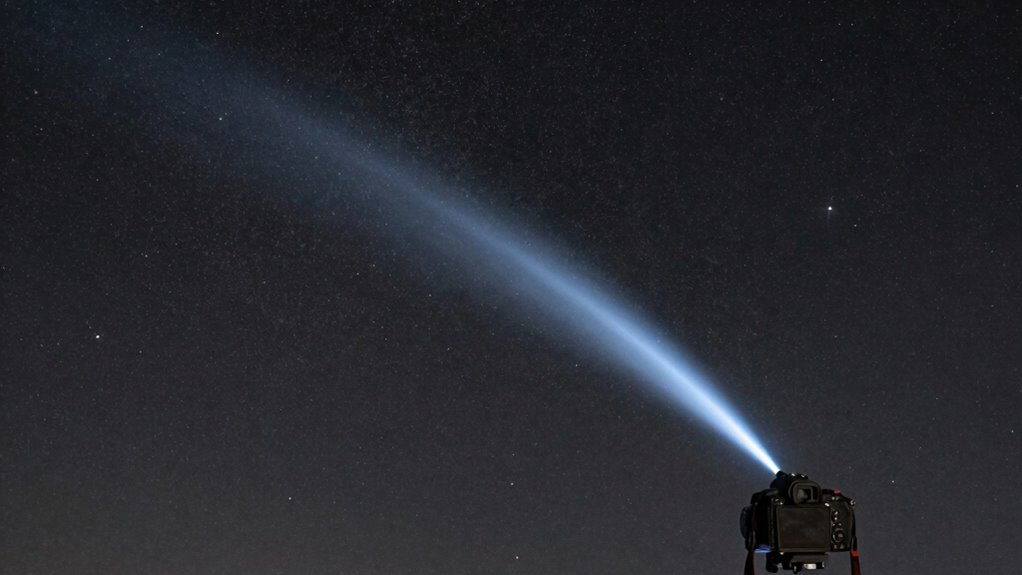
Tips for Preserving Fine Details and Preventing Artifacts
To preserve fine details and prevent artifacts during processing, it’s essential to handle your image carefully at each step. Watch out for issues caused by celestial motion and light pollution, which can blur or obscure details. Use gentle stacking methods, avoiding over-sharpening, to maintain star and comet clarity. Proper calibration frames help eliminate noise and artifacts. Keep an eye on your histogram to avoid clipping highlights or shadows.
| Tip | Why it matters | How to implement |
|---|---|---|
| Minimize Celestial Motion | Keeps stars sharp | Use accurate tracking or alignment |
| Reduce Light Pollution | Preserves faint details | Employ light pollution filters |
| Use Gentle Processing | Prevents artifacts | Avoid aggressive adjustments |
| Calibrate Properly | Eliminates noise and errors | Use darks, flats, and bias frames |
Adjusting Brightness and Contrast for a Natural Look
When adjusting brightness and contrast, you want to find the right balance to make your comet look natural without losing details. Enhancing natural contrast helps bring out the features, but overdoing it can create unwanted artifacts. Keep a close eye on your settings to avoid overprocessing and maintain an authentic appearance. Utilizing online tools designed to detect passive voice can further enhance your writing clarity as you document your techniques.
Balancing Brightness Levels
Have you ever noticed how overly bright or dull images can distract from their natural beauty? Balancing brightness levels helps preserve detail without making the scene look unnatural. To do this effectively, focus on three key steps:
- Adjust the overall brightness, ensuring stars and the comet aren’t blown out or too faint.
- Use color correction techniques to maintain natural hues, avoiding oversaturation.
- Apply noise reduction carefully, especially in dark areas, so grain doesn’t obscure details.
This process enhances the image’s clarity and realism. When balancing brightness, keep contrast subtle but effective, avoiding harsh shifts. Properly adjusted brightness and contrast make the comet and stars appear more vibrant, while noise reduction prevents grain from undermining the natural look.
Enhancing Natural Contrast
Achieving a natural look in your astrophotography often hinges on how effectively you adjust brightness and contrast. To enhance natural contrast, start by fine-tuning these settings to preserve the scene’s true colors. Proper color calibration ensures your stars and comet retain their authentic hues without oversaturation. Use subtle contrast adjustments to highlight details without making the image look artificial. Be cautious of noise, which can distort contrast; applying noise reduction helps maintain smooth progression and clarity. Striking the right balance allows your image to look realistic while emphasizing key features. Remember, the goal is to reveal the scene’s true beauty, not to distort it. Thoughtful brightness and contrast adjustments, combined with accurate color calibration and noise reduction, create a natural, compelling astrophotograph.
Avoiding Overprocessing Artifacts
Adjusting brightness and contrast can quickly enhance your astrophotograph, but overdoing it risks introducing artifacts that distort the scene. To avoid this, focus on subtle tweaks that preserve natural details. For example:
- Visualize gentle color correction that balances star hues without oversaturating, keeping the comet’s glow authentic.
- Use noise reduction carefully to smooth out grainy areas, but avoid blurring fine details or creating unnatural smoothness.
- Adjust contrast just enough to make stars pop without flattening the image or exaggerating shadows and highlights.
Final Touches: Removing Residual Artifacts and Enhancing Features
Once you’ve completed the initial processing of your comet image, the next step is to refine it by removing any lingering artifacts and sharpening its features. Start with color correction to balance the hues, ensuring the comet’s glow and background stars look natural. Then, apply noise reduction carefully to smooth out graininess without losing detail, especially in dark regions. Use selective techniques to preserve the comet’s core and tail, where detail matters most. Once noise is minimized, sharpen key features to make the comet stand out, enhancing contrast and clarity. These final touches help create a cleaner, more vibrant image, emphasizing the comet’s structure while eliminating residual artifacts that could distract from the overall quality. Additionally, understanding home improvement fundamentals can provide valuable insights into the best equipment and techniques for capturing stunning astrophotography.
Common Mistakes to Avoid When Stacking Comets and Stars
When stacking comet and star images, it’s easy to make mistakes that can compromise your final result. One common error is misaligning images, which causes a blurry or doubled appearance. Confirm your astrophotography accessories, like precise tracking mounts, are calibrated correctly. Another mistake is ignoring celestial event timing; capturing frames at varying times can lead to inconsistent star positions and comet tails. This can be particularly problematic because digital transaction security relies on precise timing and alignment to ensure data integrity. Additionally, keep in mind that healing time for any equipment adjustments can affect your overall setup. Finally, stacking without proper calibration frames—like darks, flats, and biases—introduces artifacts or uneven backgrounds. To avoid these issues, double-check your alignment, plan your shoot around ideal celestial events, and include all necessary calibration frames. Being mindful of these mistakes helps you create crisp, artifact-free images that truly showcase the beauty of comets and stars. Additionally, understanding safety tips for tools can enhance your overall astrophotography experience by ensuring you handle equipment properly.
Saving and Exporting Your Astro Images With Confidence
Saving and exporting your astro images confidently is vital to preserving their quality and guaranteeing they look great across different platforms. Before exporting, perform spectral analysis to verify your data and confirm color accuracy. Proper equipment calibration is essential—calibrate your camera, mount, and filters regularly to prevent artifacts and maintain consistency. When saving, use high-quality formats like TIFF or PNG to avoid compression artifacts, especially if you’ll do further edits. Adjust color profiles to match the intended display medium, whether online or print. Double-check your histogram for proper exposure. Export with consistent settings, keeping the original metadata intact. This approach guarantees your images retain their detail and clarity, reflecting your precise spectral analysis and calibration efforts, and assures professional results every time.
Frequently Asked Questions
How Do I Choose the Best Software for Comet and Star Stacking?
You should choose software that offers robust image calibration features to correct noise and distortions, ensuring clean results. Check for software compatibility with your camera and hardware to avoid technical issues. Opt for programs like DeepSkyStacker or AstroPixelProcessor, which are popular for comet and star stacking. They provide user-friendly interfaces and powerful stacking options, helping you get clear, artifact-free images of both comets and stars.
What Are the Signs of Artifacts in Stacked Images?
Signs of artifacts in stacked images include unnatural halos around stars, streaks or smudges, and inconsistent brightness or color patches. During artifact detection, look for these irregularities that don’t match the natural star or comet patterns. Stacking challenges often cause these issues, so make certain your alignment is precise and that you’re using appropriate stacking settings. Proper processing helps minimize artifacts, resulting in clearer, more accurate astrophotography results.
How Can I Optimize Settings for Faint Comet Details?
To optimize settings for faint comet details, you’d think you’re trying to spot a needle in a haystack—except the haystack is full of noise. Use noise reduction wisely to cut unwanted grain, and adjust exposures to enhance faint features without overexposing brighter stars. Keep a balanced approach: too long an exposure, and you drown details in noise; too short, and your comet remains a ghost.
What Techniques Help in Reducing Star Trails During Stacking?
To reduce star trails during stacking, you should use star trail elimination techniques like aligning images on the comet or stars, rather than the background stars, for stacking accuracy. Employ software that allows precise registration based on the comet’s position, ensuring the stars are shifted accordingly. Additionally, keep your exposure times short to minimize movement, and consider stacking only the sharpest frames to preserve detail and reduce trails.
How Do I Handle Varying Light Conditions Across Images?
To handle varying light conditions across your images, start with proper sensor calibration to guarantee consistent data. Use exposure blending by combining images with different exposures to balance highlights and shadows, creating a uniform look. This technique helps manage changing lighting while preserving detail. Make sure to align your images carefully during stacking, so the blending appears seamless, and avoid artifacts caused by uneven exposure differences.
Conclusion
Mastering comet and star stacking can dramatically improve your astrophotos, revealing stunning details hidden in raw images. Did you know that proper stacking can increase signal-to-noise ratio by up to 30 times? By carefully selecting, processing, and blending your images, you’ll create breathtaking visuals free of artifacts. Keep practicing these techniques, and you’ll consistently capture celestial scenes that even seasoned astronomers admire. Your night sky images will truly stand out with these expert tips!