
Proper polar alignment is essential for clear astrophotography, but many myths persist. You don’t need perfect alignment or expensive gear; small errors can be corrected with tracking and guiding. Tools like polar scopes and GPS apps help, but combining them with star charts and automated systems boosts accuracy. External conditions matter too, so adjust accordingly. Keep an open mind—understanding these facts can improve your setup and results. Explore more to master effective alignment strategies.
Key Takeaways
- Slight misalignments often don’t ruin astrophotography thanks to guiding systems and stable mounts.
- Visual tools like polar scopes help but aren’t perfectly accurate; combining methods improves results.
- Modern tech such as GPS, smartphone apps, and automated systems make alignment faster and more accessible.
- Perfect polar alignment isn’t essential; focus on consistency and regular calibration for better imaging.
- External factors like weather and light pollution impact alignment, so adapt techniques accordingly.

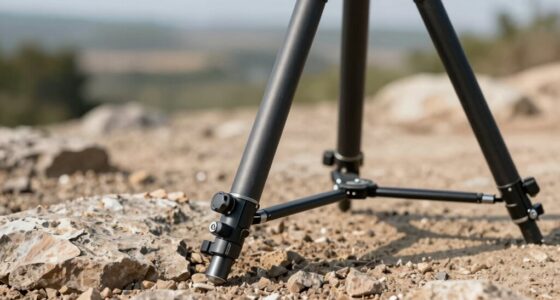
Astromania Polar Alignment Scope for EQ-5, Quickly and Easily Align Your Equatorial Mount with The North Celestial Polar – The Foundations for Successful Astrophotography
Full metal; Good alignment of the mount with the North Celestial Pole can be achieved in a short…
As an affiliate, we earn on qualifying purchases.
As an affiliate, we earn on qualifying purchases.
Understanding the Importance of Proper Polar Alignment
Proper polar alignment is essential for accurate astrophotography and precise tracking during observational astronomy. When you use an equatorial mount, aligning it correctly with the Earth’s rotational axis ensures your telescope can follow celestial objects smoothly. Think of it as celestial navigation—matching your mount’s axis with the North or South Celestial Pole allows you to lock onto stars and planets with minimal drift. Without proper alignment, your images will be blurry, and tracking will become inconsistent, wasting valuable observing time. Achieving good polar alignment enhances your ability to capture long-exposure photos and observe objects accurately over time. It’s the foundation for successful astronomy sessions, making sure your equipment moves exactly as needed to keep objects centered in your field of view. Additionally, understanding the trustworthiness of your equipment and software can help ensure your observations are reliable and accurate.

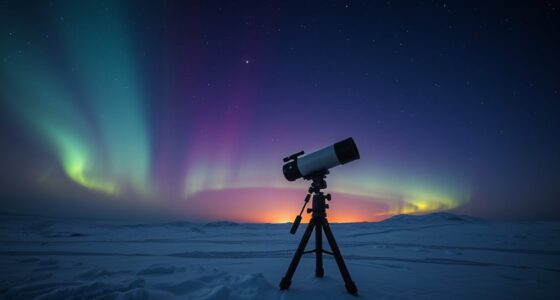
Equatorial Mount Star Tracker with Latitude Adjustment Base for Astrophotography
The shell of the equatorial mount is made of PETG and carbon fiber (CF).
As an affiliate, we earn on qualifying purchases.
As an affiliate, we earn on qualifying purchases.
Common Myths About Polar Alignment Techniques
Many beginners believe that polar alignment must be perfectly precise, but small errors won’t ruin your observations. You might think you need expensive equipment to get good results, yet simple tools often work just fine. Understanding these myths helps you focus on practical methods rather than unnecessary perfection. Additionally, exploring sound healing science and its influence on focus and relaxation can create a more calming environment during your observing sessions.
Misconceptions About Accuracy
Despite widespread beliefs, some common myths about polar alignment techniques overestimate their accuracy. Many newcomers assume that methods like lens calibration or camera stabilization alone guarantee perfect alignment, but that’s not true. These techniques can help improve your setup, yet they don’t replace precise polar alignment. For example, lens calibration adjusts your camera’s focus but doesn’t correct for polar alignment errors. Similarly, camera stabilization can reduce some vibrations but won’t compensate for misalignment of the mount. Relying solely on these methods can give a false sense of accuracy, leading to star trails or blurred images. Achieving precise polar alignment requires a combination of techniques and careful adjustments, not just quick fixes or assumptions based on equipment features. Additionally, understanding the specific dog names that suit your personality can help you stay motivated during long nights of star tracking.
Overestimating Equipment Needs
A common myth is that achieving perfect polar alignment requires expensive, high-end equipment. In reality, you can get accurate results with basic gear and proper technique. Overestimating equipment needs often leads to unnecessary purchases, when focus should be on equipment calibration and mount stability. Imagine:
- Using a simple mount that’s well-maintained and stable
- Carefully calibrating your equipment for consistent accuracy
- Employing familiar, straightforward alignment methods
- Making small adjustments instead of relying on high-tech gadgets
- Recognizing the importance of equipment calibration and proper setup procedures to achieve precise alignment.
You don’t need advanced gadgets or costly accessories to align your mount effectively. Instead, prioritize understanding your gear, ensuring mount stability, and refining your technique. These steps often make more difference than expensive equipment upgrades, saving you both money and frustration.

ZWO Seestar S30 Pro Smart Telescope, App-Controlled Astrophotography
Effortless Smart Digital Telescope for Beginners: Simply power on, connect the app, and start exploring the universe. With…
As an affiliate, we earn on qualifying purchases.
As an affiliate, we earn on qualifying purchases.
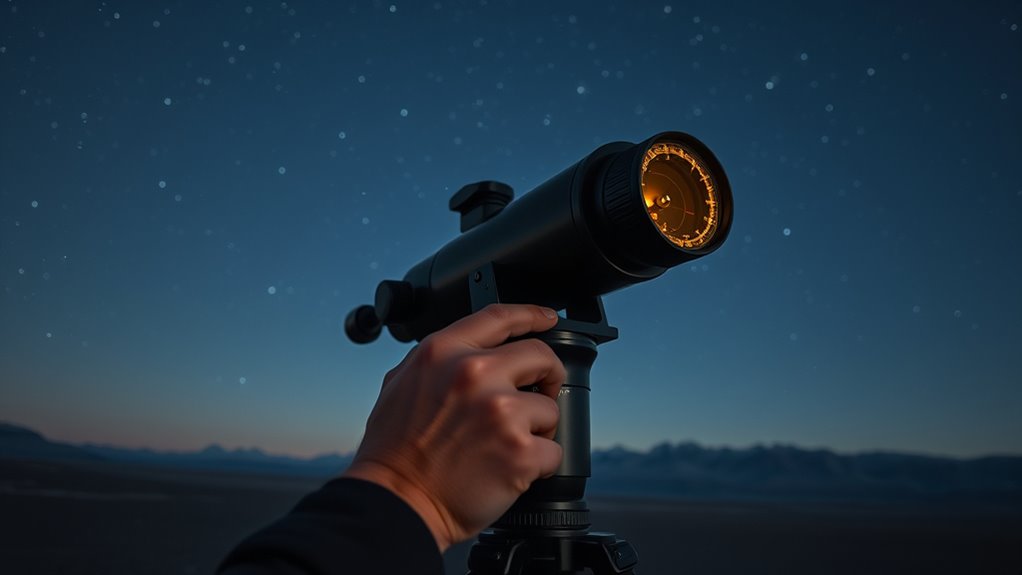
The Truth About Using the Pole Finder and Polar Scope
Using a pole finder or polar scope can substantially simplify the process of aligning your telescope with the celestial pole, but it’s important to understand their limitations. These tools help with mount alignment by providing a visual guide to locate the pole, making initial setup easier. However, they don’t guarantee perfect accuracy, especially if your mount isn’t precisely leveled or if you’re in a location with light pollution or atmospheric interference. While they improve star tracking by establishing a rough alignment, small errors can still affect long exposures. Relying solely on these tools may give a false sense of precision. For best results, combine the use of a polar scope with other methods to refine your alignment and achieve sharper star images. Additionally, understanding business principles like diversification can help you better plan your astrophotography investments, tools, and accessories for long-term success.

AI ASSISTED DEEP SKY IMAGING WITH N.I.N.A.: Smart Automation, Proven Workflows, Troubleshooting for Modern Astrophotography
As an affiliate, we earn on qualifying purchases.
As an affiliate, we earn on qualifying purchases.
Debunking the ‘Perfect’ Polar Alignment Myth
Many amateur astronomers believe that achieving perfect polar alignment is necessary for successful astrophotography, but this isn’t entirely true. While precise mount alignment and thorough telescope calibration improve tracking, slight misalignments won’t ruin your images. Imagine your setup as a finely tuned instrument:
- A stable mount with minimal vibrations
- A well-centered polar scope view
- Properly balanced telescope
- Consistent guiding adjustments
These factors help compensate for minor alignment errors. You don’t need perfection—just enough accuracy to keep stars sharp over your exposure time. Focusing on good mount alignment and regular calibration ensures you capture clear images without obsessing over an impossible perfect pole position. Remember, even small imperfections won’t prevent successful astrophotography.
Additionally, understanding Bedroom elements can help in setting up a comfortable and efficient space for your astrophotography gear and accessories.
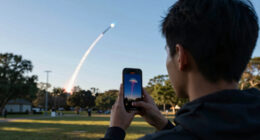
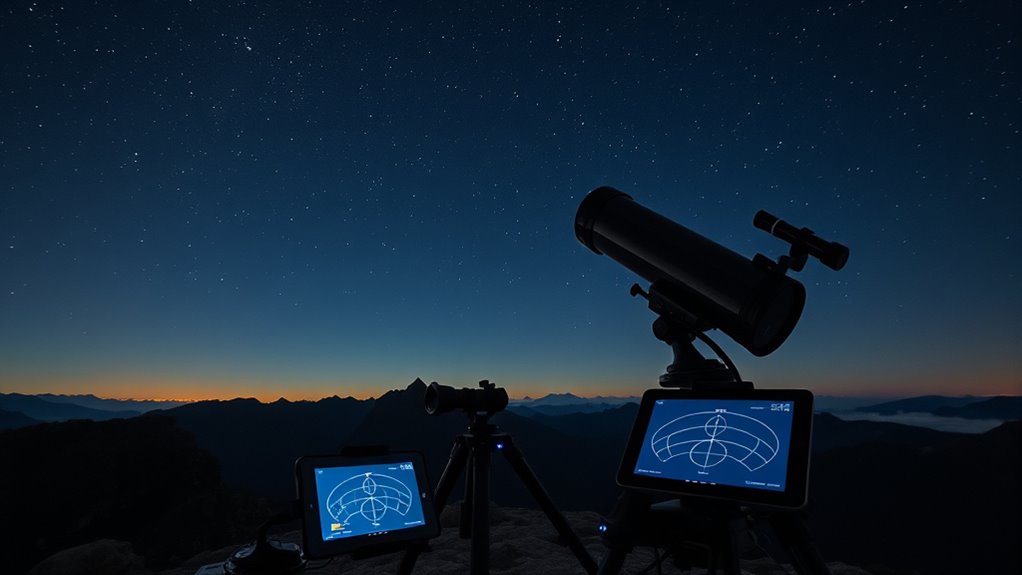
How GPS and Smartphone Apps Can Help You Align
Using GPS and smartphone apps can make polar alignment much easier and more accurate. With precise location data and helpful features, you can quickly find the right star or celestial marker. Follow simple steps on your device to streamline the alignment process and improve your observation experience. Additionally, leveraging eco-friendly handmade crafts can enhance your overall stargazing setup by incorporating sustainable and personalized accessories.
GPS Precision Benefits
GPS technology and smartphone apps have revolutionized polar alignment by providing pinpoint accuracy and real-time guidance. This precision enhances celestial navigation, ensuring your mount is aligned with the celestial pole quickly and accurately. Using GPS, you can easily determine your exact location and latitude, simplifying telescope calibration. Imagine:
- A clear map overlay guiding your mount’s movement
- Instant updates correcting minor misalignments
- Precise coordinates helping you target faint objects
- Reduced guesswork, saving time and frustration
- High-precision tracking capabilities that improve overall observation quality
With these tools, you can trust your alignment process, even in challenging conditions. The accuracy improves your viewing experience, making it easier to track celestial objects and reduce drift. Overall, GPS benefits make polar alignment more efficient, reliable, and accessible for beginners.
Smartphone App Features
Smartphone apps leverage GPS data and built-in sensors to make polar alignment straightforward and precise. They guide you by calculating your exact location, elevation, and time, essential for proper alignment, much like mountaintop observatories rely on precise positioning for ideal observations. These apps often include star charts and calibration tools rooted in historical navigation techniques, helping you identify Polaris and other celestial landmarks. By syncing your phone with your mount’s mount, they provide real-time feedback and adjustments, reducing guesswork. This technology simplifies the process, especially in unfamiliar locations, ensuring your telescope is accurately aligned for clear, sharp observations. Additionally, navigation accuracy is enhanced by these features, making polar alignment accessible and reliable for beginners.
Easy Alignment Steps
Ever wondered how to quickly and accurately align your telescope without the hassle of traditional methods? Smartphone apps and GPS technology make it simple. With an equatorial mount, these tools help you find celestial coordinates effortlessly. Just input your location, and the app guides you step-by-step. Imagine:
- Seeing your device display real-time adjustments for precise alignment
- Using your phone as a digital compass pointing to Polaris
- Following on-screen prompts to set your mount’s latitude and longitude
- Watching your telescope smoothly align with celestial objects
These steps eliminate guesswork, saving time and frustration. Apps can automatically account for your geographic position, making polar alignment straightforward even for beginners. By leveraging GPS and smartphone apps, you can achieve accurate alignment faster and more reliably than traditional methods. Understanding the role of celestial navigation and how modern technology enhances it can further improve your alignment process.
Manual vs. Automated Alignment Methods: What’s More Reliable?
When it comes to polar alignment, choosing between manual and automated methods can substantially impact your observing session’s success. Manual alignment requires careful mount calibration and patience, especially in areas with heavy light pollution, which can hinder star visibility. Automated systems, on the other hand, often use software to speed up the process and reduce errors, offering more reliability for beginners. Here’s a comparison:
| Aspect | Manual Method | Automated Method | Reliability |
|---|---|---|---|
| Mount calibration | Precise, but time-consuming | Quick, with software prompts | Generally higher with automation |
| Light pollution effects | Harder to compensate | Less affected, quicker adjustments | More dependable in bad conditions |
| Ease of use | Steep learning curve | User-friendly, more consistent | More reliable overall |
| Accuracy | Varies, depends on skill | Consistent, less user error | Generally more dependable |
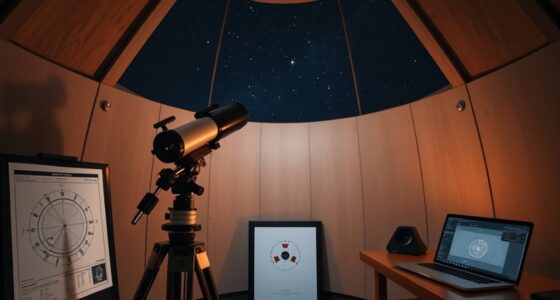
The Role of Star Charts and Celestial Navigation Tools
Manual and automated alignment methods can improve your telescope’s accuracy, but using star charts and celestial navigation tools takes it a step further by guiding you directly through the night sky. With celestial navigation, you’ll identify key stars and constellations, simplifying polar alignment. Star chart analysis helps you recognize patterns and pinpoint your target areas, making navigation more intuitive. Visualize:
- Comparing star positions on charts to real-time sky observations
- Using a compass and inclinometer alongside star patterns
- Matching familiar constellations to chart layouts
- Tracking star movements to confirm your alignment
These tools transform complex sky navigation into manageable steps, ensuring you stay on course. They’re especially useful when GPS signals are weak or unavailable, empowering you to master celestial navigation confidently.
Tips for Achieving Accurate Polar Alignment in Different Conditions
Achieving precise polar alignment can be challenging under varying sky conditions, but understanding how to adapt your methods is key. When weather considerations change, such as humidity or temperature shifts, your mount calibration may need adjustments to maintain accuracy. On cloudy or hazy nights, rely on star drift methods or software-assisted polar alignment tools to compensate for less visibility. In cold conditions, ensure your mount’s gears and bearings are properly lubricated and warmed if needed. Conversely, in humid environments, protect your equipment from moisture that can affect alignment accuracy. Always verify your mount calibration regularly, especially when conditions change, to ensure your polar alignment remains accurate. Adapting your approach based on weather considerations improves your chances of achieving stellar alignment regardless of external factors.
Mistakes to Avoid When Setting Up Your Mount for Astrophotography
Setting up your mount correctly is essential for successful astrophotography, but common mistakes can undermine your efforts from the start. One major error is neglecting proper mount calibration, which can lead to inaccurate sky tracking. Another mistake is rushing the setup process, resulting in misaligned polar axes. Failing to securely tighten all mount components can cause shifts during imaging. Additionally, ignoring your mount’s weight limits can affect stability and tracking accuracy.
Be sure to:
- Double-check polar alignment before calibration
- Balance your telescope precisely
- Verify all screws and clamps are tight
- Allow your mount to cool down if outdoors in cold conditions
Avoid these pitfalls to ensure your mount maintains accurate sky tracking and produces sharp astrophotos.
Frequently Asked Questions
How Does Latitude Affect Polar Alignment Accuracy?
Your geographic latitude directly affects polar alignment accuracy because it determines your celestial coordinate system. At higher latitudes, the celestial pole appears closer to the horizon, making alignment easier. Conversely, at lower latitudes, the pole is higher in the sky, requiring more precise adjustments. Knowing your latitude helps you set the mount’s polar axis correctly, ensuring your telescope tracks celestial objects smoothly and accurately.
Can I Polar Align During Daylight Hours?
Sure, you can polar align during daylight hours, much like a sailor uses celestial navigation at dawn. Just check the solar elevation and moon phase to determine the best time—preferably when the Sun’s lower, and the sky’s darker. Use a polar scope or software, and avoid direct sunlight on your equipment. Daylight polar alignment is trickier but doable with patience and proper tools.
What Are Common Signs of Improper Polar Alignment?
You’ll notice signs of improper polar alignment through star drift, which appears as stars slowly moving out of their expected positions in your field of view. If the drift is mainly in the declination or right ascension axes, it’s a sign of polar misalignment. This causes blurry or streaked images during long exposures, making your tracking inaccurate. Regularly checking for star drift helps you correct alignment and improve your astrophotography results.
Are There Specific Tools for Aligning in Urban Light Pollution?
A wise man once said, “Adapt or perish.” When aligning in urban light pollution, you’ll want specialized alignment tools like smartphone apps, laser collimators, or star trackers that compensate for skyglow. These tools help you pinpoint Polaris or other bright stars, even through light pollution. They make polar alignment more precise and quicker, ensuring your telescope’s accuracy despite the challenging conditions. Embrace these tools to unseal clearer views in the city’s glow.
How Often Should I Realign My Telescope During an Observation Session?
You should realign your telescope as needed during your observation session, especially if you notice that objects are drifting out of view or your tracking seems off. The ideal alignment frequency depends on your stability and the quality of your initial setup, but generally, making session adjustments every 30 to 60 minutes helps maintain accuracy. Regularly check your alignment to ensure sharp, steady views of celestial objects.
Conclusion
With the right mindset and tools, polar alignment becomes manageable, turning chaos into clarity. While myths may tempt you with perfection, embracing practical methods and understanding their limits will boost your confidence. Imagine the quiet awe as your telescope tracks smoothly across the night sky, a demonstration to your skill and patience. Remember, even in imperfections, the universe reveals its beauty—so stay curious, keep learning, and enjoy every moment under the stars.