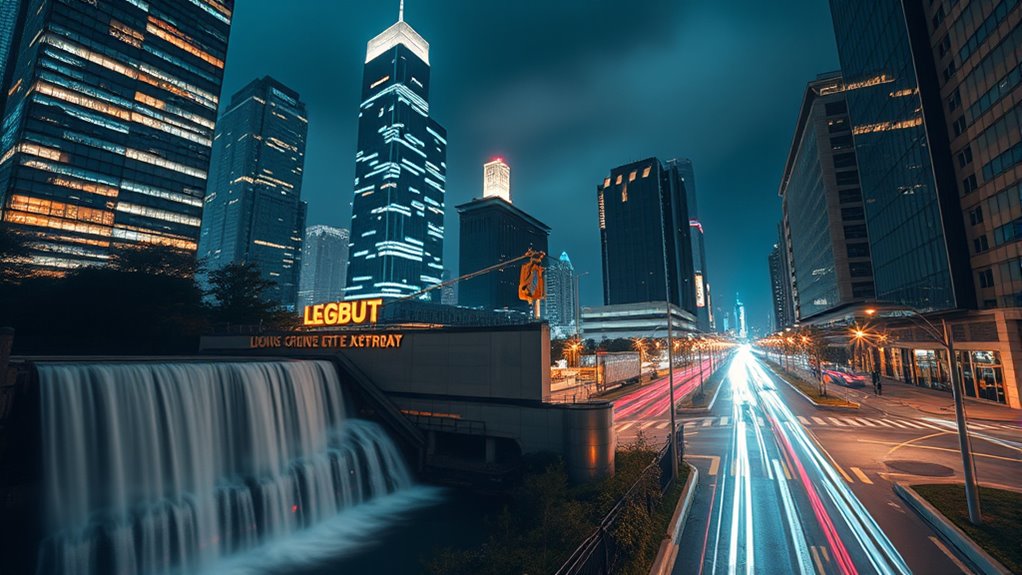

To optimize in-camera noise reduction during long exposures and high-ISO settings, you should activate noise reduction features available in your camera menu, which analyze and smooth out grainy spots without sacrificing too much detail. Adjust the levels based on your scene and needs to find a good balance between noise and sharpness. Using the right settings can notably improve your images, and if you continue exploring, you’ll discover effective techniques to get the best results.

Prime made for students and young adults
- Fast, free delivery for dorm and study essentials
- Prime Video and Amazon Music included
- Member-only deals
Key Takeaways
- Enable in-camera noise reduction modes to minimize grain in long-exposure shots and high-ISO images.
- Adjust noise reduction settings based on scene brightness and desired detail preservation.
- Use longer exposures combined with noise reduction to reduce sensor noise without excessive softening.
- Balance ISO levels with noise reduction strength to achieve clearer images with minimal grain.
- Regular sensor calibration enhances noise control effectiveness during long exposures and high-ISO photography.

When shooting in low-light conditions or at high ISO settings, noise can quickly become a problem, reducing the overall quality of your images. To combat this, in-camera noise reduction plays an essential role, especially during long exposures or when you need to push your camera’s sensitivity. One of the first steps you should consider is sensor calibration. Regularly calibrating your camera’s sensor helps guarantee that the data it captures is accurate, minimizing unwanted artifacts that can amplify noise. Proper sensor calibration aligns your camera’s hardware, leading to cleaner images and a more reliable foundation for noise control.
Modern cameras come equipped with built-in noise reduction techniques that can be activated either in the menu or automatically. These in-camera processes work by analyzing the image data as it’s captured, smoothing out grainy spots without overly softening the overall picture. When you enable these settings, the camera applies algorithms that target and reduce noise, especially in shadow areas and uniform backgrounds. It’s worth noting, however, that these automatic techniques are a balancing act—they can sometimes reduce fine detail, so it’s essential to tweak the settings based on your scene and desired outcome.
Modern in-camera noise reduction automatically smooths grainy spots while preserving overall image detail.
In addition to native noise reduction features, understanding how to optimize your camera’s settings can greatly enhance image quality. For long-exposure shots, reducing noise often involves a combination of in-camera techniques and proper exposure management. Increasing exposure time can introduce more noise, but using the camera’s noise reduction modes helps mitigate this. For high ISO images, it’s important to find the right balance: setting your ISO high enough to capture enough light without excessively boosting noise levels. Many cameras offer multiple levels of noise reduction, allowing you to select a strength that preserves detail while minimizing graininess. Additionally, the sensor technology used in your camera can greatly influence noise performance, especially in high ISO scenarios.
Another helpful tip is to take advantage of noise reduction during post-processing, but remember that in-camera noise reduction can save you time and improve your workflow. When you understand how your camera applies these techniques, you can make smarter decisions about when to rely on in-camera processing versus manual editing. Keep in mind that excessive reliance on noise reduction can lead to loss of detail, so it’s a good idea to shoot in the best possible light whenever you can, and then fine-tune with noise reduction techniques during editing if needed.
Frequently Asked Questions
How Does In-Camera Noise Reduction Impact Image Sharpness?
In-camera noise reduction can soften image sharpness because it reduces noise artifacts by smoothing out pixel details. When you enable it, the camera processes the image to minimize graininess, but this often results in a loss of fine sensor detail. While it makes the photo cleaner, it can compromise overall sharpness, especially in textures and intricate details. You might need to balance noise reduction settings to preserve clarity without introducing excessive noise.
Can In-Camera Noise Reduction Be Turned off Completely?
Yes, you can turn off in-camera noise reduction completely, giving you raw control over your shots. Imagine your sensor heat building up during long exposures, creating grain that’s hard to tame. Turning off noise reduction lets you embrace this natural character, but it also means more noise. If you prefer pristine images, keep it on. But if you want full artistic freedom, turning it off lets you capture your vision unfiltered.
Does Noise Reduction Affect Autofocus Performance?
Yes, noise reduction can affect autofocus performance. When active, it may cause sensor overheating or increased battery drain, especially during long exposures or high-ISO shots. This can lead to slower autofocus response or temporary focus issues. You might notice a delay in focus or reduced accuracy, so consider turning off noise reduction if you need quick, precise autofocus, but be mindful of potential impacts like sensor heat and power consumption.
How Does In-Camera Noise Reduction Compare to Software Noise Reduction?
In-camera noise reduction primarily uses sensor processing to reduce grain, but it can sometimes soften image detail, especially in high-ISO shots. Software noise reduction, on the other hand, allows you to fine-tune noise levels and preserve more detail after shooting. While in-camera methods are quick and integrated, software offers greater control, meaning you can balance noise reduction and image sharpness more effectively depending on your needs.
Is In-Camera Noise Reduction Effective for Astrophotography?
In-camera noise reduction can be effective for astrophotography, especially when your camera’s sensor processing suppresses noise during long exposures. For example, a photographer captures star trails with in-camera noise reduction enabled, resulting in cleaner images with less grain. It helps reduce noise artifacts caused by high-ISO settings, but sometimes it may smooth out fine details. Balancing noise suppression with preserving stars’ sharpness is key for ideal astrophotography results.
Conclusion
In-camera noise reduction helps you capture clearer shots, especially in low light or high-ISO situations. Did you know that using these settings can reduce noise by up to 50%? By understanding and applying in-camera noise reduction techniques, you’ll improve your long-exposure and high-ISO photos markedly. So, next time you’re shooting in challenging conditions, trust your camera’s built-in tools—they’re designed to help you get sharper, cleaner images effortlessly.
Fall Picks
fall essentials
As an affiliate, we earn on qualifying purchases.




![Terence Tao: Math 2.0 [Pdf]](https://astrophotographyhq.com/wp-content/uploads/2026/10/terence-tao-math-2-0-pdf-featured-260x140.jpg)