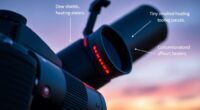
To prevent dew buildup, connect a dew-heater controller to resistive wires or heating pads wrapped around your optics, and use temperature sensors to monitor the surface temperature. Calibrate your sensors carefully by comparing their readings with a reliable thermometer, then set your controller to keep the optics just above the dew point. Proper calibration and testing guarantee your system works reliably. Keep exploring to discover how fine-tuning these techniques can improve your observing sessions.
Key Takeaways
- Calibrate sensors accurately by comparing readings with a reliable thermometer to ensure precise dew prevention.
- Position temperature sensors on the optics where dew is most likely to form for effective monitoring.
- Set dew-heater controllers to maintain optics slightly above the dew point, preventing condensation buildup.
- Use resistive wire or flexible heating pads connected to the controller for customizable, uniform heat application.
- Test and fine-tune the system under different conditions to ensure reliable operation during actual observing or imaging sessions.
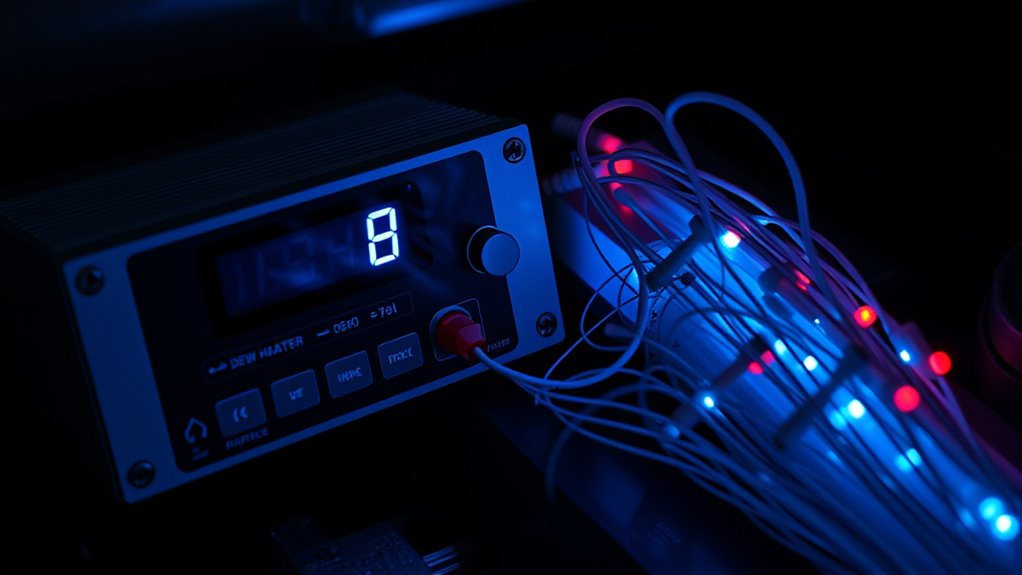
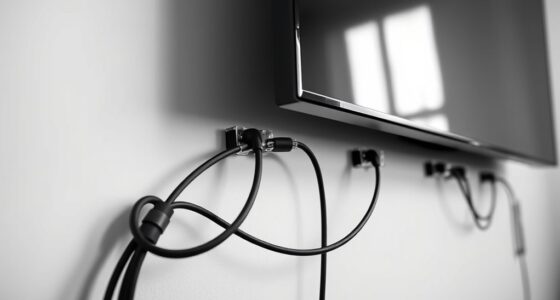
Dew formation can severely impact your observing or imaging sessions, but using dew-heater controllers and temperature sensors can help prevent it. When you’re out under the night sky, a thin layer of dew can form on your telescope lenses or camera sensors, obscuring your view and ruining your data. To combat this, many astronomers turn to DIY dew heaters, which are inexpensive and customizable solutions. Building a diy dew heater involves wrapping resistive wire or flexible heating pads around your optics, connected to a controller that regulates the heat. This setup can be tailored to your specific equipment, guaranteeing you don’t waste power or apply excessive heat that could damage delicate components.
However, simply installing a dew heater isn’t enough. To maximize its effectiveness, you need to perform temperature sensor calibration. This process involves setting your temperature sensors correctly and ensuring they accurately read the actual temperature of your optics. Proper calibration prevents overheating or underheating, both of which can lead to dew formation or potential damage. You’ll want to place your sensors at strategic points on your telescope, then compare their readings with a reliable thermometer. Adjust your controller’s settings accordingly, so it maintains a consistent temperature slightly above the dew point. Many dew-heater controllers allow you to set target temperatures or hysteresis levels, giving you fine control over the heating process.
Proper sensor calibration prevents dew and equipment damage during your observations.
Using a dew-heater controller with calibrated temperature sensors offers several benefits. It automates the process, so you don’t have to keep checking your optics manually or guess when dew might form. Instead, the system responds dynamically, increasing or decreasing heat based on real-time data. This not only keeps your optics dry but also conserves energy and prolongs the lifespan of your equipment. When setting up your system, make sure to test it thoroughly before heading out into the field. Run your dew heater at different ambient temperatures and monitor how well the sensors and controller maintain the target conditions. This testing phase is vital for refining your diy dew heater and ensuring reliable operation during critical observation nights.
Ultimately, combining a well-calibrated temperature sensor with a dew-heater controller creates an effective barrier against dew. It allows you to focus on your celestial targets without worrying about moisture ruining your session. Proper system calibration and customization of your setup will greatly improve your imaging or observing experience, especially in moist or humid conditions. It’s a straightforward, affordable way to protect your gear and guarantee clear, dew-free skies for your astronomical pursuits.

Alstar 1.25" Narrowband NBPF Hydrogen-a 12nm Filter - Enhances the Contrast Between Object and Sky - Allows You to Take Images Even Under Urban Skies
Metal filter cell threads directly into the 1.25 inch barrel of your telescope eyepiece; Mounted in a nicely...
As an affiliate, we earn on qualifying purchases.
Frequently Asked Questions
How Do Dew-Heater Controllers Impact Camera Sensor Longevity?
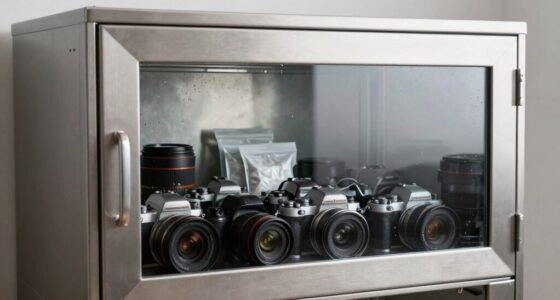
Dew-heater controllers help protect your camera sensor by maintaining ideal temperature, reducing the risk of dew buildup. Improved dew heater efficiency ensures consistent performance, preventing temperature fluctuations that could harm the sensor over time. Regular sensor calibration, combined with effective dew-heater control, extends your camera’s longevity by avoiding moisture damage and temperature stress. This way, your equipment stays reliable and lasts longer during cold, damp conditions.
Can Temperature Sensors Interfere With Other Electronic Telescope Components?
Yes, temperature sensors can interfere with other electronic telescope components through electromagnetic interference if not properly shielded. You should guarantee proper sensor shielding to minimize this risk. When shielded correctly, sensors won’t disrupt your gear’s functioning. Regularly check for shielding integrity and grounding to prevent interference, keeping your telescope’s electronics running smoothly and avoiding potential signal disruptions caused by electromagnetic interference.
What Are the Best Placement Tips for Temperature Sensors?
You should place your temperature sensors in areas that accurately reflect the environment you want to monitor, avoiding direct contact with dew heaters or metal surfaces that could skew readings. Make certain proper sensor calibration for consistent measurements. Position sensors away from heat sources or airflow that might cause inaccurate readings. For placement accuracy, secure sensors firmly to prevent movement, and test multiple spots if needed to find the most reliable location.
How Do I Troubleshoot Inconsistent Dew Heater Performance?
Did you know that over 30% of dew heater issues stem from improper sensor calibration? To troubleshoot inconsistent performance, first check your sensor placement—ensure it’s away from heat sources or drafts. Then, verify calibration settings, adjusting them if needed. Regularly inspect connections for corrosion or loose wires. Consistently monitoring and recalibrating your sensor helps maintain stable dew heater performance and prevents frustrating dew buildup issues.
Are There Compatibility Issues With Different Telescope Models?
Yes, compatibility issues can arise with different telescope models. You should check the telescope’s compatibility with your dew-heater controller before setup. Verify the sensor integration aligns with your specific telescope’s design, as some models may require adapters or different connection types. Testing the system beforehand helps identify potential issues, allowing you to make adjustments for seamless operation across various telescopes.

Optolong Filter,Compatible with Canon EOS-C L-Enhance Dual Narrowband Light Pollution Filter (H-Alpha and H-Beta/O-III)
Supported Models: 7D2/80D/800D/77D/70D/760D/750D/700D 650D/600D/550D/500D/400D/100D/1100D 1200D/1300D
As an affiliate, we earn on qualifying purchases.
Conclusion
Think of dew-heater controllers and temperature sensors as a dedicated gardener tending to a delicate plant. By carefully monitoring and adjusting conditions, you prevent dew from forming like a shield protecting your equipment from unwanted moisture. With these tools, you’re the guardian ensuring clear skies and ideal performance. Mastering their use transforms your setup into a well-tuned symphony, where each component works harmoniously, giving you peace of mind and clearer, more reliable observations.

SVBONY SV240 1.25 inch Telescope Filter, Multi-Narrowband Filter, Reduce Light Pollution and Increase Contrast, Ha OIII H-Beta Universal Filter for City Astrophotography and Visual Observation
SV240 Multi-Narrowband Filter for nebulae galaxies deep sky urban astrophotography and visual observation, Ideal for imaging a wide...
As an affiliate, we earn on qualifying purchases.

Askar Colour Magic C1 Duo-Band Filter (H+OIII), 2 Inch Narrowband Nebula Filter, Enhancing Contrast, Reducing Light Pollution
Hα+OIII : Colour Magic C1 Duo-band filter (Hα+OIII) has a high transmittance of over 90% at its center...
As an affiliate, we earn on qualifying purchases.