To mount your power distribution hub on your telescope, choose a stable, accessible location close to your power source and equipment. Secure it firmly to prevent vibrations, using mounting brackets or Velcro straps. Route cables neatly along edges or designated paths, avoiding tight bends and interference with moving parts. Keep power and data cables separate for safety. Proper placement makes maintenance easier and improves reliability. To discover more tips on effective mounting, continue exploring the best practices for your setup.
Key Takeaways
- Mount the hub on a stable, vibration-free surface close to power sources for efficient access.
- Use secure mounting brackets or enclosures to prevent movement and protect against environmental hazards.
- Position the hub away from moving parts and potential impacts to avoid damage during operation.
- Route cables neatly along mounts or tripods, ensuring they are not stretched or pinched.
- Label connections and keep the hub accessible for easy maintenance and troubleshooting.
Power distribution hubs are essential components for modern telescopes, ensuring your equipment receives reliable and organized power. When you’re setting up your system, the way you handle cabling organization plays a crucial role in both safety and functionality. A tidy layout not only keeps your setup neat but also minimizes the risk of accidental disconnections or damage during observation sessions. Proper cabling makes troubleshooting easier and helps you identify issues quickly, saving valuable observing time.
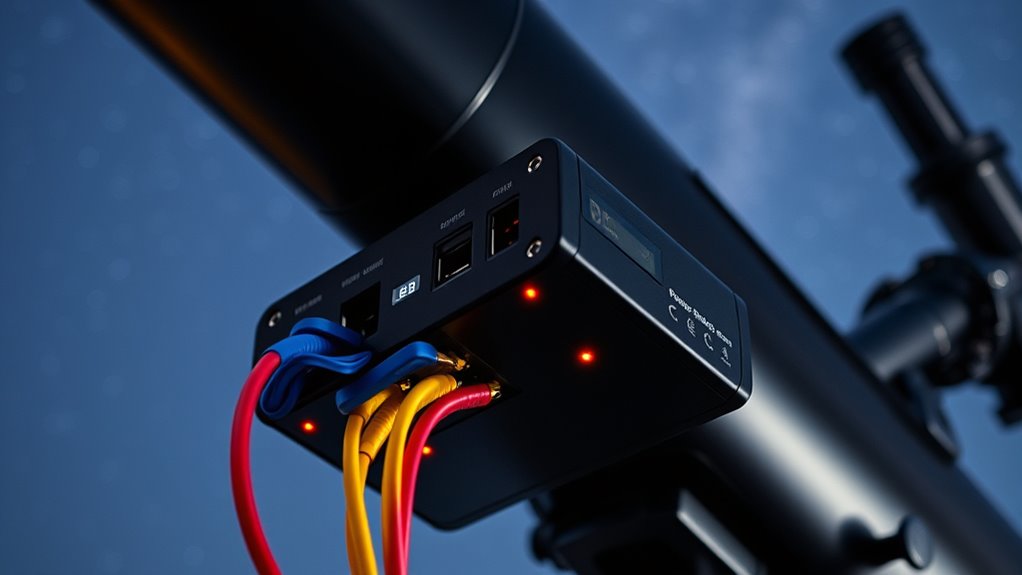
The placement of your power hub is just as important as the hub itself. You want to position it in a location that’s both accessible and secure, ideally close to your power sources but out of the way of moving parts or potential hazards. Mounting the hub on a stable surface or within a dedicated enclosure prevents vibrations and accidental bumps that could disrupt connections. A well-placed power hub reduces cable clutter, making it easier to route cables along designated paths, which improves airflow and reduces the risk of overheating or cable wear.
When considering power hub placement, think about your telescope’s overall layout. If your mount or other equipment is on a pier or in a specific corner, position the hub nearby to keep cables short and manageable. This approach reduces strain on connectors and prevents excessive slack that could get caught or tangled. Also, think about accessibility—make sure you can easily reach the power switches, USB ports, or any other control features without disrupting your observational setup.
Cabling organization doesn’t just mean neatness; it’s a practical necessity. Use cable ties, Velcro straps, or cable organizers to bundle cables together, and route them along the edges of your mount or tripod. Keep power and data cables separated as much as possible to prevent interference. If your power hub has multiple outlets or ports, assign each device a specific port and label them. This way, if you need to troubleshoot or replace a device, you know exactly where it’s connected, saving you time during critical observation windows.

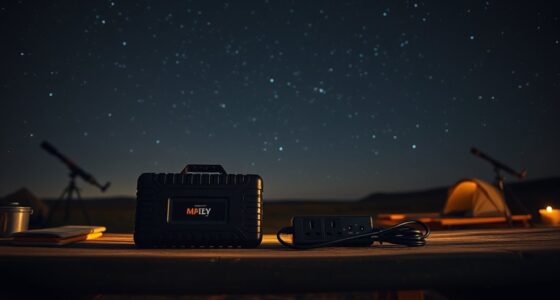
INNOVV Power Hub 3 Power Distribution System Kit, DC 12V 15A Motorcycle Power Distribution Hub, Connecting Up to 5 Devices Installed on The Motorcycle
The INNOVV Power Hub 3 presents a remarkable power distribution system kit. It is designed to handle DC…
As an affiliate, we earn on qualifying purchases.
As an affiliate, we earn on qualifying purchases.
Frequently Asked Questions
How Do I Choose the Right Power Distribution Hub for My Telescope?
You should choose a power distribution hub that’s solar compatible to guarantee reliable operation during outdoor observing sessions. Look for one with good cable management features to keep your setup neat and prevent accidental disconnections. Consider the hub’s amperage and number of ports to match your equipment’s power needs. By selecting a hub with these features, you’ll enjoy a safer, more efficient setup that’s easy to maintain and expand.
Can I Upgrade My Existing Power Hub Easily?
Yes, you can upgrade your existing power hub easily if you check its compatibility first. Confirm the new power hub matches your current system’s power requirements and connector types. The upgrade process typically involves disconnecting your old hub, removing it, and installing the new one in the same spot. Follow the manufacturer’s instructions carefully, and verify power connections before powering up to ensure compatibility and safety.
What Safety Precautions Should I Follow When Installing a Power Hub?
Did you know that improper installation causes over 20% of electrical issues? When installing a power hub, always guarantee proper electrical grounding to prevent shocks and damage. Use cable management techniques to keep wires organized and avoid tangles that could cause shorts. Double-check connections, avoid overloading circuits, and work in a dry, well-lit area. These precautions help keep your equipment safe and functioning smoothly during your stargazing sessions.
How Do I Troubleshoot Power Issues With My Distribution Hub?
When troubleshooting power issues with your distribution hub, start by checking the power cable connections for any loose or damaged wiring. Use a multimeter to measure the voltage at different points to confirm proper power flow. If you notice low or inconsistent voltage, re-secure or replace the power cable, and verify the hub’s input voltage. This helps identify whether the issue lies in the wiring or the hub itself.
Are Wireless Power Options Available for Telescope Hubs?
Yes, wireless power options are available for telescope hubs. You can use wireless power transfer or portable battery packs with Bluetooth or Wi-Fi connectivity as substitutes for traditional power hubs. These power hub alternatives offer greater flexibility and reduce cable clutter, making setup easier. Be sure to choose reliable, high-capacity wireless options to ensure continuous power during your observing sessions, especially in remote or outdoor locations.

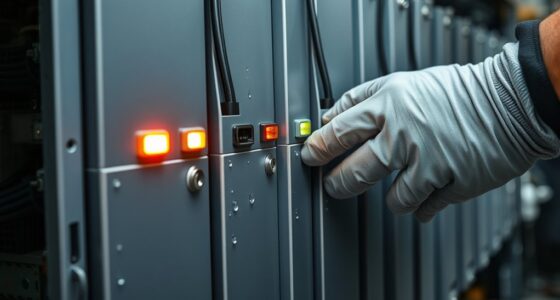
MEETOOT 12pcs MHS012 Power Supply Fixed Bracket Installation Accessories Motor Mount Mounting Bracket
Power installation bracket accessories: Help you easily install the power supply, giving you more workspace.
As an affiliate, we earn on qualifying purchases.
As an affiliate, we earn on qualifying purchases.
Conclusion
So, next time you’re desperately tangled in a jungle of power cords, remember that mounting a power distribution hub isn’t just smart—it’s your ticket to a clutter-free, stress-free stargazing session. Imagine gazing at the stars, blissfully unaware of your chaotic cable maze, all thanks to a sleek hub. Because honestly, who wouldn’t want their telescope setup to look more like a NASA control room than a spaghetti factory? Happy stargazing!

2PCS Cable Clip for ZWO ASIAir Pro, Astrophotography Computer Cable Organizer, Secure Wire Holder for Telescope Imaging Setup
Astrophotography Cable Control: Helps organize cables for telescope imaging setups.
As an affiliate, we earn on qualifying purchases.
As an affiliate, we earn on qualifying purchases.
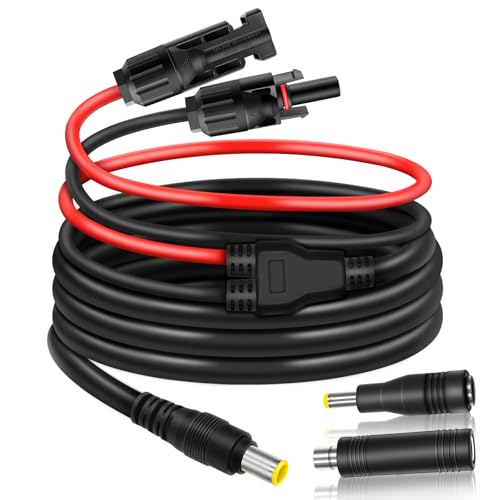
COMeap 6FT Solar Connector to DC 8mm Adapter Cable for Jackery Explorer 3000 2000 1500 1000 880 550 500 300 290 240 160 GZ Yeti BLUETTI Portable Power Station, Solar Generator, Solar Panel
『Wide Application』Compatible with Goal zero/Yeti/Bluetti/Jackery solar generator such as: for Jackery Explorer Series:160/240/300/500/600Plus/700Plus/880/800Pro/1000 v2/1500/ 1500Pro/2000/ 2000Pro/2000Plus/3000Pro. IMTOM Rebel…
As an affiliate, we earn on qualifying purchases.
As an affiliate, we earn on qualifying purchases.