To improve accuracy with drift alignment, focus on observing a star near the celestial pole, like Polaris. Track its movement over several minutes; vertical drift shows declination misalignment, while horizontal drift points to azimuth issues. Make small adjustments to your mount accordingly and repeat until star movement is minimal. This method guarantees precise polar alignment, greatly boosting tracking accuracy. If you want to master each step, stay busy with practicing this effective technique.
Key Takeaways
- Use a star near the celestial pole, like Polaris, to observe its drift over several minutes during alignment.
- Monitor star movement; vertical drift indicates declination misalignment, while horizontal drift signals azimuth error.
- Make small mount adjustments based on drift observations: north/south for declination, east/west for azimuth.
- Recenter the star after adjustments and repeat the drift observation until star movement is minimal.
- Precise drift alignment reduces tracking errors, enhancing astrophotography accuracy and image quality.
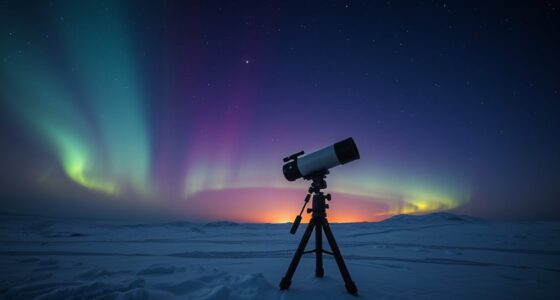
Have you ever struggled to align your telescope’s mount accurately? If so, you’re not alone. Precise polar alignment is essential for effective star tracking, especially when you’re aiming for long exposure astrophotography or detailed planetary observations. The drift alignment technique offers a straightforward, reliable way to fine-tune your mount’s alignment, ensuring your telescope stays pointed at celestial objects with minimal effort.
Struggling with mount alignment? Drift alignment is a simple, effective method to perfect your star tracking accuracy.
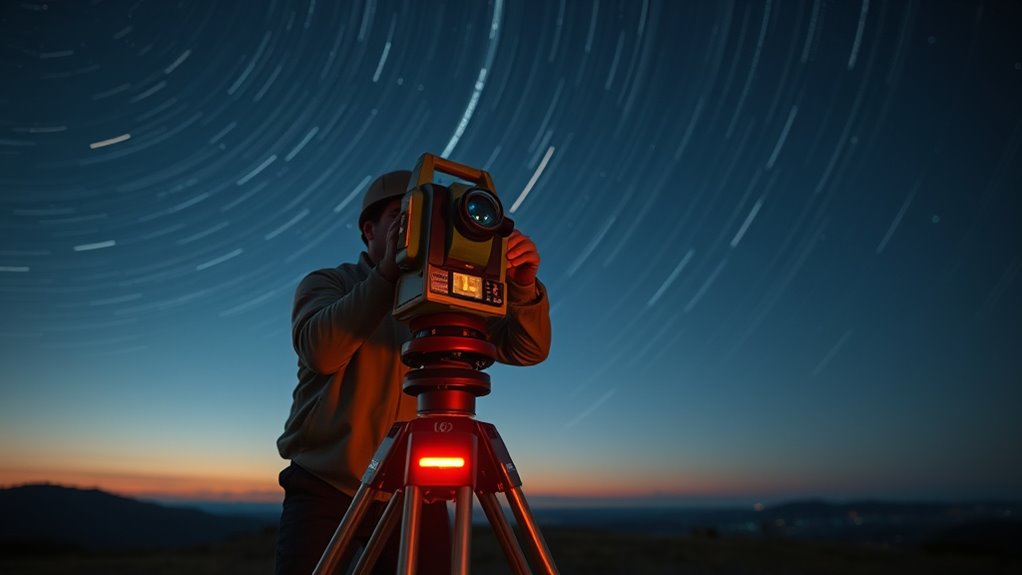
The core idea behind drift alignment is to observe how stars move relative to your telescope’s crosshairs or reticle over time. To begin, you need a stable mount, a star near the celestial pole, and a method to monitor star movement accurately. First, point your telescope toward a star close to the celestial pole, such as Polaris if you’re in the Northern Hemisphere. Once you’ve centered the star, observe its drift over a period of several minutes. If your mount is perfectly polar aligned, the star should remain stationary relative to your crosshairs. However, if it drifts, it indicates misalignment that needs correction.
You’ll want to differentiate between drift in declination and right ascension. For declination, observe the star’s vertical movement; if it drifts upward or downward, your polar axis needs adjustment north or south. For right ascension, watch the star’s horizontal drift; if it moves east or west, your mount’s azimuth requires correction. The key is to make small adjustments and then recheck. After each tweak, observe the star again. This iterative process allows you to refine the polar alignment with increasing precision.
Star tracking accuracy hinges on this meticulous process. When your mount is correctly aligned, stars will appear almost stationary in your field of view, with only slight, predictable motions caused by Earth’s rotation. This stability is essential for long exposure imaging, where even minute tracking errors can cause star trails. Drift alignment might take some time, but it’s a small investment for the markedly improved accuracy you gain. Proper understanding of the mount’s alignment process can significantly enhance your astrophotography results.

Celestron 94224 CG-5/AVX/CGEM Polar Telescope Finderscope, Black
POLAR ALIGN YOUR CELESTRON GERMAN EQUATORIAL MOUNT: Compatible with Celestron CGEM, Advanced VX, and CG-5 equatorial mounts.
As an affiliate, we earn on qualifying purchases.
As an affiliate, we earn on qualifying purchases.
Frequently Asked Questions
What Tools Are Necessary for Drift Alignment?
To perform drift alignment for better star tracking, you’ll need a reticle eyepiece or a software-based polar scope, a sturdy mount, and a clock or smartphone with a timer. These tools help you accurately align your mount with the celestial pole, ensuring precise polar alignment. Proper polar alignment improves star tracking, minimizes drift, and results in sharper images during astrophotography or long-exposure astrophotography sessions.
How Long Does a Typical Drift Alignment Process Take?
Typically, a drift alignment takes around 20 to 40 minutes, depending on your experience and equipment. You’ll spend time fine-tuning your polar alignment, ensuring precise star tracking, and observing star movement. With steady patience and a systematic approach, you can quickly achieve accurate alignment. Remember, the more meticulous you are during the process, the better your star tracking results will be, leading to sharper astrophotography.
Can Drift Alignment Be Performed Without Special Equipment?
Yes, you can perform a drift alignment manually using DIY techniques without special equipment. You’ll need basic tools like a reticle eyepiece or a simple polar alignment scope, and careful tracking of Polaris or other stars. This manual method involves adjusting your mount based on star movement, and while it takes patience, it’s effective for improving accuracy when you don’t have access to advanced gear.
How Often Should I Perform Drift Alignment on My Telescope?
Like tuning a fine instrument, you should perform drift alignment regularly to maintain precise polar alignment. Typically, check your star drift every few weeks or before long observing or astrophotography sessions. If you notice tracking issues or your star images start to drift noticeably, it’s time for an adjustment. Frequent drift checks help keep your mount accurately aligned, ensuring steady, clear images and smooth tracking during your celestial observations.
What Are Common Mistakes to Avoid During Drift Alignment?
You should avoid rushing the process or making quick adjustments during polar alignment, as it can lead to inaccurate star drift readings. Don’t forget to make sure your mount is level and stable before starting, and always use a bright, well-placed star to observe drift. Avoid adjusting the mount in multiple directions at once, as this complicates pinpointing the true drift, which can compromise your alignment accuracy.

Astromania Finder Scope Mount Universal Dovetail Base, Telescope Dovetail Base Compatible with Optical Telescope, Quick Release Aluminum Base Ideal for Installation of Red Dot Optical Finderscope
Drilled "but not threaded" to accommodate screws up to 5mm in diameter; center-to-center screw hole spacing on your…
As an affiliate, we earn on qualifying purchases.
As an affiliate, we earn on qualifying purchases.
Conclusion
By mastering the drift alignment technique, you substantially enhance your telescope’s accuracy, ensuring sharper images and more precise observations. Did you know that using this method can reduce alignment errors by up to 50%? That means less time spent troubleshooting and more time enjoying clear, detailed views of the night sky. Keep practicing, and you’ll find your astrophotography and stargazing experience transformed—making every night under the stars even more rewarding.

Sky-Watcher Star Adventurer 2i Pro Pack – Motorized DSLR Night Sky Tracker Equatorial Mount for Portable Nightscapes, Time-Lapse and Panoramas – Wi-Fi App Camera Control – Long Exposure (S20512)
Portable nightscape tracking platform: Motorized portable tracking platform perfect for capturing incredible detail of the Milky Way, eclipses…
As an affiliate, we earn on qualifying purchases.
As an affiliate, we earn on qualifying purchases.

Astromania Polar Alignment Scope for EQ-5, Quickly and Easily Align Your Equatorial Mount with The North Celestial Polar – The Foundations for Successful Astrophotography
Full metal; Good alignment of the mount with the North Celestial Pole can be achieved in a short…
As an affiliate, we earn on qualifying purchases.
As an affiliate, we earn on qualifying purchases.