Turning your astrophotos into a personalized astronomy calendar helps you plan your stargazing around ideal celestial events, star alignments, and moon phases. This enhances your chances of capturing clear, stunning images by scheduling sessions during the best conditions. You can also use the calendar to anticipate perfect viewing nights and avoid moonlit skies. Keep exploring how these tools can transform your passion into more rewarding astrophotos and skywatching experiences.
Key Takeaways
- Select high-quality astrophotos that highlight key celestial events, star patterns, or notable lunar phases.
- Organize images chronologically, aligning them with specific moon phases and stellar alignments for optimal viewing.
- Incorporate astronomical data and events, such as meteor showers or planetary conjunctions, into the calendar design.
- Use specialized software or templates to embed astrophotos alongside dates, moon phases, and celestial event descriptions.
- Personalize the calendar by adding notes on best observation nights, equipment tips, and upcoming celestial phenomena.

Have you ever wondered how stunning astrophotos can transform into a practical tool for stargazing? When you turn your breathtaking images into a personalized astronomy calendar, you gain more than just visual enjoyment—you create a guide that helps you plan your stargazing sessions. The key lies in understanding stellar alignment and moon phases, which are essential for maximizing your viewing experience. By integrating these elements into your calendar, you can anticipate the best nights for observing celestial events and ensure your astrophotos align with ideal conditions.
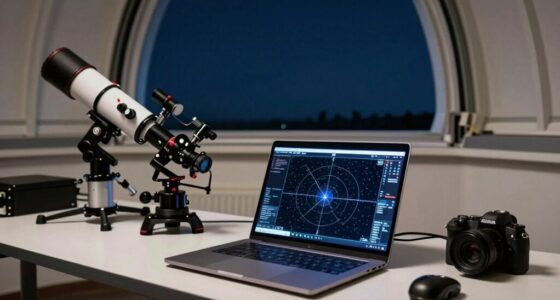
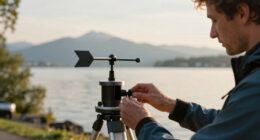
Stellar alignment plays a vital role in determining when the sky will be most favorable for capturing sharp, detailed astrophotos. Many astrophotographers focus on the alignment of stars and planets to enhance the clarity of their images. When you incorporate stellar alignment data into your calendar, it becomes a powerful planning tool. You’ll know which nights feature perfect configurations of planets or particular star clusters, making your photography sessions more productive. Tracking stellar alignment also helps you identify periods when the sky is less obstructed by atmospheric disturbances, giving you better chances for clear shots. Additionally, recent advances in neuroscience research have improved our understanding of visual perception, helping astrophotographers optimize their observational techniques.
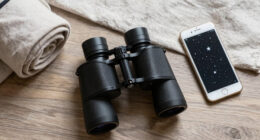
Moon phases are equally important and should be a central feature of your personalized calendar. The moon’s brightness can greatly impact astrophotography and stargazing. During full moon phases, the sky is illuminated, making faint stars and deep-sky objects harder to see. Conversely, during new moon phases, the darkness is ideal for observing and photographing dim celestial bodies. By aligning your astrophotos with the moon phases, you can plan to capture the night sky at its darkest, enhancing contrast and detail in your images. Plus, knowing the moon phases helps you avoid bright moonlit nights when your astrophotos might be washed out or less detailed.
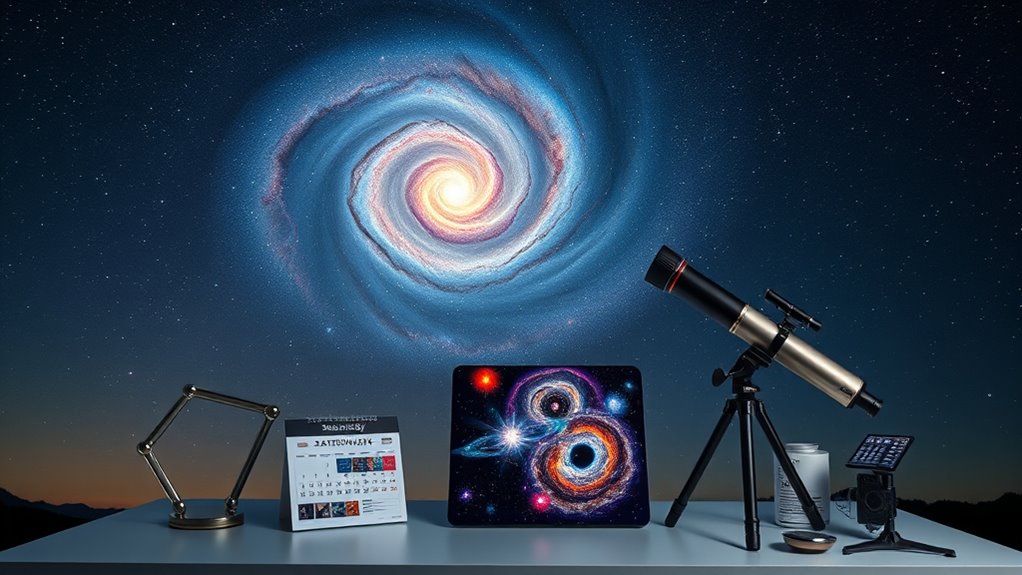
Creating your calendar involves more than just noting moon phases and stellar alignment; it also means understanding how these factors interact. For instance, certain planetary conjunctions or meteor showers happen during specific stellar alignments and moon phases, making those nights particularly special for astrophotos. By plotting these events on your calendar, you’re not only organizing your photography schedule but also ensuring you’re under the most advantageous sky conditions. This proactive approach turns your astrophotos into a dynamic, practical resource for planning future stargazing adventures.
Ultimately, using your astrophotos as the basis for a personalized astronomy calendar empowers you to become a more strategic observer. You’ll anticipate the best nights for capturing stunning images, align your efforts with natural celestial cycles, and deepen your understanding of the cosmos—all while enjoying the process of turning beautiful astrophotos into a functional, insightful tool for stargazing.

Pc Software Lifestyle: Calendar Creator Version 7
As an affiliate, we earn on qualifying purchases.
As an affiliate, we earn on qualifying purchases.
Frequently Asked Questions
How Can I Ensure My Astrophotos Are High Enough Quality for Printing?
To guarantee your astrophotos are high enough quality for printing, focus on capturing images with a high resolution, ideally at least 300 DPI, to maintain sharpness. Use proper color calibration to accurately represent celestial hues. Before printing, resize and enhance your images using editing software, and always preview the print to check for detail and color accuracy. These steps help produce vibrant, professional-looking astrophotos for your personalized astronomy calendar.
What Are the Best Software Options for Creating a Personalized Astronomy Calendar?
You’re probably dreaming of a stellar calendar, so use software like Adobe InDesign or Canva with built-in calendar templates for a cosmic touch. These tools excel at image editing, helping you perfect astrophotos before inserting them into your design. Don’t forget to explore options like Lightroom for fine-tuning images, ensuring your personalized astronomy calendar is both visually stunning and professionally crafted. After all, even stars deserve a polished showcase!
How Do I Choose Which Astrophotos to Feature in My Calendar?
You should prioritize your best astrophotos based on clarity, detail, and unique features. Focus on photo selection that maintains thematic consistency—whether it’s a specific celestial event, object, or color palette—to create a cohesive calendar. Consider variety to showcase different phenomena or seasons, and include images that evoke emotion or curiosity. Ultimately, pick photos that tell a story and inspire viewers throughout the year.
Can I Include Moon Phases or Astronomical Events in My Calendar?
Yes, you can include moon phases and notable astronomical events in your calendar. Use moon phase integration to mark lunar cycles, helping you plan astrophotography sessions around the best moonless nights. Schedule notable astronomical events like meteor showers, eclipses, or planetary transits for ideal viewing. Incorporating these details makes your calendar more informative, engaging, and tailored to enhance your stargazing and astrophotography experiences throughout the year.
What Are the Copyright Considerations for Using Astrophotos in a Calendar?
You should check copyright restrictions and image licensing before using astrophotos in your calendar. If you took the photos yourself, you own the copyright and can freely use them. However, if you source images online, verify whether they’re under a license that allows commercial use or require attribution. Respect copyright laws to avoid legal issues, and always credit photographers when possible to support their work.
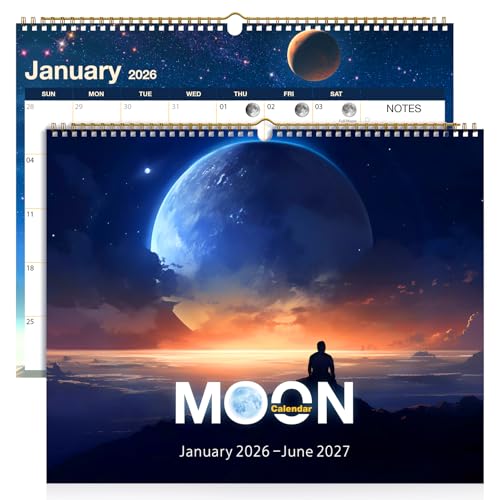
Moon Phase Wall Calendar, 18‑Month (Jan 2026–Jun 2027), Large 14"×11.5" (35.5×29.2 cm), Matte, Wire‑Bound, US Holidays, Lunar Phases at a Glance, Minimalist Monthly Planner for Home/Office
18 Months of Clarity — Seamless Jan 2026–Jun 2027 coverage keeps academic/fiscal goals aligned with no mid‑year gaps.
As an affiliate, we earn on qualifying purchases.
As an affiliate, we earn on qualifying purchases.
Conclusion
By transforming your astrophotos into a personalized astronomy calendar, you turn celestial moments into a lasting legacy that dances across your wall. It’s more than just images; it’s your own cosmic story etched in time. Imagine gazing at your creations, each month a reminder of the universe’s wonders you’ve captured. Isn’t it time you let your stargazing adventures illuminate your everyday life? After all, the stars are waiting—are you ready to bring them home?

Youngever 6 Pack Multi-Color Laminated Dry Erase Incentive Chart with 120 Reward Star Stickers for Chore Responsibility, School Attendance, Homework Progress Tracking Chart (17 Inch x 22 Inch)
INCENTIVE CHART – 6 Pack High end multi-color laminated dry erase incentive Chart and 120 Reward Star Stickers.
As an affiliate, we earn on qualifying purchases.
As an affiliate, we earn on qualifying purchases.

Rocketbook Flex Reusable Planner, Smart Undated, Daily, Weekly, Monthly, Annual Calendar Templates, Letter Size 8.5×11, Teal (Pack of 1)
All-in-One Planning: 48 reusable pages include daily, weekly, monthly, and annual templates, plus lined and dotted pages for…
As an affiliate, we earn on qualifying purchases.
As an affiliate, we earn on qualifying purchases.