The Bortle Scale helps you gauge sky darkness to plan better stargazing trips. It ranks skies from 1 (darkest) to 9 (brightest), showing how much light pollution affects what you can see. To use it, check local conditions with light pollution maps or apps, then pick spots with lower Bortle ratings for clearer views. If you want simple tips on finding the best spots, keep exploring—there’s more to discover.
Key Takeaways
- The Bortle Scale ranks sky darkness from 1 (darkest) to 9 (brightest), guiding viewers on ideal stargazing locations.
- Use light pollution maps and Sky Quality Meters to assess local sky conditions before planning.
- Choose dark sites with low Bortle ratings for clearer views of stars, planets, and celestial events.
- Plan around moon phases and weather for optimal visibility, favoring new moon nights.
- Set realistic expectations by understanding how light pollution affects star visibility and celestial detail.
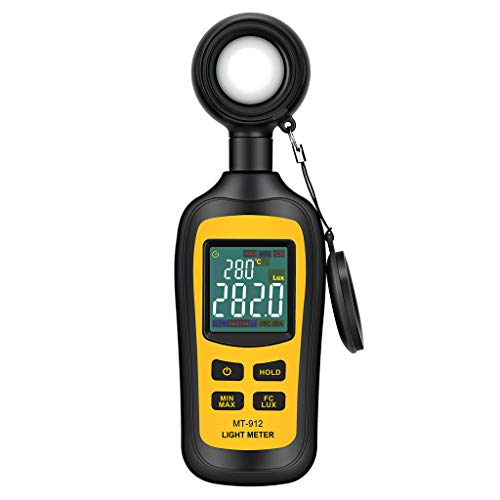
Light Meter Digital Illuminance Meter Handheld Ambient Temperature Measurer, Range up to 200,000 Lux, Luxmeter with 4 Digit Color LCD Screen
Measures luminosity from 0 to 200,000 Lux and ambient temperature
As an affiliate, we earn on qualifying purchases.
As an affiliate, we earn on qualifying purchases.
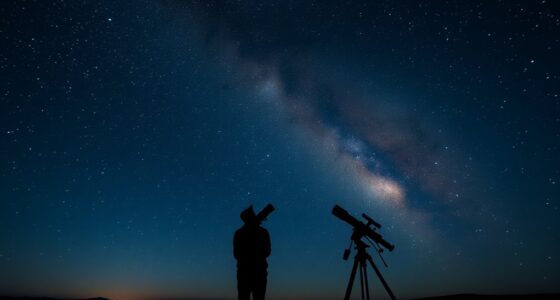
What Is the Bortle Scale and Why Does It Matter?
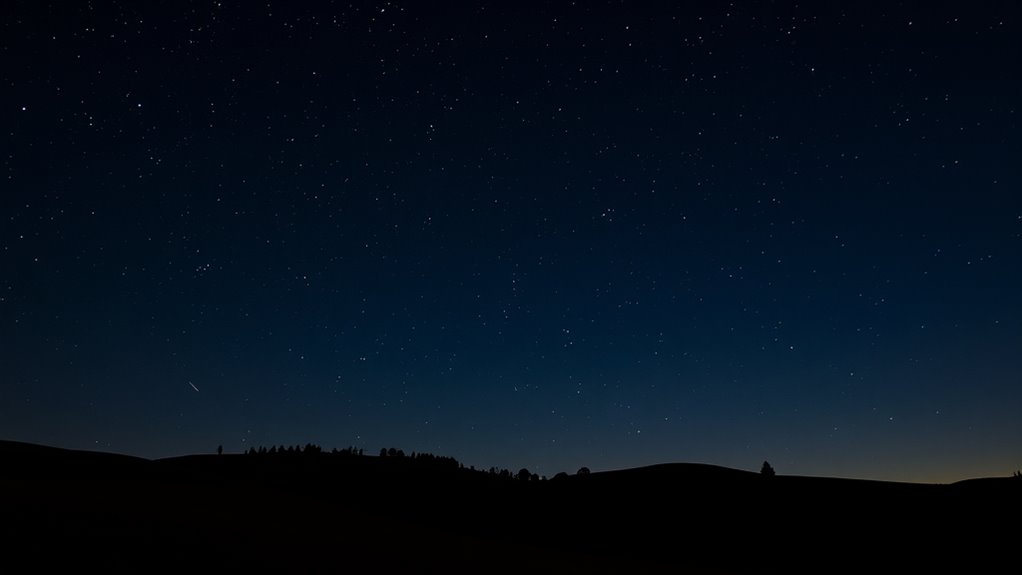
Have you ever wondered how dark your night sky truly is? The Bortle Scale helps answer that by measuring sky brightness and light pollution levels. It’s a simple tool that ranks skies from 1 (darkest) to 9 (brightest), showing how much artificial light affects visibility. Light pollution washes out stars and dims celestial objects, making it harder to see the universe’s true beauty. The Bortle Scale matters because it guides astronomers, stargazers, and outdoor enthusiasts to find ideal viewing spots. Knowing your sky’s Bortle level helps you plan better observations, avoid light-polluted areas, and appreciate the night sky’s natural darkness. Ultimately, it’s a practical way to understand and protect our ability to enjoy the stars.

Carson RedSight Red LED Flashlight For Reading Astronomy Star Maps and Preserving Night Vision with Two Brightness Settings (SL-33) X-Large
Two Brightness Settings – Red LED Flashlight with 9 Red LED bulbs.
As an affiliate, we earn on qualifying purchases.
As an affiliate, we earn on qualifying purchases.
Understanding the Bortle Scale Levels From 1 to 9
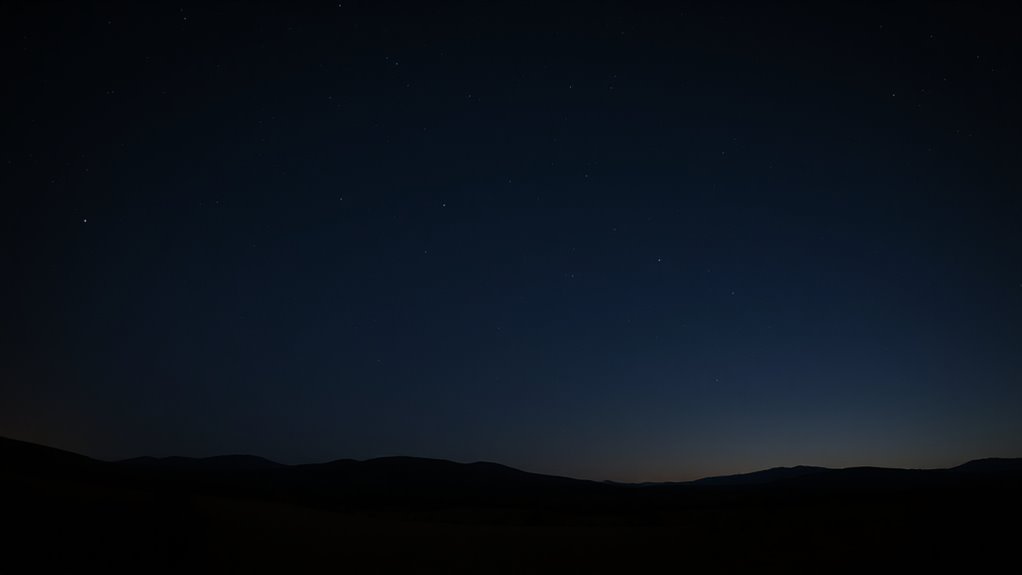
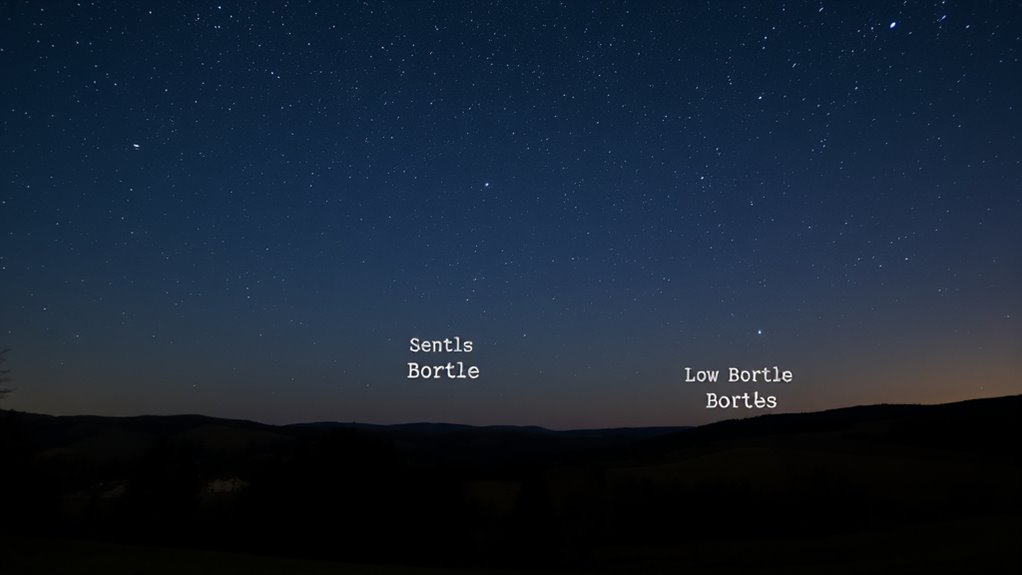
The Bortle Scale categorizes sky brightness into nine levels, each reflecting how much light pollution affects your view of the night sky. At lower levels, you see a truly dark sky with minimal light pollution, revealing countless stars and the Milky Way. As you move up the scale, increasing light pollution dims your view, hiding many celestial objects. Understanding these levels helps you gauge your local sky conditions and plan your observing sessions accordingly. Proper lighting controls] can significantly reduce light pollution and improve your night sky viewing experience.

Telescope for Kids & Adults – 70mm Aperture 500mm AZ Mount Fully Multi-Coated Optics Astronomical refracting Portable Telescopes, with Tripod Phone Adapter, Carrying Bag, Remote Control White
High-Quality Optics: The astronomical telescope features 500mm(f/7.1) focal length and 70mm aperture, provides stunning views and protects your…
As an affiliate, we earn on qualifying purchases.
As an affiliate, we earn on qualifying purchases.
How to Identify Your Local Sky Conditions
To identify your local sky conditions, start by recognizing the level of light pollution in your area. Assess factors like sky brightness and nearby light sources to get an accurate picture. Using clear night procedures helps you gauge these conditions effectively and plan your stargazing accordingly. Understanding Hyundai Tuning options can also inspire you to optimize your vehicle for better outdoor adventures.
Recognize Light Pollution Levels
Recognizing light pollution levels requires observing your night sky carefully and noting how much celestial detail you can see. Light pollution affects sky darkness, making stars faint or invisible. To identify your local conditions, look for signs like a washed-out sky or the absence of familiar constellations. A cozy bedroom ambiance can also influence your perception of darkness when inside, but outdoor observations are key.
Assess Sky Brightness Factors
Evaluating sky brightness factors involves observing your surroundings and noting how ambient light influences your view of the night sky. Light pollution from nearby cities, streetlights, or outdoor lighting can markedly increase sky brightness, reducing your ability to see faint stars and deep-sky objects. To assess this, look for a glow or haze that dims the stars, making them less distinct or fewer in number. Check how far away bright lights are, as their glare can extend into your viewing area. Pay attention to local sources of artificial light, which can elevate the overall sky brightness. Additionally, understanding the impact of digital literacy on outdoor activities can help you plan better star-gazing sessions. By understanding these factors, you can better determine your observing site’s suitability for amateur astronomy and estimate the Bortle class of your sky.
Use Clear Night Procedures
When planning a stargazing session, it’s essential to observe your local sky conditions under clear night skies. Check for minimal sky glow and light intrusion from nearby sources. Look for these signs:
- A dark, unobstructed horizon with few or no city lights
- Absence of bright lights or moving vehicle glare
- Consistent darkness across the sky without patches of glow
- Clear, steady skies free of clouds or haze
- Quiet surroundings with minimal artificial noise
- Paying attention to energetic alignment can further enhance your experience by fostering a mindful connection with the natural environment.

Look To The Sky Star Planisphere Wheel Easy-to-use Stargazing Tool Locate Constellations Stars and Galaxies. Durable Weatherproof Design is Perfect for Beginners and Experts Alike.
DURABLE DESIGN: Inner dial printed on 24PT laminated gloss material and mounted on soft-touch dew-resistant laminated cardstock, making…
As an affiliate, we earn on qualifying purchases.
As an affiliate, we earn on qualifying purchases.
Using the Bortle Scale to Find Ideal Stargazing Locations
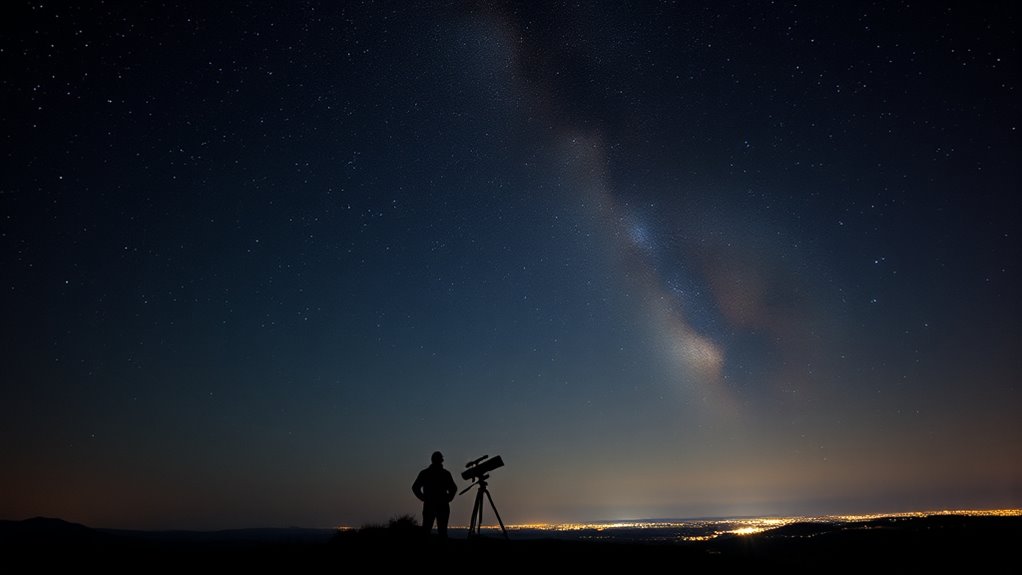
To find the best spots for stargazing, you should use the Bortle Scale as your guide to assess light pollution levels in different locations. Look for dark sky reserves, which are officially protected areas with minimal light pollution, offering ideal viewing conditions. Avoid urban light pollution, which considerably hampers visibility and diminishes the night sky’s beauty. The Bortle Scale helps you identify areas with lower ratings, indicating darker skies and better stargazing opportunities. You can use online maps and local astronomy groups’ recommendations to locate these spots. Additionally, understanding light pollution levels helps you choose the most suitable sites for your stargazing adventures. By choosing locations with a low Bortle number, you’ll experience clearer, more detailed views of stars, planets, and celestial events. This approach maximizes your chances of a rewarding, unobstructed night under the stars.
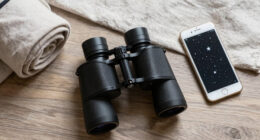
Practical Tips for Planning a Night Under the Stars
Planning a successful night under the stars requires careful preparation and attention to detail. To maximize your experience, consider these practical tips:
- Check the weather forecast to ensure clear skies and avoid surprises.
- Scout your location beforehand to find a safe spot with minimal light pollution and good sky safety.
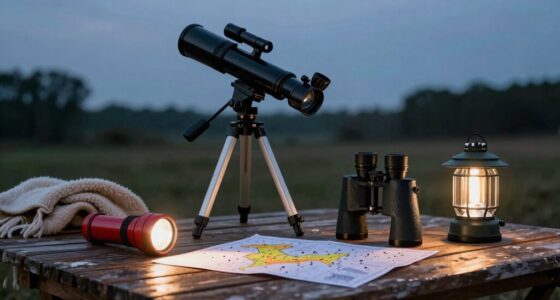
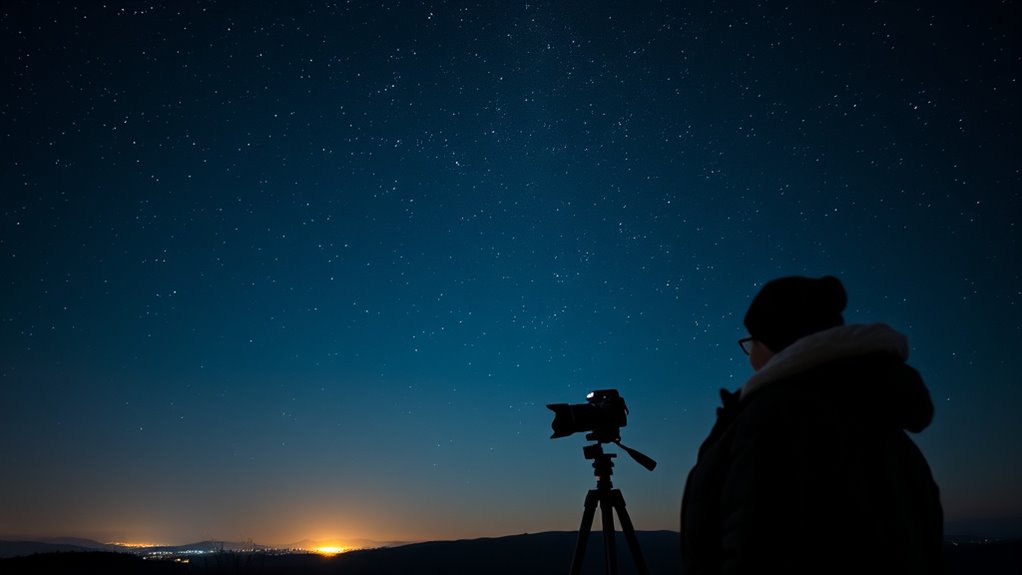
- Bring necessary equipment like a telescope, tripod, and camera gear for night photography.
- Pack warm clothing, snacks, and a flashlight with red light to protect night vision.
- Arrive early to set up and give your eyes time to adapt to darkness.
- Also, familiarize yourself with light pollution levels in your chosen area to improve your stargazing experience.
Recognizing Light Pollution and Its Impact on Visibility
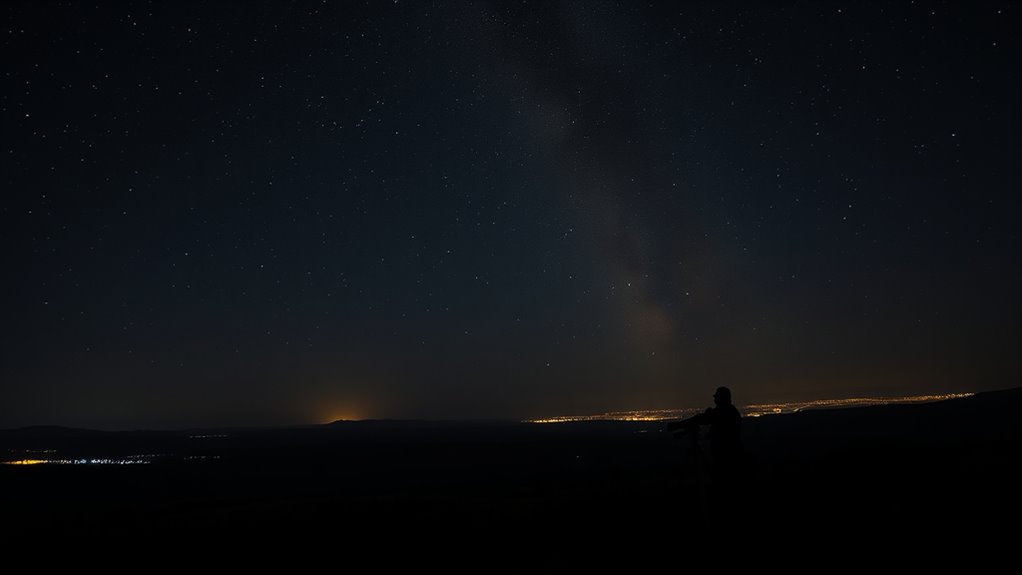
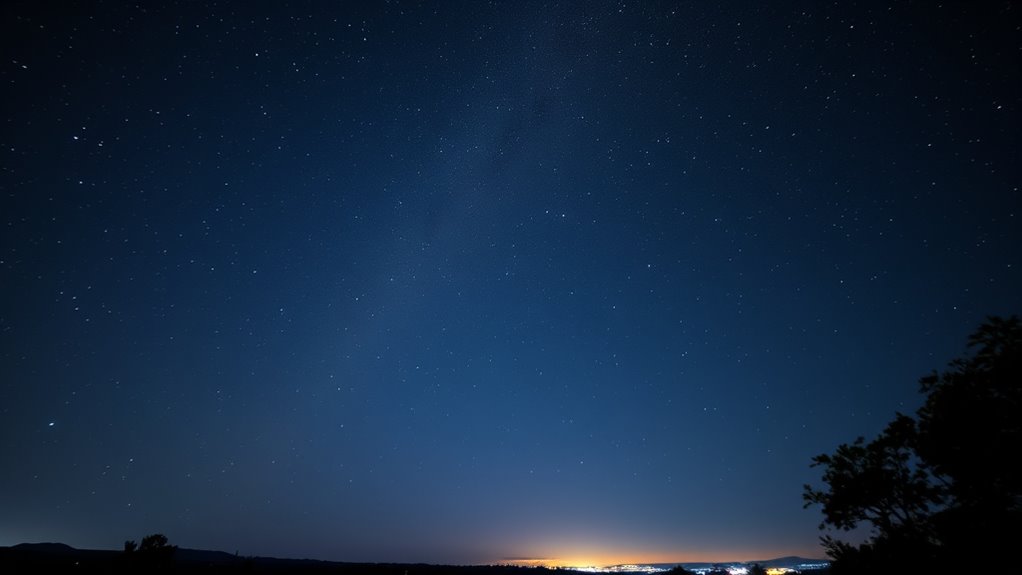
Have you ever noticed how city lights wash out the night sky, making stars hard to see? This is caused by urban glow, which brightens the sky and reduces your visibility of celestial objects. Light pollution disrupts natural darkness, making it difficult to observe even the brightest stars. You might see a faint glow in the sky that indicates excessive artificial lighting nearby. Recognizing light pollution involves looking for a washed-out sky, a lack of familiar constellations, or an overly bright horizon. When urban glow dominates the sky, it’s a sign that your viewing conditions are compromised. To truly enjoy a starry night, seek darker locations where natural darkness prevails, minimizing the impact of light pollution on your view of the universe. Additionally, understanding dark-sky principles can help you identify areas committed to reducing light pollution and preserving night sky visibility.
Tools and Resources for Assessing Sky Darkness
Wondering how to determine the quality of your night sky? Several tools and resources can help you evaluate sky darkness and the impact of light pollution. Using these, you can better plan your stargazing sessions. Here are some options:
- Dark Sky Apps: Mobile apps like SkyView, Stellarium, or Light Pollution Map show sky darkness levels in real-time.
- Bortle Scale Charts: Reference charts help you compare your observations with established Bortle classes.
- Light Pollution Maps: Interactive maps from sources like Light Pollution Atlas reveal areas with high or low light pollution.
- Sky Quality Meters: Handheld devices measure sky brightness directly, giving you precise data.
- Local Astronomy Clubs: Many clubs provide resources, guidance, and field testing for evaluating sky darkness.
These tools make it easier to identify ideal locations with minimal light pollution for best viewing.
Adjusting Your Expectations Based on Bortle Class
Your expectations for what you can see in the night sky should be adjusted based on the Bortle class of your observing location, as it directly influences visibility. Higher Bortle classes, indicating more light pollution, increase sky brightness and reduce your ability to see faint objects. In urban or suburban areas, you’ll notice fewer stars and less detail in the Milky Way. Conversely, darker skies in lower Bortle classes allow for clearer views of dimmer celestial objects, making your stargazing more rewarding. Recognizing how light pollution affects sky brightness helps you set realistic goals for each outing. By adjusting your expectations, you avoid frustration and appreciate the beauty of what’s visible, even if your location isn’t ideal for deep-sky observation.
Making the Most of Your Stargazing Experience
To get the best out of your stargazing, focus on observing during ideal times when the sky is darkest. Choose locations away from light pollution, and familiarize yourself with your equipment and settings for clearer views. These simple steps can greatly enhance your night under the stars, especially since understanding energy efficiency can help you plan better for outdoor activities by ensuring optimal use of resources.
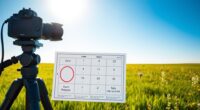
Optimal Observation Timing
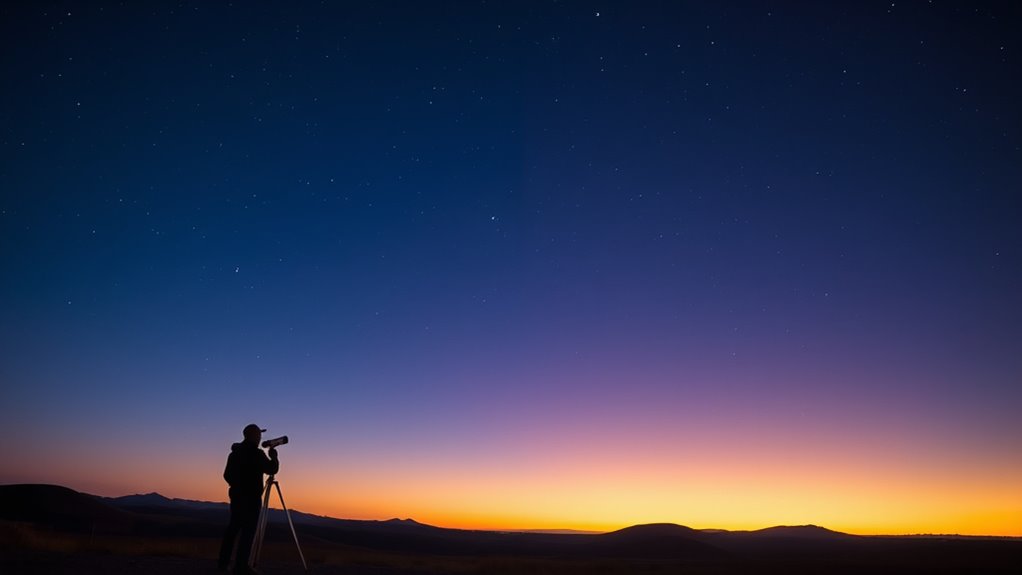
Optimal observation timing is vital for maximizing your stargazing experience. To get the best views, consider moon phases—new moons offer darker skies, while full moons can wash out faint objects. Clear weather conditions are essential; check forecasts for minimal cloud cover and low humidity. The best time to observe is during the late night hours, when the sky is darkest and objects are highest overhead. Avoid times around sunrise or sunset, as residual light diminishes visibility. Also, plan around astronomical events like meteor showers or planetary transits for added excitement. Keep a stargazing calendar handy to track prime nights, and stay flexible for sudden weather changes. Proper timing ensures crisper, more detailed views and a truly rewarding experience. Additionally, understanding light pollution levels can help you choose locations with optimal sky visibility.
Choosing the Right Location
Choosing the right location is essential for maximizing your stargazing experience, as light pollution and atmospheric conditions can considerably affect visibility. To get the best sky clarity, seek out dark areas away from city lights, parks, or rural locations with minimal artificial lighting. The less light pollution, the more stars you’ll see, and the clearer the sky appears. Check local maps or apps to find nearby dark-sky sites or areas with low Bortle scale ratings. Avoid places near streetlights, buildings, or glow from distant towns. Sometimes, a slight elevation or open field can improve your view by reducing atmospheric interference. By selecting a location with minimal light pollution and good sky clarity, you ensure a richer, more awe-inspiring stargazing experience.
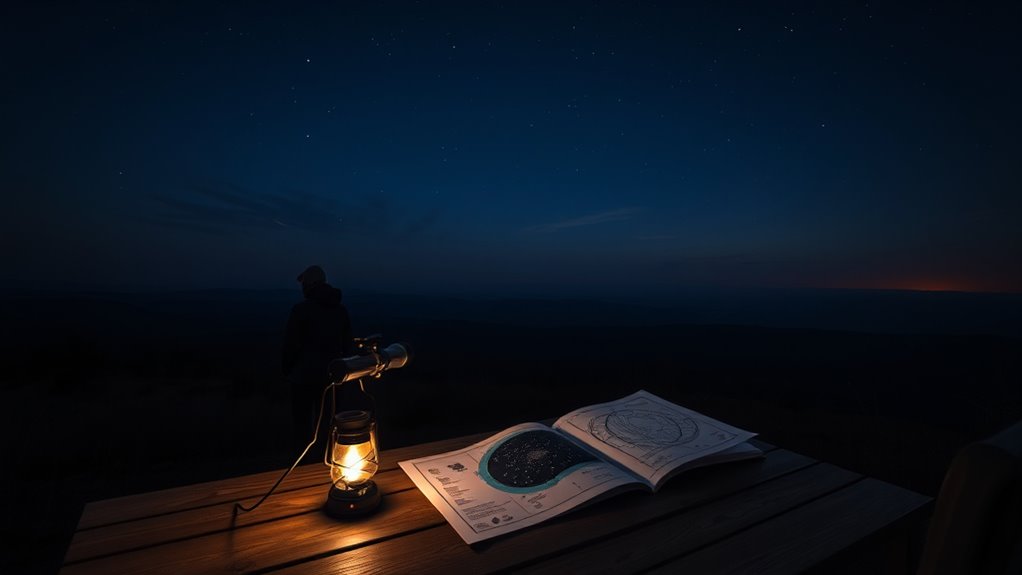
Equipment and Settings
Having selected a dark, unobstructed location, the right equipment and settings can considerably enhance your stargazing session. Using quality telescope accessories, like different eyepieces and filters, helps you see more details and reduce light pollution effects. Adjust your telescope’s focus and gain settings for sharp images. If you’re into astrophotography, ensure your astrophotography gear, such as mounts and cameras, is properly calibrated. Consider a sturdy tripod or mount to keep your view steady. Use a red flashlight to preserve night vision. Familiarize yourself with your device’s manual and plan your session around ideal exposure times. Properly setting your equipment maximizes your viewing experience and captures stunning images, especially in darker skies with minimal light pollution.
Frequently Asked Questions
How Does Light Pollution Vary With Weather Conditions?
You’ll notice that light pollution varies with weather, especially cloud cover and humidity levels. Clouds reflect artificial lights, making the sky brighter and reducing visibility for stargazing. High humidity can cause haze, diffusing light further and worsening light pollution. Clear, dry nights offer the best conditions for dark skies, while cloudy or humid nights increase light pollution, making it harder to see stars and celestial objects clearly.
Can the Bortle Scale Predict Star Visibility During a Specific Night?
You can’t precisely predict star visibility on a specific night with the Bortle scale, but it offers a helpful snapshot of light pollution levels in your area. Imagine gazing up as the sky’s darkness unfolds, revealing more stars in a low Bortle zone. While weather conditions influence visibility, the scale gives you a good idea of how many stars you might see, helping you plan your stargazing adventure.
Is There an App to Automatically Determine Bortle Class for My Location?
Yes, you can find apps that automatically determine your sky quality and light pollution levels for your location. Apps like Light Pollution Map, SkyView, and Stellarium use your device’s GPS to assess light pollution and estimate the Bortle class. These tools help you plan stargazing nights by giving you real-time data, so you know if your sky quality is suitable for observing faint stars and celestial objects.
How Often Should I Reassess Local Sky Conditions for Planning?
You should reassess your local sky conditions regularly, especially before each observing session. Seasonal changes can markedly impact sky darkness, so check for new moon phases and weather patterns. Moon phase effects are especially important during brighter phases, which can brighten the sky and reduce visibility of dim objects. By staying updated weekly or even nightly during active seasons, you’ll optimize your stargazing experience and plan your sessions effectively.
Can Urban Areas Ever Achieve a Bortle Class 1?
You might find it surprising, but achieving a Bortle class 1 in urban areas is nearly impossible due to persistent light pollution, unlike rural darkness where it’s common. Urban sky quality rarely reaches such pristine darkness because of streetlights, buildings, and city glow. However, with dedicated dark-sky parks nearby or extreme light control, urban areas can approach Bortle class 2 or 3, offering clearer views, but a true class 1 remains out of reach.
Conclusion
By understanding the Bortle Scale, you can better choose your stargazing spots and enjoy the night sky’s quiet beauty. Even if the view isn’t perfect, there’s charm in every level of darkness, offering a peaceful escape from the busy world. Embrace the gentle glow of city lights or the soft shimmer of remote skies—each moment under the stars is special. Happy stargazing, and may your nights be filled with wonder!