To stop fighting weird star colors, guarantee your equipment is properly calibrated and your camera settings are optimized. Use accurate white balance, adjust exposure carefully, and select filters that enhance natural hues. Regularly calibrate your display and apply consistent post-processing techniques. Avoid environmental distortions like light pollution. Mastering these secrets helps your star colors look true to life. Keep exploring these tips, and you’ll uncover how to achieve stunning, consistent astrophotography results.
Key Takeaways
- Properly calibrate your camera and monitor regularly to ensure accurate color capture and display of star hues.
- Use appropriate white balance settings and color temperature adjustments to match natural star colors.
- Employ calibration tools like flats, darks, and software to correct sensor response and color inaccuracies.
- Choose filters (RGB or narrowband) that enhance true star colors during imaging.
- Conduct subtle post-processing adjustments, focusing on white balance and saturation, to preserve natural star hues.

DSLRKIT Lens Focus Calibration Tool Alignment Ruler Folding Card(Pack of 2)
This compact ruler allows you to determine if your lens is auto-focusing accurately as it should. It is…
As an affiliate, we earn on qualifying purchases.
As an affiliate, we earn on qualifying purchases.
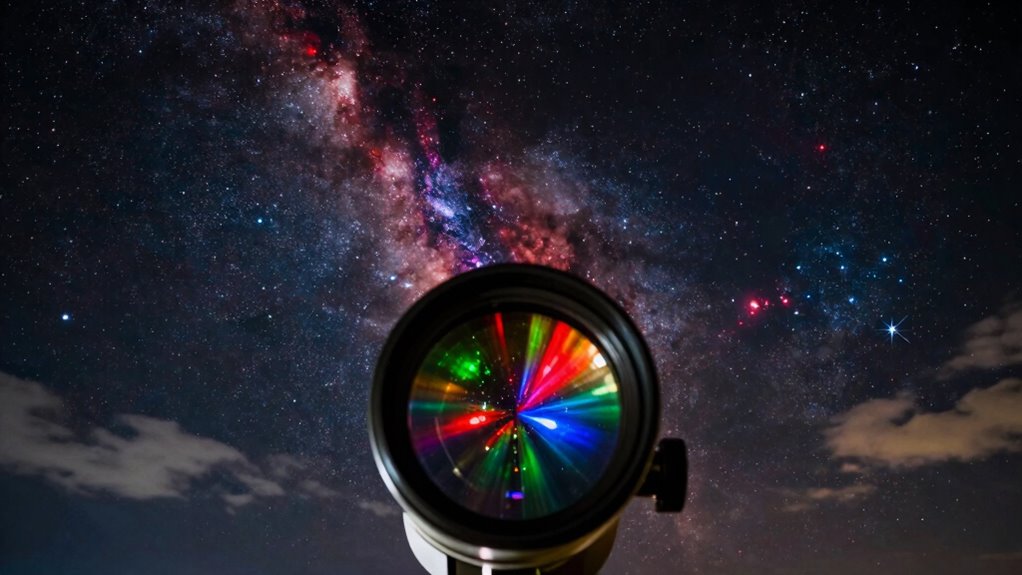
Why Do Stars Look Weird in Photos?

When you look at photos of the night sky, stars often appear as strange shapes, elongated streaks, or blurry points rather than sharp, pinpoint dots. This happens because of multiple factors, including star color psychology and celestial body compositions. Different stars emit colors based on their temperature and chemical makeup, which influences their appearance in photos. Cooler stars tend to be red or orange, while hotter stars are blue or white. Additionally, the way celestial bodies are composed—like size, age, and surrounding dust—affects how they look in images. These variations create the illusion of weird shapes and colors. Understanding these natural factors helps explain why stars don’t always look the way you expect in astrophotography. Furthermore, the use of lightweight foundations can enhance the appearance of skin in astrophotography by reducing glare from the camera. To improve your astrophotography skills, consider incorporating foam rolling techniques that can enhance recovery and overall performance during long night shoots. Exploring content formats can also help you better understand how to present star colors effectively in your images. Additionally, the color temperature of your camera settings plays a crucial role in capturing the true hues of celestial objects, as even small adjustments can lead to significant differences in how stars appear.

JJC Durable and Lightweight Universal White Balance Filter for Lenses up to 95mm Diameter, Certified 18% Transmission for Metering
Overcome tough lighting conditions, high light transmission for successful use in low lighting conditions
As an affiliate, we earn on qualifying purchases.
As an affiliate, we earn on qualifying purchases.
Common Causes of Unnatural Star Colors in Astrophotography
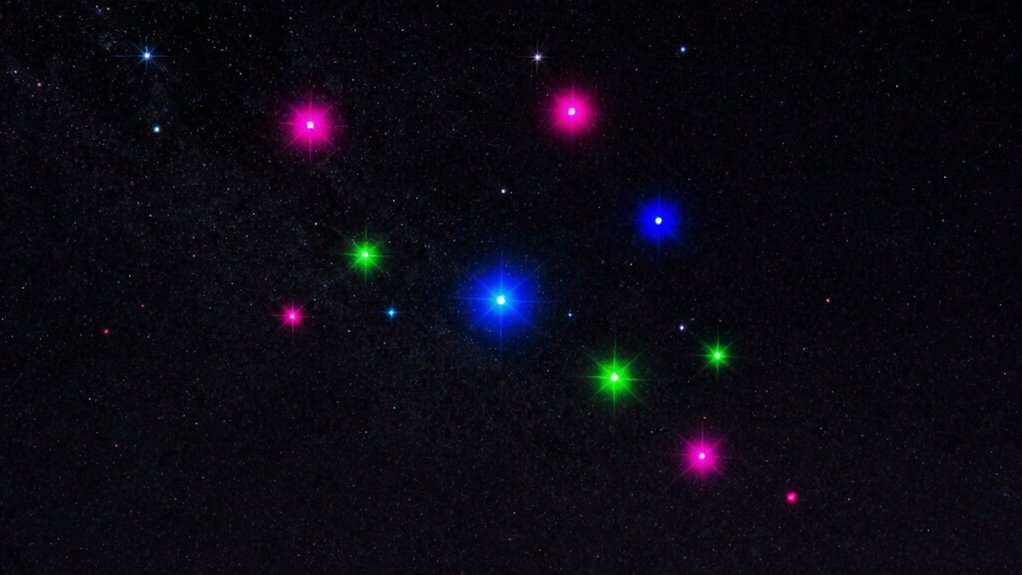
Unnatural star colors in astrophotography often result from various technical and environmental factors that can distort their true hues. Many star color myths persist, leading to misconceptions about what causes these unnatural tones. For instance, some believe that the camera’s white balance solely influences star colors, but environmental factors like light pollution or atmospheric conditions play a significant role. Additionally, astrophotography misconceptions suggest that camera settings alone are responsible, overlooking issues like sensor sensitivity or chromatic aberration. Calibration errors, lens distortions, and inadequate post-processing can all contribute to color inaccuracies. Understanding these causes helps you avoid common pitfalls and ensures you capture more accurate, vibrant star colors, moving beyond myths and misconceptions that hinder true color representation in your astrophotography. Furthermore, achieving optimal color accuracy in your images is crucial for representing stars in their true hues. Incorporating natural filtration systems in your shooting environment can also help minimize unwanted light interference and improve overall image quality, as indoor air quality can influence the clarity of your view. Utilizing quality measurement tools can significantly enhance your ability to assess and correct color fidelity in astrophotography. Engaging with emerging trends in digital publishing can provide fresh insights and techniques for improving your astrophotography skills.

SVBONY SV220 Telescope Filter, 2" 7nm Dual-Band Nebula Filter, Reduce Stray Light, H-Alpha&O-III Narrowband Filter for One-Shot Color Camera, Telescope Accessories for Deep Sky Astrophotography
Capture Purer Nebula Light: SV220 2" Dual-Band Filter allows high transmission of OIII (500.7nm) and H-Alpha (656.3nm) nebula…
As an affiliate, we earn on qualifying purchases.
As an affiliate, we earn on qualifying purchases.
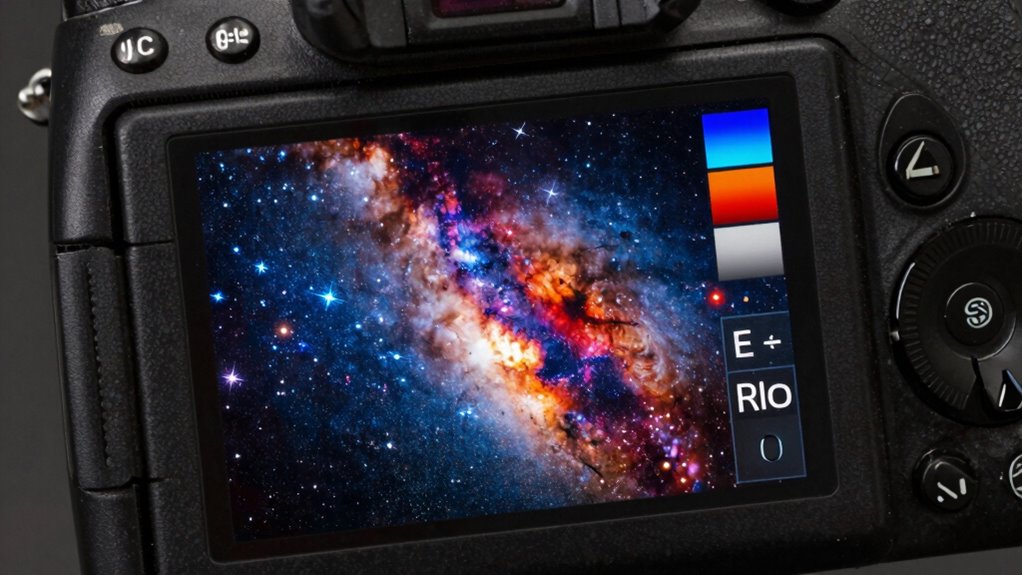
How to Adjust Camera Settings (ISO, White Balance, Exposure) for Accurate Colors
To get accurate colors, you need to fine-tune your camera settings carefully. Start by adjusting the ISO to match your lighting conditions, then set the white balance to make sure colors appear natural. Additionally, maintaining a healthy weight management routine can help improve your overall photography skills by ensuring you have the energy and focus needed. Regular fuel injection cleaning can also enhance your vehicle’s performance, leading to sharper images when photographing cars. Finally, tweak the exposure levels so your images aren’t too bright or too dark, helping your colors stay true. Additionally, consider how segmentation of audience can influence the effectiveness of your visual content, ensuring it resonates with your viewers. Understanding the importance of camera backpacks for protecting your gear while shooting outdoors can also enhance your photographic experience. Incorporating aquatic exercise into your routine may also boost your stamina and focus during long shoots.
Fine-Tune ISO Settings
Have you ever wondered how to guarantee your photos display true-to-life colors? Fine-tuning your ISO is a key step. A lower ISO (like 100 or 200) minimizes noise, ensuring colors stay vibrant and accurate, aligning with proper color theory. Higher ISO settings can introduce grain, muddling hues and diminishing detail, which hampers your artistic expression. Adjust ISO based on lighting conditions to maintain natural tones without sacrificing image quality. Remember, ISO works in tandem with aperture and shutter speed to balance exposure, so experiment to find the sweet spot. When you master ISO adjustments, your images become more faithful to reality, giving you greater control over color accuracy and artistic intent. This precision helps you craft images that truly resonate with viewers. Additionally, understanding mammography guidelines can help inform decisions in the context of health and photography, as both require careful consideration of detail and clarity. Moreover, exploring spiritual guidance can inspire your creative process, enhancing how you perceive and capture the world around you. Incorporating gear care tips can also ensure your photography equipment remains in top condition, allowing for optimal performance and reliability. Engaging in wellness tourism can further enhance your creativity, as retreats often provide a serene environment to reflect and explore artistic ideas. Furthermore, maintaining scent balance in your workspace can create an atmosphere that fosters concentration and creativity, ultimately improving your photography experience.
Balance White Properly
Achieving accurate colors in your photos starts with proper white balance adjustment. You need to match your camera’s color temperature to the ambient lighting conditions. If you’re shooting indoors under warm tungsten lights, set a warmer white balance, like 3200K, to prevent yellowish hues. Conversely, in daylight, use a cooler setting around 5500K to capture natural colors. Many cameras have auto white balance, but for precision, manually select or customize settings based on your environment. By aligning your white balance with ambient lighting, you guarantee whites appear truly white and all colors stay true to life. This step prevents color casts that can distort star colors and other subtle hues in your images, giving you a more accurate, professional-looking result.
Adjust Exposure Levels
Once your white balance is set correctly, fine-tuning the exposure levels guarantees your photos capture true-to-life colors. Adjust your exposure compensation to prevent underexposed or overexposed images, which can distort color accuracy. Be mindful of color temperature—if your image appears too warm or cool, tweak the exposure to balance it out. Increasing exposure brightens the scene, revealing more accurate color details, while decreasing it helps prevent washed-out colors. Use your camera’s histogram to gauge proper exposure; a balanced histogram indicates well-exposed colors. Remember, small adjustments make a big difference. Proper exposure ensures your star colors aren’t lost or misrepresented, giving you vibrant, natural results that reflect the scene’s true palette. Incorporating evidence-backed guidance on exposure settings can further enhance your photography skills.

Calibrite Display 123 Monitor Calibration Colorimeter for Photo Editing and Color Accurate Viewing, Easy 1 2 3 Software Workflow, USB C Connection, and Before and After Check, Supports 2 Displays
SPECIFICATIONS: Monitor calibration colorimeter with Easy 1 2 3 software workflow, USB C connection, compact body approx. 34mm…
As an affiliate, we earn on qualifying purchases.
As an affiliate, we earn on qualifying purchases.
Choosing Filters to Enhance Star Colors
Choosing the right filters is essential for bringing out the true colors of stars in your astrophotography. Proper filter selection can considerably improve color enhancement, making star hues more vivid and accurate. To optimize your results, consider filters that target specific wavelengths, such as RGB or narrowband filters, which isolate particular colors. This allows you to emphasize subtle differences in star colors and reduce light pollution interference.
- Use RGB filters to enhance distinct star hues
- Incorporate narrowband filters for precise color separation
- Select filters suited for your camera’s spectral response
- Combine multiple filters for a balanced, vibrant palette
How to Calibrate Your Display for True Colors
To see your astrophotography images accurately, you need to calibrate your display so that the colors you see are true to life. Start by understanding basic color theory, which guides how colors should appear relative to each other. Use a high-quality calibration tool compatible with your display hardware to create an accurate color profile. Begin with a neutral gray patch to set the correct brightness and contrast, ensuring details aren’t lost in shadows or highlights. Adjust the RGB sliders to balance the color output, matching the target color space. Regular calibration guarantees consistent accuracy, especially when switching between different displays or lighting environments. Proper calibration aligns your display with industry standards, helping you interpret star colors correctly and avoid misjudging astrophotography results. Additionally, being aware of cultural festivals can enhance your experience of viewing and appreciating the beauty of astrophotography in different settings. Incorporating high-quality glassware in your viewing setup can also elevate the overall aesthetic experience. Furthermore, utilizing data storage solutions can ensure your calibrated images are securely backed up and easily accessible for future reference. Maintaining proper hygiene while handling your equipment can prevent any unwanted contamination that might affect image quality.
Post-Processing Tips to Correct Star Colors
When correcting star colors in post-processing, start by adjusting the white balance to guarantee natural hues. Use color masks to isolate stars and fine-tune their tones without affecting the background. Finally, tweak saturation levels carefully to enhance star colors without oversaturating the image.
Adjust White Balance
Adjusting the white balance is an essential step in post-processing to guarantee your star colors look natural and vibrant. Properly setting the white balance ensures that the colors reflect what you observed through your telescope, preventing unnatural hues. Focus on fine-tuning the color temperature to match the scene’s lighting conditions, making stars appear true to life. Too warm or cool a setting can distort star colors, so experiment with sliders until the stars look right.
- Use the white balance tool to sample neutral tones
- Adjust color temperature for a warmer or cooler look
- Avoid overcorrecting, which can introduce color casts
- Compare adjustments with reference images for accuracy
Use Color Masks
Color masks are powerful tools in post-processing that allow you to target and correct specific colors within your star field. By creating precise color masks, you can isolate particular hues that appear unnatural or off, making star color correction more effective. For example, if your stars have a bluish tint that shouldn’t be there, a color mask helps you selectively adjust only those stars without affecting the rest of your image. This focused approach ensures smoother, more natural star colors. You can fine-tune hue, saturation, and luminance within the masked areas to achieve the desired star color correction. Using color masks gives you greater control, helping you eliminate color cast issues and bring harmony to your starfield.
Tweak Saturation Levels
Tweaking saturation levels is a straightforward way to refine the overall appearance of your star colors after applying color masks. Adjusting saturation helps enhance or tame color vibrancy, giving your stars a more natural or vivid look. To achieve the desired effect, focus on increasing vivid saturation for brighter, more eye-catching stars or reducing it to tone down overly intense colors. Be cautious not to oversaturate, which can lead to unnatural results. Use sliders or curves to target specific color ranges, ensuring a balanced, appealing color vibrancy. Small tweaks can make a significant difference in how your stars stand out in the final image. Remember, subtle adjustments often produce the most realistic and enthralling results.
- Increase saturation for more vivid star colors
- Reduce saturation to tone down harsh hues
- Target specific color ranges for balance
- Avoid oversaturation to maintain realism
Tips for Capturing Consistent Star Colors Over Multiple Sessions
Capturing consistent star colors across multiple sessions can be challenging, but with careful planning, you can achieve reliable results. Focus on understanding star color psychology to anticipate how different stars appear in your images. Use consistent astrophotography gear, including camera settings, filters, and lens choices, to minimize variations. Record detailed notes after each session to replicate conditions precisely. To maintain consistency, consider the following:
| Tip | Why it helps | Example |
|---|---|---|
| Use the same camera settings | Ensures similar exposure and color balance | Keep ISO, aperture, and shutter constant |
| Keep gear calibrated | Prevents color shifts due to equipment | Regularly calibrate your camera and filters |
| Document environmental conditions | Accounts for atmospheric differences | Note moon phase, temperature, humidity |
Troubleshooting Unnatural Star Colors: What to Do When Things Go Wrong?

When star colors look off, start by checking your camera settings to guarantee proper exposure and color profiles. Adjust your white balance to match the lighting conditions and eliminate unnatural hues. Using calibration tools can help fine-tune your setup for accurate, consistent star colors.
Check Camera Settings
If your stars are appearing with unnatural or inconsistent colors, checking your camera settings is the first step to troubleshooting the issue. Incorrect settings can cause color distortions, especially in astrophotography. Start by reviewing your camera’s exposure, ISO, and focus. Using the right camera accessories, like a sturdy tripod, can help maintain consistent settings. Also, double-check if your camera’s color profile or picture style is set to a neutral or natural mode rather than vivid or saturated. When traveling, keep notes on your camera settings to replicate ideal conditions.
- Ensure your white balance is set to auto or a daylight preset
- Disable any in-camera filters or effects
- Confirm your lens and filters are clean and compatible
- Use manual mode for precise control
Adjust White Balance
Have you noticed your stars glowing with strange, unnatural colors in your astrophotography? Adjusting the white balance can fix this issue. Start by setting the white balance to match the color temperature of your scene. If your stars appear overly blue or orange, tweak the white balance until the colors look more natural. Many cameras have preset options like daylight or tungsten, but custom settings often yield better results. Remember, a proper white balance guarantees that star colors reflect their true hues rather than misleading color casts. Experiment with different settings until you find the one that produces the most accurate star colors. This simple adjustment can dramatically improve your astrophotography, ensuring your star images are both vibrant and true to life.
Use Calibration Tools
Unnatural star colors can often be traced back to calibration issues that simple white balance adjustments can’t fully correct. To troubleshoot effectively, use calibration tools designed for astrophotography. Calibration software helps you apply precise adjustments based on color theory, guaranteeing your camera’s color rendition aligns with reality. These tools can correct color casts and help you achieve natural star hues. By capturing calibration frames—like flats and darks—you can refine your camera’s color response. Proper use of calibration software allows you to analyze and adjust color balance more accurately, reducing unnatural star colors. This process ensures your images reflect true star colors, avoiding the pink, green, or overly saturated hues caused by miscalibration.
- Capture calibration frames (flats, darks)
- Use calibration software to analyze color response
- Adjust based on color theory principles
- Regularly re-calibrate for consistent results
How to Maintain Accurate Color Calibration Long-Term
Maintaining accurate color calibration over time requires regular attention and proactive adjustments. As your equipment and environment change, subtle shifts can impact color accuracy. To stay on track, revisit your calibration tools periodically, confirming they remain accurate. Understanding color theory helps you recognize when colors look off and guides you in making precise tweaks. Keep in mind that star composition influences their appearance, so consistent calibration helps you interpret their true colors correctly. Regularly monitor your display’s performance and recalibrate as needed, especially after software updates or hardware changes. This ongoing process ensures your images reflect the real colors you see in the stars, making your work more precise and reliable. Staying vigilant keeps your color calibration aligned with the natural beauty of star colors.
Final Tips for Showing Your Stars’ True Colors in Photos
To guarantee your star photos accurately display their true colors, start by capturing images with proper exposure and white balance settings. Understanding stellar color theory helps you interpret star hues correctly, enhancing your astrophotography composition. Use manual settings to fine-tune exposure, avoiding overexposure that washes out star colors. Adjust white balance to match the scene’s natural tones, ensuring true color rendition. Post-processing can enhance these colors further, but avoid overdoing it. Focus on balancing contrast and saturation to reveal subtle star hues. Remember, good astrophotography composition involves framing stars to highlight their colors without distraction. Incorporate these tips to produce vivid, accurate star images that reflect their true stellar hues.
- Use manual exposure and white balance adjustments
- Study stellar color theory for color accuracy
- Frame your shot to emphasize star colors
- Edit carefully to enhance, not distort, hues
Frequently Asked Questions
Can Atmospheric Conditions Affect Star Color Accuracy in Photos?
Yes, atmospheric conditions can affect star color accuracy in photos. Skyglow interference from light pollution can wash out or alter star hues, making them appear less vibrant or differently colored. To improve accuracy, you should use light pollution mitigation techniques like filters or choosing darker skies. Additionally, understanding atmospheric effects like haze or humidity helps you adjust your camera settings, ensuring your star colors are captured more true to life.
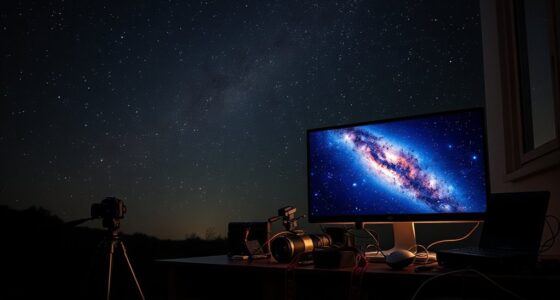
What Equipment Is Best for True Color Astrophotography?
For true color astrophotography, you need a camera with high sensor sensitivity to capture faint star colors accurately. Use a dedicated astrophotography camera or a DSLR with excellent low-light performance. Adjust your white balance to “daylight” or manually set it to match star colors. Pair this with a good telescope and tracking mount to minimize motion blur, ensuring your images accurately reflect the star’s true colors.
How Does Star Brightness Influence Color Perception in Images?
Star brightness considerably influences color perception in your images. Bright stars create high contrast, making their colors pop, while dimmer stars may appear less saturated or even washed out. When you capture images, adjusting exposure helps balance star contrast and enhances color saturation, revealing true star hues. Proper calibration ensures that brighter stars don’t dominate, allowing you to accurately perceive and represent the star’s natural colors in your astrophotography.
Are There Specific Software Tools for Star Color Correction?
Yes, there are specific software tools for star color correction, and software calibration plays a vital role in achieving accurate results. Programs like PixInsight, Adobe Photoshop, and AstroPixel Processor offer advanced features for calibrating colors and correcting star hues. You can fine-tune your images by adjusting color balance, saturation, and luminance, ensuring the star colors appear natural and consistent with real astrophysical phenomena.
How Often Should I Recalibrate My Camera and Display?
You should recalibrate your camera sensor and display every three to six months, as environmental changes can affect color accuracy. Notably, studies show that even slight shifts in calibration can cause color discrepancies of up to 15%. Regular calibration ensures consistent color reproduction, especially for star colors. Keep an eye on calibration frequency, and don’t wait too long—your images will stay true and vibrant, making your astrophotography truly stand out.
Conclusion
To truly capture your stars’ authentic colors, mastering calibration is key. Some believe that the “weird star colors” are just camera quirks, but research shows that proper settings and calibration can reveal their true hues. By fine-tuning your camera, filters, and display, you can consistently showcase the cosmos as it appears in reality. Don’t let technical illusions hide the universe’s vibrant beauty—trust the science and your skills to bring out the best in your astrophotos.