
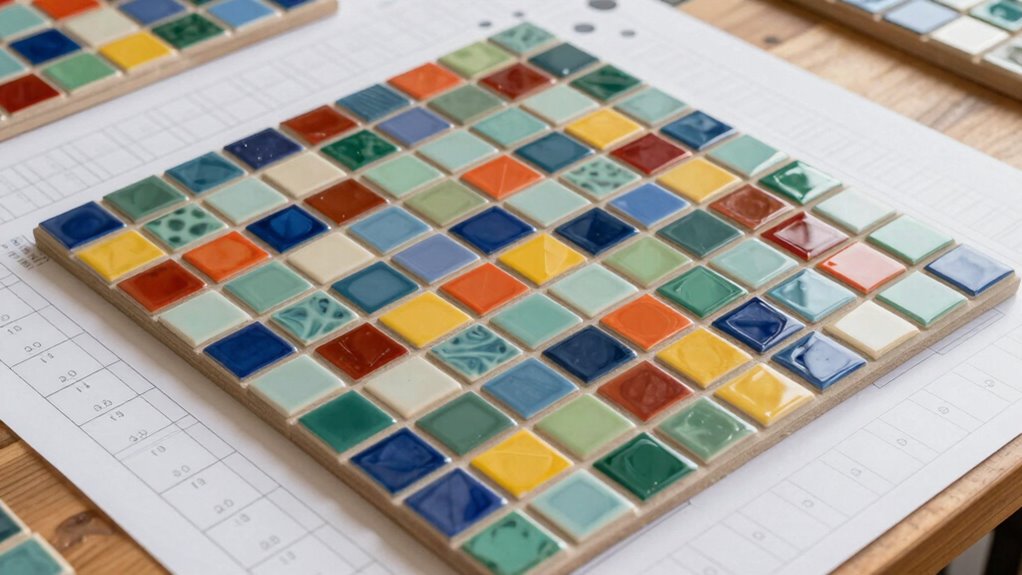
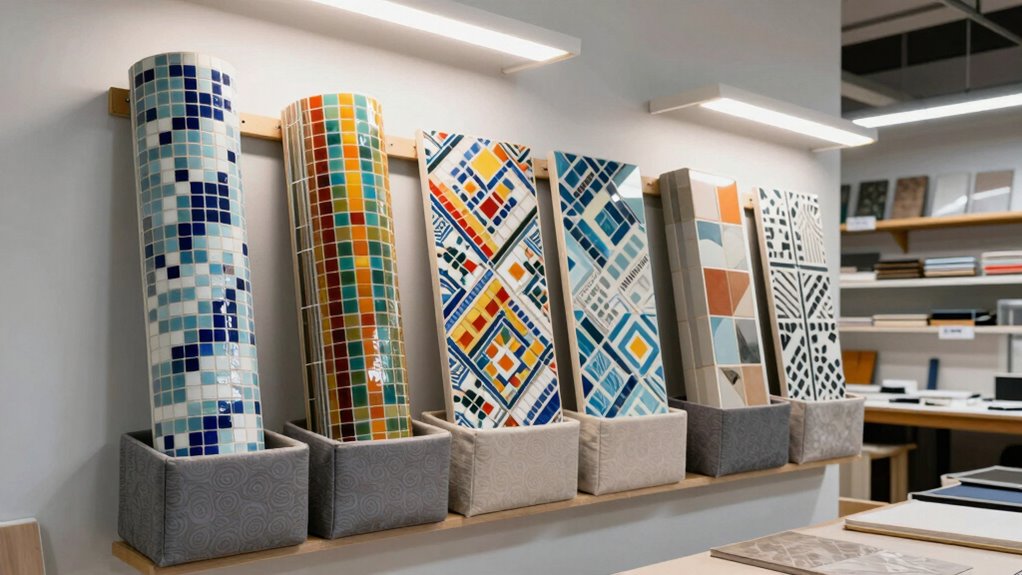
Using plan panels makes creating mosaics much easier because they provide clear templates and layouts to follow, reducing guesswork and mistakes. You can visualize your design, experiment with colors, and plan tile placement before starting. Organizing your materials and choosing the right panel for your project helps keep everything on track. If you want practical tips on customizing, troubleshooting, and finishing your mosaic, there’s more to explore that can make your project even smoother.
Key Takeaways
- Use pre-designed plan panels to organize and visualize mosaic layouts, reducing guesswork and ensuring accurate tile placement.
- Create scaled mockups or digital prototypes to experiment with colors, patterns, and textures before actual assembly.
- Organize materials by color, size, and shape to streamline selection and minimize errors during construction.
- Utilize templates to plan pattern repetition and color blending, ensuring cohesive and balanced mosaic designs.
- Adjust and troubleshoot designs early by verifying material compatibility and alignment, preventing costly mistakes.

Kathfly 1 Pcs Wood Wall Panels, Reclaimed Real Teak Wood 3D Panels for Interior Accent Wall, Mosaic Paneling Tiles, Natural DIY Decor for Living Room, Bedroom, Office, Covers 1 Sq ft
Real Reclaimed Teak Wood Wall Panels: Crafted from genuine reclaimed teak wood, these wood wall panels showcase natural…
As an affiliate, we earn on qualifying purchases.
As an affiliate, we earn on qualifying purchases.
How Plan Panels Make Mosaic Creation Easier

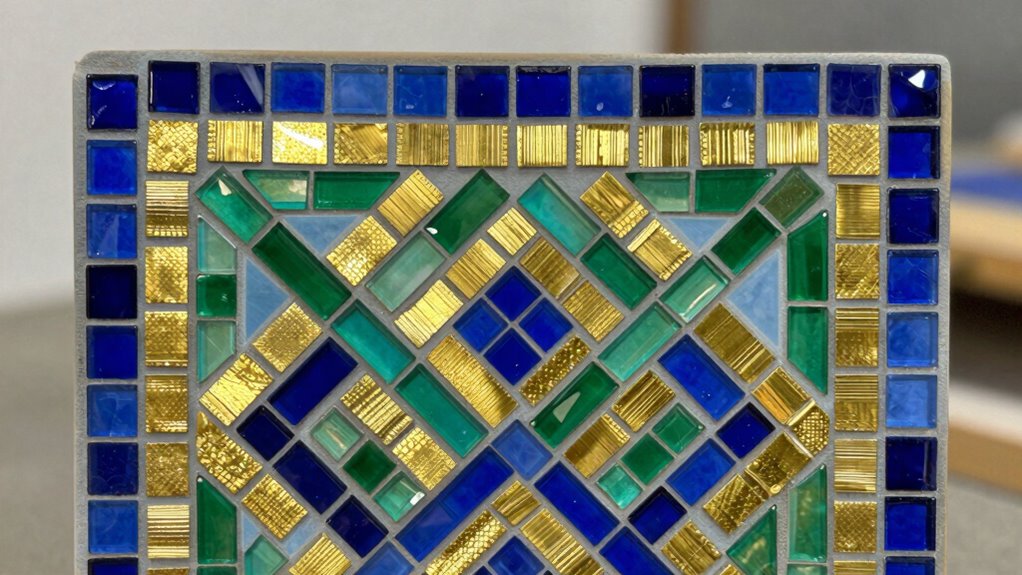
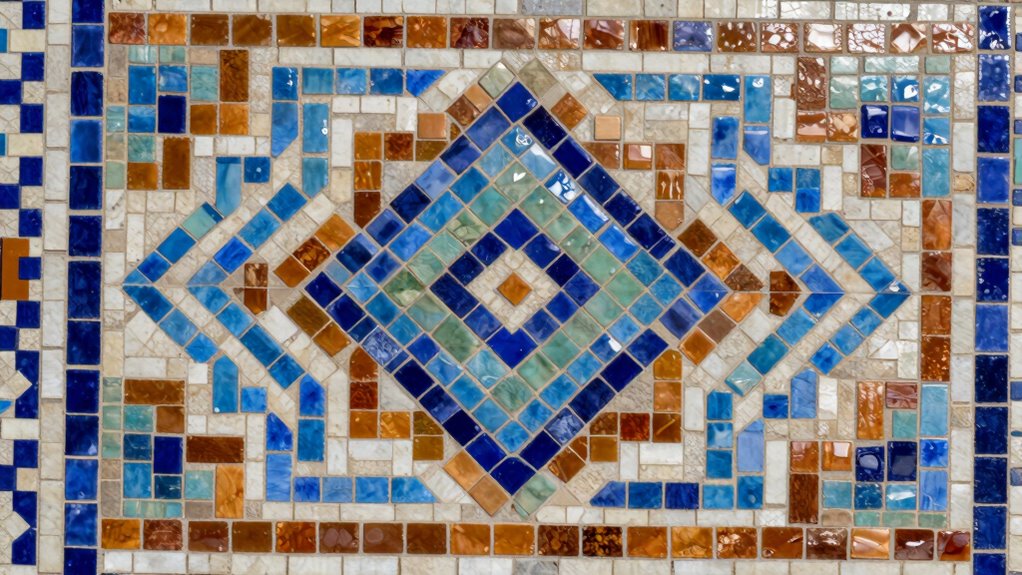
Plan panels simplify mosaic creation by providing a clear, pre-arranged template that guides your work. This structure helps you focus on the artistic details, like color blending and texture variation, without worrying about layout mistakes. With a plan panel, you can experiment with different color combinations, blending shades seamlessly to achieve the desired effect. The textured surface of the panel also encourages you to explore various tile placements, creating depth and visual interest. Instead of guessing where each piece should go, you follow the outlined design, saving time and reducing frustration. This approach allows you to concentrate on the creative process, making mosaic assembly more enjoyable and less overwhelming. Ultimately, plan panels help you achieve a professional-looking mosaic with less effort. Additionally, the use of digital concepts can enhance your planning and design techniques, taking your mosaic art to new heights.

FINGERINSPIRE Holtz Mosaic Stencil 11.7×8.3 Inch Template – Plastic Geometric Circle Pattern, Reusable Layering for DIY Art – Painting on Wood, Floor, Wall Fabric
【Geometric Pattern Template】: You will receive a daily theme painting template with a size of 11.7×8.3 inches/29.7x21cm; Inspired…
As an affiliate, we earn on qualifying purchases.
As an affiliate, we earn on qualifying purchases.
How to Choose the Right Plan Panel for Your Project
Choosing the right plan panel for your project starts with understanding your specific goals and the complexity of your design. Consider how historical influences shape the motifs you want to include, as they can add depth and authenticity. Cultural symbolism also plays a key role, guiding your choices in color, pattern, and theme. If your mosaic reflects a particular heritage or tradition, select a plan panel that emphasizes those elements. Simpler designs benefit from straightforward panels, while intricate projects might require more detailed templates. Think about the story you want your mosaic to tell and select a plan panel that aligns with that narrative. By contemplating these factors, you’ll guarantee your plan panel enhances your vision and creates a meaningful, cohesive piece. Additionally, embracing motivational content can inspire creativity and innovation in your design process.
Worldity 19 Pcs Mosaic Tools Kit, Heavy Duty Glass Mosaic Cut Nippers and Tile Nippers, Professional Stained Glass Cutter Tool for Cutting Glass Mosaic, Ceramics
Sturdy Material: The pliers are made of 45 steel, the cutter wheel is made of YG8 alloy, the…
As an affiliate, we earn on qualifying purchases.
As an affiliate, we earn on qualifying purchases.
Visualize Your Mosaic Design With Templates
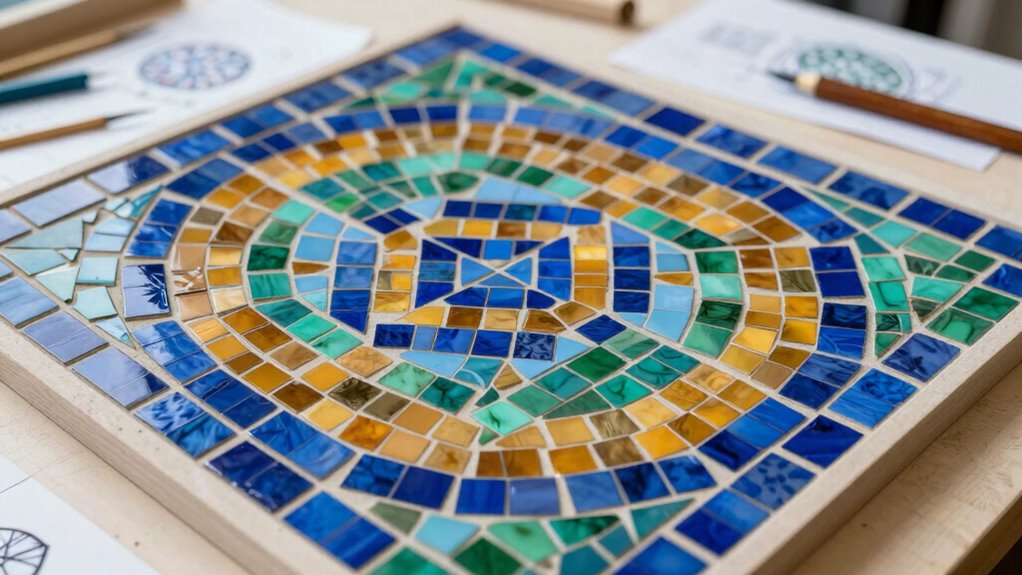
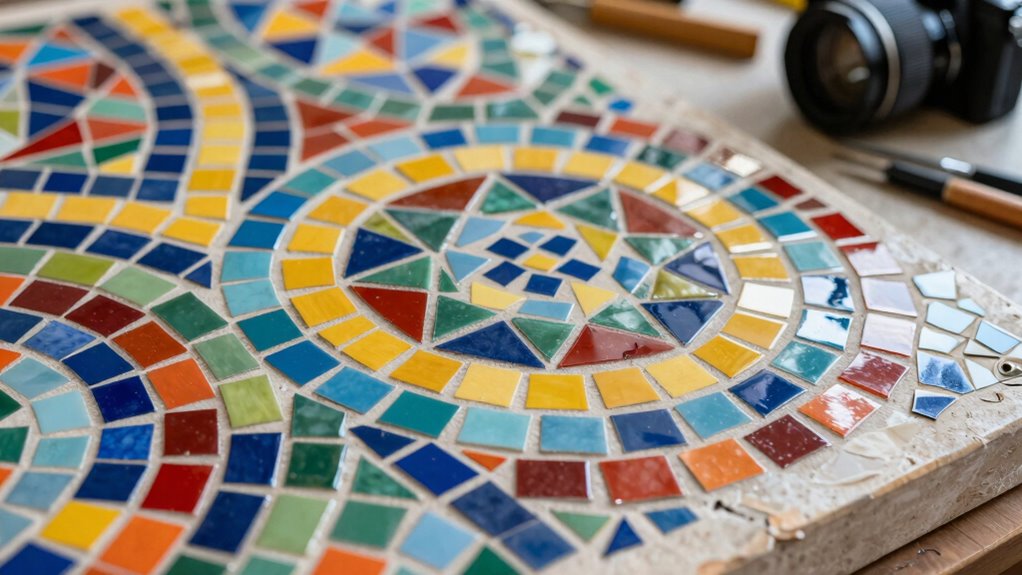
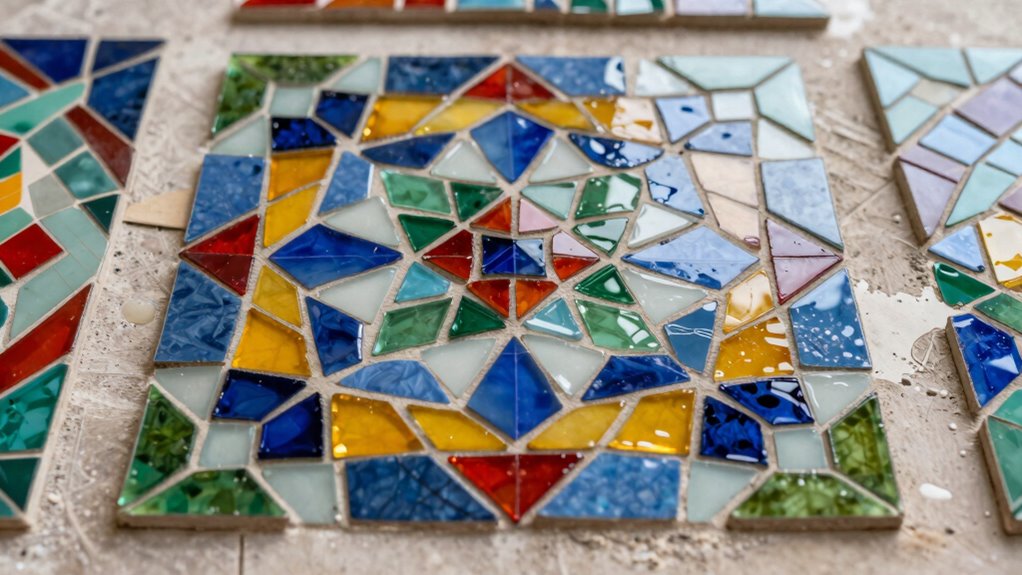
To bring your mosaic design to life, using templates can be a game-changer. Templates help you visualize how color blending will work across your pattern, ensuring smooth progressions and harmonious shading. They also allow you to plan pattern repetition effectively, giving your mosaic a cohesive look. By sketching your design onto a template, you can test how different tile placements influence overall flow and balance. This step helps you identify potential issues early, saving time and materials. Additionally, templates make it easier to experiment with various color combinations and blending techniques before committing to the actual tiles. With a clear visual guide, you’ll feel confident in your choices and better prepared to execute a stunning mosaic.
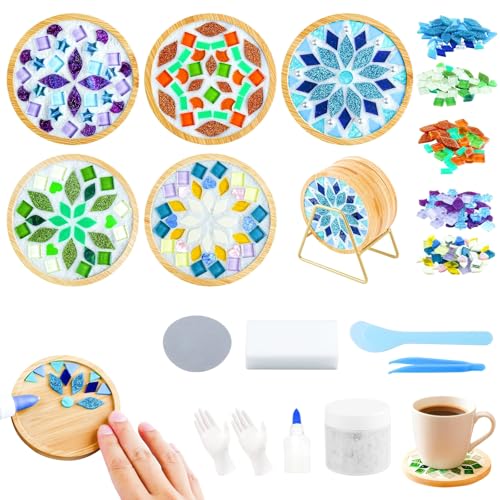
Karidge 5 Sets DIY Mosaic Tiles for Crafts, Mixed Color Mosaic Coaster Kit Material Package for Adults Women, Wooden Coaster for Drinks Tray Handmade Home Decoration and Gift Idea Summer Party
𝑴𝒐𝒔𝒂𝒊𝒄 𝑪𝒐𝒂𝒔𝒕𝒆𝒓 𝑲𝒊𝒕 𝒇𝒐𝒓 𝑩𝒆𝒈𝒊𝒏𝒏𝒆𝒓𝒔 & 𝑪𝒓𝒂𝒇𝒕 𝑳𝒐𝒗𝒆𝒓𝒔:Unleash your creativity with our complete DIY mosaic tile kits! Our…
As an affiliate, we earn on qualifying purchases.
As an affiliate, we earn on qualifying purchases.
Organize Materials and Colors for a Smooth Workflow

To keep your mosaic project running smoothly, you should organize your materials and colors effectively. Using color coordination strategies helps you select the right shades quickly, while sorting techniques keep your supplies accessible and tidy. With everything in order, you’ll work more efficiently and achieve a cohesive, professional look.
Color Coordination Strategies
Ever wonder how to keep your mosaic project flowing smoothly? Focusing on color coordination helps achieve that. Start by understanding color harmony—select colors that complement each other for a balanced look. Use shade matching to guarantee your tiles blend well; matching shades creates a cohesive design, making your mosaic more polished. Organize your materials by grouping similar hues and shades together, so you’re not scrambling for the right tile mid-project. This system saves time and keeps your workflow efficient. Think about the overall color scheme before you begin, whether it’s monochromatic, analogous, or contrasting. By planning your palette carefully, you’ll avoid clashing colors and ensure a smooth, visually appealing result. Proper color coordination transforms your mosaic into a harmonious work of art.
Material Sorting Techniques
Efficient material sorting is essential for maintaining a smooth workflow in your mosaic project. Begin by grouping tiles and materials by color, which simplifies color blending and guarantees a cohesive design. Organize your pieces by size and shape to make placement easier and to prevent delays. Consider material durability when sorting—resilient materials like glass or stone are best for high-traffic or outdoor areas, while delicate materials suit indoor accents. Keep similar textures together to avoid accidental damage or mishaps during handling. Use containers or trays for quick access and clear visibility, reducing the time spent searching for the right piece. Proper sorting minimizes mistakes, speeds up assembly, and helps you stay focused on creating a beautiful mosaic with consistent quality.
Follow These Steps to Use Plan Panels Effectively
To use plan panels effectively, start by choosing compatible panel types that suit your mosaic design. Measure your space carefully to guarantee accurate placement, and create mockups to visualize the final look. This approach helps you avoid mistakes and achieve a polished result. Additionally, consider incorporating survival gear essentials to ensure a successful outdoor project in varying conditions. When planning your outdoor setup, be mindful of golden hour timing to capture the best lighting for your mosaic photography. For optimal image quality, ensure your panels have high color accuracy, which can enhance the visual experience of your mosaic. Furthermore, understanding economic transitions can help you anticipate how changes in the market may affect your project materials and costs. Lastly, you may want to explore herbal baths for a soothing experience after a long day of working on your mosaic.
Choose Compatible Panel Types
Choosing the right panel types is essential for guaranteeing your mosaic project comes together smoothly. To do this, focus on panel compatibility by selecting panels that fit your design and space. Material matching is key—match the panels’ material with your overall mosaic theme and environment. For example, if you’re working outdoors, choose weather-resistant materials like glass or stone; indoors, ceramic or porcelain might work better. Pay attention to panel thickness and texture to ensure they align well and are easy to work with. Consistent material choices prevent issues with adhesion and appearance. By carefully selecting compatible panel types, you’ll create a seamless, professional-looking mosaic without surprises or setbacks. This step keeps your project cohesive and simplifies the assembly process.
Measure Accurate Space Dimensions
Sure! Here’s your adjusted article content:
—
Ever wondered how to make sure your mosaic fits perfectly within your space? The key is measuring accurate space dimensions. Start by carefully measuring the length and width of the area with a reliable tape measure, noting every detail. Use these measurements to determine the total area you’ll cover, allowing for precise material selection. Consider how color blending will work within the space; accurate dimensions help you visualize how different tile colors and patterns will look once installed. Double-check your measurements to avoid surprises later. This step guarantees your plan panels align with your space, reducing guesswork and material waste. When you measure accurately, you set a solid foundation for a seamless mosaic that fits beautifully and achieves the desired aesthetic. Understanding proper sizing is vital in ensuring the longevity of your mosaic installation. Moreover, understanding filter sizing can provide insights into how to select the best materials for your project. Additionally, you might explore financial aid options available for aspiring artists to support your material costs.
Visualize With Mockups
Once you’ve measured your space accurately, the next step is to bring your vision to life with mockups. Mockups help you visualize how your mosaic will look, allowing you to experiment with color blending and material selection before committing. Use paper or digital tools to create a scaled version of your plan panel, arranging tiles to see how different shades interact. Focus on how colors blend together—smooth gradations or bold contrasts—and consider how various materials reflect light and texture. This process helps identify potential issues early, so you can adjust your design as needed. By visualizing with mockups, you gain confidence in your choices, ensuring your mosaic will match your expectations and harmonize with your space.
Troubleshoot Common Plan Panel Challenges

Are you struggling to navigate the plan panel or encountering unexpected errors? Sometimes, issues stem from improper material selection or color blending that doesn’t match your vision. Double-check your material choices to verify they’re compatible with your design and the software’s limitations. If colors aren’t blending smoothly, adjust the color settings or refine the palette to avoid harsh shifts. Additionally, incorporating regional flavors into your design can enhance the overall aesthetic and inspire creativity. It’s also important to consider Victorian fashion influences, as they can elevate your project’s unique style. Moreover, ensuring a methodical approach in your testing can prevent potential errors before they arise. Additionally, verify that your plan panel is correctly aligned and scaled; misalignments can cause visual confusion. Clear any errors by resetting problematic sections or updating your software. If errors persist, consult the troubleshooting guide or community forums for specific fixes. Tackling these common challenges helps streamline your workflow and keeps your mosaic project on track without guesswork. Additionally, exploring must-see destinations can provide fresh inspiration for your next creative project. Remember that the environmental impact of your materials can also influence your design choices, so opt for sustainable options when possible.
Tips for Customizing and Adjusting Your Mosaic on the Fly
When working on your mosaic, being able to make quick adjustments can save time and keep your creative flow flowing smoothly. If you notice a color blending that doesn’t quite match your vision, don’t hesitate to tweak the placement or add small accent tiles to achieve the desired effect. Keep an eye on pattern repetition; if a pattern feels too repetitive, shift tiles slightly to introduce variation or break up symmetry. These on-the-fly modifications help you maintain a cohesive look while allowing room for spontaneous creativity. Flexibility in your process ensures you can respond to unexpected challenges and refine details without starting over. Stay attentive to the overall design, and trust your instincts to make adjustments that enhance your mosaic’s final appearance. Understanding the preservation methods of artifacts can also inspire you to consider how your mosaic might endure over time. Additionally, consider how smart home technology can enhance your workspace, providing tools that automate tasks and keep your creative environment organized.
Finish Your Mosaic With Creative Techniques and Final Touches
To give your mosaic a polished and distinctive finish, incorporate creative techniques and thoughtful final touches. Use color blending to create smooth progressions between tiles, adding depth and visual interest. Mixing different shades and hues strategically can enhance the overall design, much like how rebuilding trust requires careful consideration of emotional nuances. Effective preparation can also help you plan your mosaic layout, ensuring a cohesive design. Surface texturing can add dimension, so consider adding elements like beveled tiles or incorporating varied materials such as glass and stone. You might also experiment with applying a glossy or matte finish to certain areas for contrast. Carefully review your mosaic, and make adjustments where needed to guarantee harmony. Finishing touches like grouting accents or sealing the surface will protect your work and enhance its appearance. These techniques help elevate your mosaic from basic to beautifully unique. Additionally, consider incorporating eco-friendly natural pools as a source of inspiration for organic shapes and colors in your design. Exploring luxurious lifestyle products can also provide ideas for unique materials and finishes to enhance your mosaic’s aesthetic appeal.
Maintaining and Storing Your Plan Panels for Future Projects
Once you’ve completed your mosaic project, properly maintaining and storing your plan panels guarantees they’re ready for future use. Start by cleaning your panels gently to remove dust or debris, and inspect for any damage. Establish simple maintenance routines, like applying a protective sealant if necessary, to prevent warping or deterioration over time. For storage solutions, keep your panels in a dry, cool place away from direct sunlight, preferably upright or flat to avoid warping. Using data storage solutions can help ensure your panels are kept in optimal conditions. Use protective coverings or padding if stacking multiple panels to prevent scratching. Label each panel with project details for quick reference. Consistent care and thoughtful storage assure your plan panels stay in good condition, making future projects easier and more accurate to execute. Incorporating natural light into your workspace can also enhance your creative process while working on your mosaics. Additionally, embracing astrological compatibility may inspire unique design choices in your projects.
Frequently Asked Questions
Can Plan Panels Be Reused for Different Mosaic Projects?
Yes, plan panels can be reused for different mosaic projects. You can customize templates to suit each new design, allowing you to explore artistic expression without starting from scratch. Reusing panels saves time and effort, and with some adjustments, they can serve as a solid foundation for various projects. This flexibility makes plan panels a practical tool for both beginners and experienced mosaic artists.
Are Plan Panels Suitable for All Types of Mosaic Materials?
Yes, plan panels are suitable for most mosaic materials, but you should consider material compatibility. They work well with glass, ceramic, stone, and tile, providing solid support. However, some delicate or highly textured materials might require additional adjustments or alternative methods. The design flexibility of plan panels allows you to customize your mosaic projects easily, ensuring you can adapt your design to fit different materials and achieve your desired artistic effect.
How Do I Modify a Plan Panel for a Custom Mosaic Size?
To modify a plan panel for a custom mosaic size, start with material customization by adjusting the dimensions in your design software. Use resizing tools to make precise sizing adjustments, ensuring your plan panel fits your specific space. Measure your area carefully, then scale the panel accordingly, maintaining proportions. This approach helps you create a tailored mosaic plan, reducing guesswork and ensuring your final mosaic matches your intended size perfectly.
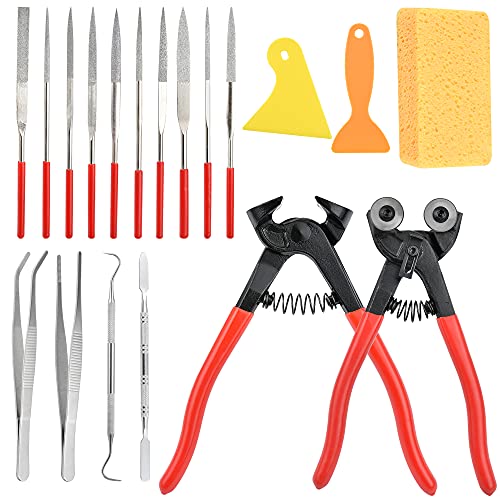
What Tools Are Recommended for Working With Plan Panels?
Think of working with plan panels like wielding a trusty Swiss Army knife—you need versatile tools. Use design templates to sketch your mosaic layout accurately and guarantee material compatibility for seamless results. A ruler or straight edge helps keep lines crisp, while a craft knife or tile cutter is perfect for precise cuts. For larger projects, a tile nipper speeds things up, making your mosaic both beautiful and professional.
Can Plan Panels Help Improve Accuracy for Large Mosaic Projects?
Yes, plan panels can considerably improve accuracy for large mosaic projects. They help you maintain design consistency by providing a clear, scaled layout, ensuring each piece fits perfectly. Additionally, plan panels assist in managing material compatibility, as you can plan for specific tile types and colors in advance. This approach minimizes mistakes, saves time, and results in a more cohesive, professional-looking mosaic.
Conclusion
With plan panels guiding your hands, you’ll find the path to stunning mosaics becomes a gentle dance rather than a tangled maze. Trust in these helpful tools to keep your project flowing smoothly, and don’t be afraid to add your unique flair along the way. As you refine your craft, each piece will come together more effortlessly, turning your creative dreams into beautiful realities—like a well-orchestrated symphony of glass and stone.