When choosing between guide scopes and OAGs as a beginner, safety mainly involves ensuring proper mounting, handling, and electrical grounding to prevent equipment damage or accidents. Guide scopes are easier to set up and adjust but can cause flexure if not secured properly. OAGs share the main optical path, reducing flexure but require precise alignment. Following proper safety procedures and setup tips helps protect your gear. Stay tuned for more insights on making a safe, effective choice.
Key Takeaways
- Proper mounting and secure hardware prevent equipment shifts and vibrations, ensuring safe guiding setup.
- Grounding all electronic components reduces static buildup and electrical hazards during guiding.
- Cable management avoids disconnections or damage that could compromise safety and data integrity.
- Regular equipment inspection helps detect loose fittings or misalignments that may cause safety issues.
- Choosing appropriate guiding equipment based on optical performance and handling reduces setup risks for beginners.
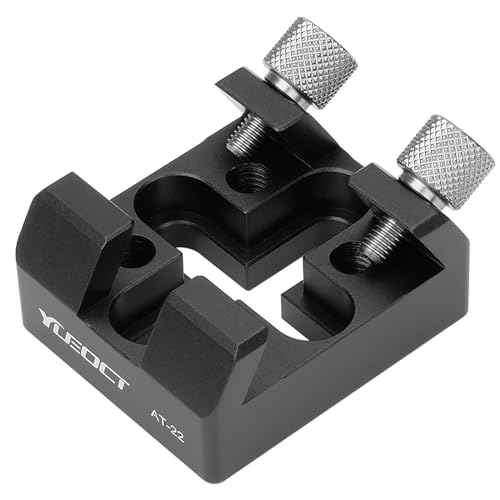
YUEOCT Flat Base Finder Scope Bracket Mount Dovetail Mounting Base Shoe with M6 Screws for Telescope Finderscope Scopes Handle Rail Bar Plate
【Synta-style Dovetail Base】Dovetail base accepts Synta-style dovetail mounting bar from finder scope, reflex sight and laser pointer.
As an affiliate, we earn on qualifying purchases.
As an affiliate, we earn on qualifying purchases.
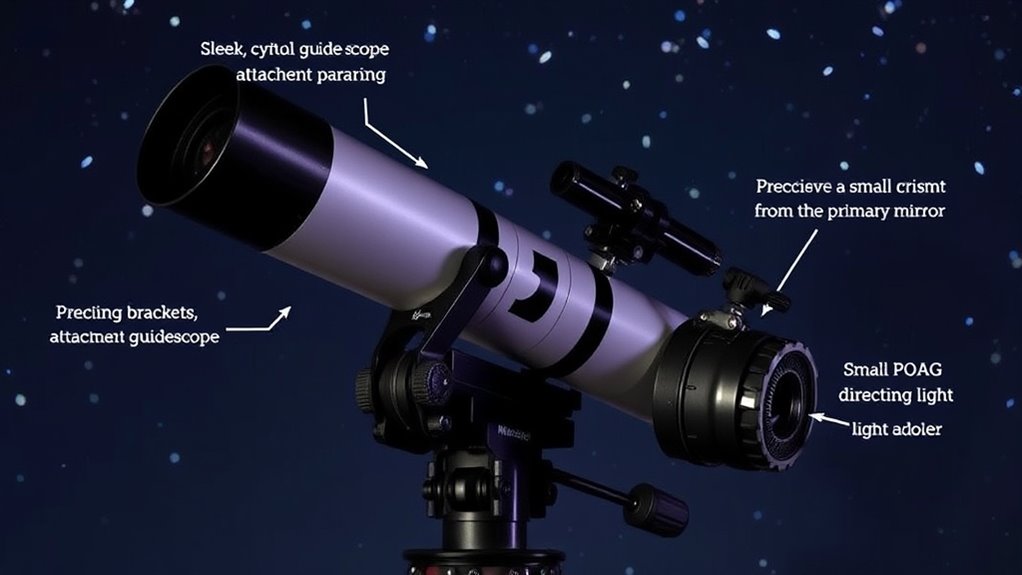
Understanding the Basic Differences Between Guide Scopes and OAGs
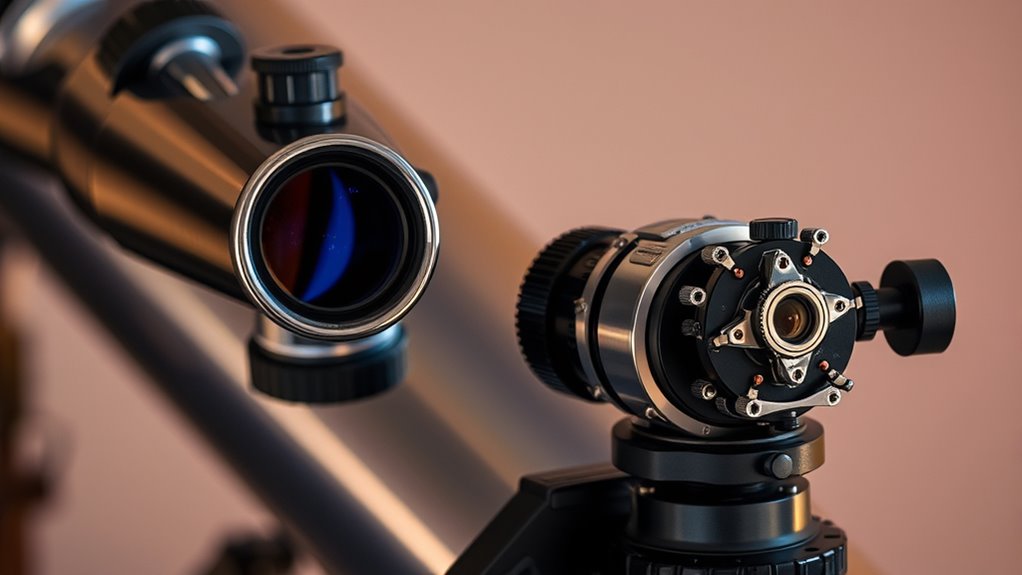
When choosing between a guide scope and an off-axis guider (OAG), it’s important to understand their fundamental differences. Guide scopes are separate telescopes mounted alongside your main scope, offering easier setup and adjustments. They often provide better optical performance because you can select high-quality guides, which can improve tracking accuracy. However, guide scopes tend to be more expensive and require additional space and mounting hardware, increasing overall cost considerations. OAGs, on the other hand, attach directly to your main telescope, sharing the same optical path. This setup minimizes flexure and simplifies alignment, but may offer slightly lower optical performance due to potential image quality compromises. Your choice depends on balancing optical performance needs with budget and setup complexity. Additionally, understanding the optical performance differences can help determine which system best suits your astrophotography goals.
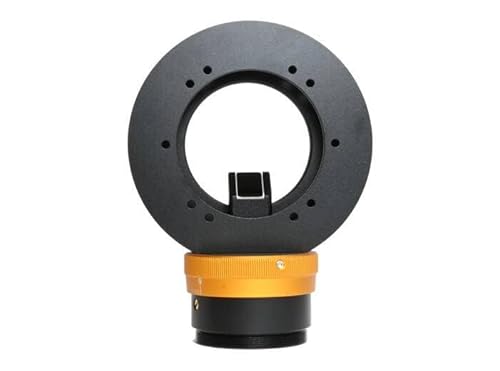
OGMA Off-Axis Guider (OAG) for Astrophotography – Ultra-Slim, Large Prism, Multiple Thread Adapters. Ideal for Deep-Sky Imaging & Auto-Guiding (Standard Size)
Important Compatibility Notice: Requires either a compatible filter wheel or a special filter holder (such as OGMA's UFD54)…
As an affiliate, we earn on qualifying purchases.
As an affiliate, we earn on qualifying purchases.
Assessing the Safety Risks of Guide Scope Setups

Ensuring the safety of your guide scope setup is essential to prevent damage to your equipment and avoid potential injury. First, check the mounting stability; a loose or unstable mount can cause vibrations or sudden shifts, risking equipment damage or misaligned guiding. Secure all mounting hardware tightly and verify that your guide scope is firmly attached. Next, consider electrical grounding; improper grounding can lead to electrical surges or static buildup, which might damage sensitive electronics. Make sure your guide scope, mount, and camera are properly grounded according to manufacturer instructions. Regularly inspect cables and connections for wear or damage, and keep your setup clear of debris. Additionally, understanding the importance of proper projector technology setup and maintenance can help prevent accidents and ensure consistent performance. By focusing on mounting stability and electrical grounding, you greatly reduce safety risks and ensure reliable guiding during your observations.

MOKIKUBA 8ft Ground Rod Kit 5/8” Clad Copper Grounding Rod with Grounding Clamp for Electrical Grounding bar for Electric Fences Satellite Dishes Generator Grounding Earthing
8’ Grounding rod kit:2 pieces of 4 feet long and 5/8 inch diameter grounding rod , 2 copper…
As an affiliate, we earn on qualifying purchases.
As an affiliate, we earn on qualifying purchases.
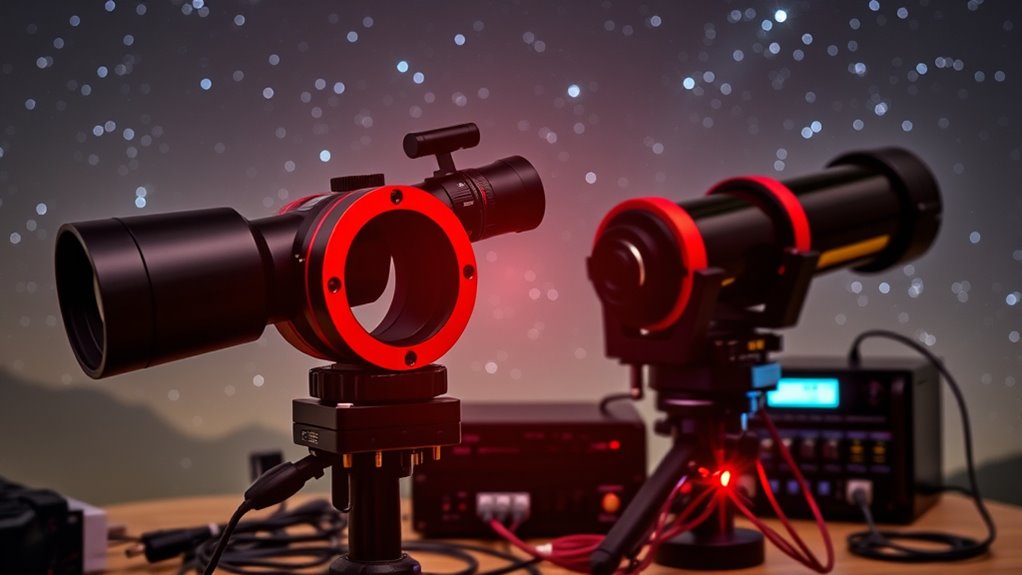
Evaluating the Safety of Off-Axis Guider Configurations

Evaluating the safety of off-axis guider configurations requires careful attention to how the components are arranged and secured. Proper setup guarantees optical safety, preventing accidental misalignments that could damage your equipment or compromise data. Check that the guider is firmly attached to the main telescope, minimizing vibrations. Confirm that cables are managed to avoid snagging or disconnections. Additionally, ensure your guiding software is compatible with your mount and camera system, reducing the risk of communication errors. Consider these factors: fandom’s past, present, and future, securing your equipment to maintain a steady and reliable guiding setup.
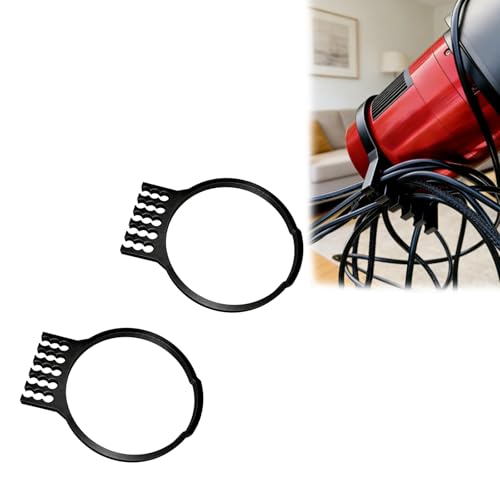
2-Pack Cable Management Stand for ZWO ASI 90mm Camera, Astrophotography Cable Organizer, Wire Routing Clip for Telescope Imaging Setup
Precision Fit Compatibility: Designed specifically for ZWO ASI 90mm diameter cameras, ensuring accurate fit and secure positioning.
As an affiliate, we earn on qualifying purchases.
As an affiliate, we earn on qualifying purchases.
Proper Mounting and Alignment Procedures for Safe Operation
To guarantee safe operation, you need to use secure mounting techniques that keep your guide scope or OAG stable during imaging. Accurate alignment methods help you achieve precise tracking and avoid errors, so take your time to get everything just right. Don’t forget to perform regular maintenance checks to catch any loose fittings or misalignments early. Additionally, understanding proper mounting techniques can prevent equipment damage and ensure reliable performance during your observations.
Secure Mounting Techniques
Securing your guide scope or OAG mount properly is essential for accurate and safe astrophotography. Use quality mounting materials like sturdy brackets, screws, and clamps to guarantee stability. Always double-check that all connections are tight and secure before observing. Safety harnesses can provide added security, especially when working at heights or with heavy equipment. To maximize safety and stability:
- Tighten all mounting screws and clamps securely
- Use appropriate mounting materials rated for your equipment weight
- Attach safety harnesses when working at elevated positions
Proper mounting reduces vibrations and prevents accidental slips, protecting both your gear and yourself. Remember, a stable setup makes your imaging clearer and safer, reducing risks during long sessions.
Precise Alignment Methods
Achieving precise alignment is vital for ideal astrophotography results, and it begins with proper mounting procedures. Make sure your guide scope or OAG is securely attached to your main telescope, minimizing any movement. When aligning, focus on accurate autoguider calibration to prevent drift during long exposures. Focal length considerations are critical; longer focal lengths require more precise alignment due to increased sensitivity to misalignment. Use a reticle or crosshair eyepiece to fine-tune your mount, ensuring the guide scope or OAG is perfectly aligned with your main optical path. Double-check the star alignment and adjust your mount to keep the guide star centered. Proper mounting and alignment minimize errors, leading to better tracking and sharper astrophotography images. Additionally, understanding your support hours for equipment or software can help troubleshoot issues promptly, ensuring your imaging session proceeds smoothly.
Regular Maintenance Checks
Regular maintenance checks are essential to guarantee your guide scope or OAG remains properly mounted and aligned over time. Regularly inspect the mounting hardware for tightness and stability to prevent shifts during imaging. Ensure your lenses are clean by carefully lens cleaning to maintain clear views, and check for dust or smudges that can affect performance. Weatherproofing is crucial—seal any vulnerable areas to protect against moisture and corrosion. Consider these steps:
- Tighten mounting screws and ensure proper alignment
- Clean lenses gently with appropriate solutions
- Apply weatherproofing measures to shield from environmental elements
- Regularly update your knowledge on security and vulnerability assessments to stay ahead of potential threats
Consistent checks help avoid misalignments, maintain image quality, and extend your equipment’s lifespan. Staying proactive guarantees safe operation and optimal imaging results.
Power Management and Electrical Safety Tips
Since your equipment relies on stable power, practicing proper power management and electrical safety is essential to prevent damage and ensure smooth operation. Always use a reliable power supply that provides consistent voltage and avoid overloading outlets. Check that your equipment is properly grounded to prevent electrical shocks and reduce interference. Ensure your power cords are in good condition, free of frays or damage, and connect everything securely. Use surge protectors to shield your gear from voltage spikes. Turn off equipment when not in use, especially during storms or power fluctuations. Keep cables organized to prevent tripping hazards. Regularly inspect your electrical setup to identify potential issues early. Being aware of electrical hazards can significantly reduce the risk of accidents and equipment failure. Following these tips helps protect your equipment and maintains safe, uninterrupted operation.
Preventing Equipment Damage During Setup and Use

To prevent equipment damage during setup and use, you need to handle your gear carefully and follow proper procedures. Ensuring equipment compatibility is vital—double-check connectors, mounts, and accessories before connecting. Proper user training helps you recognize safe handling techniques, reducing the risk of mistakes. Always keep an eye on delicate parts and avoid forcing components together. Be mindful of the weight limits for mounts and adapters to prevent strain. During setup, consider these points:
Handle equipment carefully, check compatibility, and follow instructions to prevent damage during setup and use.
- Confirm compatibility among all components before assembly
- Follow manufacturer instructions for each piece of gear
- Handle equipment gently, avoiding unnecessary force or sudden movements
- Being aware of the Honda tuning principles can also help prevent damage by understanding how modifications may affect your vehicle’s performance and safety.
Best Practices for Safe Imaging Sessions
Ensuring safe imaging sessions requires careful planning and attention to detail throughout your setup. First, securely attach your mounting accessories, guaranteeing everything is tight and stable to prevent shifts during imaging. Double-check your alignment and focus before starting. Keep weather considerations in mind; avoid imaging in high winds, rain, or extreme temperatures, which can damage equipment or compromise data quality. Protect your gear with weatherproof covers or plan sessions during favorable conditions. Always monitor power levels and connections to prevent interruptions. Additionally, ensure your guide scope or OAG is properly aligned to avoid misguiding. Being aware of juice cleanse and detox principles can help you understand the importance of proper preparation and avoiding potential side effects that could impact your focus during imaging. Taking these precautions minimizes risks, keeps your equipment safe, and helps you capture the best possible images.
Frequently Asked Questions
What Are the Common Signs of Guide Scope or OAG Failure?
You’ll notice guide scope or OAG failure if your guiding becomes inconsistent, with star trails or jitter in your images. Poor OAG alignment or loose guide scope can cause erratic tracking, resulting in elongated stars or drifting. Watch for sudden drops in guiding accuracy, unusual guiding errors, or difficulty calibrating. These signs indicate that your guide scope or OAG might be misaligned or failing, and you should check and realign them promptly to prevent image quality loss.
How Often Should Guide Scopes and OAGS Be Inspected for Safety?
You should inspect your guide scope and OAG weekly, focusing on alignment checks and mounting stability. Regularly verify that everything remains securely attached and properly aligned to prevent imaging issues or equipment damage. After long sessions or transport, perform a quick inspection to catch any loosened screws or misalignments. Consistent safety checks guarantee reliable guiding, protect your equipment, and improve your astrophotography results.
Can Guide Scopes or OAGS Cause Damage to My Main Telescope?
Guide scopes and OAGs can cause damage if not properly aligned or installed. Poor guide scope alignment may put stress on your main telescope’s focuser or mount, leading to potential damage over time. For OAG installation tips, ensure the camera is securely mounted and aligned correctly to avoid undue pressure. Regularly check your setup to prevent damage and maintain ideal guiding performance. Proper installation and alignment are key to protecting your equipment.
Are There Specific Safety Precautions for Using Guide Scopes in Cold Weather?
Cold weather can cause equipment frost, so take precautions when using guide scopes outdoors. Always keep your gear covered or insulated to prevent frost buildup, which can impair accuracy. Avoid sudden temperature shifts by gradually warming your equipment before setup. Check for condensation or ice, and use dew shields or heaters if necessary. Staying vigilant and prepared keeps your guiding gear safe and functioning smoothly, even in chilly conditions.
How Do I Safely Troubleshoot Guiding Issues During a Session?
When troubleshooting guiding issues during a session, start by checking your mount alignment to guarantee it’s accurate. Verify your equipment calibration, especially your guide scope or OAG, to rule out setup errors. If problems persist, recheck connections and clear any obstructions in your optical path. Keep your hands steady and avoid sudden movements to prevent further misalignment. Regularly monitor your guiding graph to catch issues early and maintain ideal tracking.
Conclusion
Choosing between a guide scope and an OAG might seem like a small decision, but it can profoundly impact your safety and success. Many believe that OAGs are riskier, yet with proper setup and handling, they can be just as safe as guide scopes. Remember, it’s not just equipment—your careful attention to mounting, power, and alignment makes all the difference. Trust in proper procedures, and your astrophotography journey will be safer and more rewarding.