To troubleshoot FOV planning, first understand that lens specs alone don’t guarantee accuracy—calibration and distortion correction are essential. Be aware of common misconceptions and regularly verify your setup with software profiles. Adjust your camera height and angle to guarantee ideal coverage without blind spots. Keep in mind how FOV affects depth and scale. If issues persist, exploring detailed tips can help refine your approach and improve results—stick with it to discover more.
Key Takeaways
- Always calibrate your camera setup with software to accurately measure and adjust the FOV before deployment.
- Correct lens distortions using calibration patterns or software profiles to prevent measurement errors.
- Adjust camera height and angles carefully to optimize coverage and minimize blind spots or overlaps.
- Understand how FOV impacts depth perception and scale to choose the right lens and positioning for your scene.
- Regularly verify FOV settings across different software platforms and update calibration to maintain consistency.
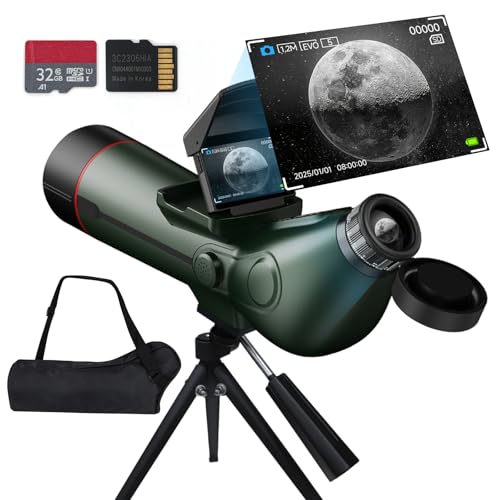
Smart Telescope, Professional Refractor Auto-focus Portable Digital Electronic Telescopes with 4K Astrophotography Camera, Internal And Externat Dual Screens Spotter for Adults and Beginners Astronomy
Exceptional Optical Performance:Equipped with a powerful 80mm aperture and 300mm focal length (f/8.89), this telescope for adults delivers...
As an affiliate, we earn on qualifying purchases.
Common Misconceptions About FOV Measurements
Many people believe that Field of View (FOV) measurements are straightforward, but in reality, several common misconceptions can lead to misunderstandings. One mistake is assuming that FOV is solely determined by lens specifications without considering distortion correction. In truth, camera settings and lens distortions can skew measurements if not properly addressed. Software calibration plays a vital role here, helping you fine-tune your system for accurate FOV readings. Without proper calibration, you might think your measurements are precise when they’re not, leading to planning errors. Many overlook that distortion correction isn’t automatic and must be actively managed through calibration processes. Recognizing that FOV isn’t just about lens specs but also involves calibration and correction ensures more accurate planning and fewer surprises during implementation. Additionally, understanding the field recording techniques used to capture authentic sounds can influence the accuracy of your overall measurements.

ZWO Seestar S50 Smart Digital Telescope All-in-One Autofocus Portable for Beginners and Experienced Users-Open Box Like-New Condition Telescope
Lightweight Design: highly integrated all-in-one smart telescope. Seestar is a compact body that integrates a telescope, electrical focuser,...
As an affiliate, we earn on qualifying purchases.
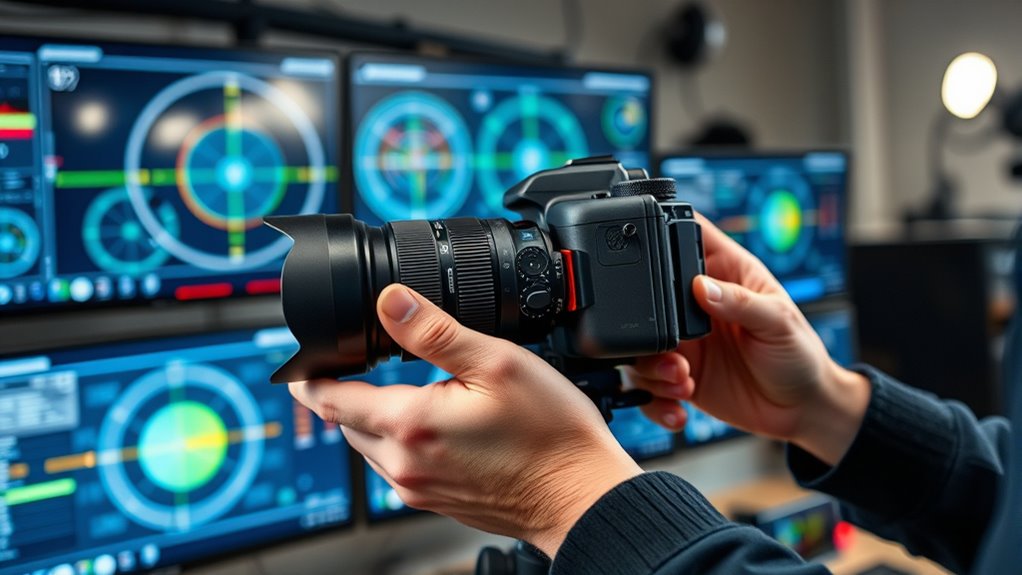
Identifying and Correcting Lens Distortions

Lens distortions can substantially affect the accuracy of your FOV measurements, so it’s essential to identify and rectify them early in your setup. Start with proper lens calibration using specialized software or calibration patterns to detect distortions like barrel or pincushion effects. Once identified, apply distortion correction to straighten lines and ensure your measurements are accurate. Many cameras and lenses have built-in calibration tools or software options that facilitate this process. Regular calibration checks help maintain precision, especially if you change lenses or reposition your camera. Ignoring lens distortions can lead to miscalculations in coverage areas, resulting in blind spots or overlaps. Correcting these distortions early ensures your field of view planning is based on reliable, accurate data. Additionally, understanding the contrast ratio of your projector can help optimize image quality and enhance viewing experience.

Celestron StarSense Explorer LT 114AZ App-Enabled Telescope – 114mm Newtonian Reflector with Smartphone Dock & StarSense App – iPhone & Android Compatible – Easy-to-Use for Beginners
SMARTPHONE-POWERED SKY TOUR: No experience needed! Just dock your phone, launch the StarSense Explorer app, and follow the...
As an affiliate, we earn on qualifying purchases.
Adjusting Camera Height and Position for Optimal Coverage
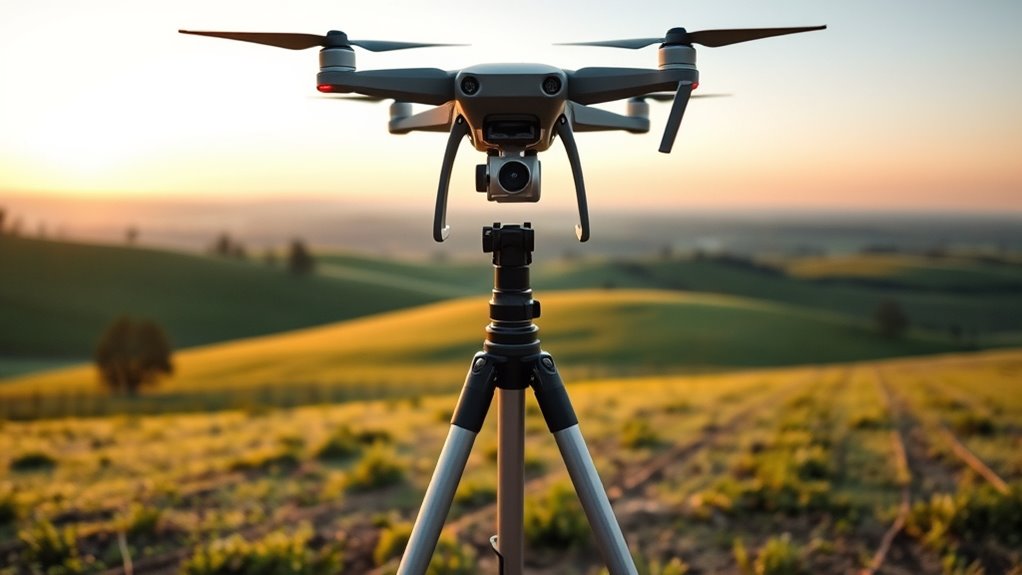
Adjusting the camera height and position is essential for achieving ideal coverage of your area. Proper camera elevation ensures you capture the most critical zones without blind spots, while optimal positioning helps you cover wide or specific areas effectively. Start by setting the tripod at a height that offers a clear view without causing strain or instability. Ensure tripod stability to prevent camera shake, which can distort footage or cause missed details. Adjust the camera’s angle to align with your target zone, balancing between a wide overview and focused detail. Keep in mind that higher elevations might increase blind spots at ground level, so find a compromise that maximizes coverage. Regularly check stability and framing as you make adjustments to ensure your camera remains steady and accurately positioned. Incorporating automation technologies can help manage multiple cameras and optimize coverage over larger areas.

ZWO Seestar S30 All-in-One Smart Digital Telescope/Camera Compact and Portable Travel Companion for Astronomy Enthusiasts & Casual Stargazers
Ultra‑Portable & Automatic Star-Finding, Tracking, Shooting: Weighing no more than a bottle of soda, yet it’s a professional...
As an affiliate, we earn on qualifying purchases.
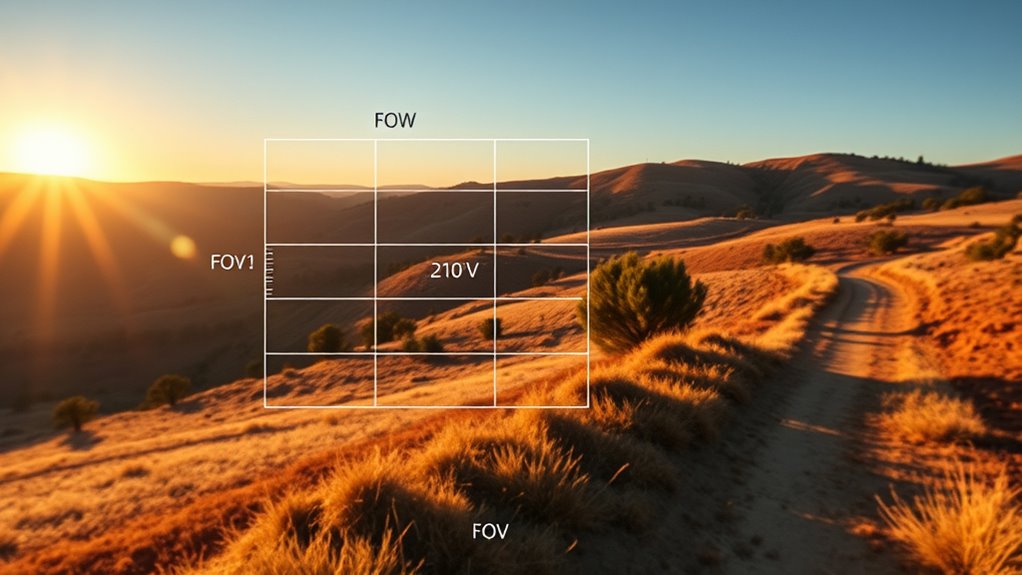
The Impact of FOV on Depth Perception and Scale

The field of view (FOV) directly influences how viewers perceive depth and scale within your footage. A wider FOV captures more of the environment, emphasizing depth cues like perspective lines and relative size, which enhance the sense of distance. Conversely, a narrow FOV compresses space, making objects appear closer and reducing depth perception. Your choice of FOV also affects scale perception; a broader view can make objects seem smaller and farther away, while a tighter FOV magnifies subjects, increasing their perceived size. Understanding this relationship helps you control visual storytelling, ensuring your audience interprets spatial relationships correctly. Adjusting your FOV thoughtfully allows you to manipulate depth cues and scale perception, creating more immersive and believable scenes. Incorporating camera angles and positioning techniques can further refine how depth and scale are conveyed to your viewers.
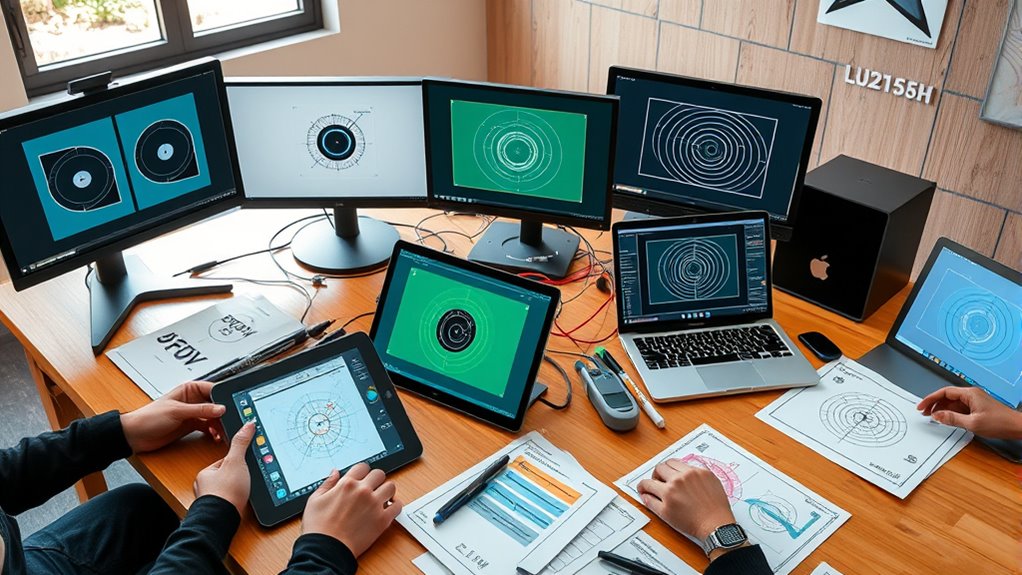
Troubleshooting FOV Discrepancies in Different Software Platforms
When working across different software platforms, FOV discrepancies often cause confusion and inconsistencies in your footage. To troubleshoot effectively, start with proper software calibration, ensuring each program accurately interprets your camera’s settings. Check that your hardware is compatible with the software—mismatched or outdated hardware can lead to misaligned FOVs. Compare the FOV settings across platforms and verify they match your camera’s specifications. Some software may interpret lens distortions differently, so applying lens correction profiles can help standardize FOV measurements. Always update your software and drivers to prevent compatibility issues. If discrepancies persist, consult the software documentation or support forums for specific calibration methods. Addressing hardware compatibility and maintaining consistent calibration are key to resolving FOV differences across platforms. Additionally, staying informed about AI security vulnerabilities can help you protect your tools and data during troubleshooting.
Tips for Testing and Refining Your FOV Setup
To effectively test and refine your FOV setup, start by capturing test footage with known reference points, such as calibration charts or grid patterns. This helps you evaluate if your FOV calibration aligns accurately across your system. Next, review the footage to identify distortions or discrepancies, paying attention to how well software compatibility handles the data. To fine-tune, consider these tips:
- Adjust camera positioning for better coverage
- Use calibration tools compatible with your software
- Repeat tests after each tweak to track improvements
- Record settings and results for future reference
- Remember that proper soundscapes can enhance your testing environment, making it easier to detect subtle issues during review.
Consistent testing ensures your FOV setup is precise and reliable. Remember, refining your FOV isn’t a one-step process but a cycle of adjustments and validation. Staying meticulous guarantees your calibration remains accurate under different software environments.
Frequently Asked Questions
How Do Lighting Conditions Affect FOV Accuracy?
Lighting conditions directly impact your FOV accuracy by influencing sensor calibration and causing visual distortion. In low light, sensors struggle to calibrate correctly, leading to blurred or distorted images, which reduce your accuracy. Bright or uneven lighting can also create glare or shadows, skewing your perception of the scene. To maintain precise FOV, guarantee consistent, ideal lighting and regularly calibrate your sensors to minimize distortion and improve overall accuracy.
Can Environmental Factors Influence FOV Calibration?
Environmental factors can definitely influence your FOV calibration. When you face environmental interference like dust, fog, or vibrations, it disrupts sensor calibration, leading to inaccurate field of view measurements. To maintain accuracy, you need to regularly check and adjust calibration, especially in challenging conditions. By controlling environmental interference as much as possible, you ensure your sensor’s calibration stays precise, giving you reliable and consistent FOV readings.
What Are the Best Tools for Real-Time FOV Adjustment?
Think of real-time FOV adjustment tools as your eye for calibration techniques—fast, adaptable, essential. You should use software like Tobii Pro Lab or Varjo’s Reality Cloud, which offer seamless hardware compatibility and intuitive interfaces. These tools allow you to tweak your FOV on the fly, ensuring precise calibration. While hardware compatibility varies, choosing versatile solutions helps you maintain accuracy without sacrificing speed, making your adjustments smoother and more effective.
How Does FOV Impact User Experience in VR Applications?
Your FOV greatly impacts user experience in VR by affecting immersion and comfort. A wide FOV enhances immersion, but if there’s fov distortion, it can cause discomfort or disorientation. Proper calibration techniques help minimize distortion, ensuring smooth visuals. Adjusting your FOV thoughtfully allows users to experience more natural viewing angles, reducing eye strain and increasing engagement. Always calibrate your headset regularly to optimize FOV and maintain a seamless, comfortable VR experience.
Are There Industry Standards for FOV Measurement Consistency?
You should know that industry benchmarks for FOV measurement consistency are still evolving, but many manufacturers prioritize precise fov calibration. To guarantee accuracy, compare your device’s FOV against these benchmarks and use standardized tools or methods. By doing so, you’ll maintain consistent visual experiences across different devices, reducing user discomfort and enhancing immersion. Staying updated on industry standards also helps you troubleshoot effectively and optimize your VR applications.
Conclusion
Mastering your FOV setup is like tuning a finely crafted instrument—every adjustment brings your vision into perfect harmony. By understanding misconceptions, correcting distortions, and testing thoroughly, you’ll gain access to a clearer, more immersive view. Remember, your FOV isn’t just a number; it’s the window through which your audience experiences your world. Take charge, refine your setup, and let your visuals tell a story as vivid as your imagination.